
Install Steam
login
|
language
简体中文 (Simplified Chinese)
繁體中文 (Traditional Chinese)
日本語 (Japanese)
한국어 (Korean)
ไทย (Thai)
Български (Bulgarian)
Čeština (Czech)
Dansk (Danish)
Deutsch (German)
Español - España (Spanish - Spain)
Español - Latinoamérica (Spanish - Latin America)
Ελληνικά (Greek)
Français (French)
Italiano (Italian)
Bahasa Indonesia (Indonesian)
Magyar (Hungarian)
Nederlands (Dutch)
Norsk (Norwegian)
Polski (Polish)
Português (Portuguese - Portugal)
Português - Brasil (Portuguese - Brazil)
Română (Romanian)
Русский (Russian)
Suomi (Finnish)
Svenska (Swedish)
Türkçe (Turkish)
Tiếng Việt (Vietnamese)
Українська (Ukrainian)
Report a translation problem


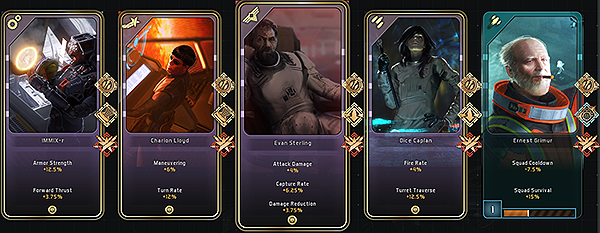
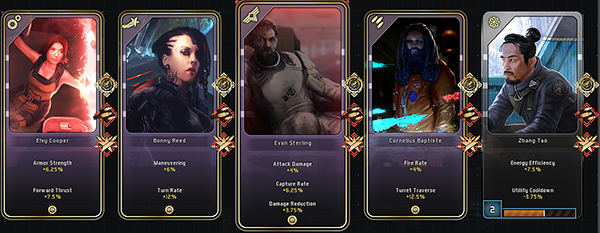
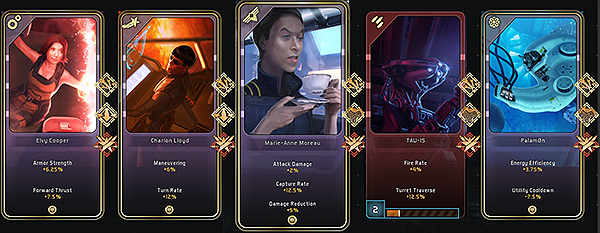
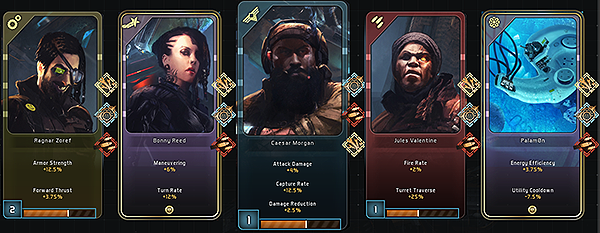


Attack Damage:
- Suffers from rounding
- To weak of an effect on low PPD weapons(especially doe to point 1)
Fire rate:
- Suffers from rounding
- Does not affect ships with Charge-up guns(executioner)
- Does not affect continiously firing ships
Damage Reduction:
- Applies before jump
- Applies before broken armor
- Applies before modifiers
I have a question though. Do armor implants and crew stats affect the armor of deployables (and perhaps missiles)? I've recently started the game so I do not have enough of the implants, the correct crew, at the moment to test this effectively, and I thought that you are much better equipped for this testing. I ask this because I've taken a shine to the Endeavor. I also ask because I imagine that if it did affect the Endeavor's turrets, it would also affect things like bouys and such (although the effect would be negligable for bouys). Ultimately its up to you, and I'll understand if you dont want to do it.
Again, thank you for this guide.
Side note: also pretty good information.
You have a resource to read for both implants and crew, and you have links to the armor layout of ships and you can pull up (and change) the loadout of any ship you wish to fly. You also know how a ship handles, and where it's good and where it's bad, because you flew them.
You have every bit of information needed. You might understand that asking to be spoonfed after putting the effort into writing these guides is not enticing. At the end of the day, I am tryign to teach you how to make fire. Stop asking for a torch, start smashing some flint. You can do it! :)
just kill everything , and hardly take damage .not even upgraded yet.