10,000,000

10,000,000

66 ratings
Basic Strategy - Board Texture
By jaerak
Covers Basic Board Texture Strategy that helps the player prepare for different stages of a dungeon run.
   
Award
Favorite
Favorited
Unfavorite
Introduction
In this guide, we explore the concept of Board Texture, which is characterized by the "richness" of certain tiles, and why it's important to constantly be aware of how a player's present decisions impact future scenarios. This skill is so important to a beginner's improvement that I have decided to categorize this guide as a basic strategy, even though some of the concepts explained here may be difficult to initially grasp.

Certain tiles are good in certain situations, and other are not. For example, when facing an enemy, the player wants to have many swords, staves, shields, and backpacks, but doesn't want wood, stone, or keys.

Because 10,000,000 has a large inherent amount of luck because the tiles that the player receives after every clear are random, the variance that a player can experience can be huge. However, by keeping the board clear of unnecessary tiles and keeping the more relevant ones, the player can greatly increase the probability that he or she will be prepared in future scenarios.

The terms and concepts explained in this guide should develop a groundwork on which to build future tools and methods to crush higher levels of the game. While these concepts are important to learn to progress through the earlier levels, many of them hold true in later stages as well.

If you were to face a boss right now, which Board would you rather have? That's Board Texture.
Definitions
This guide will use some terms and vocabulary that are defined here.

The Board is the (8 x 7) set of all of the (56) blocks on the screen during a dungeon run.

Tile Ratio refers to how many tiles of a certain type the player has with respect to the total 56 blocks available on the Board.

Board Texture is defined by the readiness of the Board to respond to an event. Can usually be defined in terms of Tile Ratio.

Events are when the player is stopped by an enemy or a lock.

Offensive Play happens when the player is focusing on matching swords and staves.

Defensive Play happens when the player is focusing on matching shields and backpacks. Though items found in backpacks are not inherently defensive, they provide the potential to avoid troublesome situations later in the run.

Replenishment Play happens when the playing is focusing on clearing tiles that will be useless against the next anticipated event. For example, Replenishment Play can be clearing Wood, Stone, and Keys if the player suspects an enemy to appear soon.
How to Manipulate Board Texture
Playing Board Texture Strategy requires that the player understands when they need to change Board Texture to prepare for an incoming event. It also requires understanding what rich Board Texture for one specific situation (e.x. facing enemies or locks)

Because an enemy's attack pushes the player farther toward the left (and towards death), removing the enemy as swiftly as possible is always the first priority. If matches for staves and swords cannot be found, then the next most useful blocks to clear for defeating and defending against the enemy are shields and backpacks.

  • When facing an enemy, the first priority is to match staves and swords.
  • When the player cannot match staves and words, the second priority is to match shields and backpacks.

When facing locks (chests and doors), the first priority is to match keys. However, because chests and doors do not apply additional penalties (as enemies do) for stalling, there is more "breathing room". This means that the player can take some time to match shields and backpacks, and reduce the Wood & Stone Ratio (don't delay matching those keys for too long though!).

  • When facing a lock, the first priority is to match keys.
  • Even if the player can finish the lock, it is permissible to match shields, backpacks, wood, and stone.

When the player is faced with "nothing" (not blocked by an enemy or lock), it is the time to focus heavily on Replenishment Play. This means that the player will be clearing as many Wood, Stone, Shields, and Backpacks as possible. Additionally, if the player predicts an enemy to appear next, clearing a few keys will also be a good idea. Likewise, if the player predicts many locks to appear next, clearing some staves and swords will also be a good idea.

  • When facing nothing the first priority is to match Wood, Stone, Shields, and Backpacks.
  • The second priority is to match tiles not needed in the next event.
Rich Starting Board Textures
The following is a list of different events the player will face, and what a rich Board Texture would look like when facing the enemy. The player wants to start with a Board Texture similar to the ones described when encountering the given scenarios.

DISCLAIMER: This strategy does not take the usage and storage of consumable items into consideration. Consumables Strategy will be explained in a later guide. Additionally, it assumes that chests have two locks and standard doors have one lock. (The Lockpicker upgrade from the Trainer Room and the Flask of Security Potion from the Alchemist Room alter these attributes)

Facing Many/Tough Enemies

When the player is up against many or tough enemies, a rich Board Texture will be well-prepared for Offensive Play and still consider Replenishment Play. Other tiles will be irrelevant.

Corresponding Tile Ratios:

High Ratio
  • Staves
  • Swords

Moderate Ratio
  • Shields

Low Ratio
  • Wood
  • Stone
  • Backpacks
  • Keys


Facing Few/Weak Enemies

When the player is up against few or weak enemies, a rich Board Texture will be prepared for an equal amount of Offensive Play and Replenishment Play.

Corresponding Tile Ratios:

Moderate Ratio
  • Staves
  • Swords
  • Shields
  • Backpacks
  • Keys

Low Ratio
  • Wood
  • Stone


Facing Four or more Locks

When the player is up against four or more locks (2 per chest, 1 per door), a rich Board Texture will be set up to clear enough keys to open three to five locks. This is also the stage in which the player will want to start considering Replenishment Play.

Corresponding Tile Ratios:


High Ratio
  • Keys

Moderate Ratio
  • Shields
  • Backpacks

Low Ratio
  • Wood
  • Stone
  • Staves
  • Swords


Facing Three or Less Locks

When the player is up against three or less locks, a rich Board Texture will have just enough keys to clear the remaining locks, but will also be focusing more heavily on Replenishment Play. This balance of tiles allows the player to set up future Board Textures.

Corresponding Tile Ratios:

Moderate Ratio
  • Staves
  • Swords
  • Shields
  • Backpacks
  • Keys

Low Ratio
  • Wood
  • Stone


Facing No Enemies/Locks (Running)

When the player has no enemies or locks directly in front of him and is running, this is the time to focus solely on Replenishment Play. Because the player is burning most of the offensive, defensive, and key tiles, this type of Board Texture is naturally set up after removing enemies and locks.

Corresponding Tile Ratios:

Moderate Ratio
  • Shields
  • Backpacks
  • Wood
  • Stone

Low Ratio
  • Staves
  • Swords
  • Keys
Closing Thoughts
I've tried to keep this guide in terms of some fundamental concepts that are important in similar games of logic and luck. If there are terms or ideas in this guide that you'd like to see a more detailed explanation or maybe a simpler one, please leave a comment in the box below. You feedback will really help!

If you found this guide to be helpful, please let me know through rating this guide and through the comments as well. And as always, constructive criticism is always appreciated.

Playing with a Board Texture Manipulation in mind will hopefully not only improve your score, but also positively impact your approach as a gamer. I hope you have fun using these skills to control those huge swings of luck, and that your journey to that 10,000,000 score will be faster and more fun!

Copyright Information

This document is Copyright ©2013 Andrew Sohn (jaerak) and is the intellectual property of the author. It may be not be reproduced under any circumstances except for personal, private use as long as it remains in its unaltered, unedited form. It may not be placed on any web site or otherwise distributed publicly without advance written permission. Use of this guide on any other web site or as a part of any public display is strictly prohibited, and a violation of copyright.

All trademarks and copyrights contained in this document are owned by their
respective trademark and copyright holders.
11 Comments
arbor daze 4 Nov, 2014 @ 7:31am 
Great guide, Jaerak.
Pupkens 4 Feb, 2014 @ 7:39pm 
При запуске пишет , что игра крашнулась. Что делать?
dart193 20 Sep, 2013 @ 4:47pm 
@jaerak
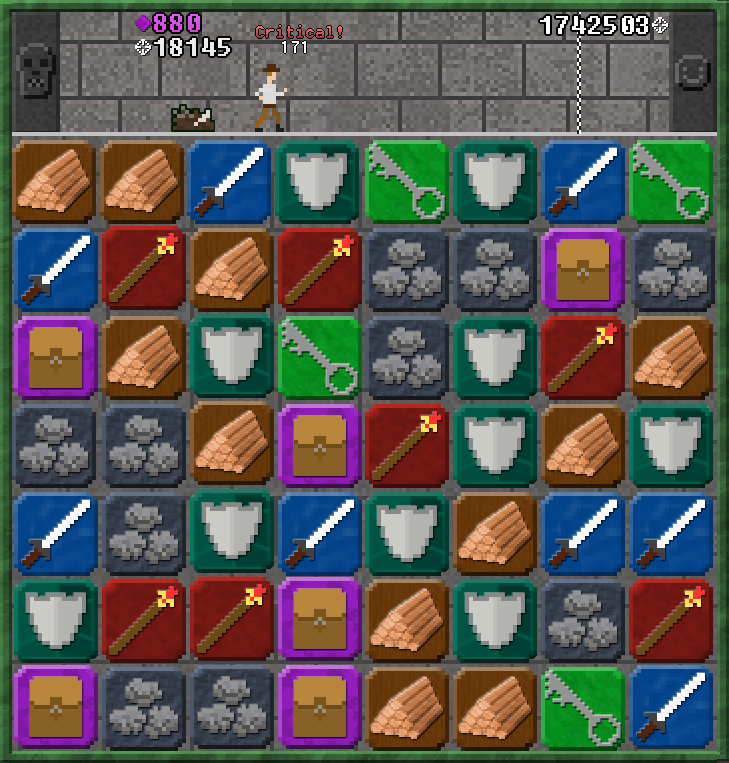
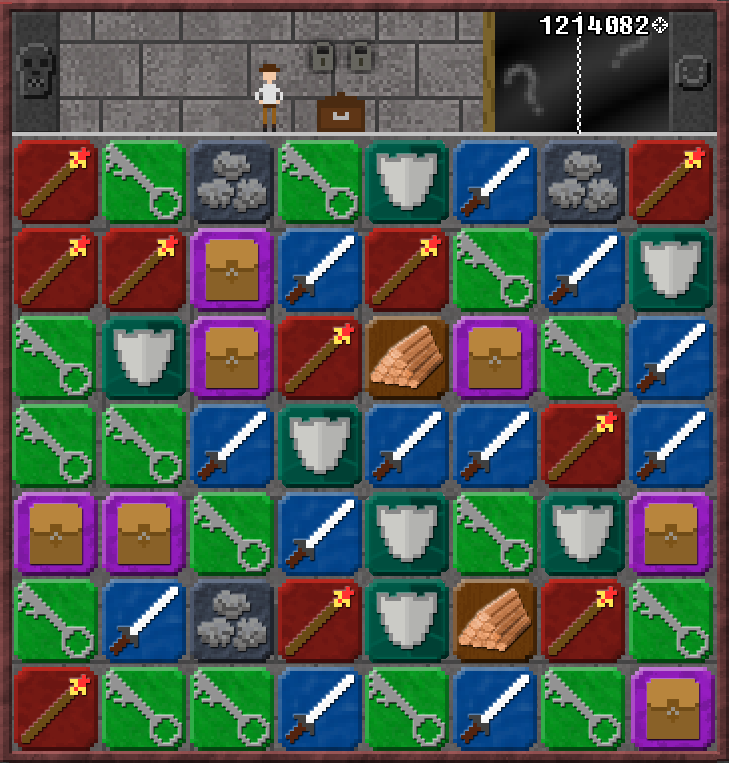
Actually trying to follow replenishing stategy when trying to get 10 000 000 from explorer rank improved my score significally. I think i will get it in an hour.
dart193 19 Sep, 2013 @ 9:35pm 
@Miraglyth
The game generates everything at random except few things:
Next rank doors - when oplaying explorer i noticed that rank first increases when my score is 2.6 millions so i prepare 2 keys/clean all the keys and use skull key instead to prepare for enemies
Bosses - bosses appear at some fixed places too, so they are also predictable.
Other things are random.
However, opening 4 chests and 2 doors in a row means that next event will probably be enemy unless you are very (un)lucky, so it is a good idea to clear items is locks/enemies appear in a row.
60% of time i am able to guess what next things is yet i am dumbfully slow gamer so cant get last achievement (get 10.. at explorer rank)
Miraglyth 1 Sep, 2013 @ 5:08pm 
The guide makes frequent mentions of "If the player predicts..." but doesn't explain how we're meant to be able to. Are there any tells? Or is it just conjecture? Because predicting wrong and loading your board with keys before a set of tough enemies causes automatic death!
borgKick 18 Aug, 2013 @ 2:54pm 
Awesome to see someone documenting and very well explaining the small micro/macro management of a "Simple" Bejeweled game lol <3 :B1:
Ghost Zero 7 Aug, 2013 @ 6:11pm 
Awesome guide. Thanks! :D:
powerjax9000 28 Feb, 2013 @ 1:42am 
Well thought out and written, thanks!
Puzzlefuzz 3 Feb, 2013 @ 3:44am 
Nice guide!
𝓖𝓵𝓸𝓸𝓶𝔂 ♠ 22 Jan, 2013 @ 8:08am 
Yeah this guide explain many itens on the board for all the enimies its very good i liked