KILL la KILL -IF

KILL la KILL -IF

91 ratings
Bloody Valour - Let's get dangerous
By Terminus_X
For everyone confused or frustrated by Bloody Valour, especially with the rumours that the AI cheats, may this guide be the answer (hopefully)!

Brief overview: how it all works, how to game the AI, a little help with "Expect Nothing Less", and some extra stuff on finishing moves.
2
   
Award
Favorite
Favorited
Unfavorite
A brief introduction
So, Bloody Valour.
(If you want to skip the flavour text and get to the useful part, go straight to the next section.)

In short and on paper, it's a good idea to add some spice to a fight. In practice, however, it can be a frustrating, rage-inducing, scream-baiting nuisance. This is especially true against the harder AI, where luck seems to be the only option in avoiding a steaming barrage of failure. No matter how much you want that instant finisher, it never seems within reach.

This guide aims to do the following:
  • Inform those new to the mechanic on how it works.
  • Provide practical advice in using it in an AI match.
  • And, most importantly, give the player a better chance to tear the AI a new one.
  • ...for the heck of it, explain a bit about finishing moves and basic Valour strategies too.

Note: this guide assumes the player either uses the keyboard controls or will know what the U, I, and O have been replaced by on their chosen device.

A sort of important note: even though story mode is short, I know spoilers annoy some people so be warned now - there will be some mention of story events, images, and associated stuff. If this annoys you, read no further until you've sorted things out. The guide will probably still be here. Thank you.

A useless note: Steam is auto-censoring "Sen'i-soshitsu". Go figure.

So, without further ado, the guide awaits.
So what is Bloody Valour and why use it?
Okay, let's be brief here.

Bloody Valour is a mechanic which allows a fighter to gain buffs and unlock an instant death attack by winning rock-paper-scissors style arguments.

So, is that the truth? Yes. Does it help understand everything? Not really.

This section of the guide will break down how Bloody Valour works, both mechanically and in combat, to lay the groundwork for how to use/exploit it later on.

If you are comfortable in your knowledge of this, please feel free to skip to the next section.

So what about the move?
So, what exactly does Bloody Valour do? Well, no matter what happens, it does a small amount of damage to whoever gets hit by it.

It can also be conventionally blocked or guarded against, so it's usually a good idea to use it at the end of a combo or just after launching an opponent.

Regardless, we'll assume it hits. Now what? The game will now enter into the argument phase where conventional moves are useless during what is effectively a battle cut-scene.

How does the argument work?
Once the cut-scene has begun, the attacker (who initiated the move) and the defender (the poor person who got hit) will find themselves confronted by a triangle of options. You have three seconds to pick one of these options to use.
(As shown in this spoiler (see, I warned you!) image )
If you look to the left, the Attacker's options provide three different options: heal yourself (U), hurt the enemy (O), or gain SP (I).
The Defender's options, on the left, all deal damage.

This is all very well, but how does it work? In theory, simple: rock, paper, scissors. Whichever button you press will win against one, lose against one, or tie. The arrows on the picture clearly show what does what (hopefully).
Of course, using this mechanic successfully is another matter but we'll get to that later.
Next up is what happens once you've made your choice?
What is the difference between a tie and a win?
Does the AI like inflicting pain? (Yep.)

All about the outcomes.
So you pressed a button, what happens now?
Well, let's go through this in a couple scenarios.
These scenarios are geared towards the attacker's experience. For the defender's experience, see the bit marked "but what if..."

Victory

So let's say you pressed (U) and your opponent chose (O). You win the argument. This increases your Valour count by one (it goes up to three, more on this later), recovers about a tenth of your full health-bar (due to picking (U)), and starts the next round of the argument.
Basically, if you win, you go in to another argument and the loop repeats until you lose, tie, or reach Valour level three.

Tie
If you and your opponent select the same button, (U) for example, the Attacker gets half of their chosen bonus, gains one Valour, and the argument ends.

Loss
Losing a round (for instance picking (O) when the Defender picked (U)) makes the Attacker take damage; no-one gains Valour and the argument ends.

Silence
If either the Attacker or Defender fail to select an option before the timer runs out, they will get a special option called Silence. Silence loses to everything. If both players select silence (only possible in training or a PvP match) it ends in a tie. Don't be silent.

But what if I'm the defender?
In that case, whether you win the round or tie, the argument ends. A tie has the attacker get half of their chosen bonus and one Valour, a win has the defender hurt the attacker without either gaining Valour. A loss lets the attacker carry on to the next round as described earlier.

A bit on Valour
Valour is used for the two purposes: providing buffs to characters (one per level of Valour, effects are unique to a character) and unlocking the finishing moves (Sen'i-soshitsu). It can only be gained by using Bloody Valour successfully and cannot be lost during matches (with the exception of survival challenge).


So, now that you've heard all about how it works, how do you use it? Especially when the AI seems to always know what you're doing?
(...and really enjoys beating you down with it.)

Relax, the real meat of the guide begins here.
Vs Mode - How to smack talk the AI
So, we've heard how Bloody Valour works. We know all the outcomes. So why are people having so much trouble?
The short answer: the AI actually too smart. Not perfect play, but no pushover either. In a game where your opponent might not even survive long enough for a true finisher, this can cause a few problems. Not to mention a few broken controllers.
In this section of the guide, we will discuss my method for fighting the AI's lucky gambits and a few notes on the action preferences of some AI characters (based on repeated matches).

The AI tricks
Let's be clear, most of the problems stemming for players fighting the AI stem from assuming either the choices are made at random or with the same logic as a player. This is not because players are stupid, but is more down to human expectation (that or none of us are good at arguments). It doesn't help that the AI's algorithm is far better than any player at knowing what their character needs (hence trouble for any defending players). It isn't all logic though, as some of the arguments have been scuppered by apparently random chance (some characters seem more prone to this than others).

As a side-note, I have also never seen a non-boss AI power up enough to use any form of finisher. This is likely because they are less focused on Bloody Valour as a move (due to only consecutive victories or successful (O) choices beating out any other Deathblow move in terms of damage).

So now what?
So the AI loves to hurt you, what can you do back?
The answer: break its logic.
Most of the time, with a little randomness for taste, a defending AI will pick the option it thinks will counter your most likely choice. As most of us subconsciously try to use the mechanic as intended (as we could against a human player), the AI's ability to block our moves seems like cheating or sadism (or both). That said, it can also be turned to the player's advantage.

"I'll smash it all!" - The important bit that the whole guide is peddling.
In short, the following observations have been made. These are not exclusive to one another and will not 100% guarantee a victory or tie. That said, they should improve your chances greatly.

1.
When the player's health is below 60%, the AI expects healing (U) more and will attempt to punish more frequently with (I). This goes up the further player health declines.

2.
When the AI's health is high, it will expect damage (O) and will block mercilessly with (U) at most opportunities. This rule declines slowly even as damage mounts, but will eventually be overruled once other conditions are in effect.

3.
If both health-bars are low, the player has high SP, or the player has low SP and low health (not a fun situation), the AI will tend to let SP Charges (I) through. These will often be ties. (I) has been proven as the least likely and generally least useful prompt in an AI match (tested in over 70+ versus matches not including story mode or survival challenge).

Conclusion: work on how the AI thinks, deciding what you'd logically do in their place, and do the opposite.
More concisely, go with (U) when high on health, (O) when low, and (I) if they keep blocking you.

Addendum 1: one thing to note is that the AI may gain some form of statistical bonus if the player chooses their option before the AI. This can lead to some awkward games of chicken between the player and computer and can easily lead to an accidental silence. My thoughts on this are always pick something, going by the rules as much as possible, but try to choose after the AI whenever possible. Going the other way, if you can memorise the opening spiels immediately after they make a choice, you can scope out their choice ahead of time.

The more stars an AI has, the less likely conventional choices will work. Three-star AIs are infamous for correctly predicting normal gameplay choices. An AI will usually delay its choices further based on the number of stars and a Three-star AI will often wait until the last second to make a choice. My rules work against all levels of AI consistently, but don't mistake them for being 100% accurate. The AI will still get you, just not as often. If you really want to press for a finishing move or just hear the different arguments, using this method will get you to three Valour roughly 75-80% of the time (based on my experiences).

So that's the crucial bit of this guide. Read on for more tips against specific AI, some achievement notes, and stuff on finishing moves.

Extra AI notes:
Every AI behaves a little differently and a few like to break the rules I've laid out a bit more than others. This little section includes a few notes on how.

Ryuko's AI tends to let you use damage (O) more often, even from the start of the match (Three-star tested), but blocks it more frequently as health declines.

Ragyo tends to be very forgiving of healing (U), especially in story-mode.

Nui's AI tends to be more random with their choices, but leans towards healing (U) the further her health drops. That said, you are very unlikely to get three successive wins (out of all the characters I've played against). In general, the rules work. That said, you will likely have to switch it up a bit after every win.

Satsuki is similar to Ragyo and lets you get away with healing, but good luck trying to land a damage blow at any point where it would actually serve a purpose.

Inumuta is also a little random, though less than Nui, and lets through more (I) attacks than most.

Please note that this section may be updated further should new patterns emerge.

So, that's the (not so) secret rules!
Hope this all helps!
"Expect Nothing Less" - easier than it sounds


This short section will cover a few tips and tricks for getting this achievement.
...and for pushing through arguments in general.


Clear Explanation
To get this achievement, you need to go from zero to three valour in a single argument sequence while having an advantage over a computer player (either equal handicap or swung in your favour).
This requires winning three consecutive rounds of Bloody Valour without losing once or exiting the argument prematurely.

Now, there are a few ways of doing this.

Method 1 - the Shinra Koketsu method.
In one of Satsuki's story mode battles, you'll go up against Ultimate Death Ragyo (at least that's my nickname for her). This is one mean fight, even once you start getting good at the game, and is challenging on even the low difficulties. However, it does provide a really good way of getting this achievement because no matter what difficulty you play it on, you are eligible to earn this achievement.

If your health is high or low, especially on a reasonable difficulty, Ragyo will tend to skive off defending against healing (U) as her ludicrous health bar means she expects you to attack her with (O). Two times out of three, if you win your first round with (U), you can spam it through all three and the achievement will pop soon enough. This is probably the easiest way of getting the achievement, but it also requires you to be good enough at the fight to survive long enough to land Bloody Valour in the first place (not all of us are instant experts after all).

Method 2 - the no-star method.
This is the cop-out method. Set an AI to no-star, put unlimited time on, and go down to the minimum handicap for both characters. You will do almost no damage, never really get badly hurt, and have a good punching bag to charge up on. Unless you're really unlucky, no-star AIs will get their asses kicked in straight sequences fairly easily. Even if you fail a few times, you can redo the battles easily and work towards other achievements in the meantime.

Method 3 - the "real gamer" method.
In short, take what you've learned in this guide; set up a battle against a three-star AI of your choice; and let them taste your revenge! This will likely take more time than the other methods, but is by far one of the most satisfying. Especially when you are at low health and somehow pull three consecutive healing wins out of your ass to get all the way back up to full health from next to zero!

So yeah, that's it for this section. Happy hunting!
Sen'i-soshitsu! (Finishing moves FTW!)
In this section I will briefly discuss finishing moves and a couple tips on landing them.

First thing: get through three sequences. It doesn't matter how, just do it. Period.

Next up, charge up to max SP. This can sometimes be harder than simply winning, as the AI tends to be pretty beat-up after three arguments, especially if they weren't consecutive. If all else fails, let the AI whale on you a bit to buff up your gauge.

Finally, land the finishing blow. This is actually way harder than it sounds. For one thing, it can be blocked like any other non-break attack. To make it worse, you have to hit someone while they are on the ground (otherwise the blasted thing misses somehow, even if they are staggered in the air). Provided you manage, sit back and watch the fireworks. If not, see if you can recharge before either the match ends or your opponent expires. It is quite rare to lose after reaching three Valour simply because getting to that stage usually means you've already beat the stuffing out of your opponent.

Tips.
Test their defences. Land a single normal (U) blow and follow up with the attack if it connects.

Never try and use it while airborne because, while a move will go off, it will not be Sen'i-soshitsu.

Unless you are feeling brave or playing on a low difficulty, be really sceptical of landing one of these on an AI playing Gamagoori. His AI tends to block like crazy and makes any form of finisher a real pain to pull off (though immensely satisfying).

Some characters incorporate a charge into the move. This makes landing it much easier. That said, not all characters have that kind of range so it is best to land one from up close. Be prepared to block a few moves first.

If you're going for the hidden achievement which requires you to have used all the finishers, you will have to use the two hidden story mode versions as well as normal and duel-wield Ryuko and Satsuki.

Hope this helps!
The Sum-up
For those with short attention spans or in need of a refresher, I will briefly restate some stuff I've mentioned earlier.

Basic rules
Go with (U) when high on health, (O) when low, and (I) if they keep blocking you.
This is covered fully in VS Mode.

For Three Consecutive Wins
Play against Shinra Kokesu (Story mode) with (U), fight a no-star, or get good at the rules.

Landing Sen'i-soshitsu
Get close, stay on the ground, and don't let them block.
Or, more seriously, don't try these against Gamagoori unless you enjoy suffering like he does.

Anything I've missed or that I might be able to help with?
Leave me a comment and I'll try to get back to you within a week.
I enjoy gaming and helping people, but I have a life too.

I hope this guide has been useful and potentially entertaining.
Take care!
27 Comments
stella!! 5 Mar, 2024 @ 7:04am 
:steamthumbsup:
big babbler 19 Mar, 2021 @ 1:55am 
I assumed the AI recognised all the voice call outs and was counting picking based on that. wait out the clock and can bait the ai into picking before you do. they normaly pick with less than 1 second left. i always asked for what was most usefull (health when i was low. ect) and got it alot of times. This is how the system works against IRL opponents to.

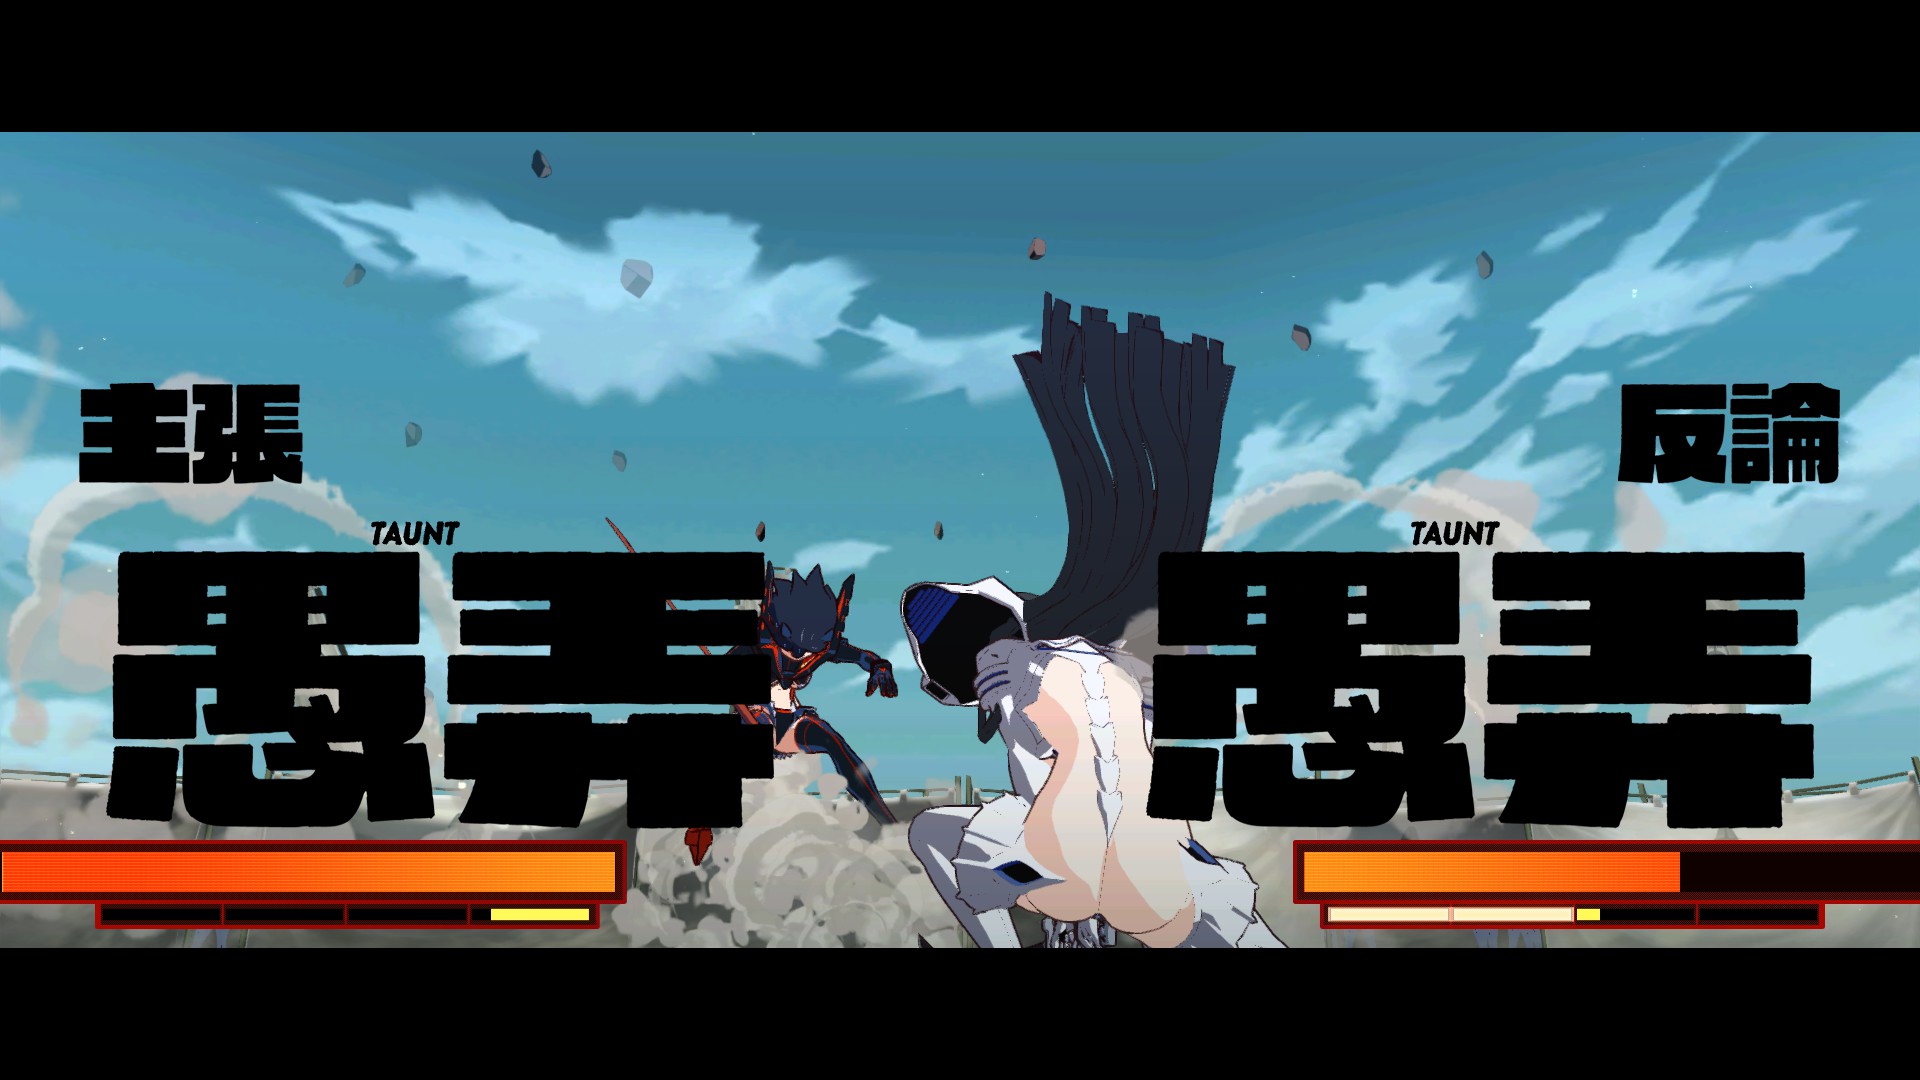
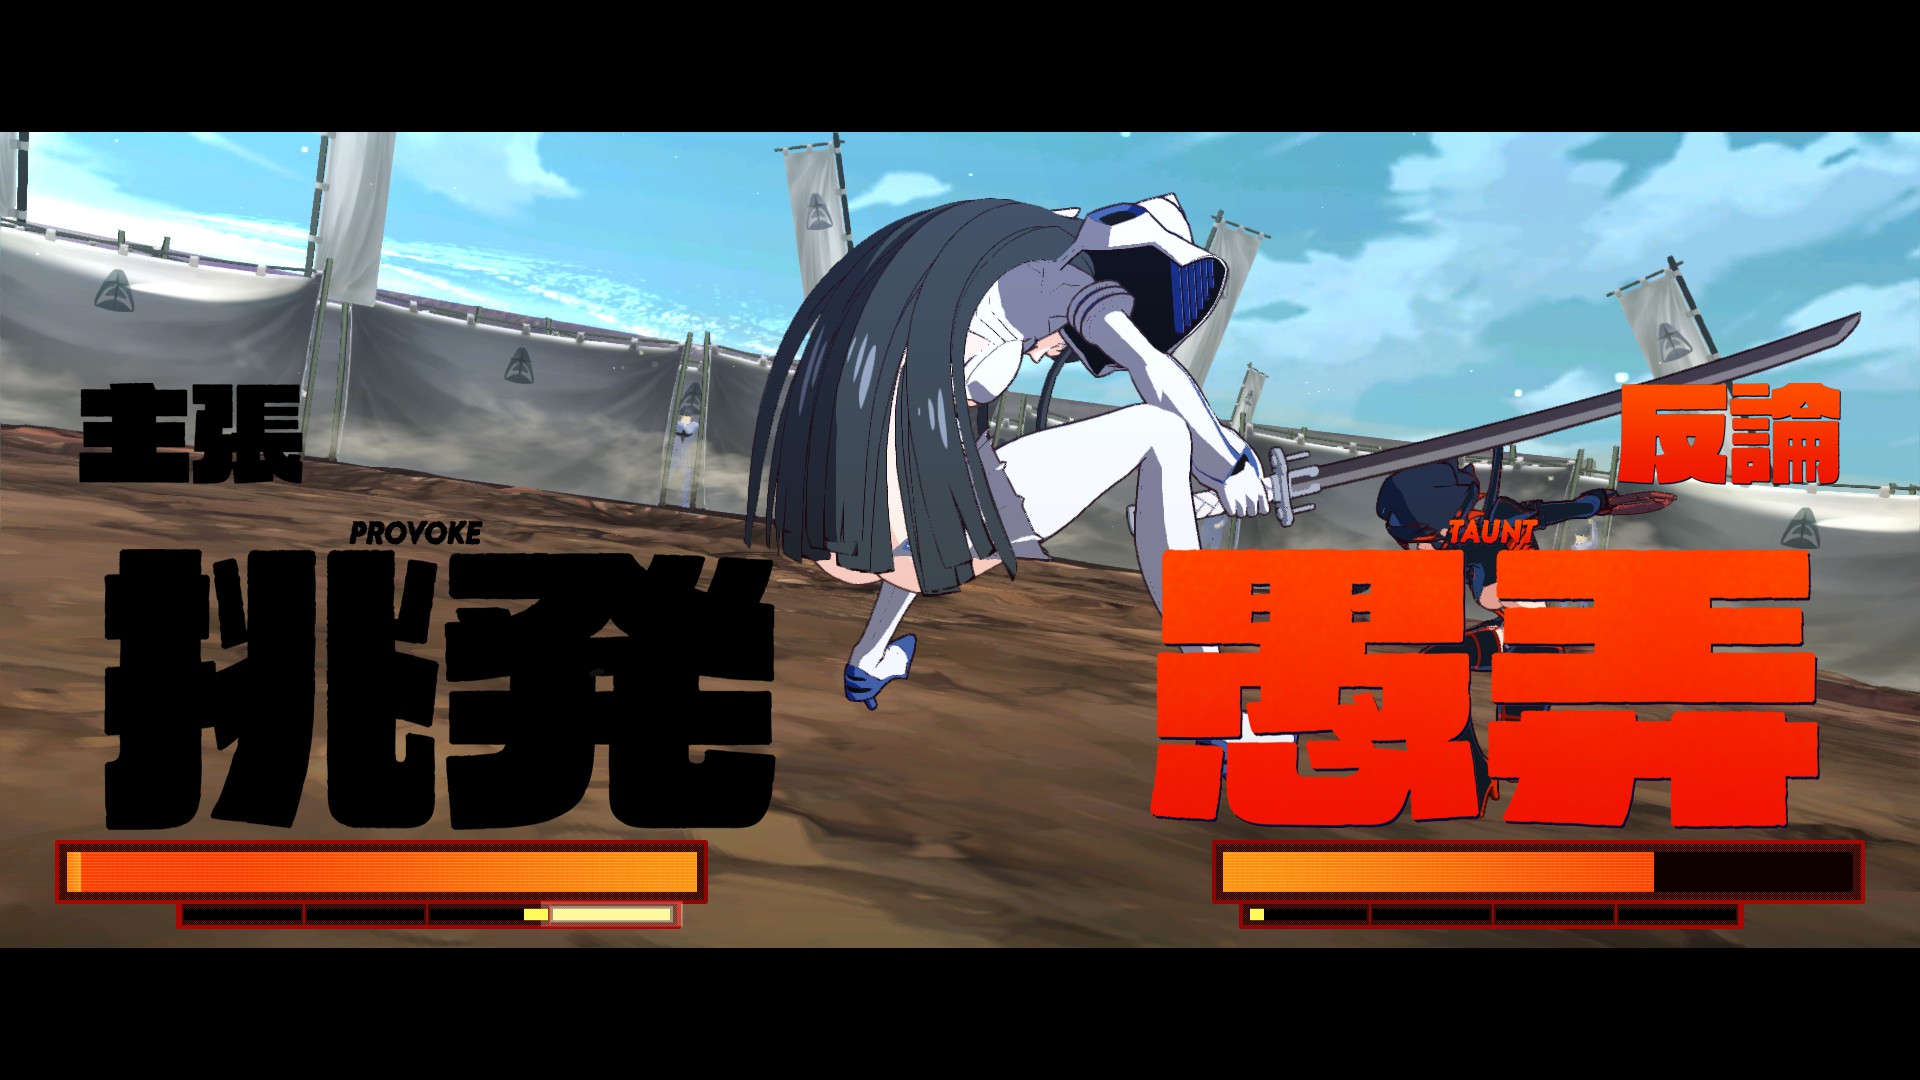
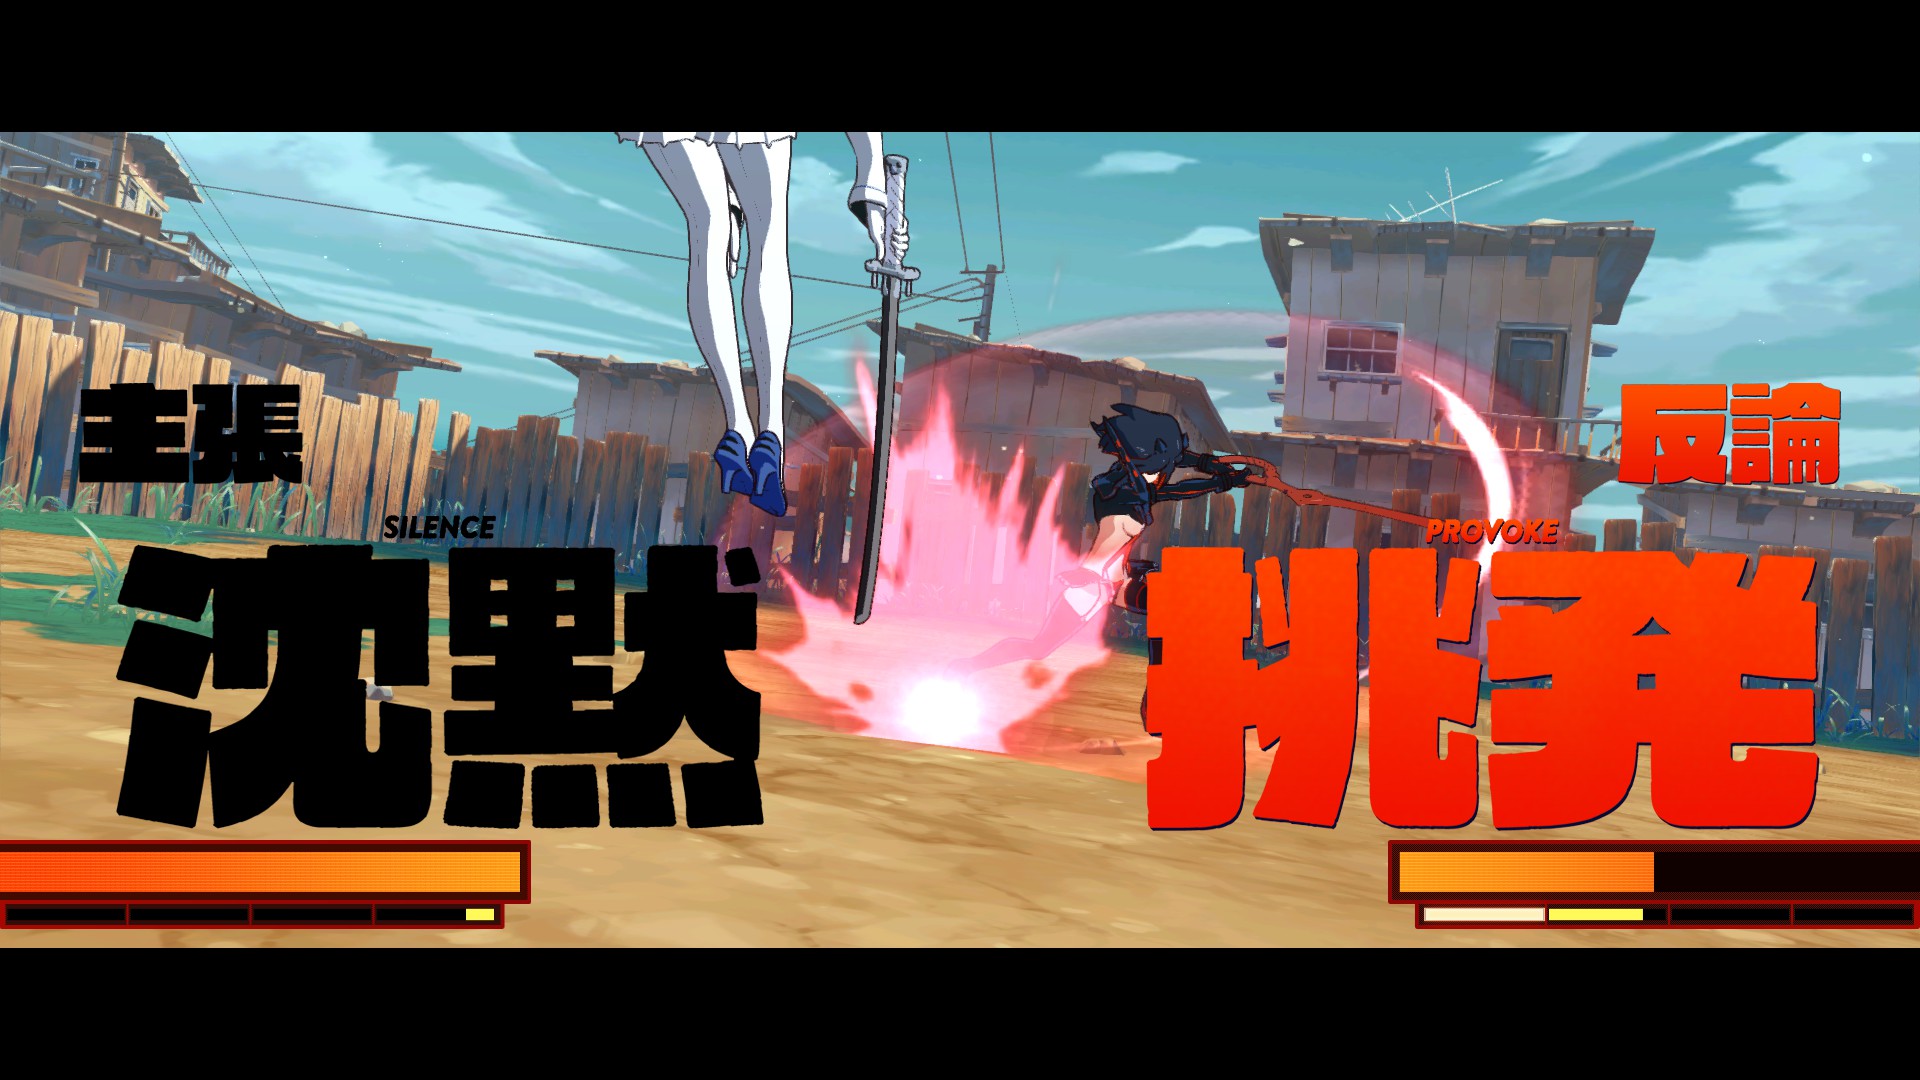
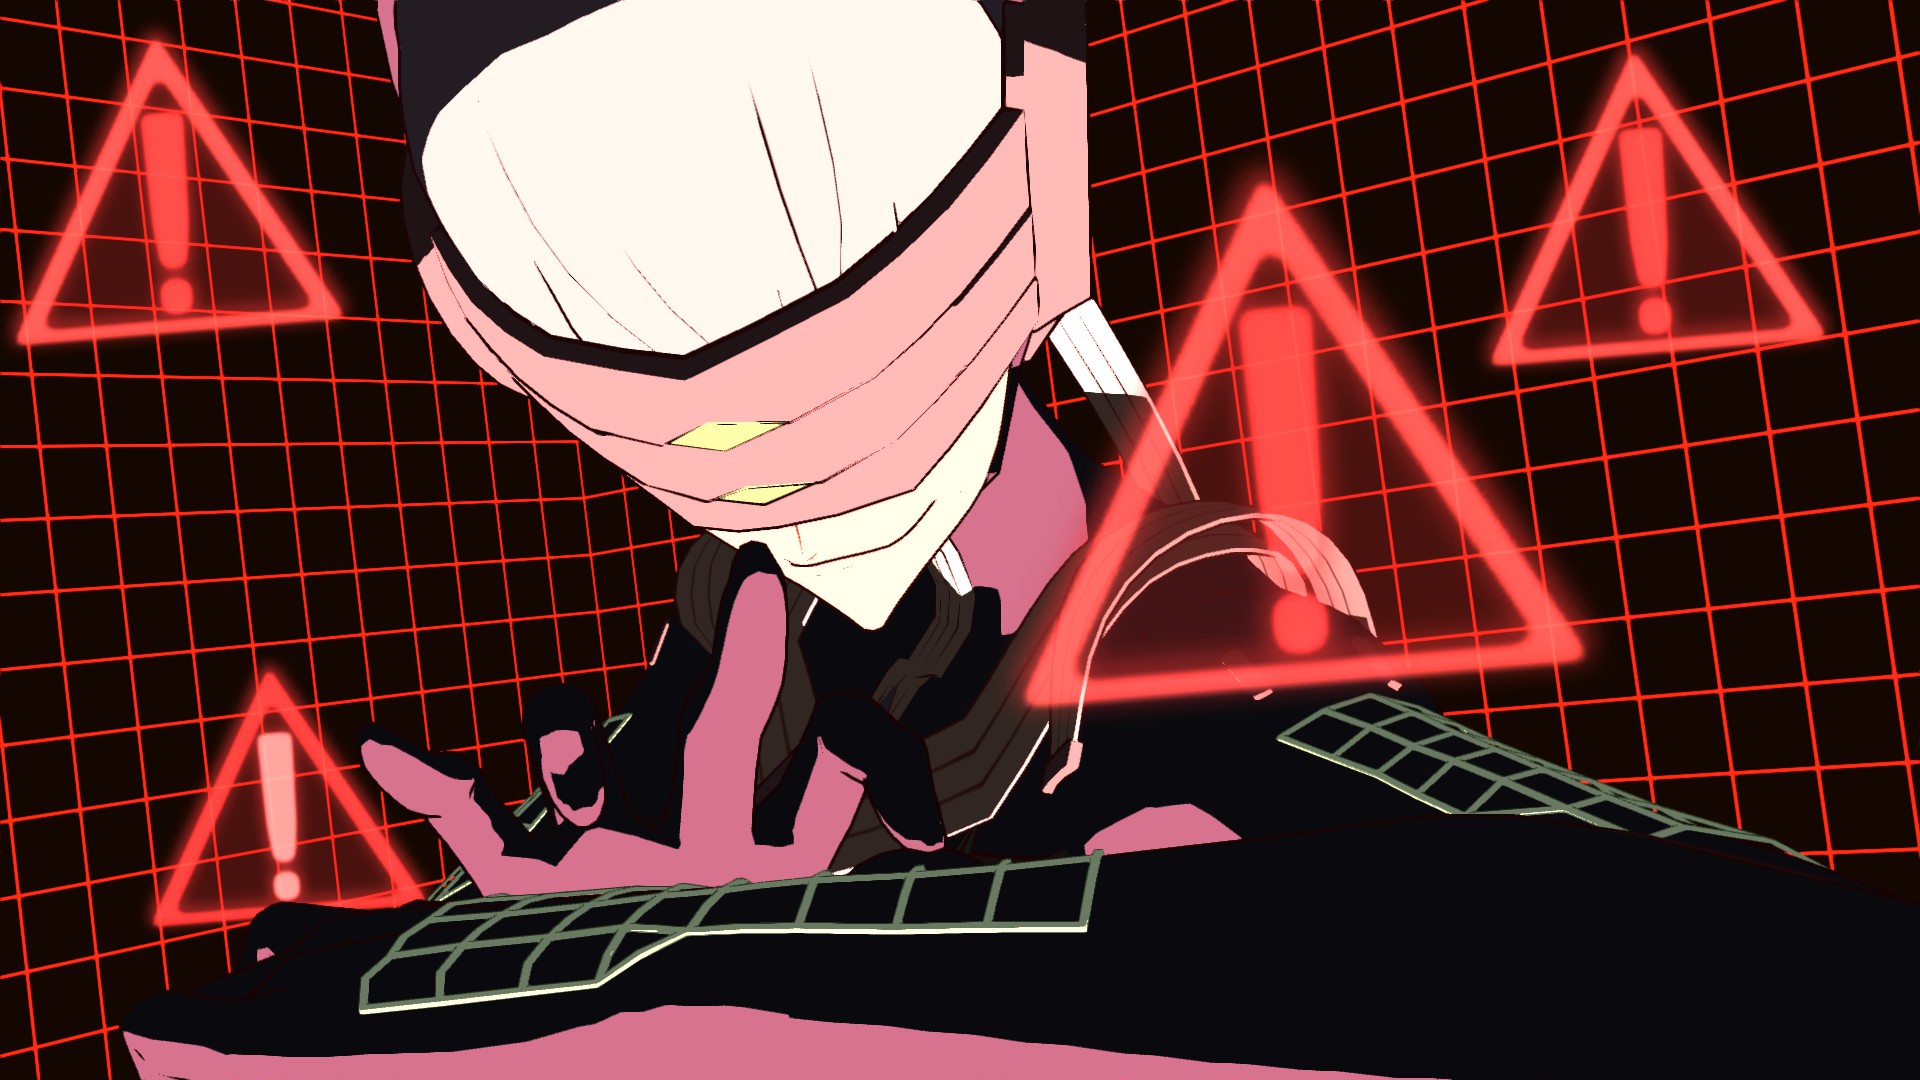
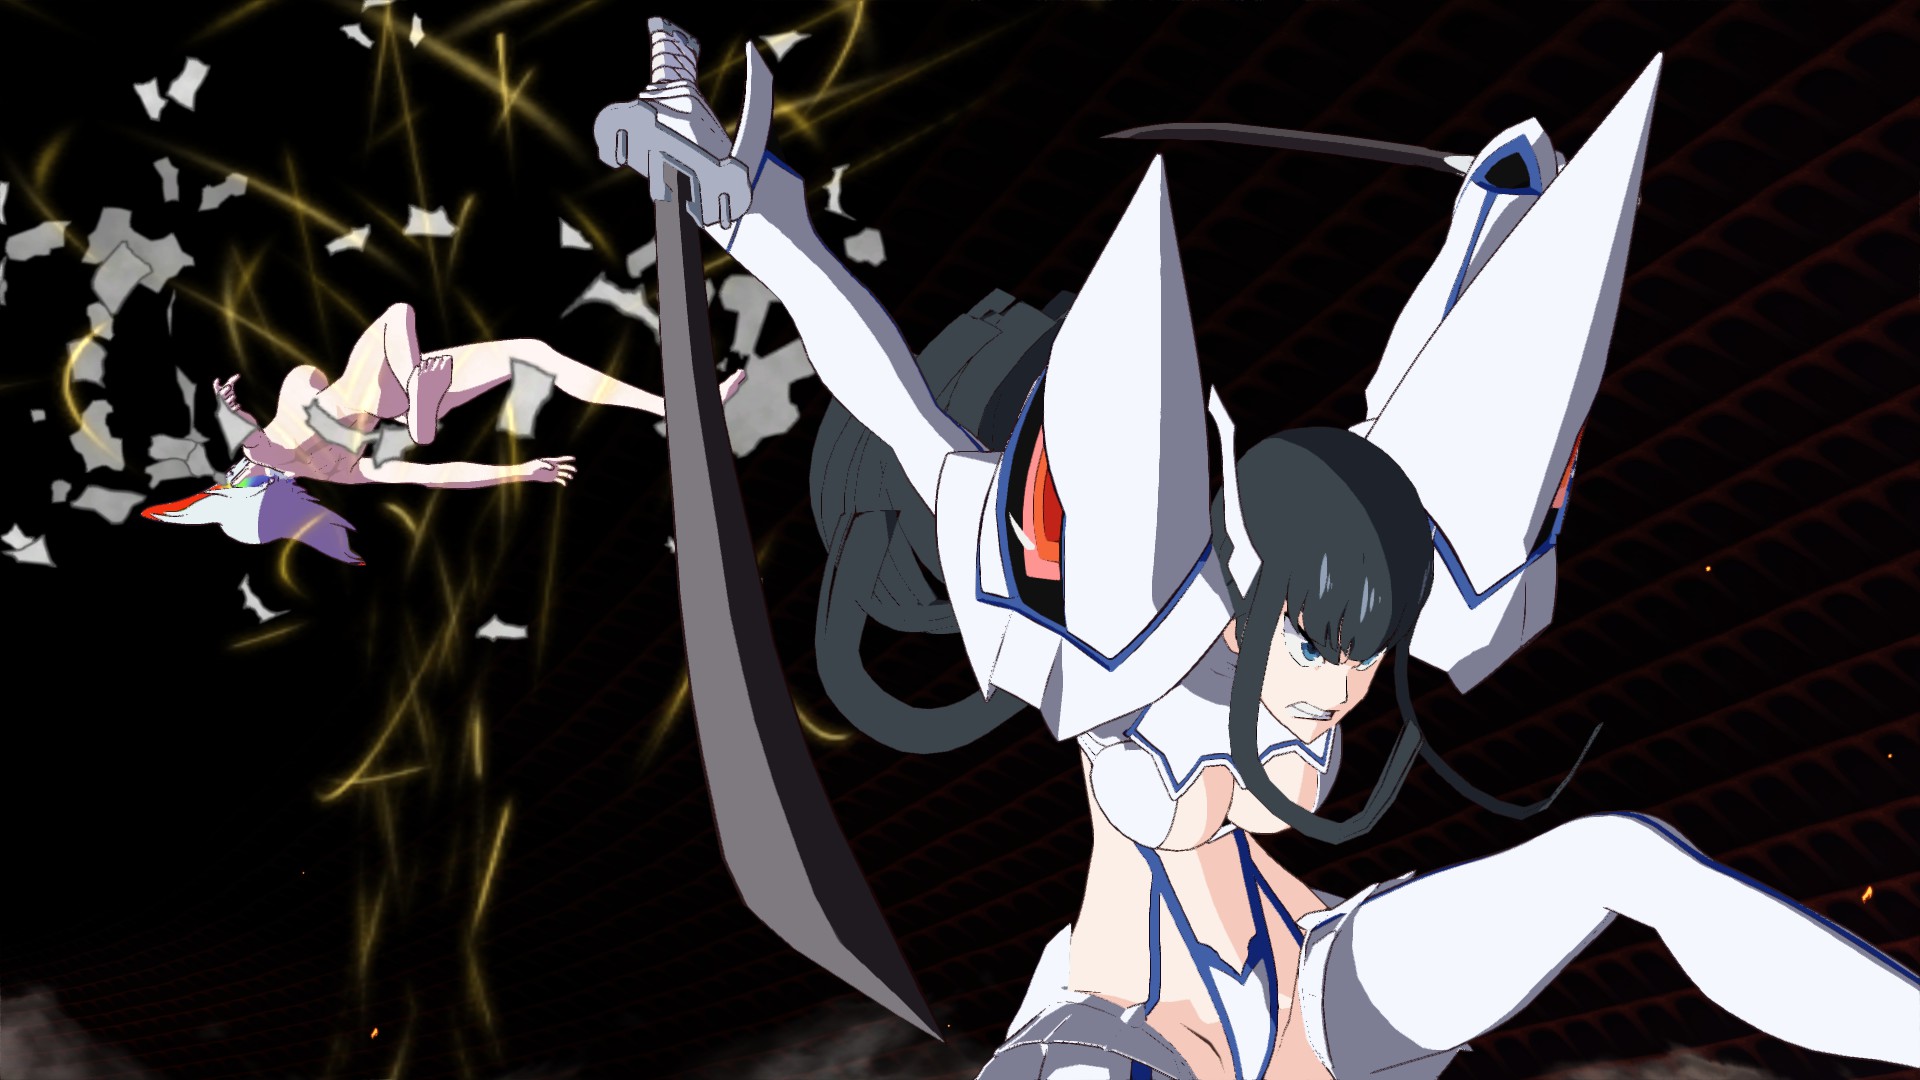
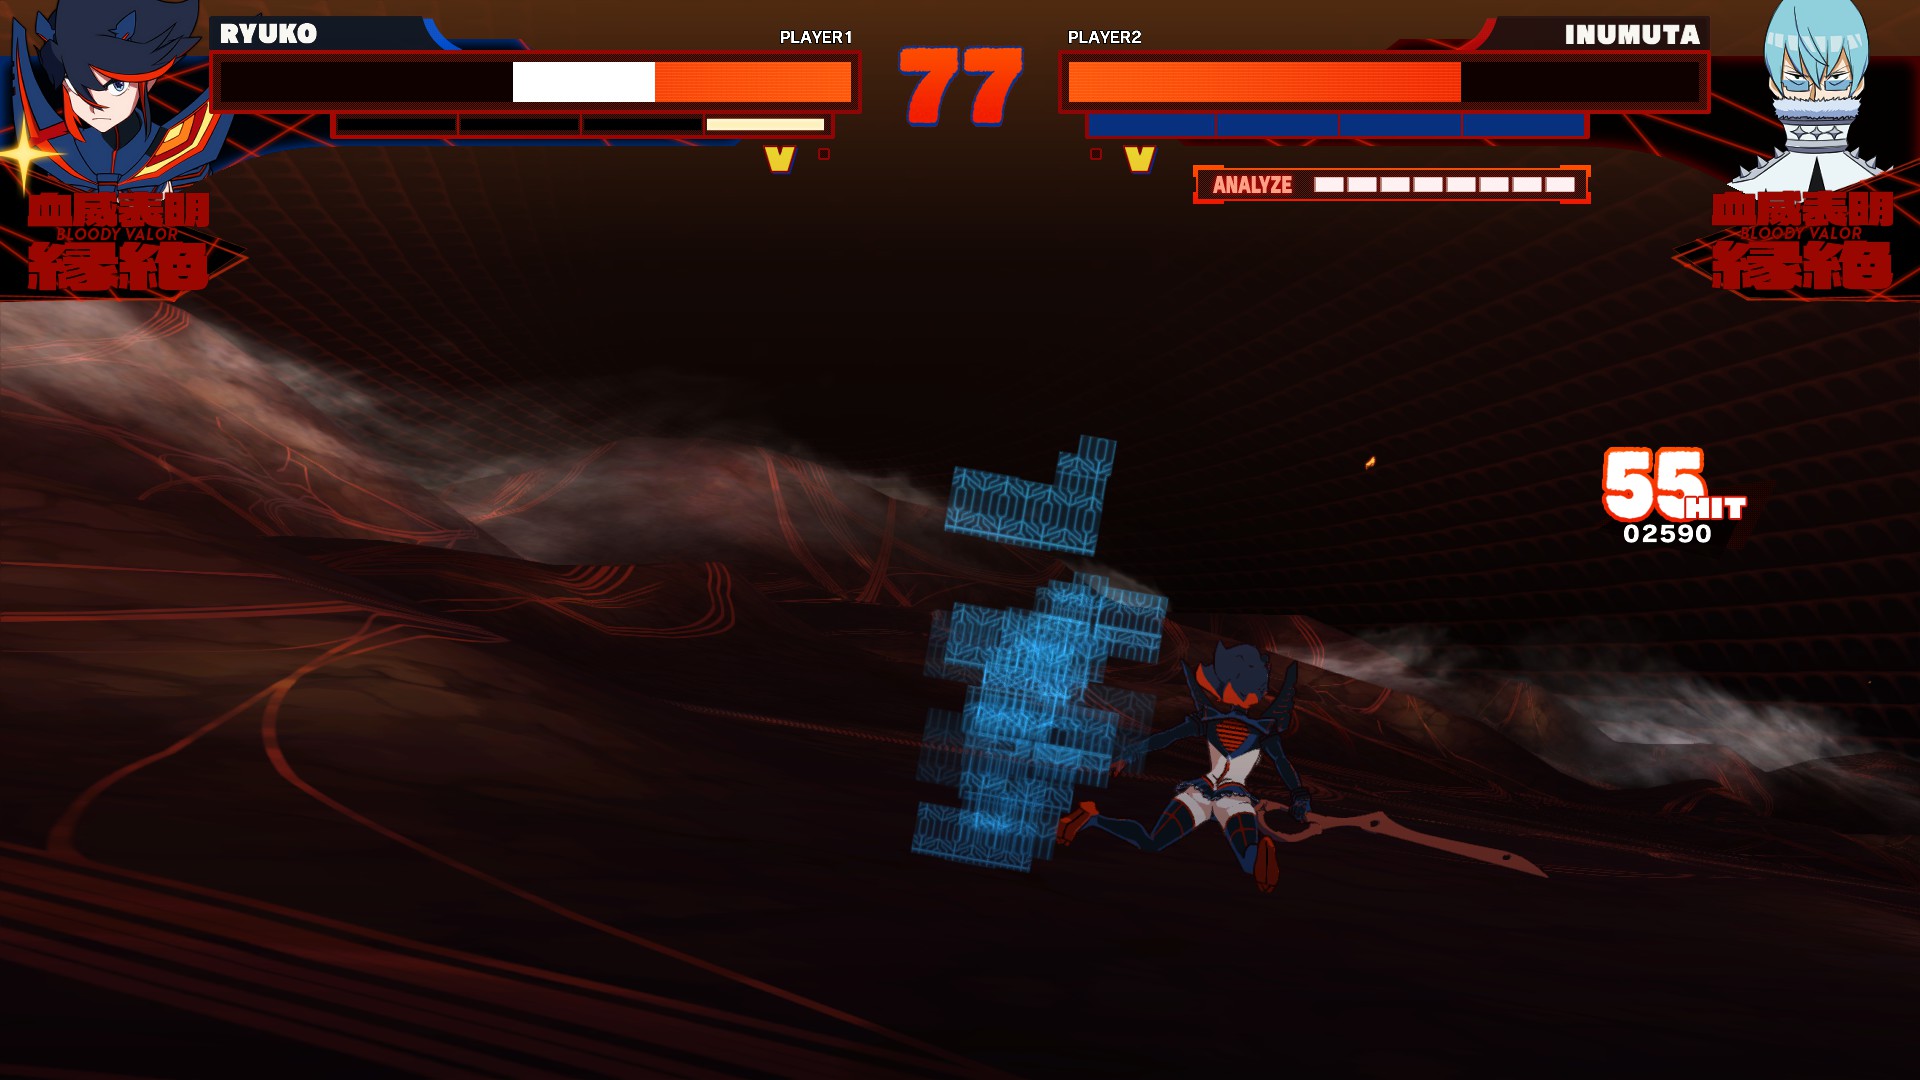
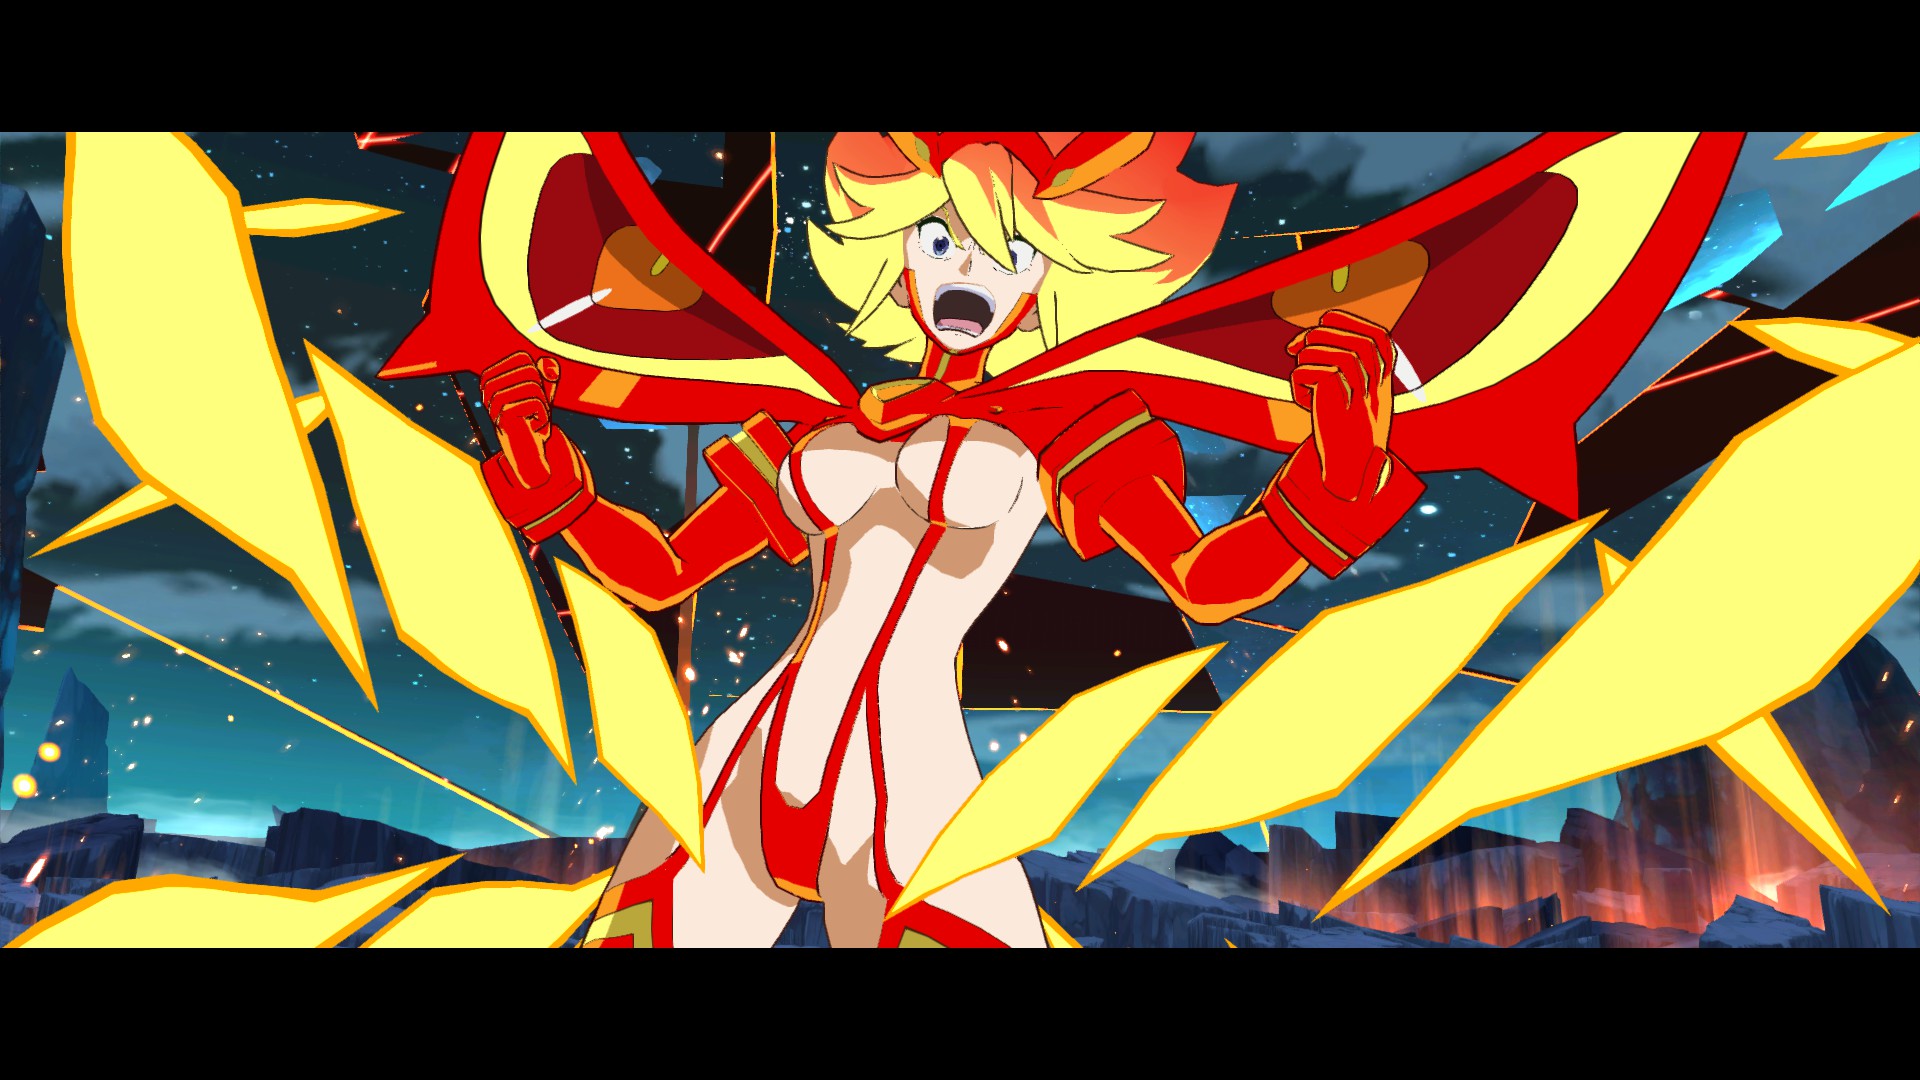
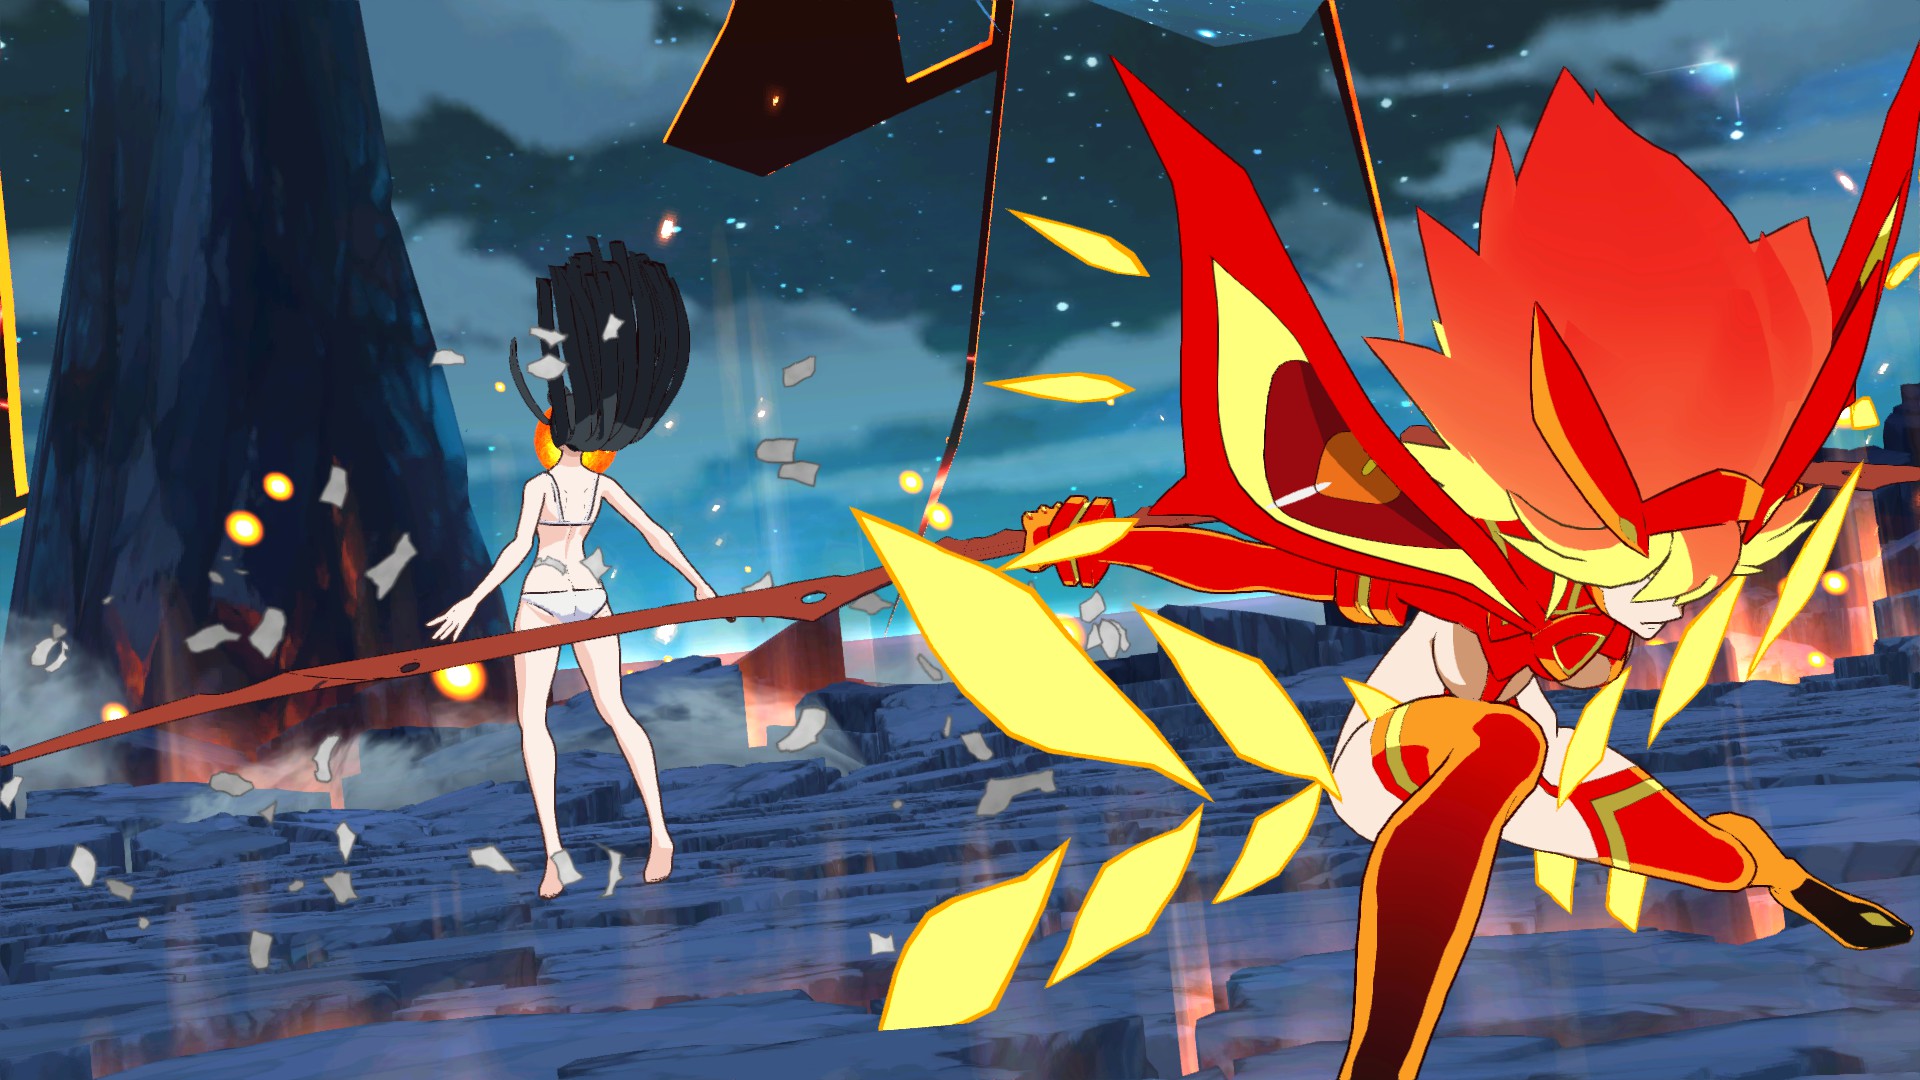
You can combo into Instant kill, for some characters it's easyer than others. But it's the main way of landing them.
I fight tf2 bots for a living 19 Jan, 2021 @ 11:21am 
thanks for the guide, I got the achievement first try using the second method (get 2 bars on full health aganst a no-star and press u 3 times)
Cinnamaldehyde 11 Dec, 2020 @ 11:25pm 
I got that achievement by accident turns out I got a 1 in 27 chance by hitting random buttons. honestly not bad odds.
Terminus_X  [author] 20 Oct, 2020 @ 5:21pm 
@organic_cucumber, thanks! I hope it helped!
D.A.F. 20 Oct, 2020 @ 4:58pm 
fantastic guide
Yandere Tanker 18 Jul, 2020 @ 10:21am 
I sure do! This guide really helped me understand the Bloody Valour mechanic, thank you again for making this.
Terminus_X  [author] 18 Jul, 2020 @ 1:29am 
@Winter Lynx
You're welcome! Looks like you've got "Expect nothing less" in the bag already!
Yandere Tanker 17 Jul, 2020 @ 6:56pm 
thank you for making this, this seems like it'll make the game much more bearable
DonPepe1001 24 Oct, 2019 @ 2:11pm 
bless you thanks