
Install Steam
login
|
language
简体中文 (Simplified Chinese)
繁體中文 (Traditional Chinese)
日本語 (Japanese)
한국어 (Korean)
ไทย (Thai)
Български (Bulgarian)
Čeština (Czech)
Dansk (Danish)
Deutsch (German)
Español - España (Spanish - Spain)
Español - Latinoamérica (Spanish - Latin America)
Ελληνικά (Greek)
Français (French)
Italiano (Italian)
Bahasa Indonesia (Indonesian)
Magyar (Hungarian)
Nederlands (Dutch)
Norsk (Norwegian)
Polski (Polish)
Português (Portuguese - Portugal)
Português - Brasil (Portuguese - Brazil)
Română (Romanian)
Русский (Russian)
Suomi (Finnish)
Svenska (Swedish)
Türkçe (Turkish)
Tiếng Việt (Vietnamese)
Українська (Ukrainian)
Report a translation problem


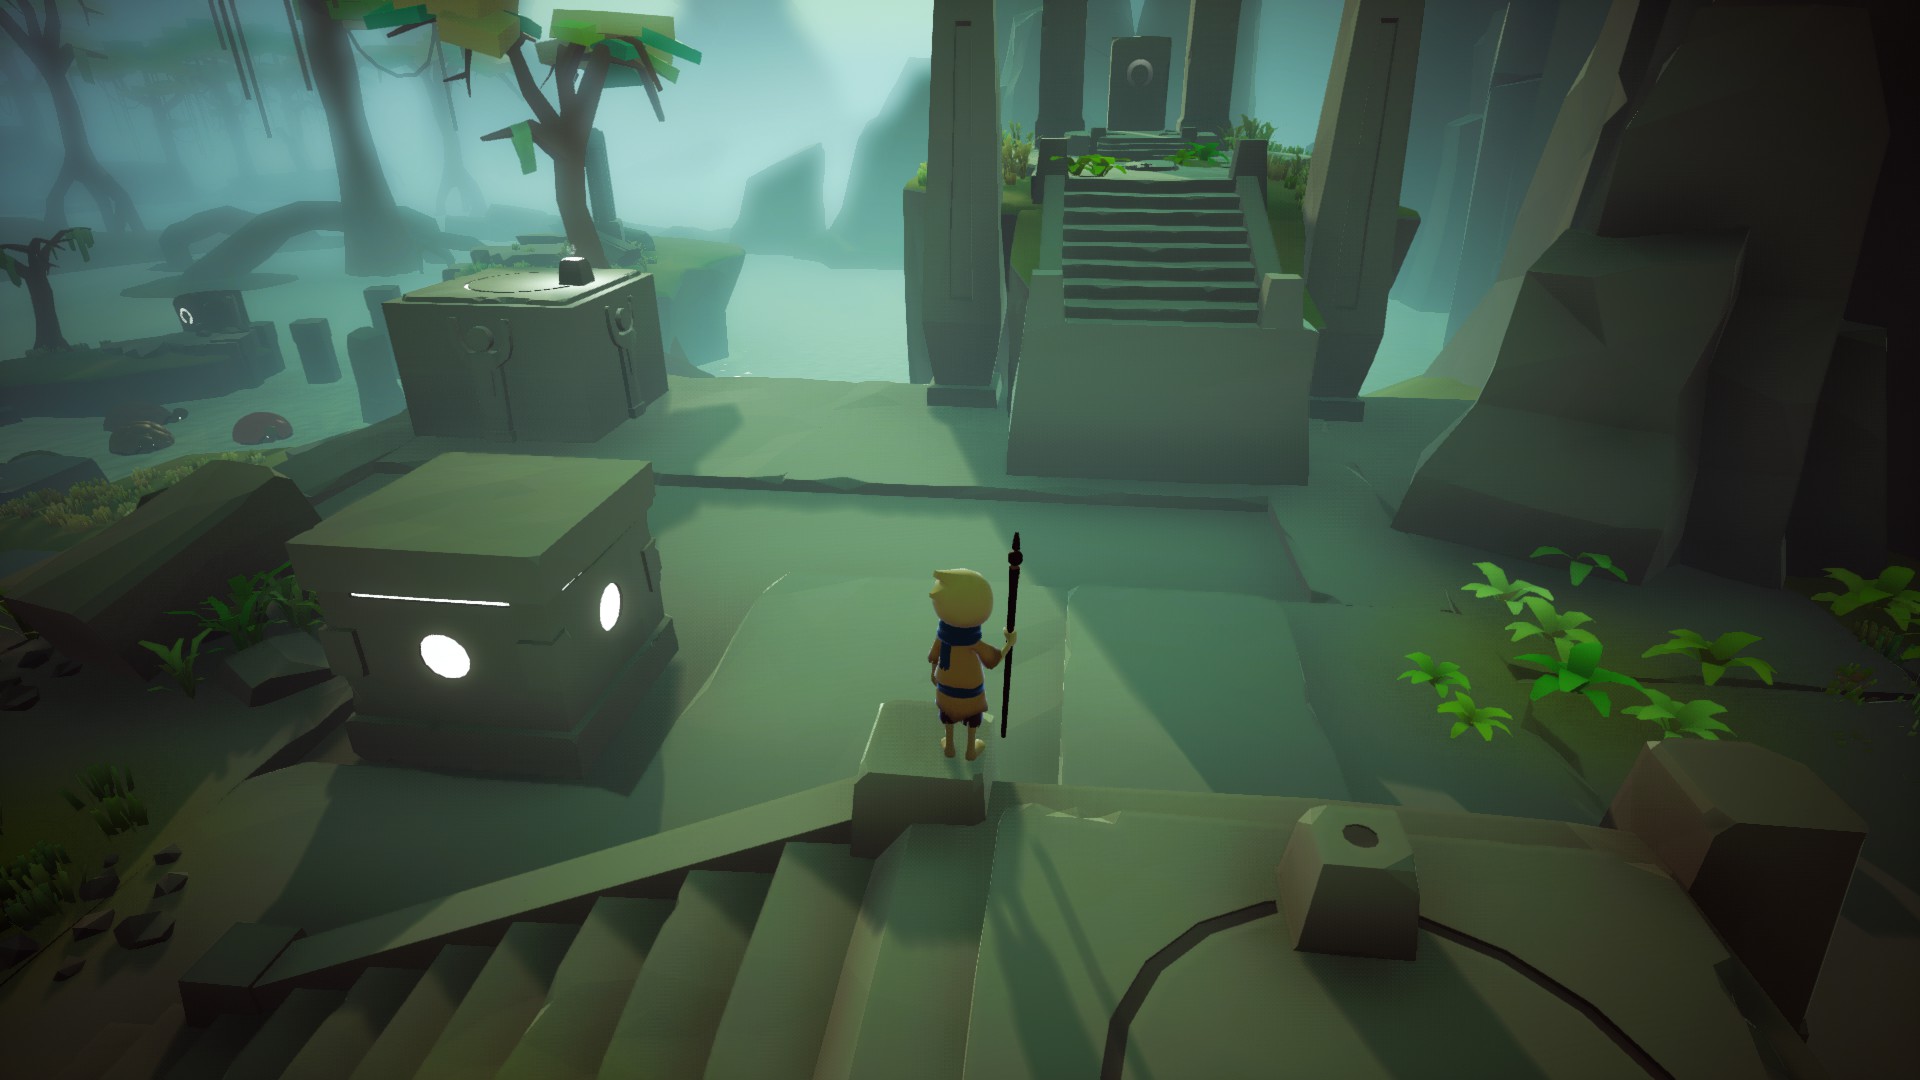
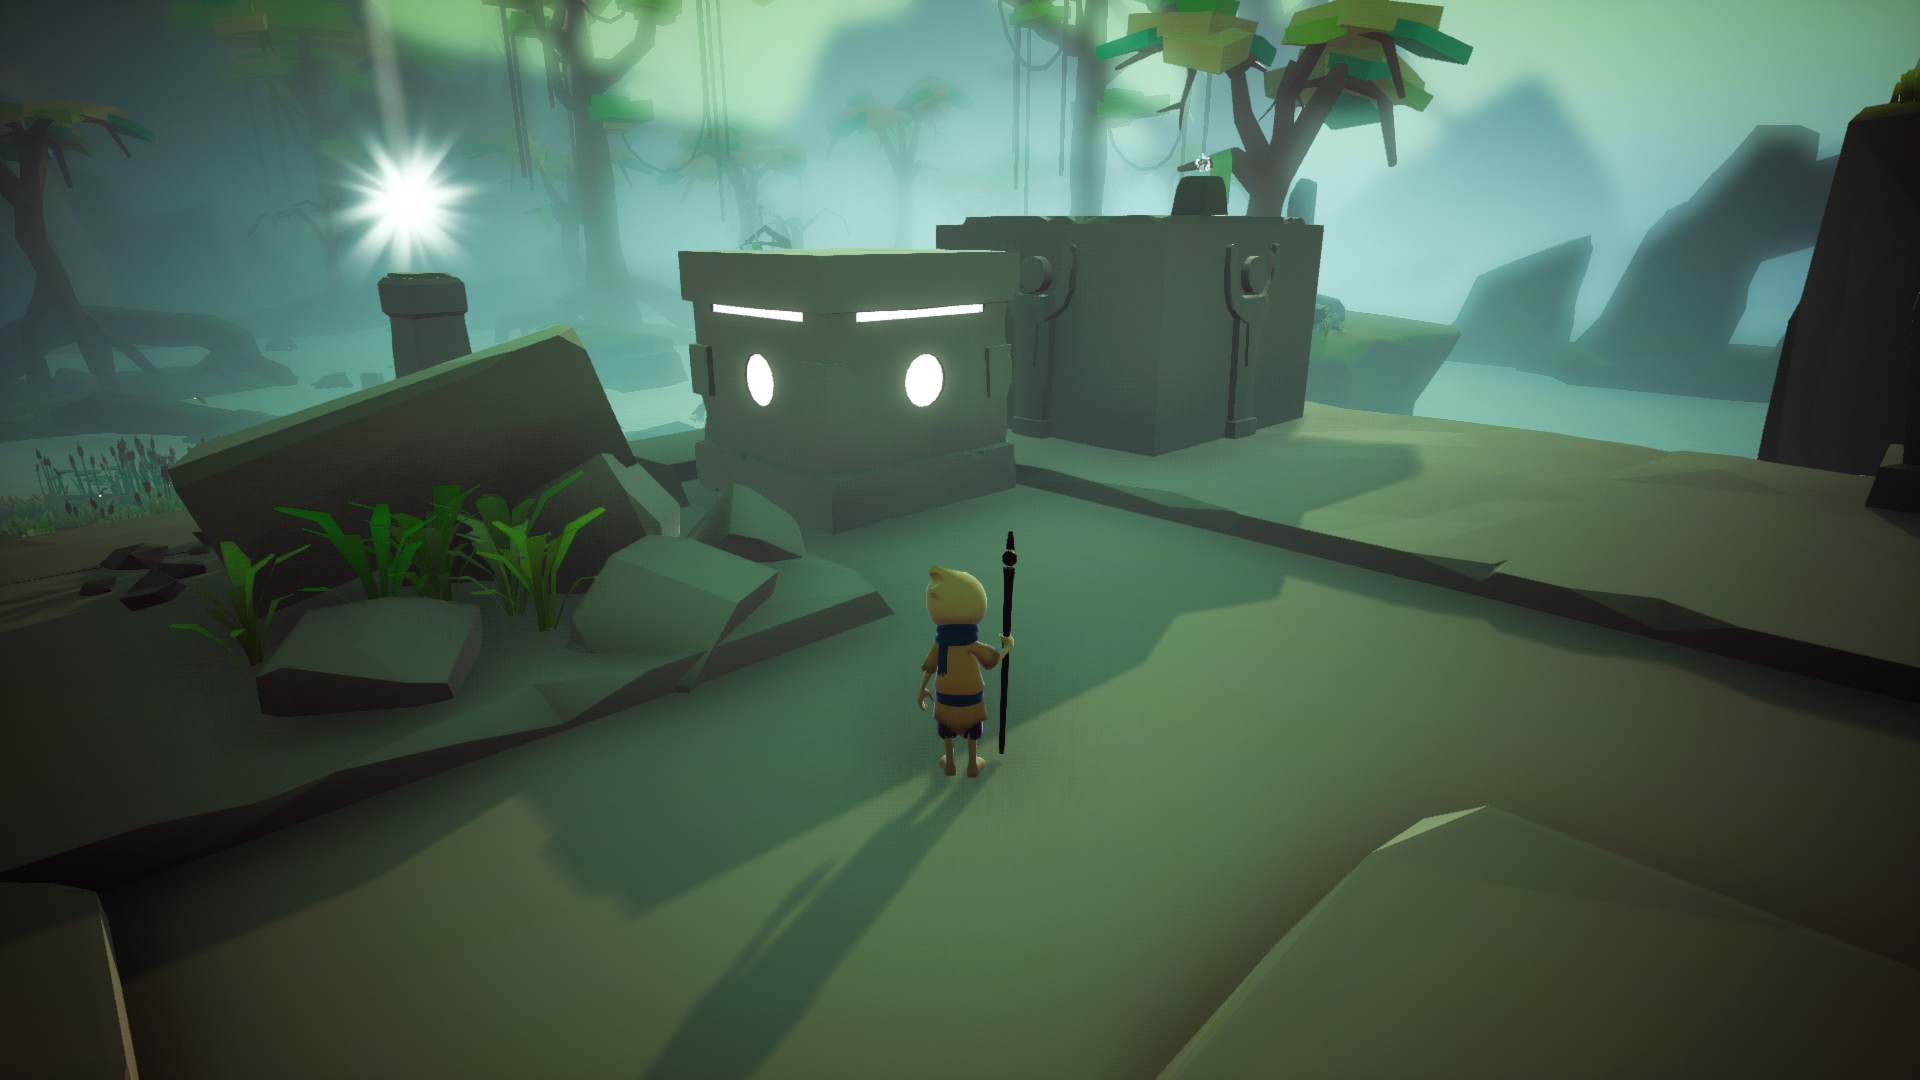
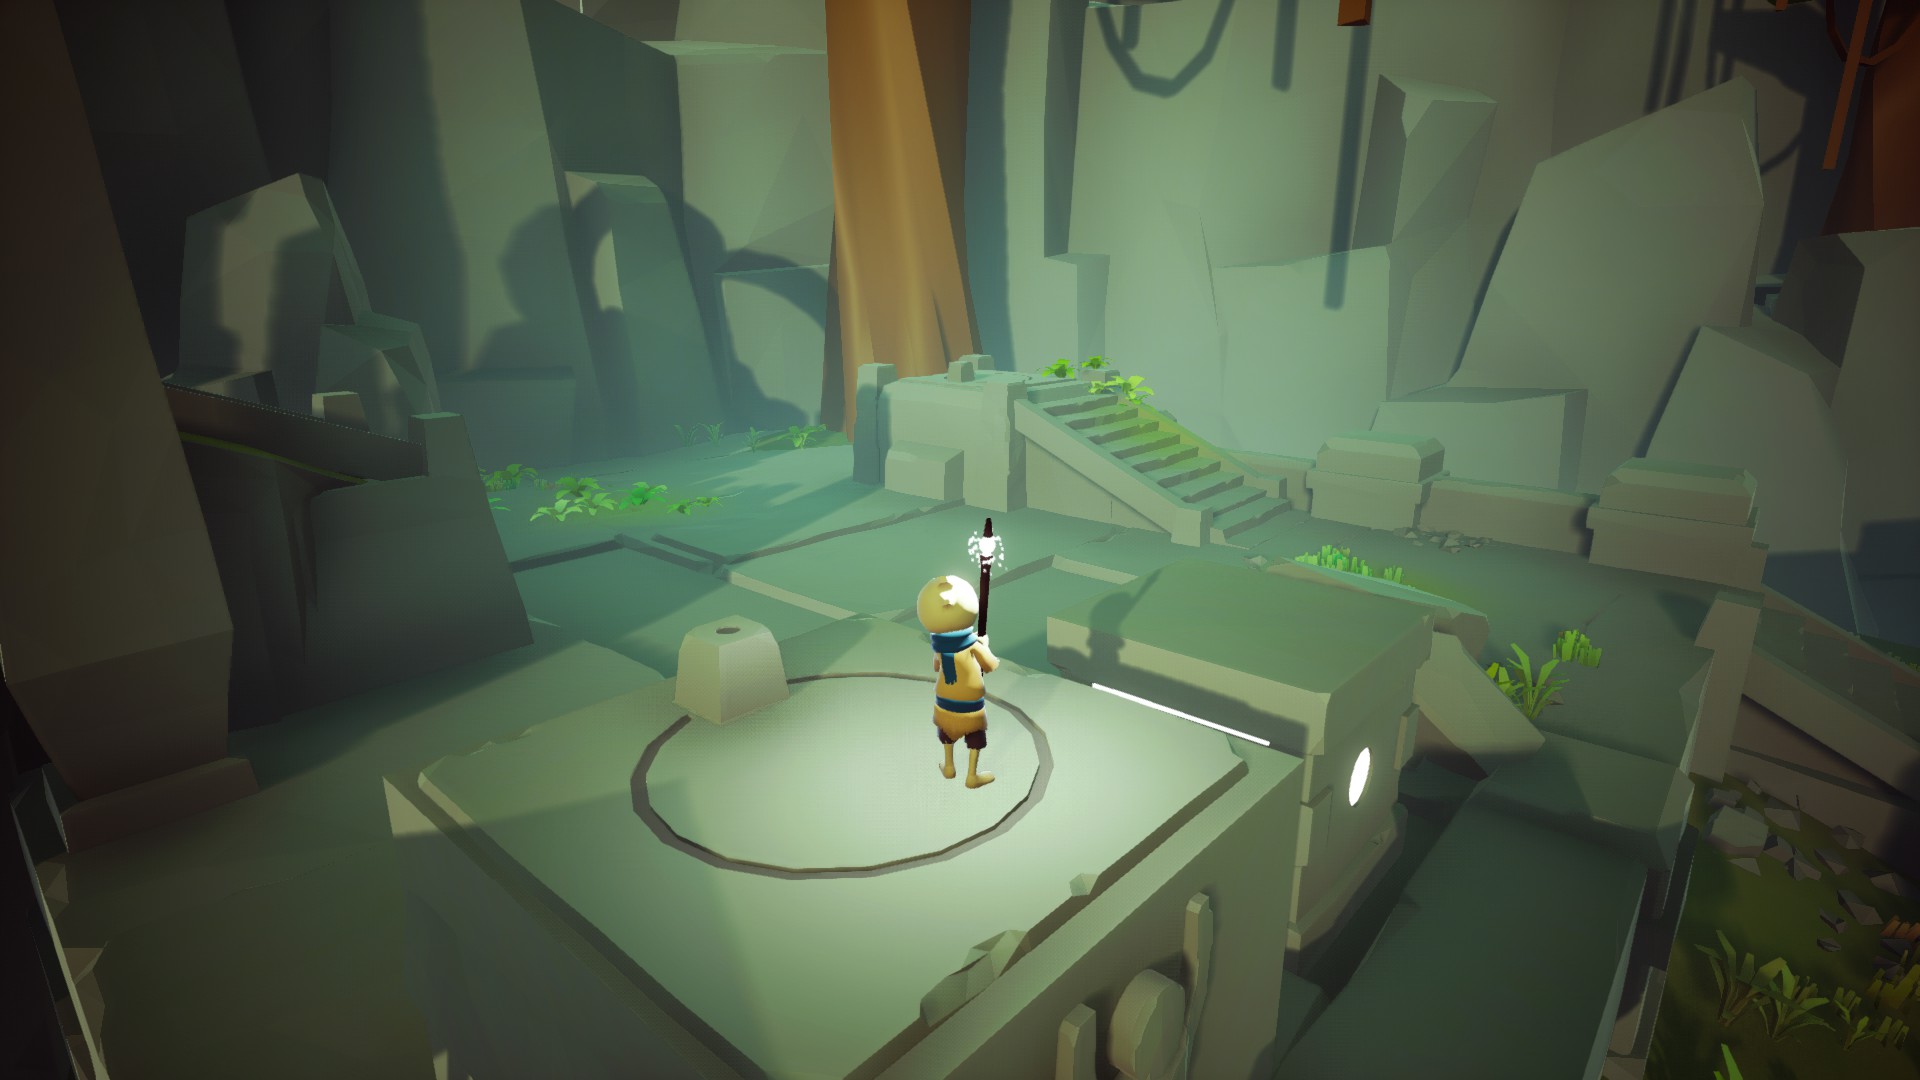
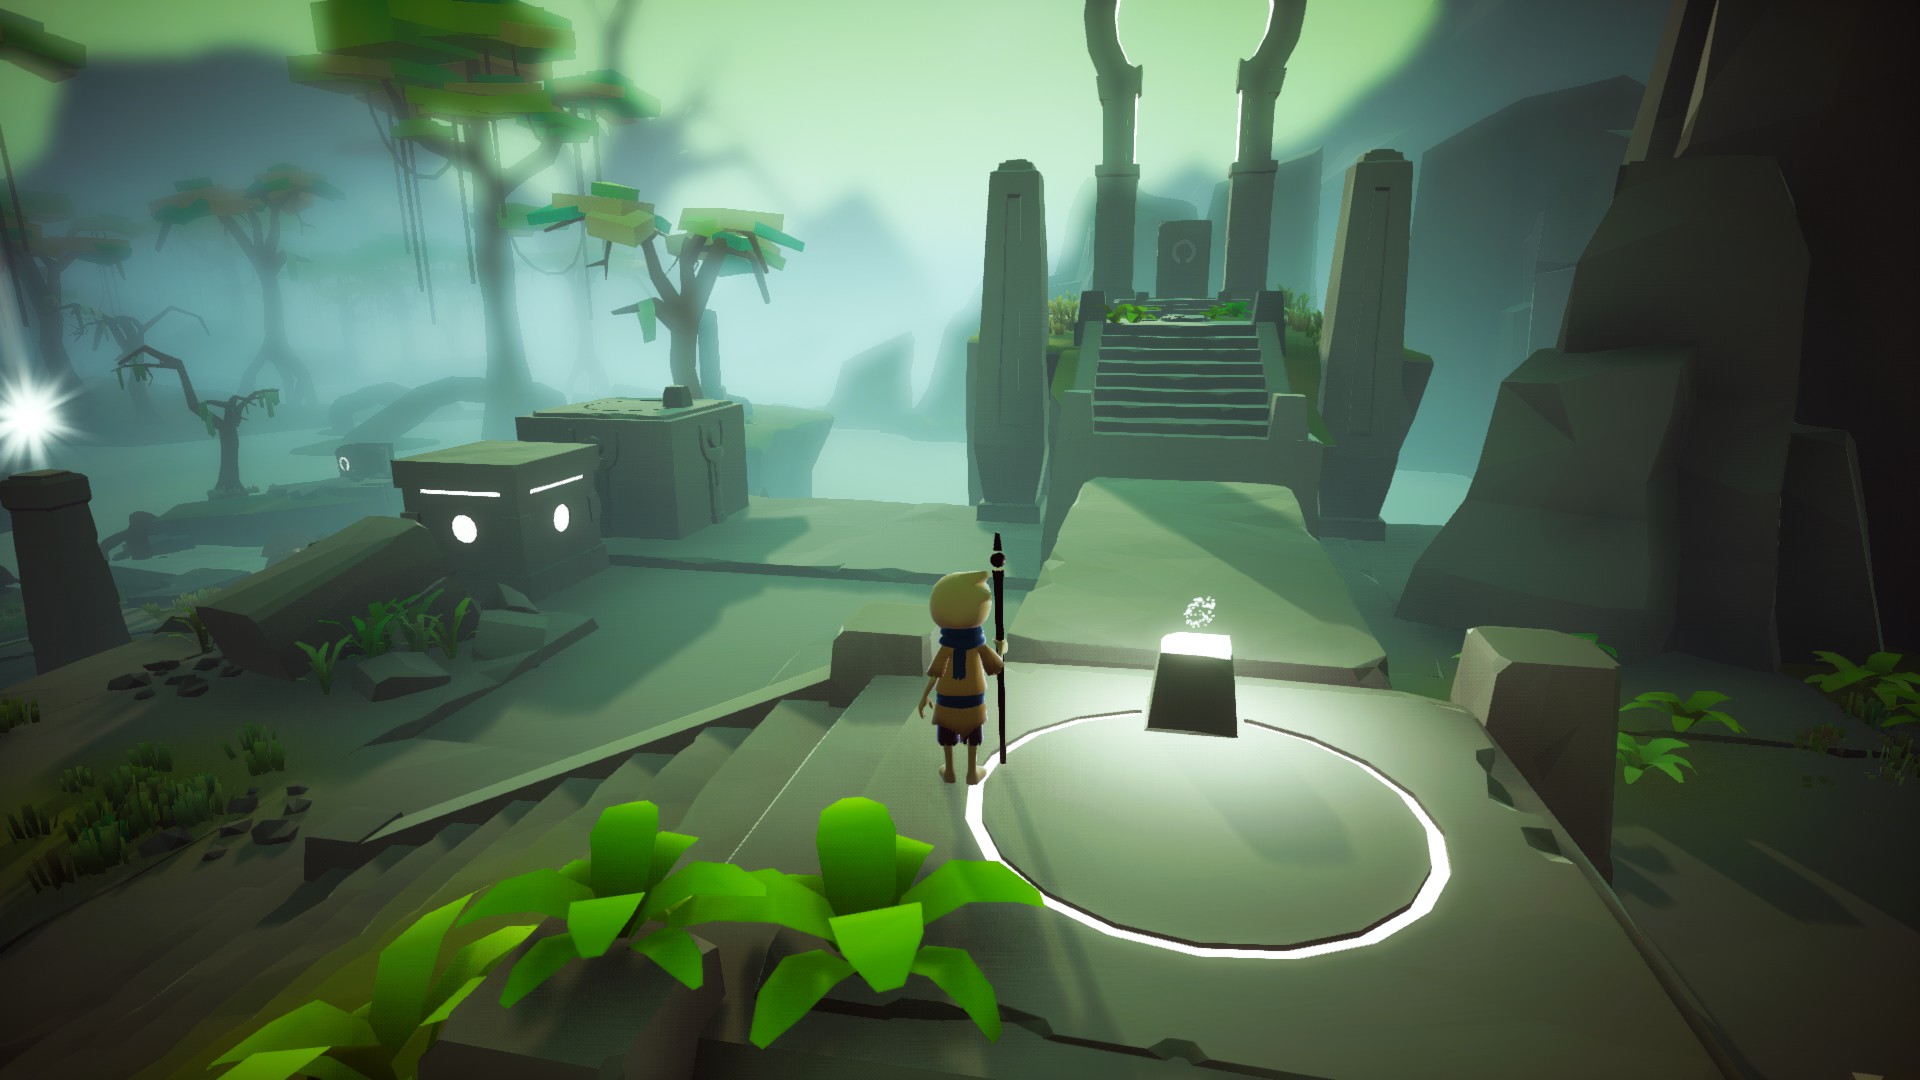

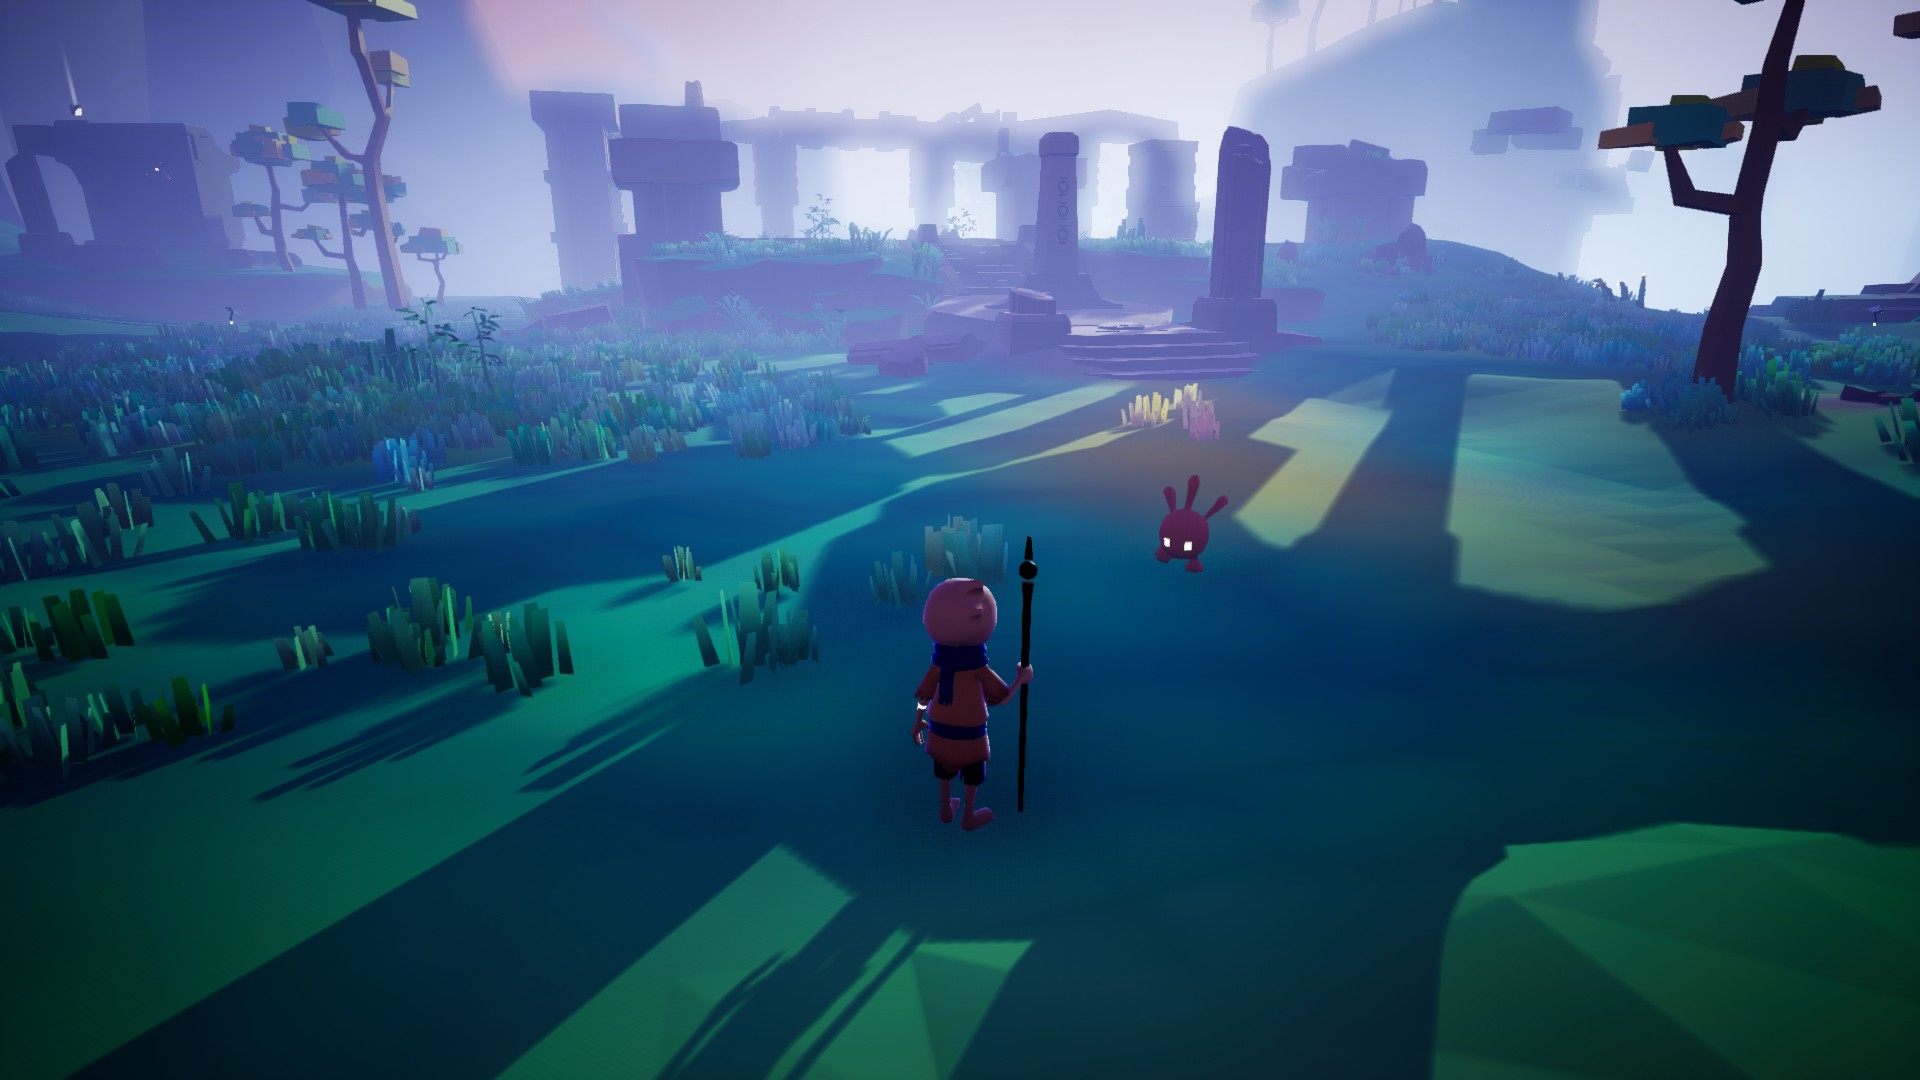
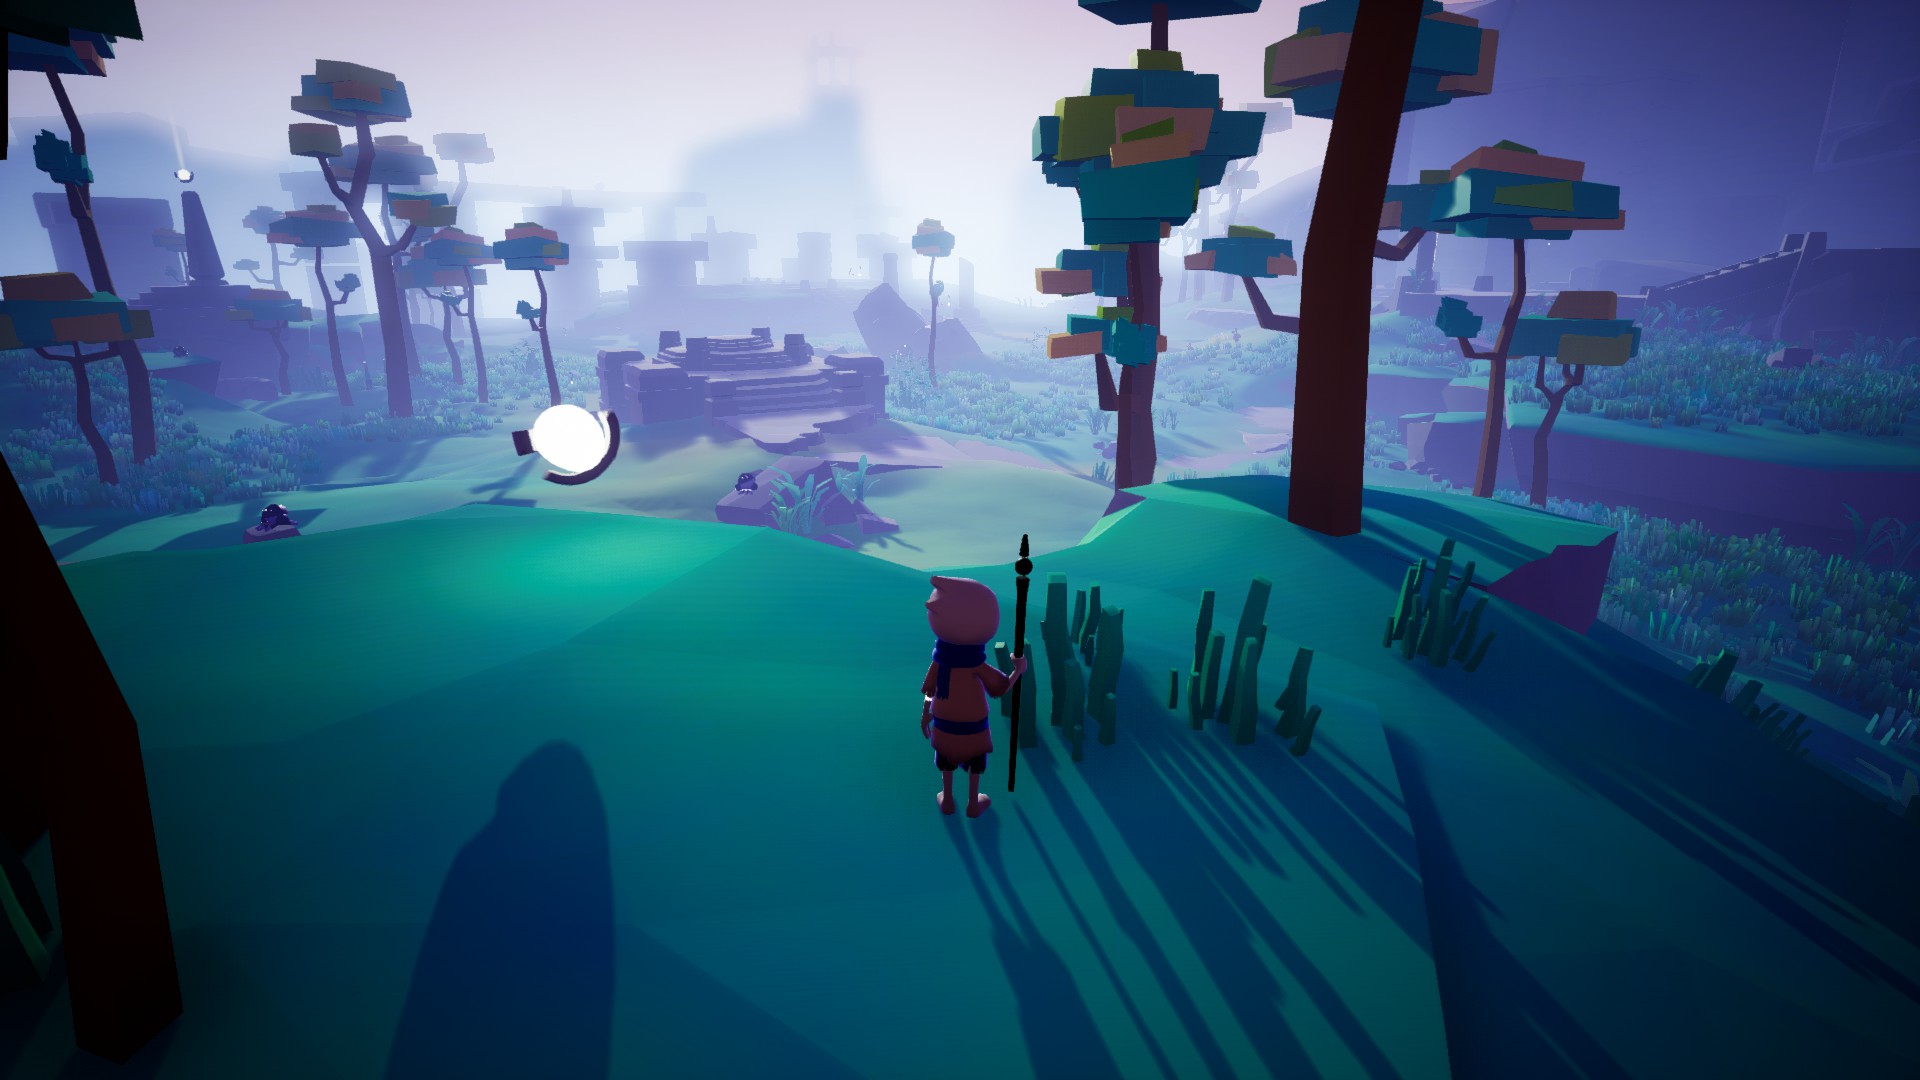

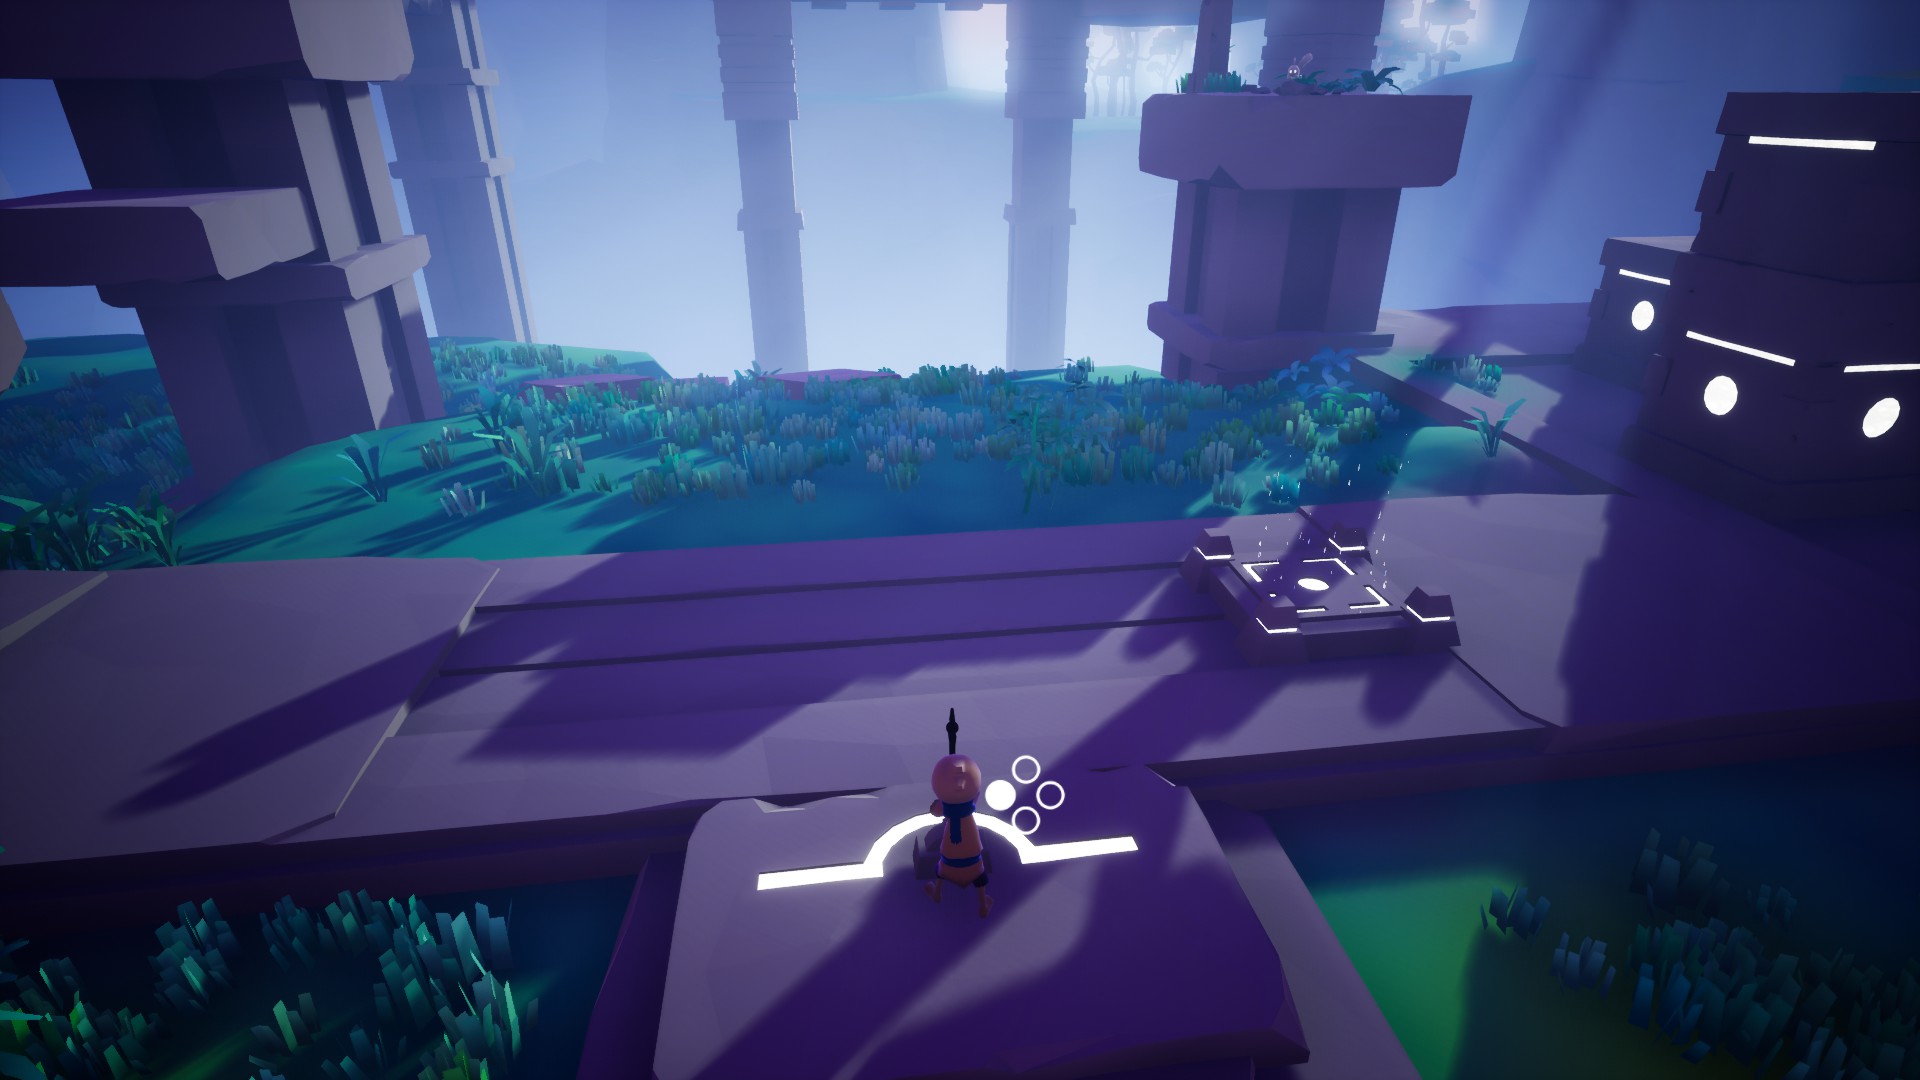
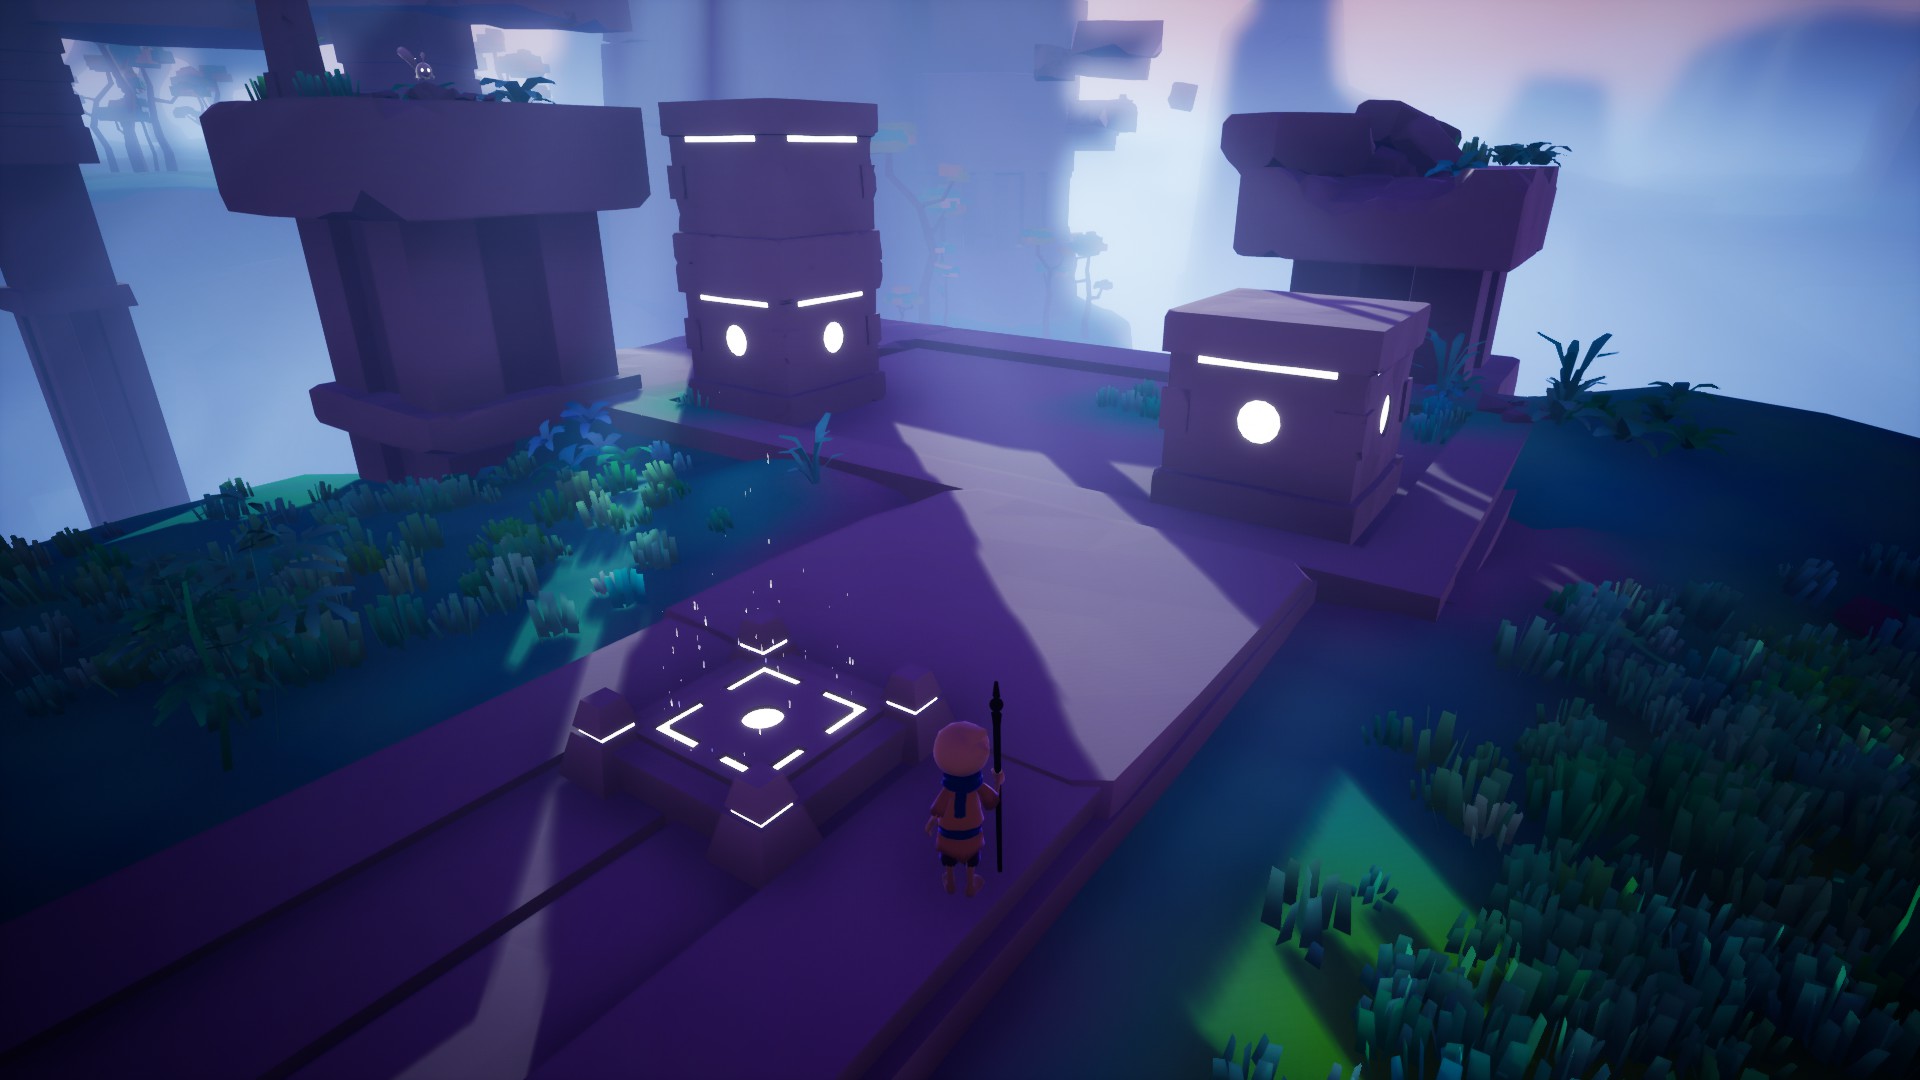
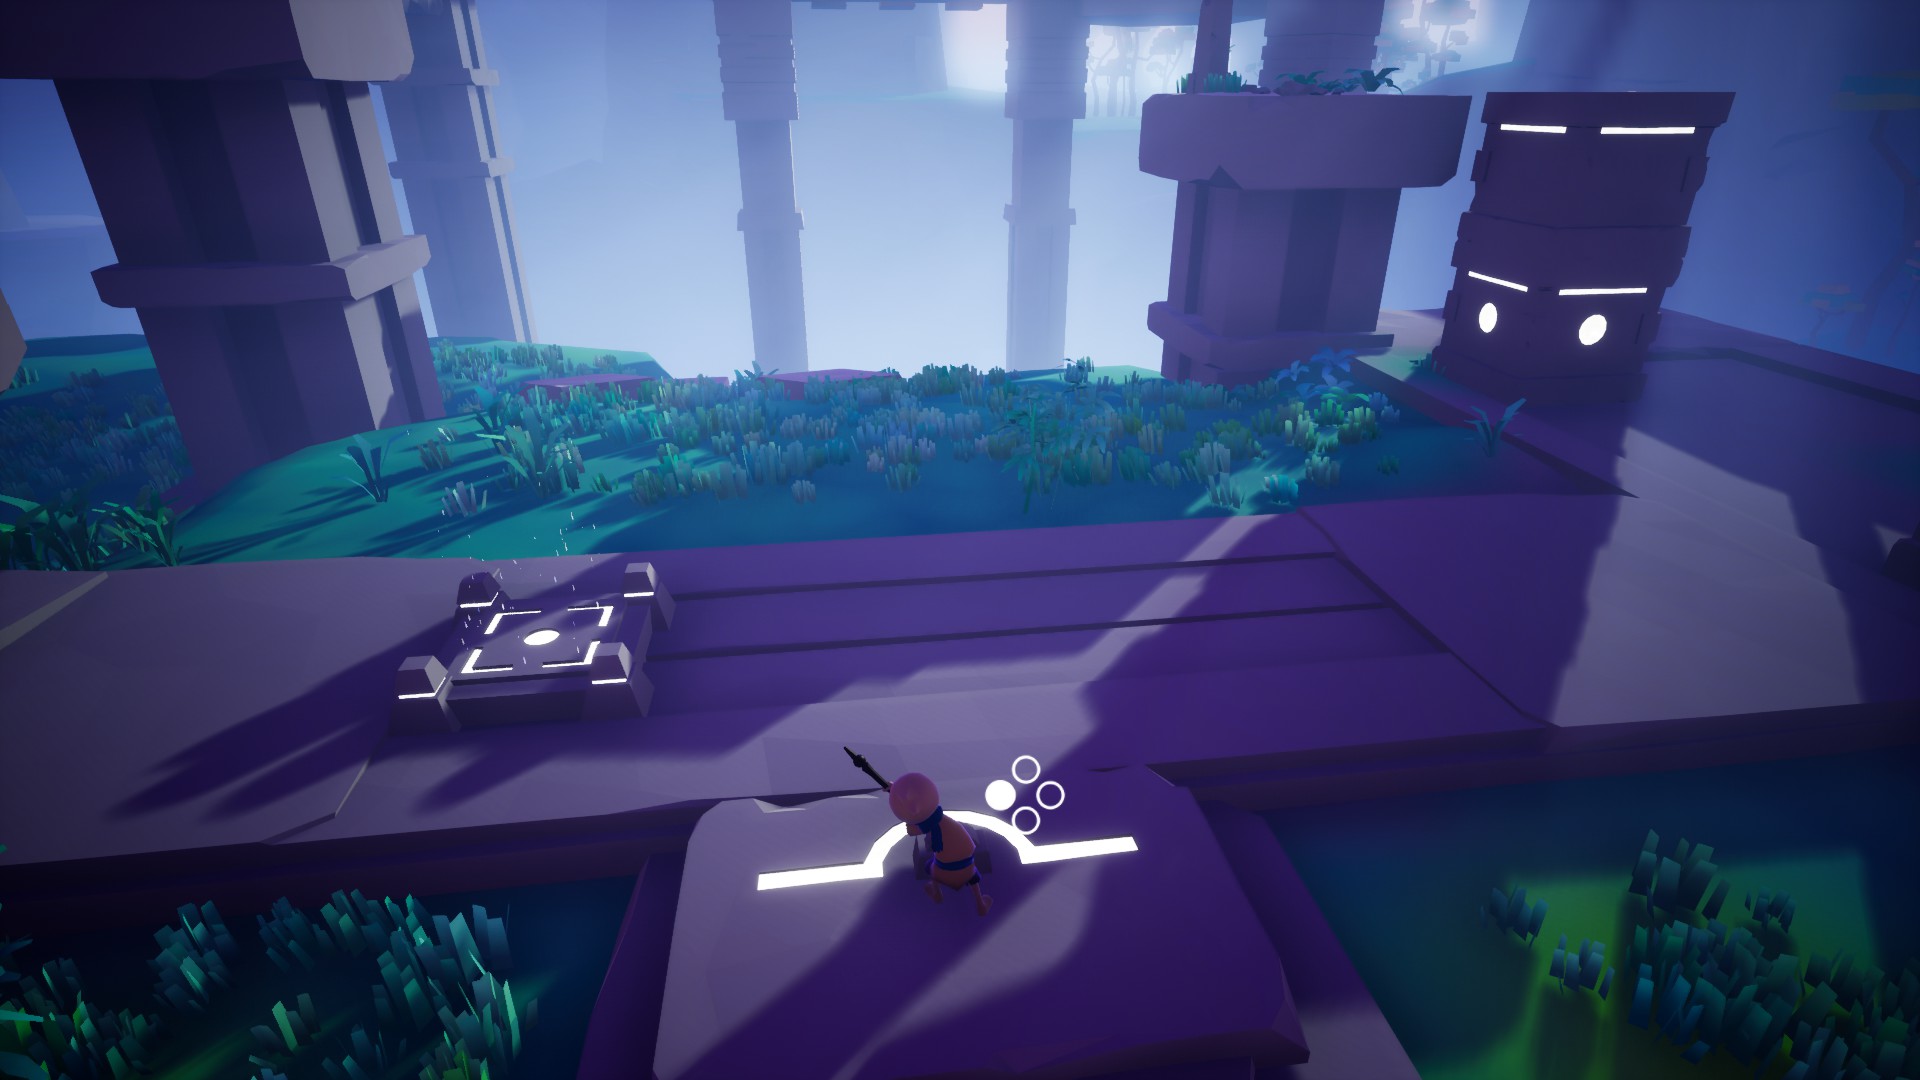
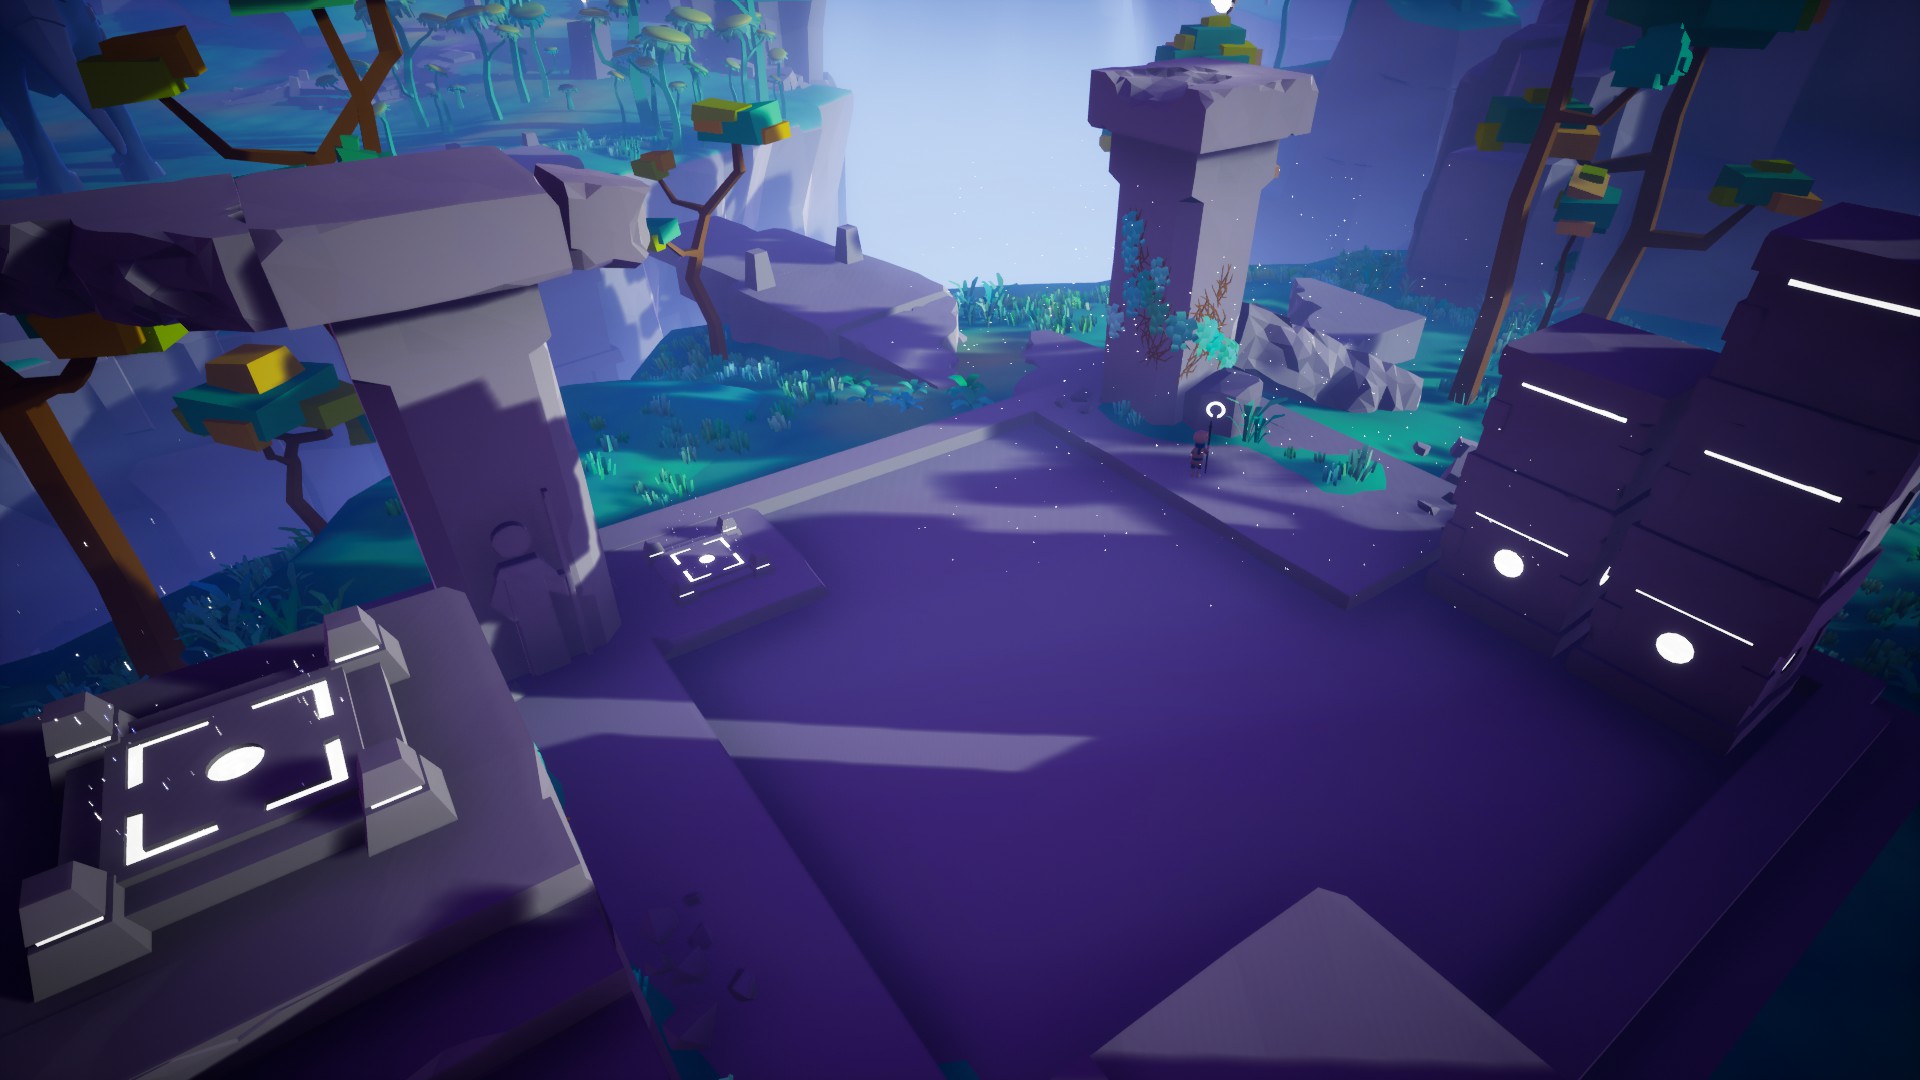
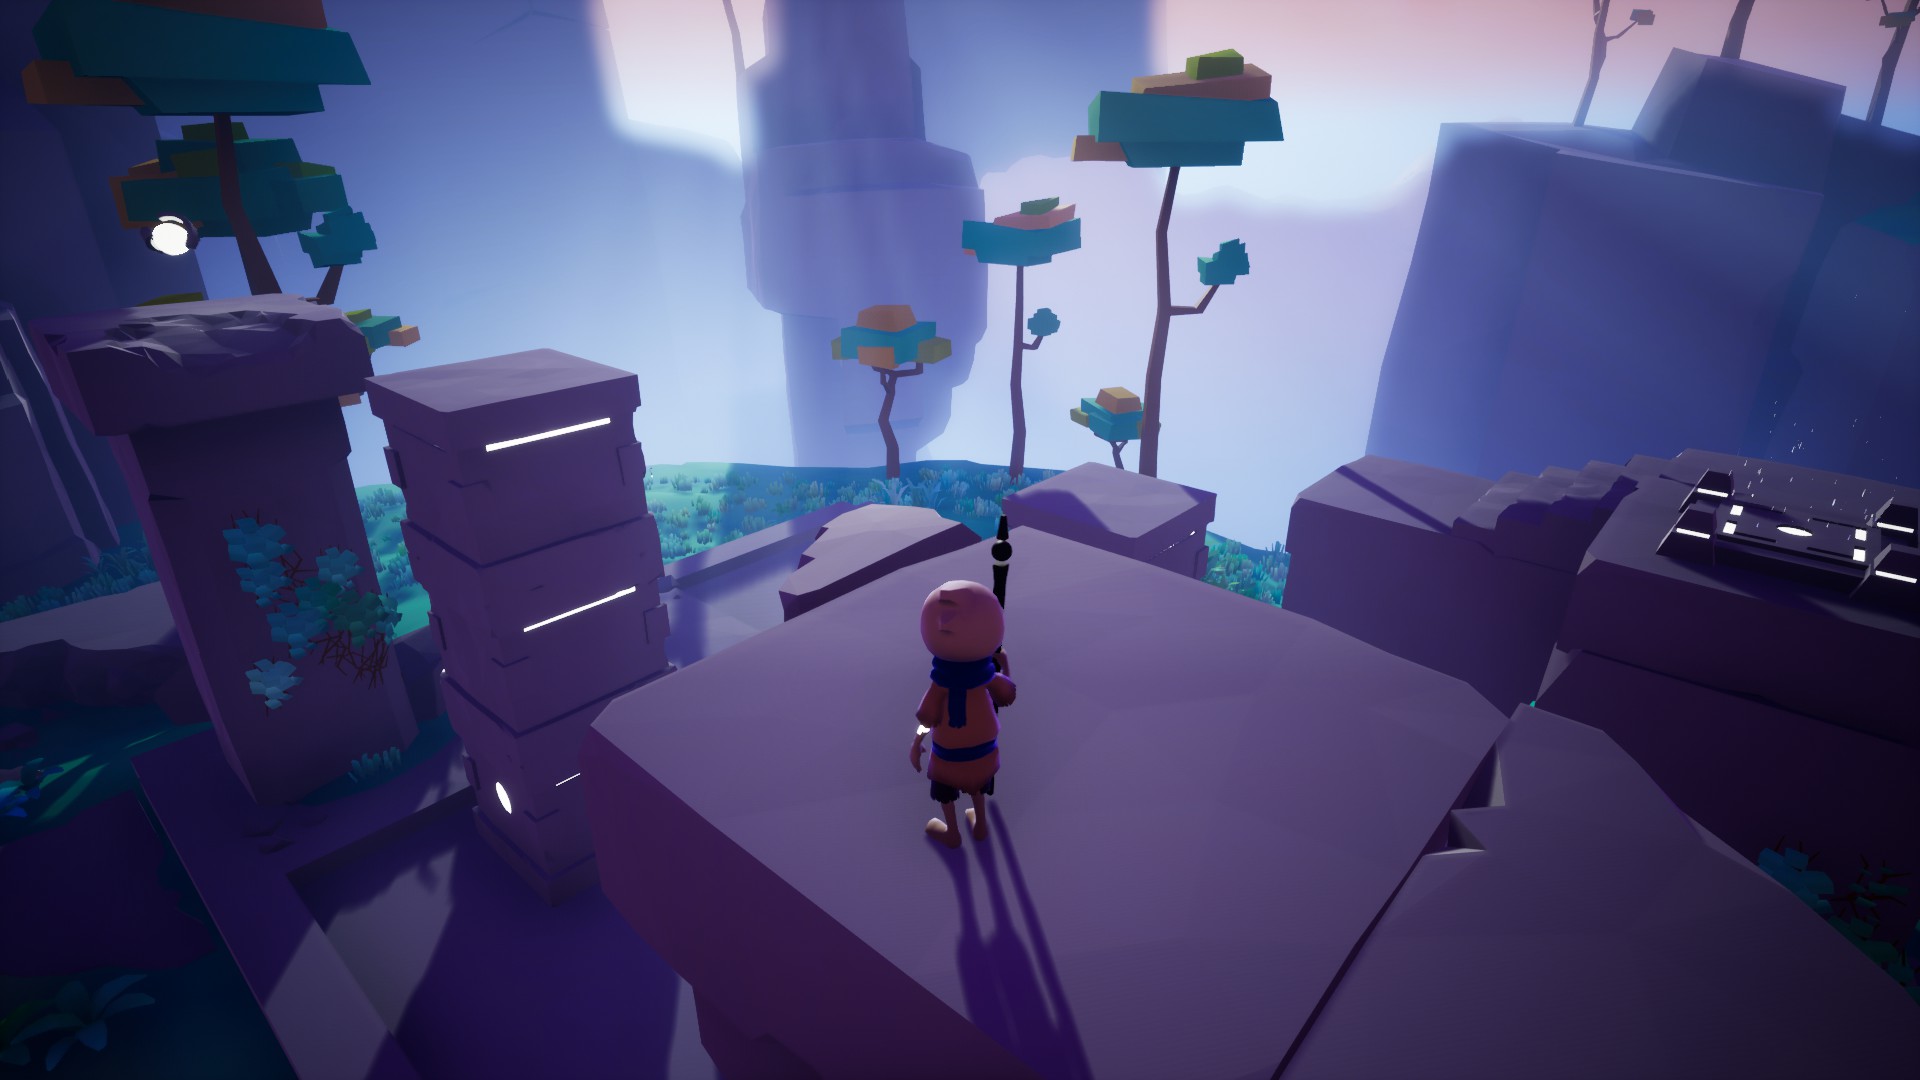

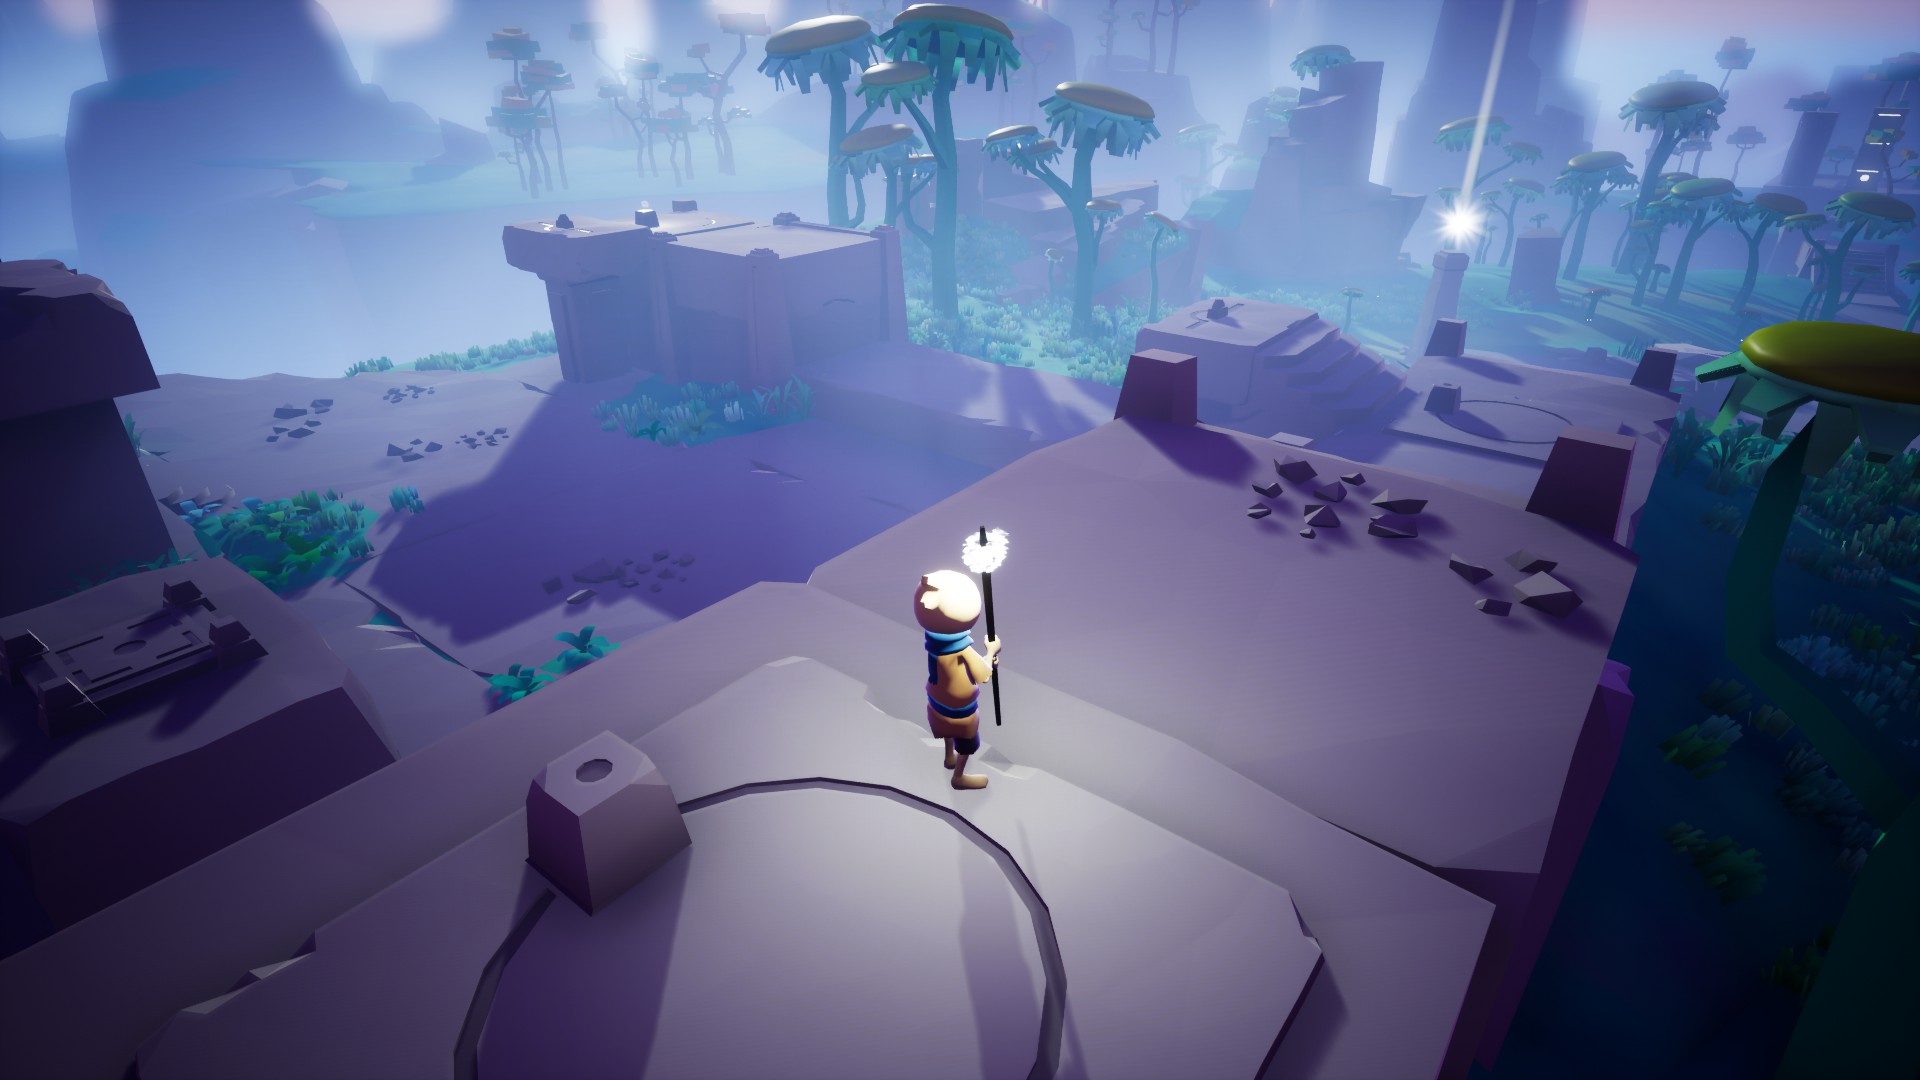
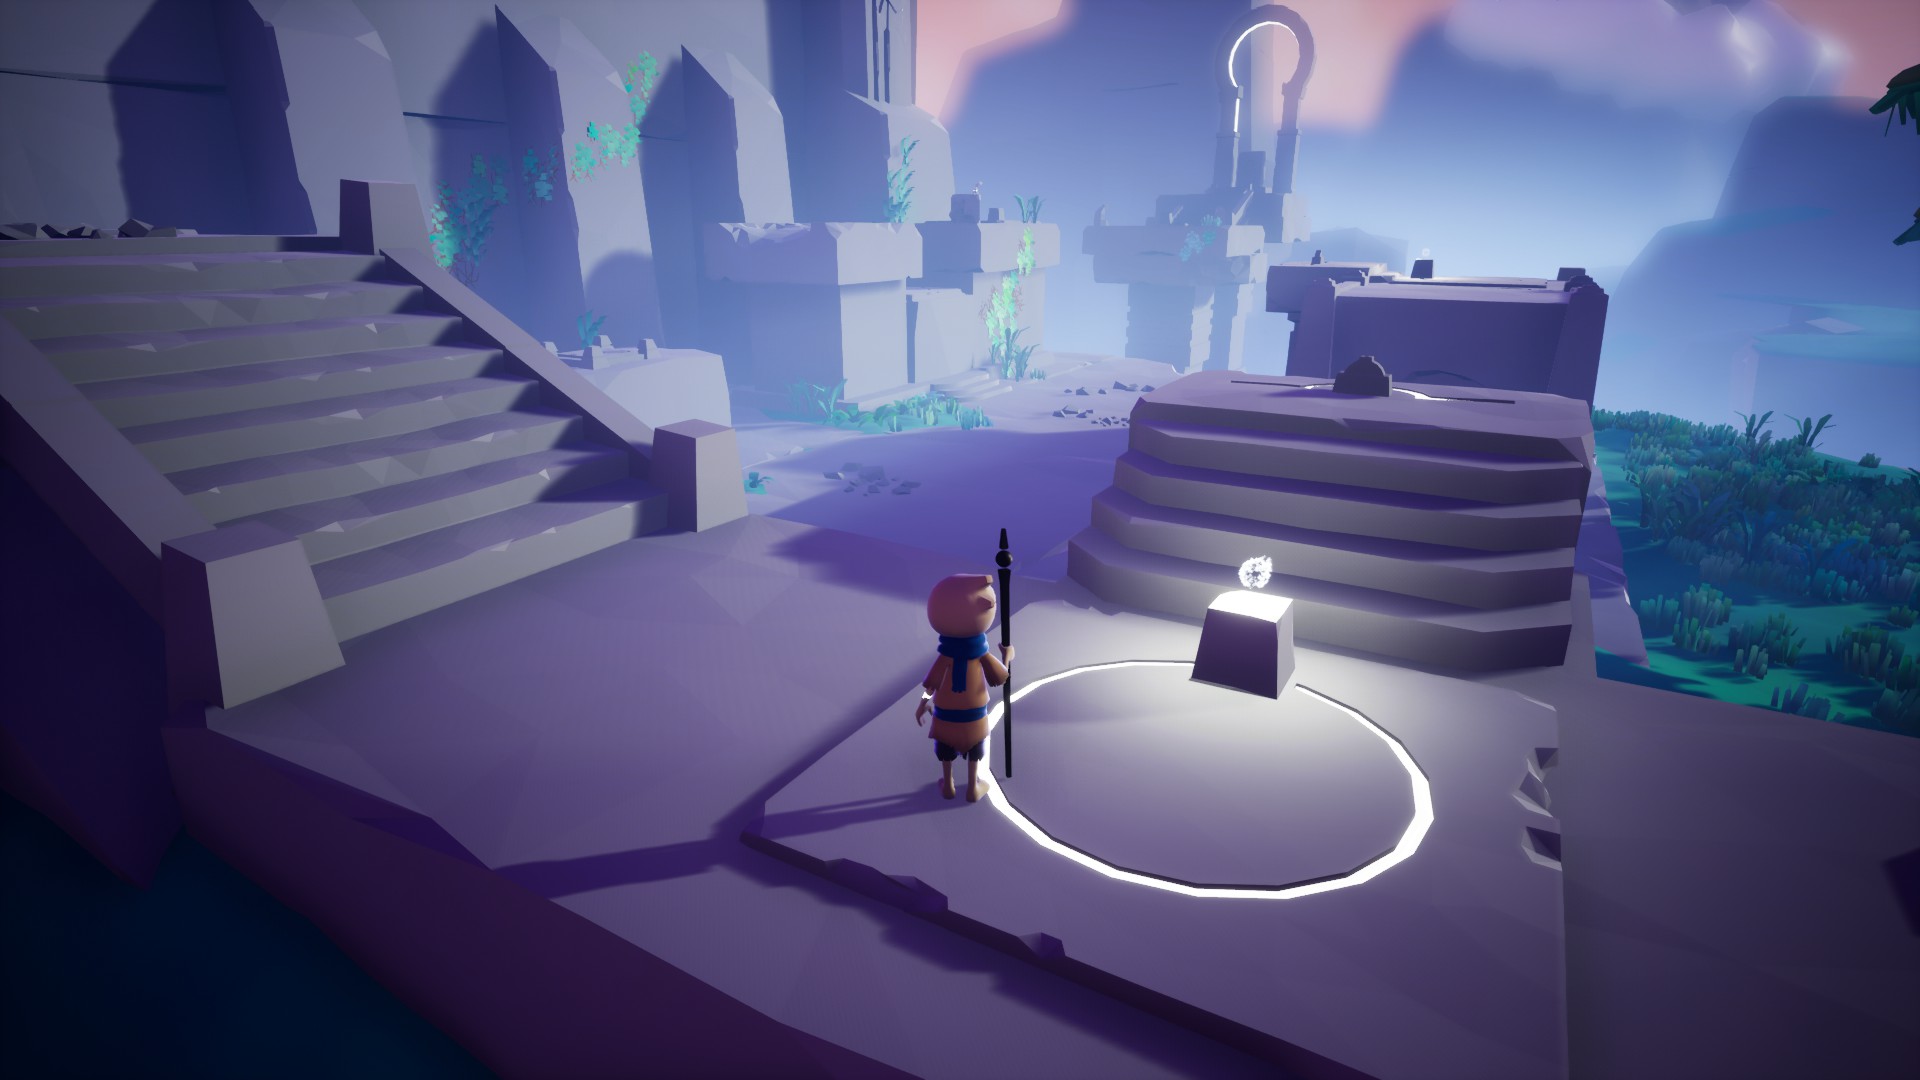

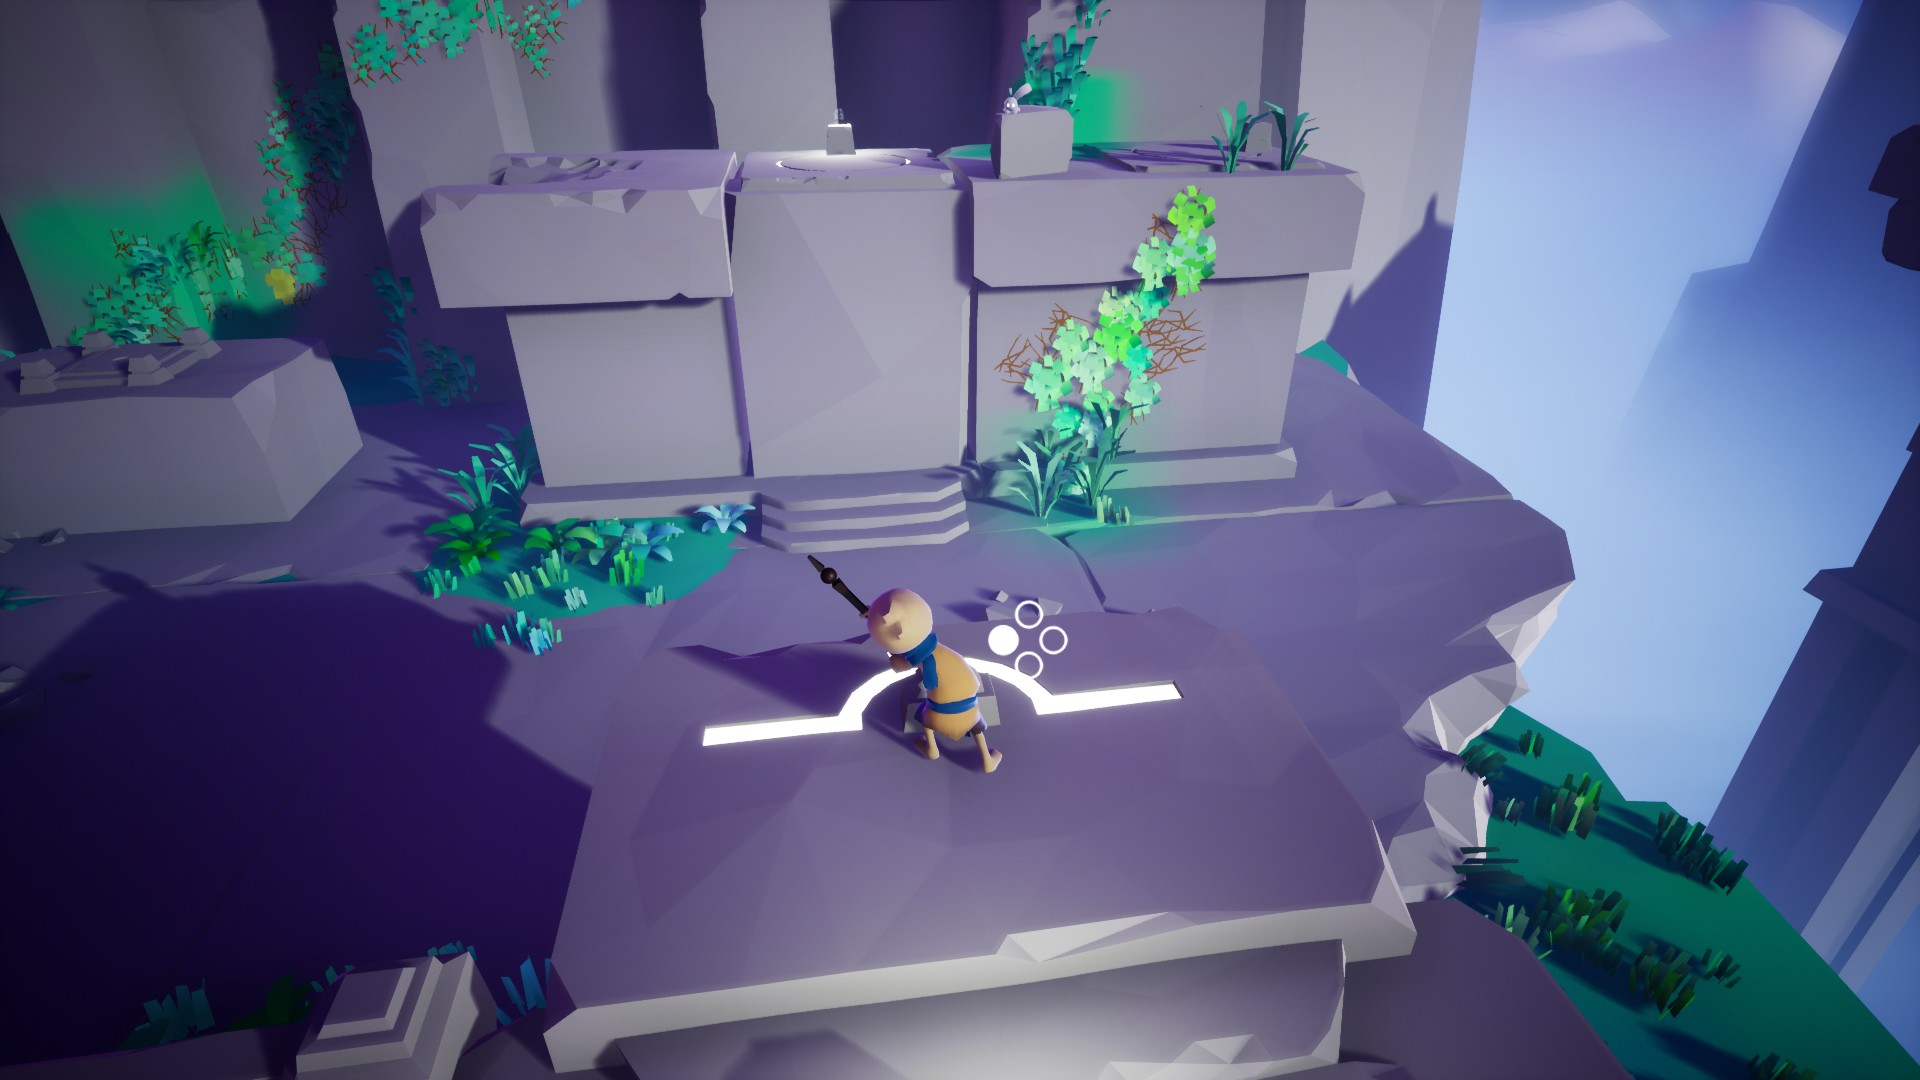


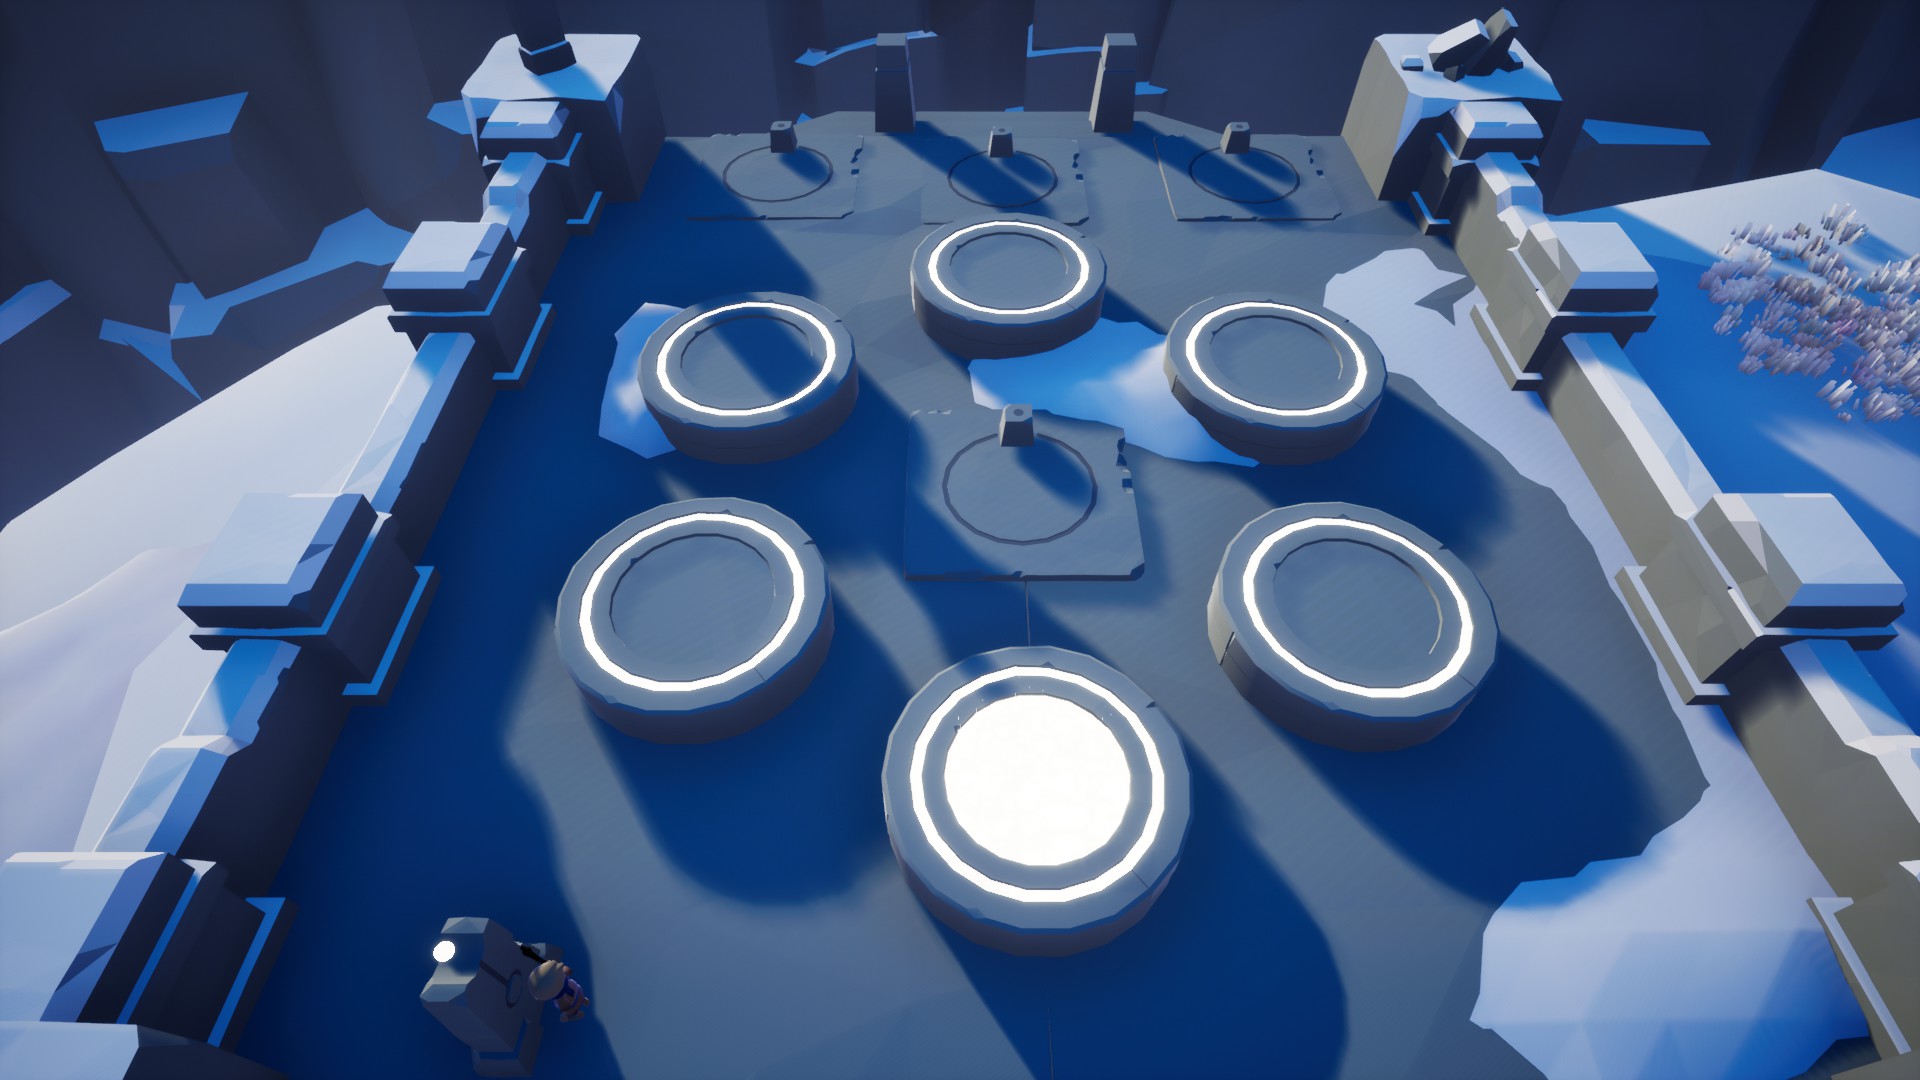


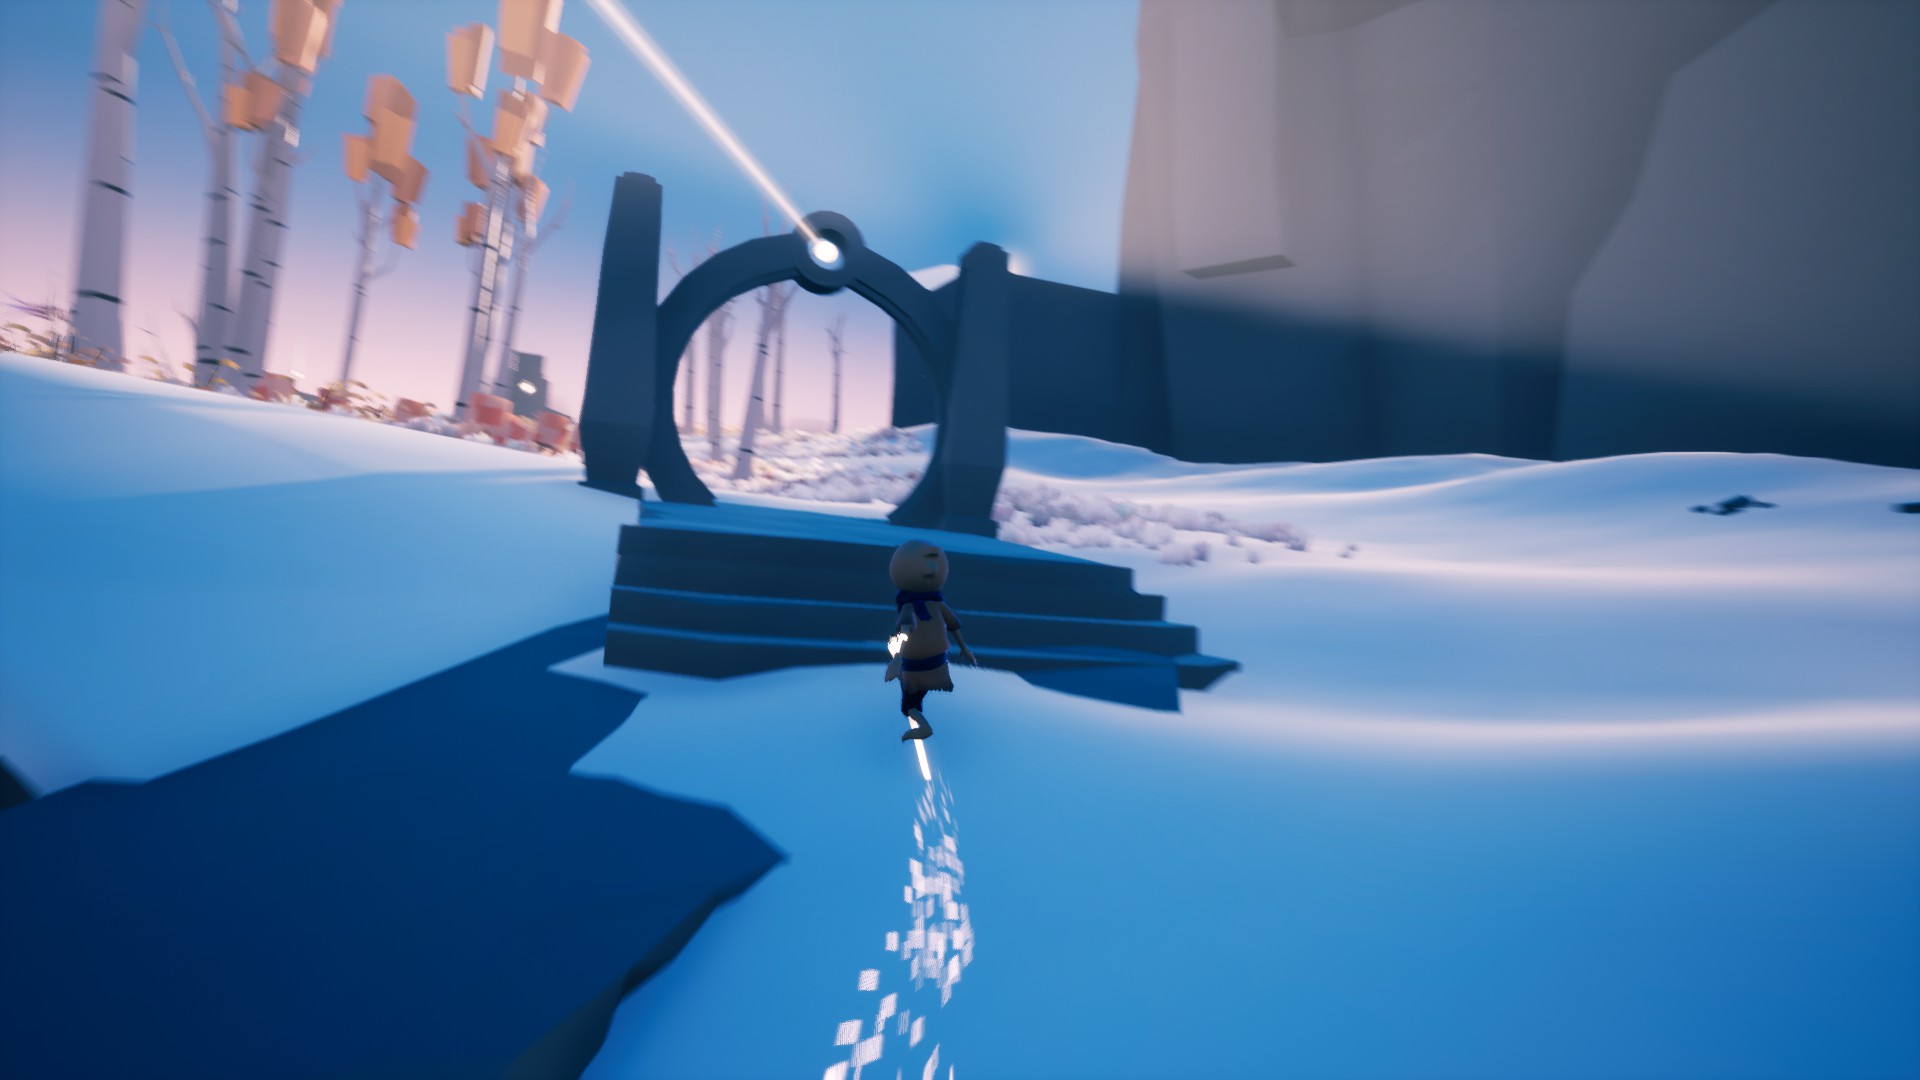

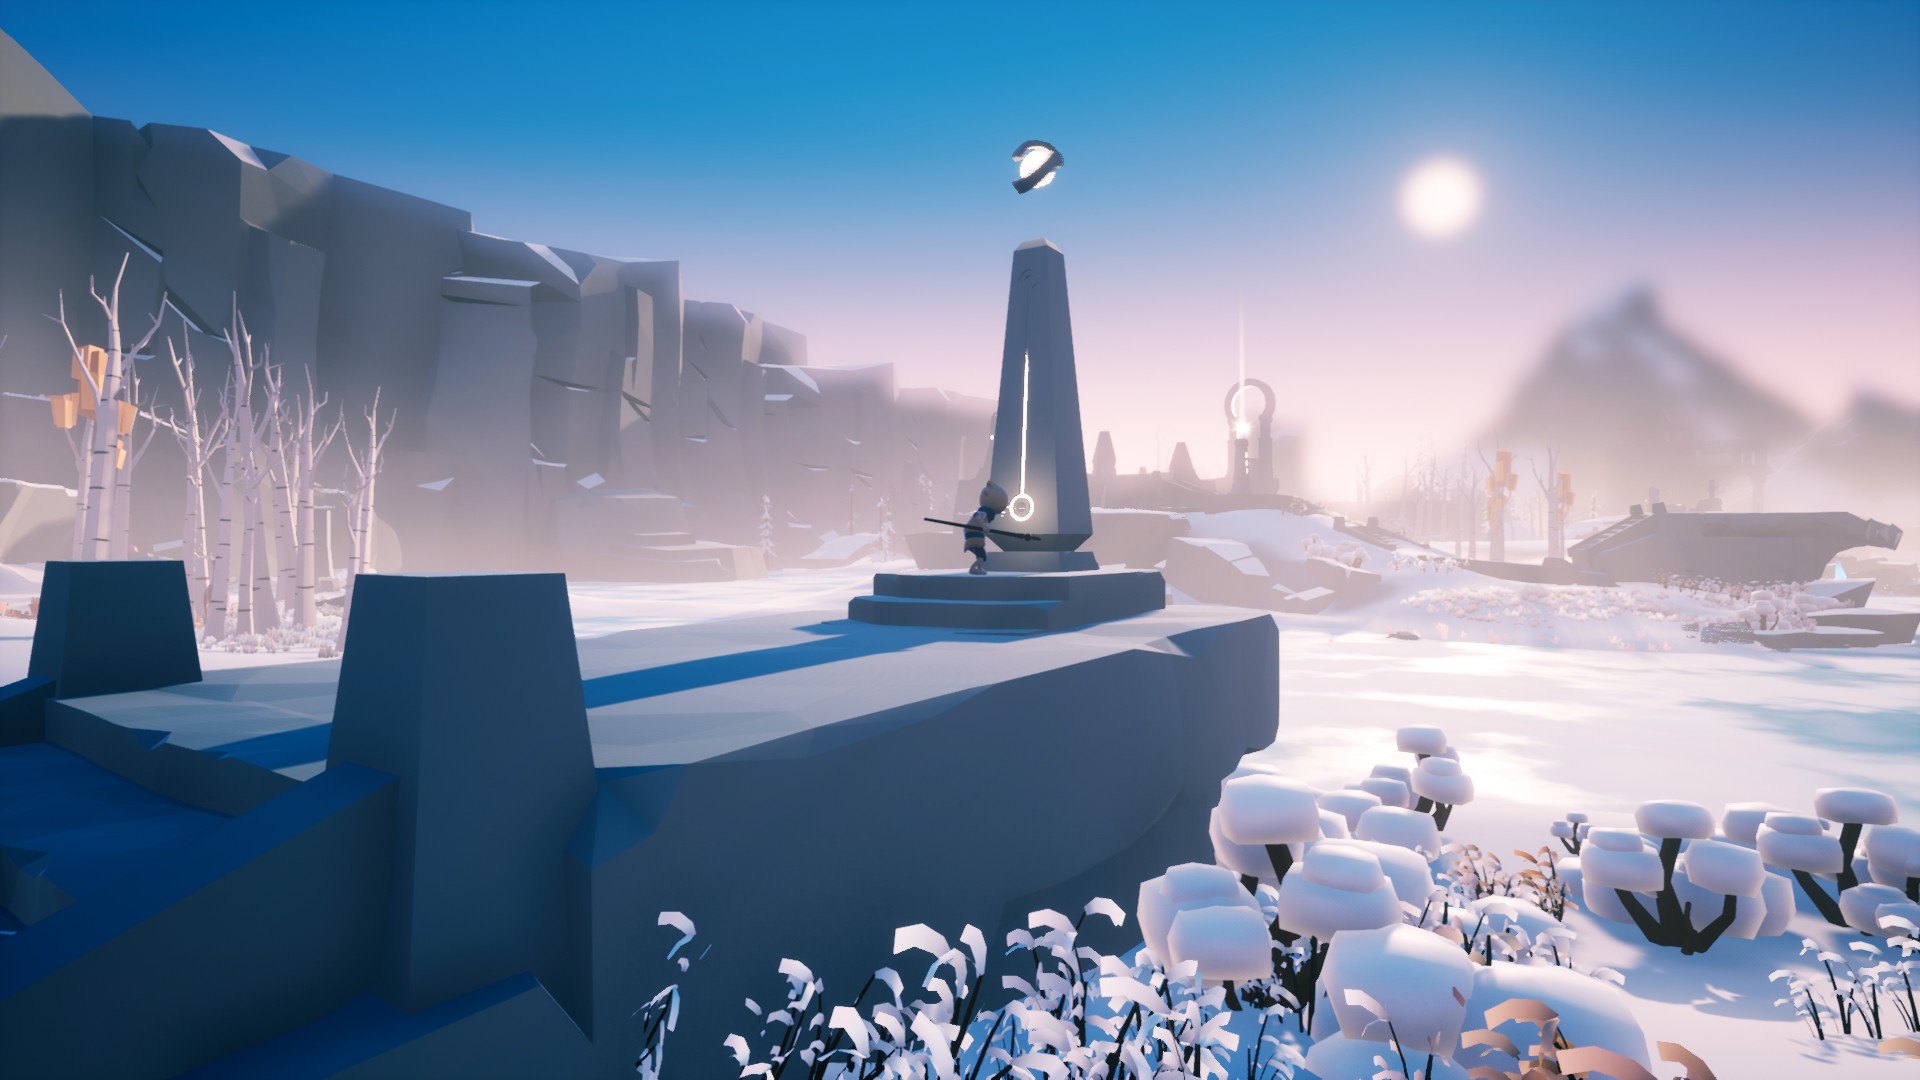
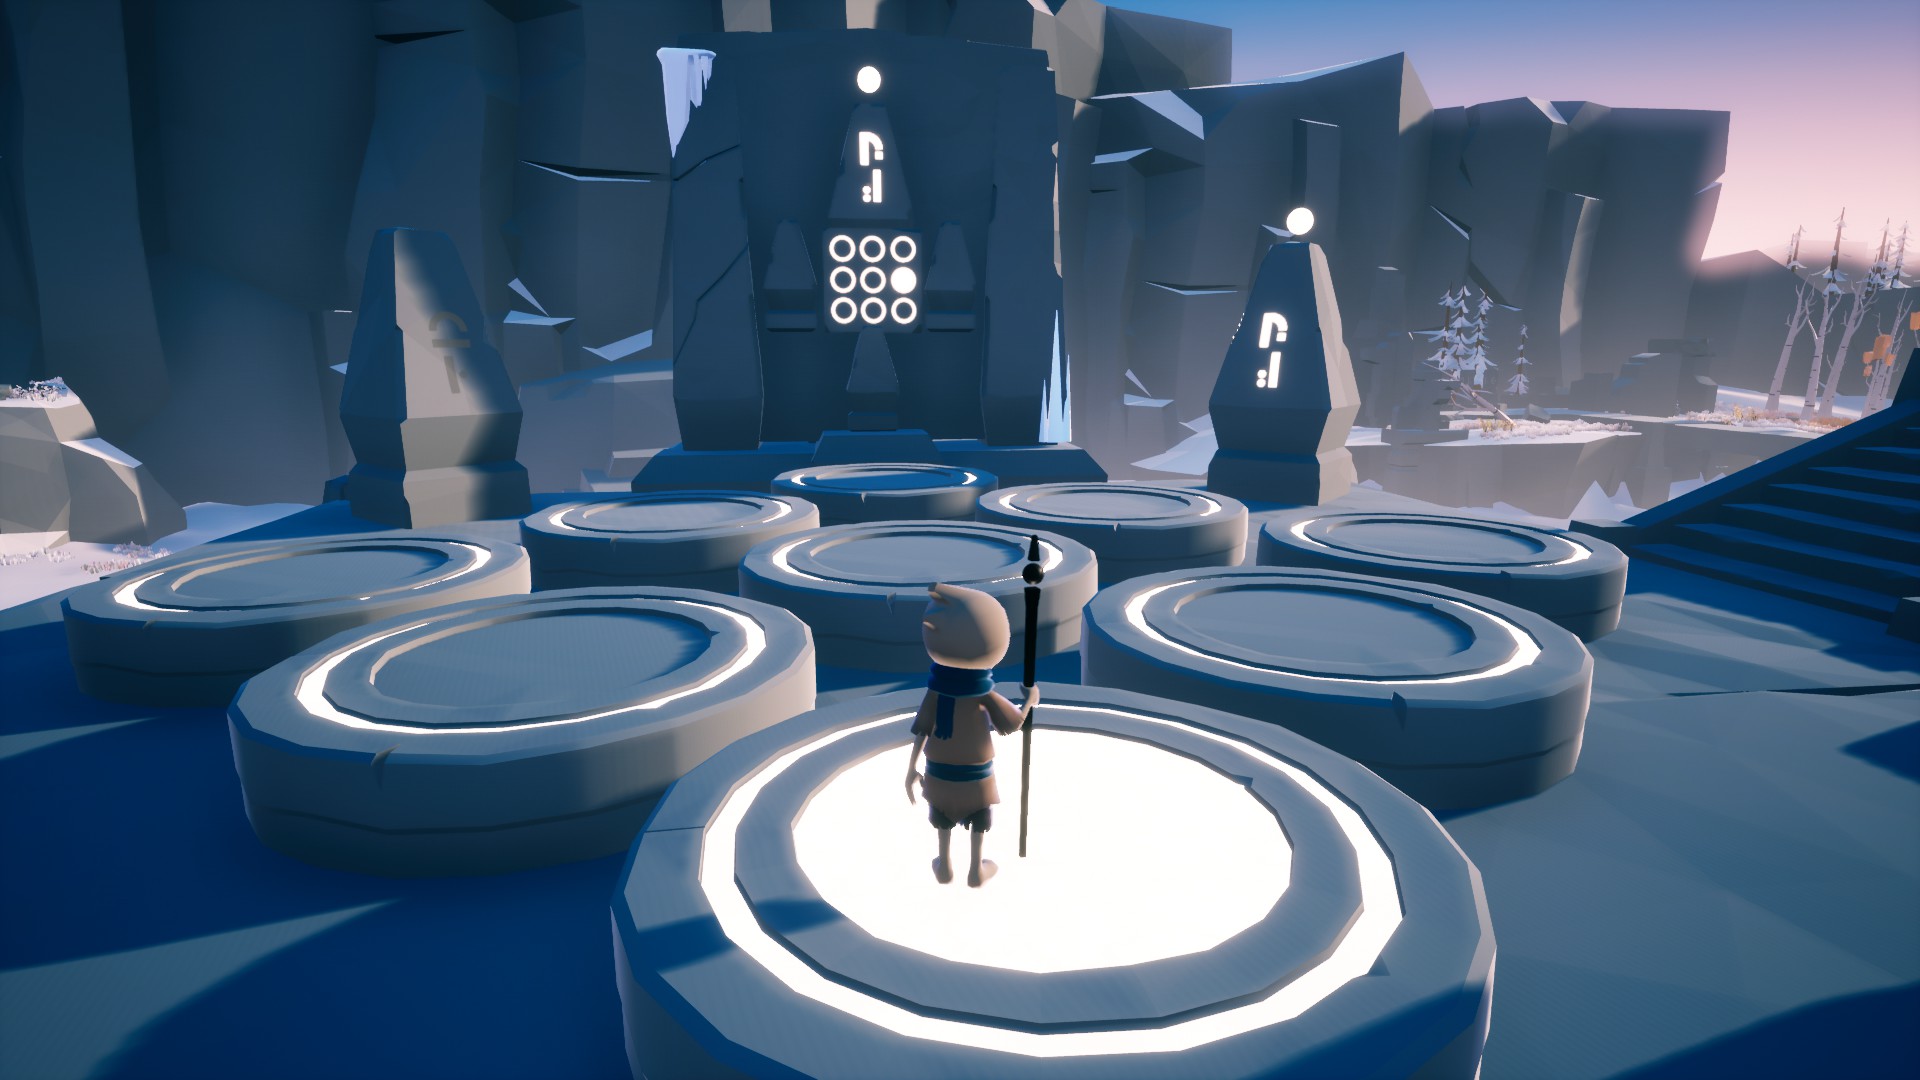
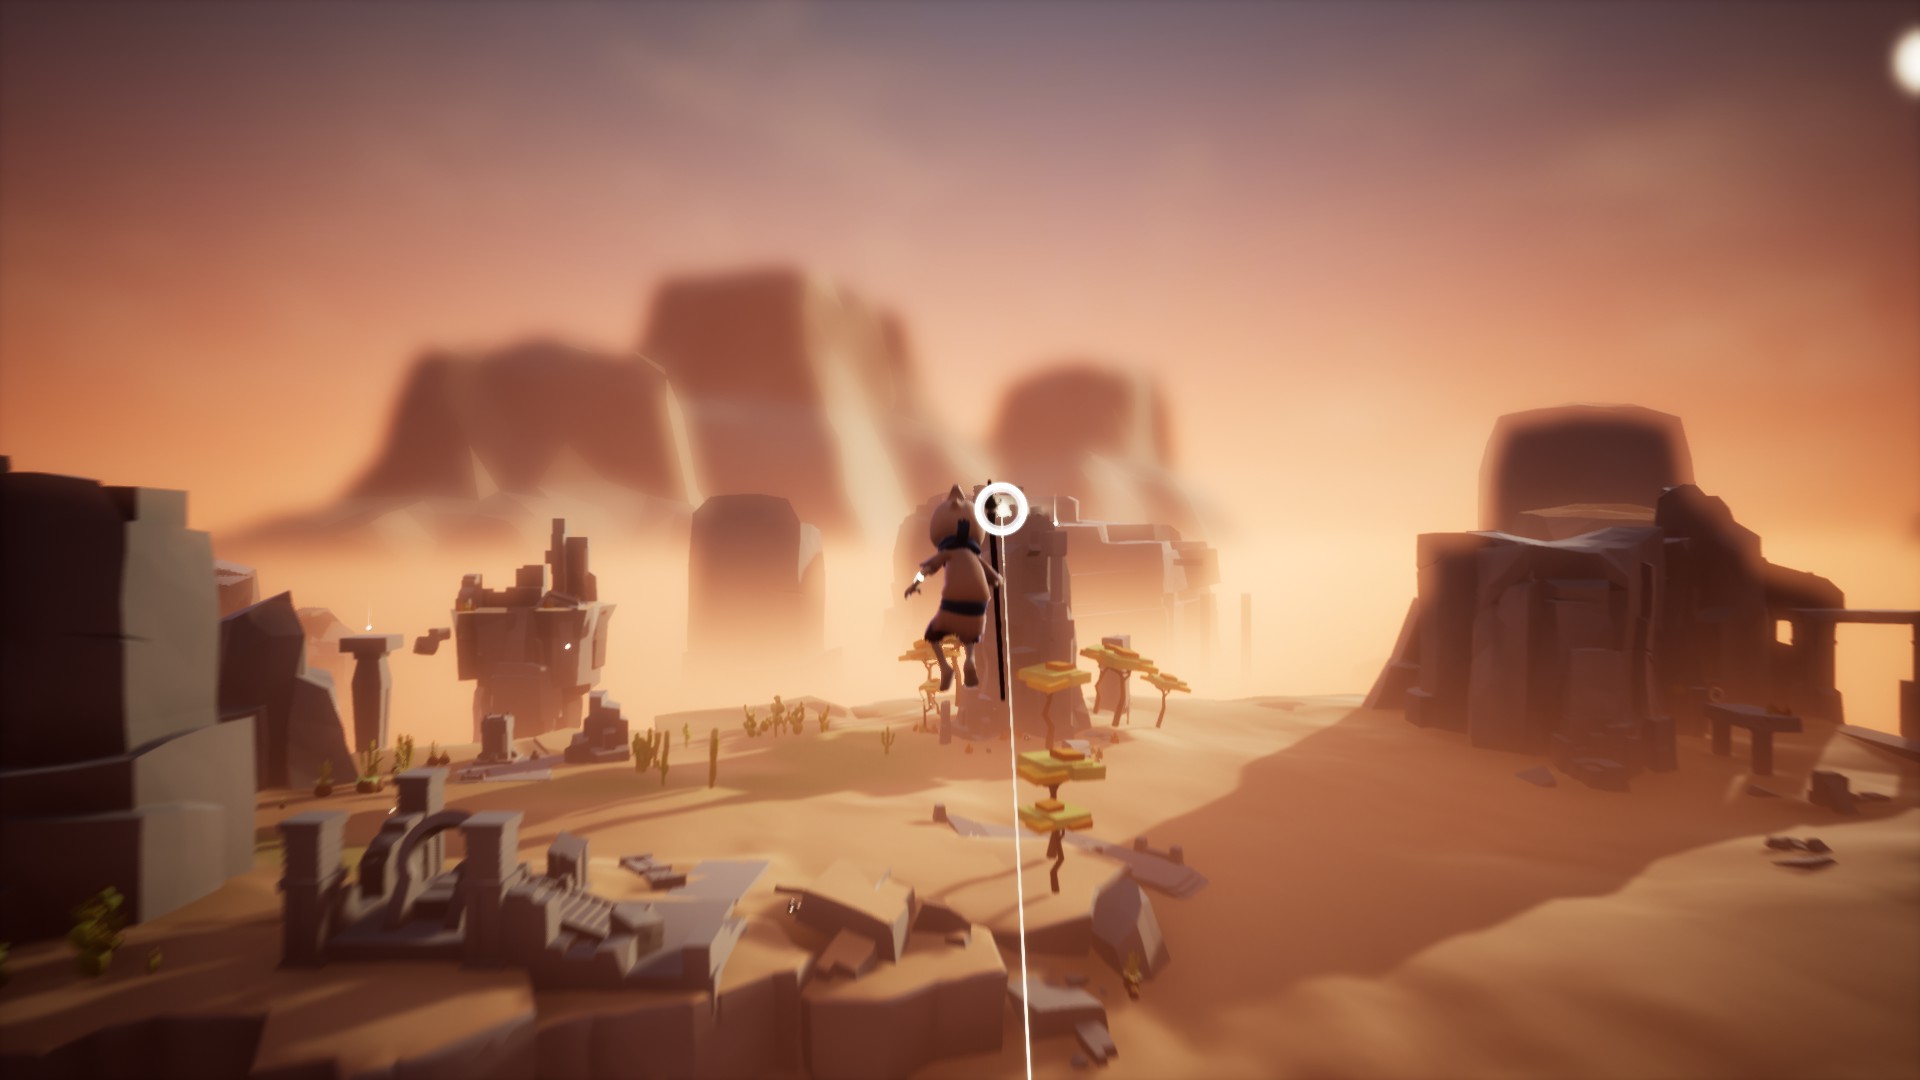
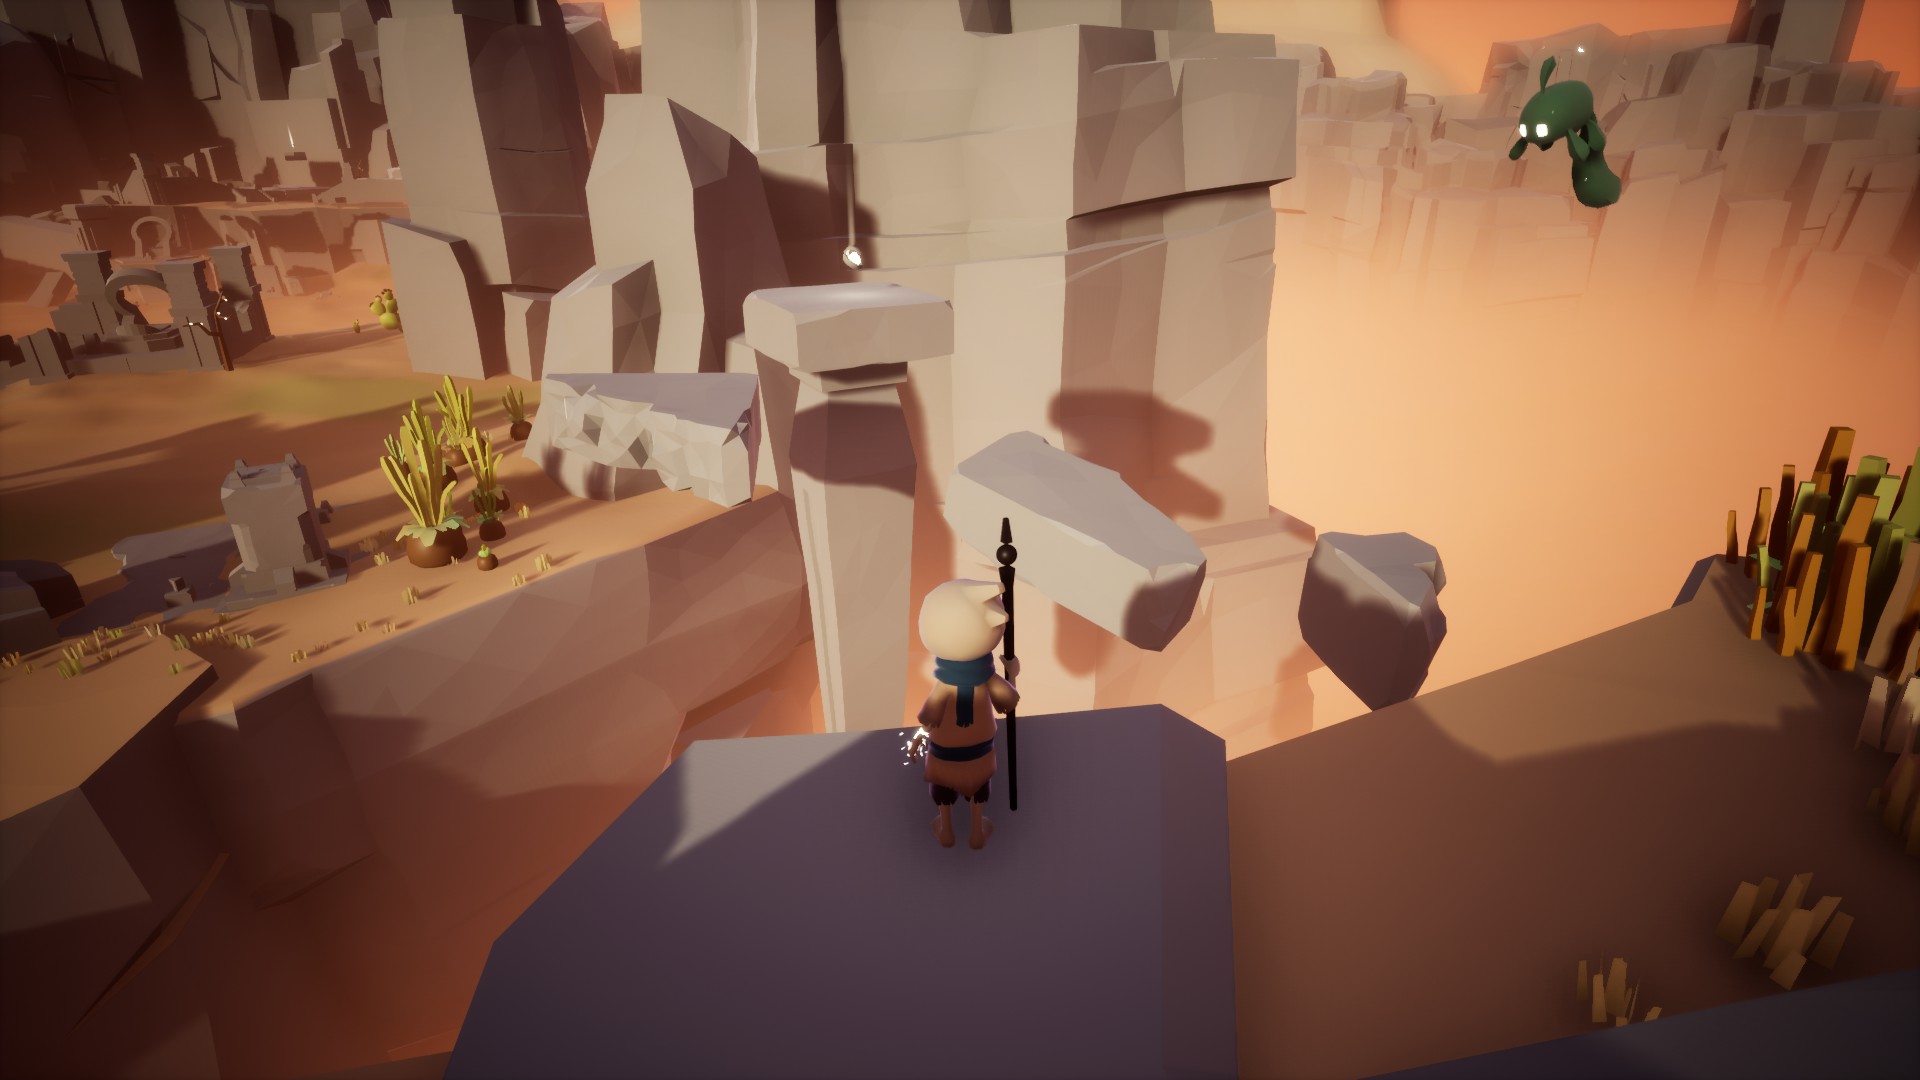
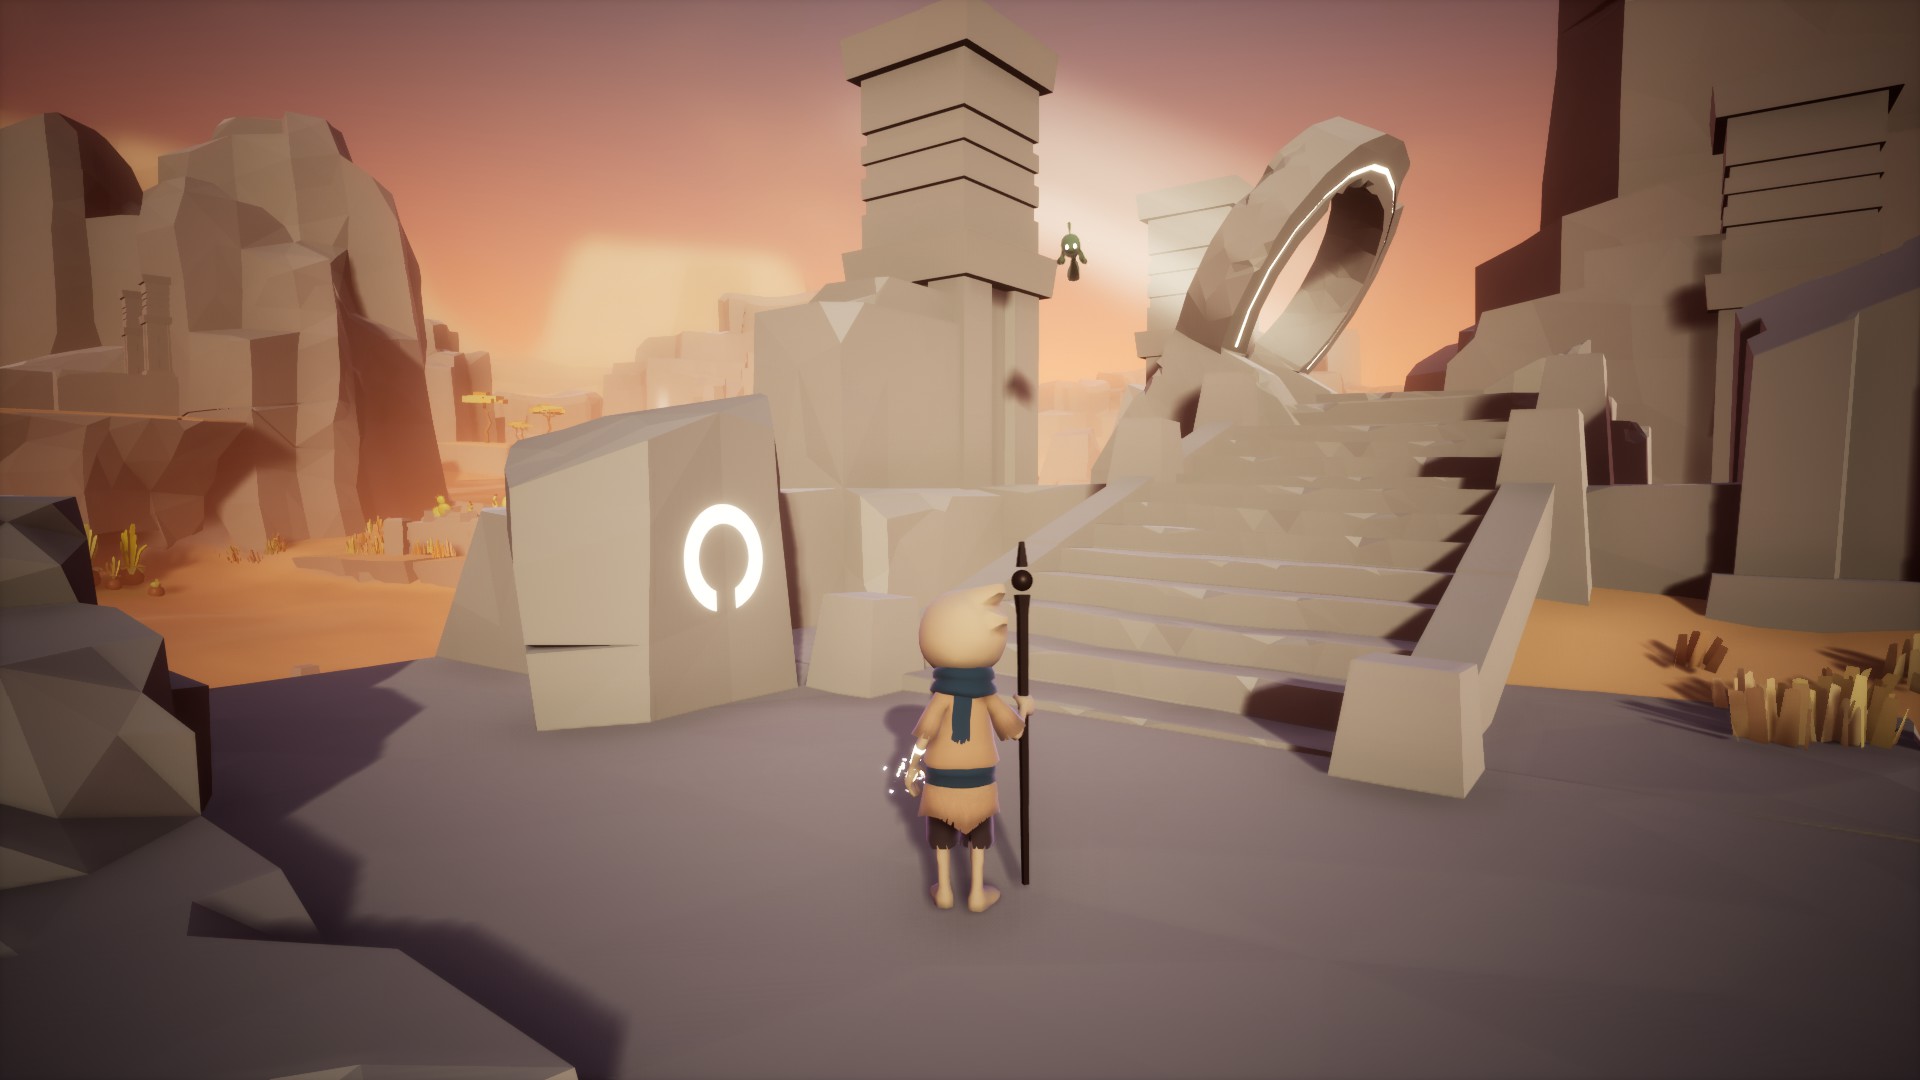
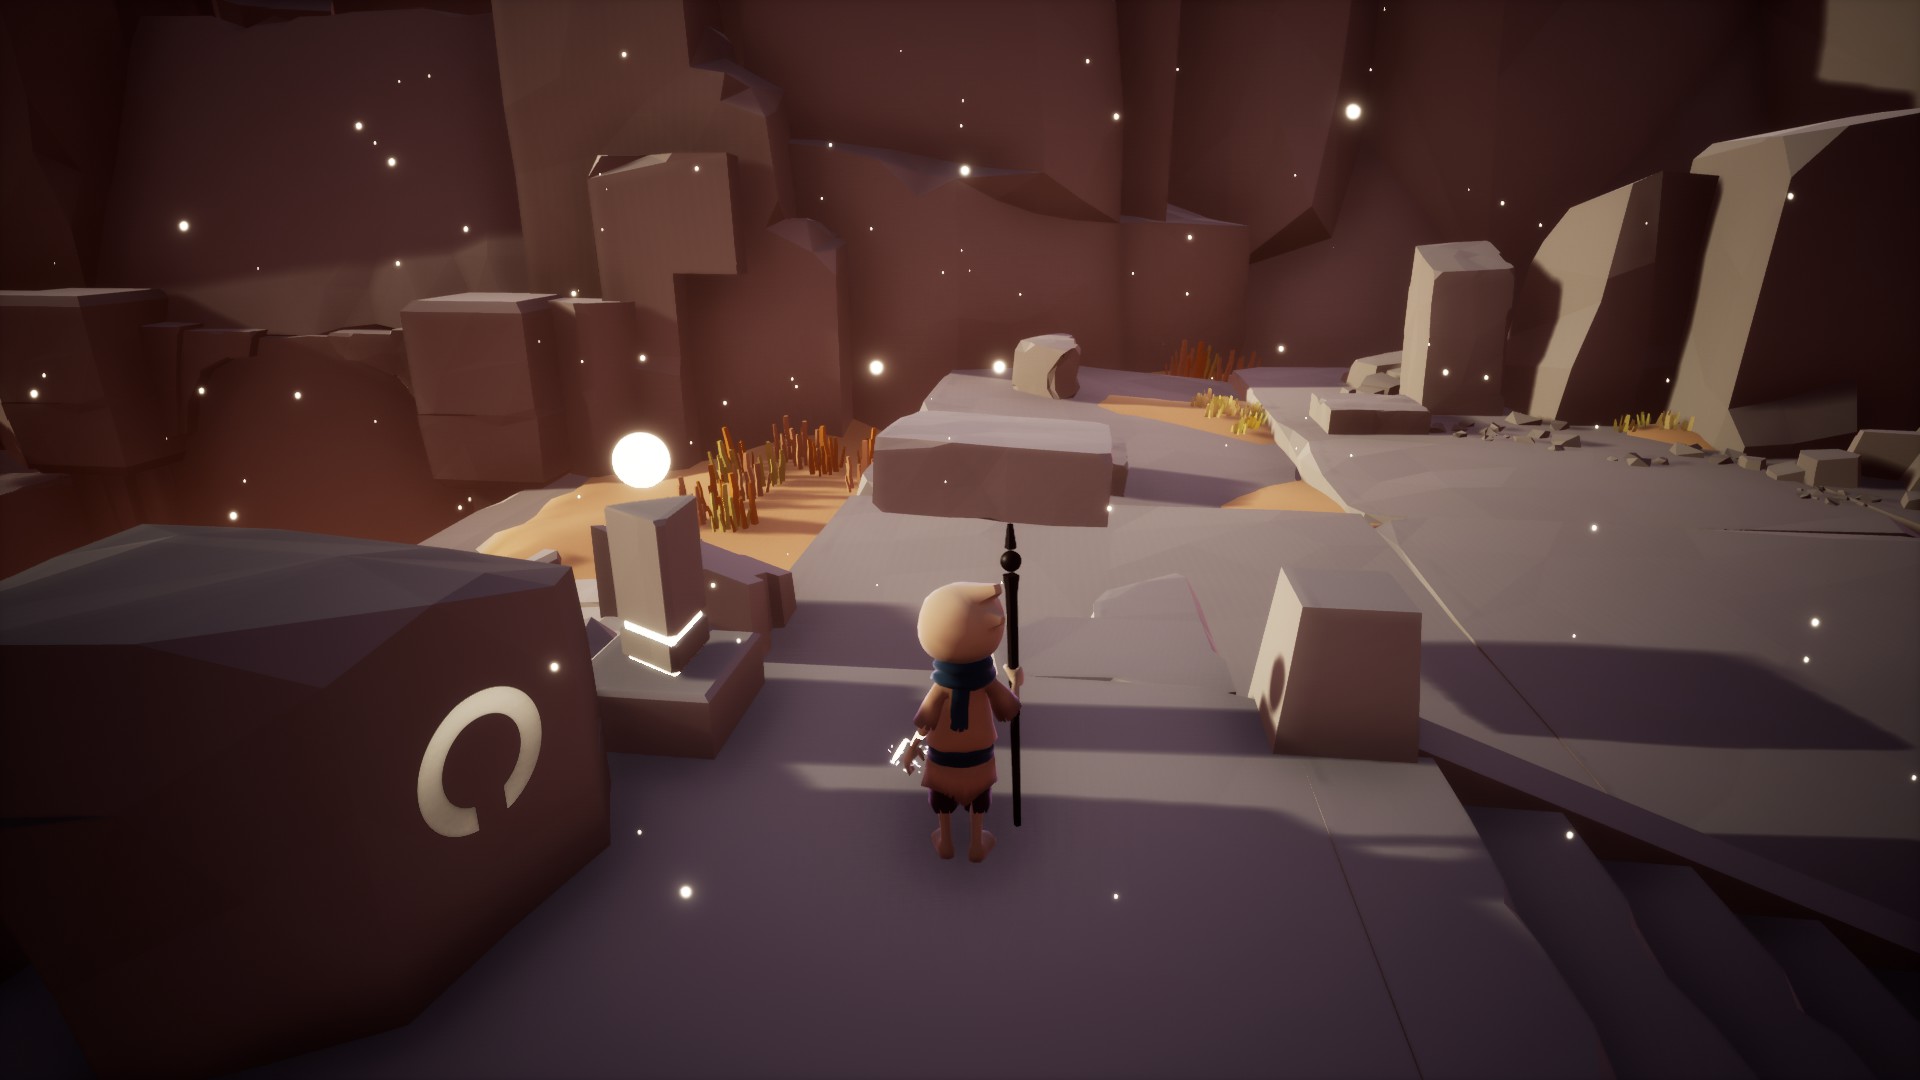
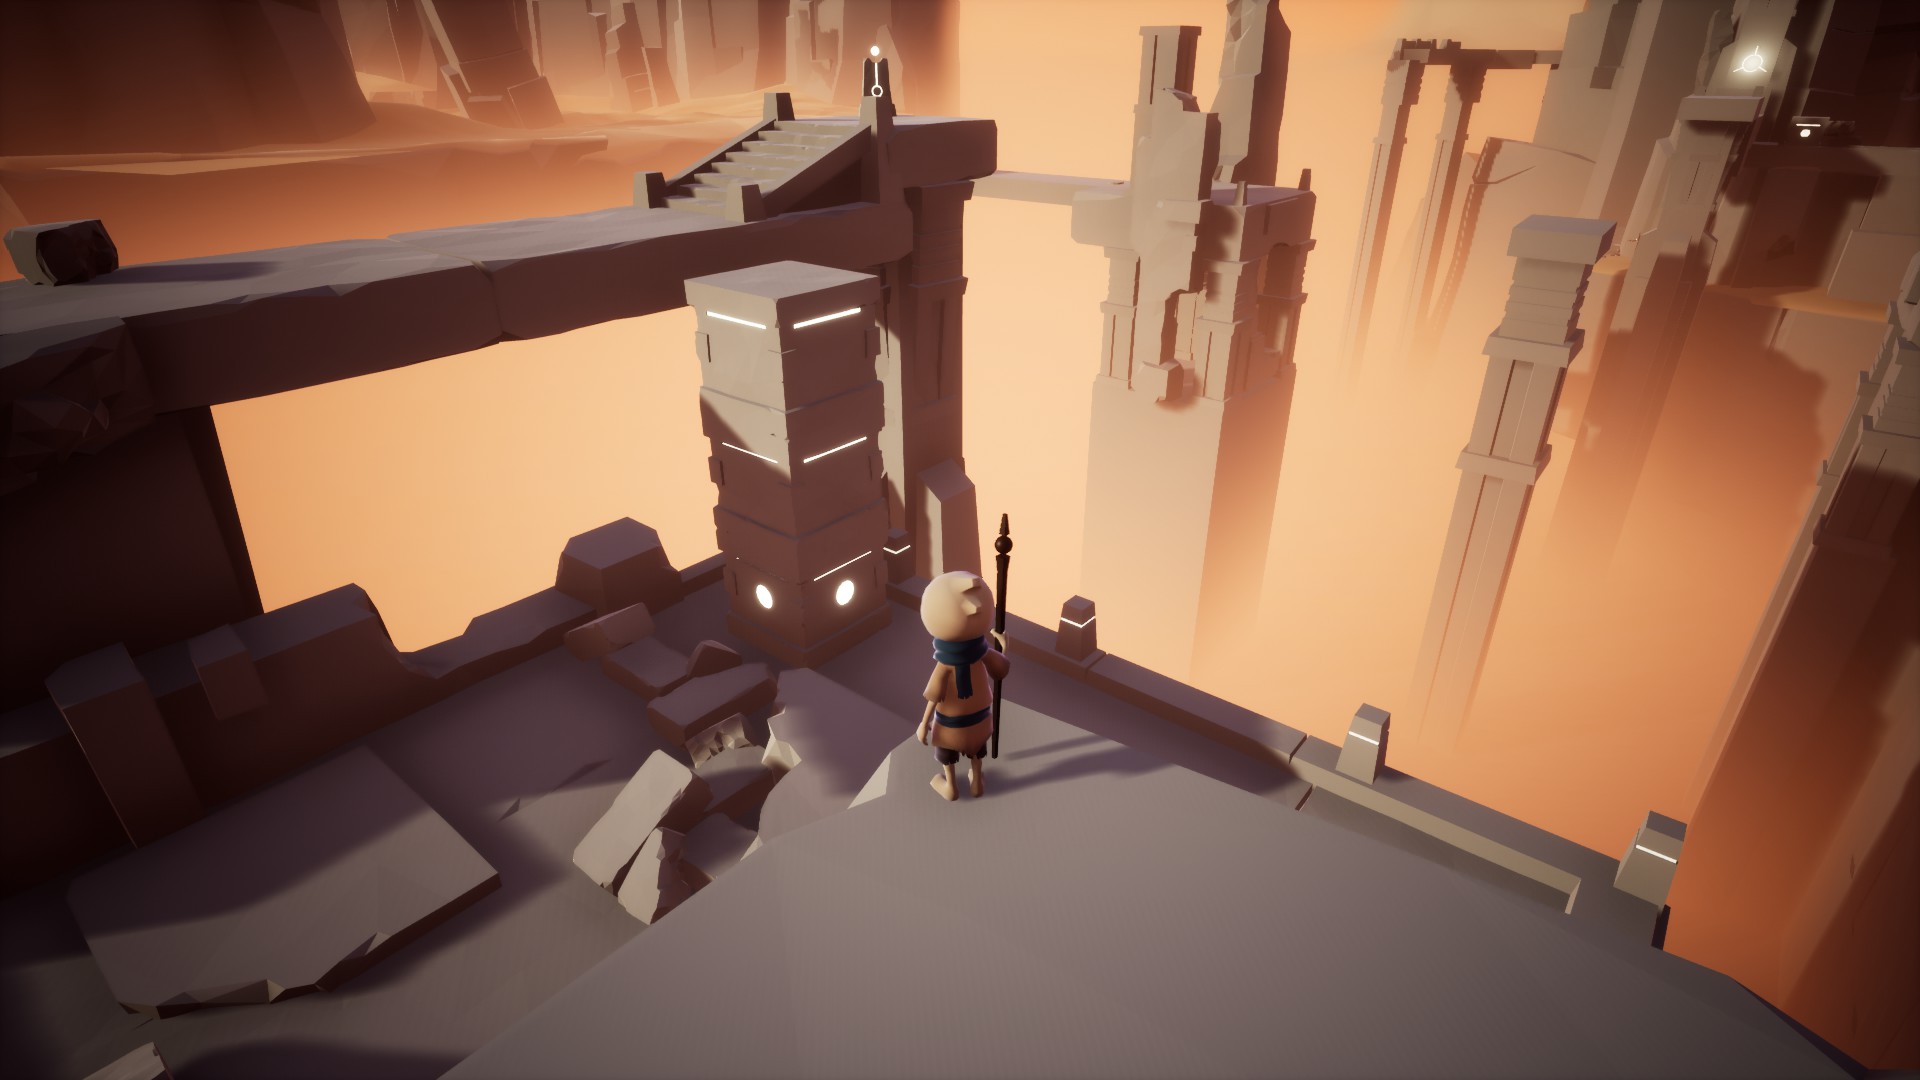
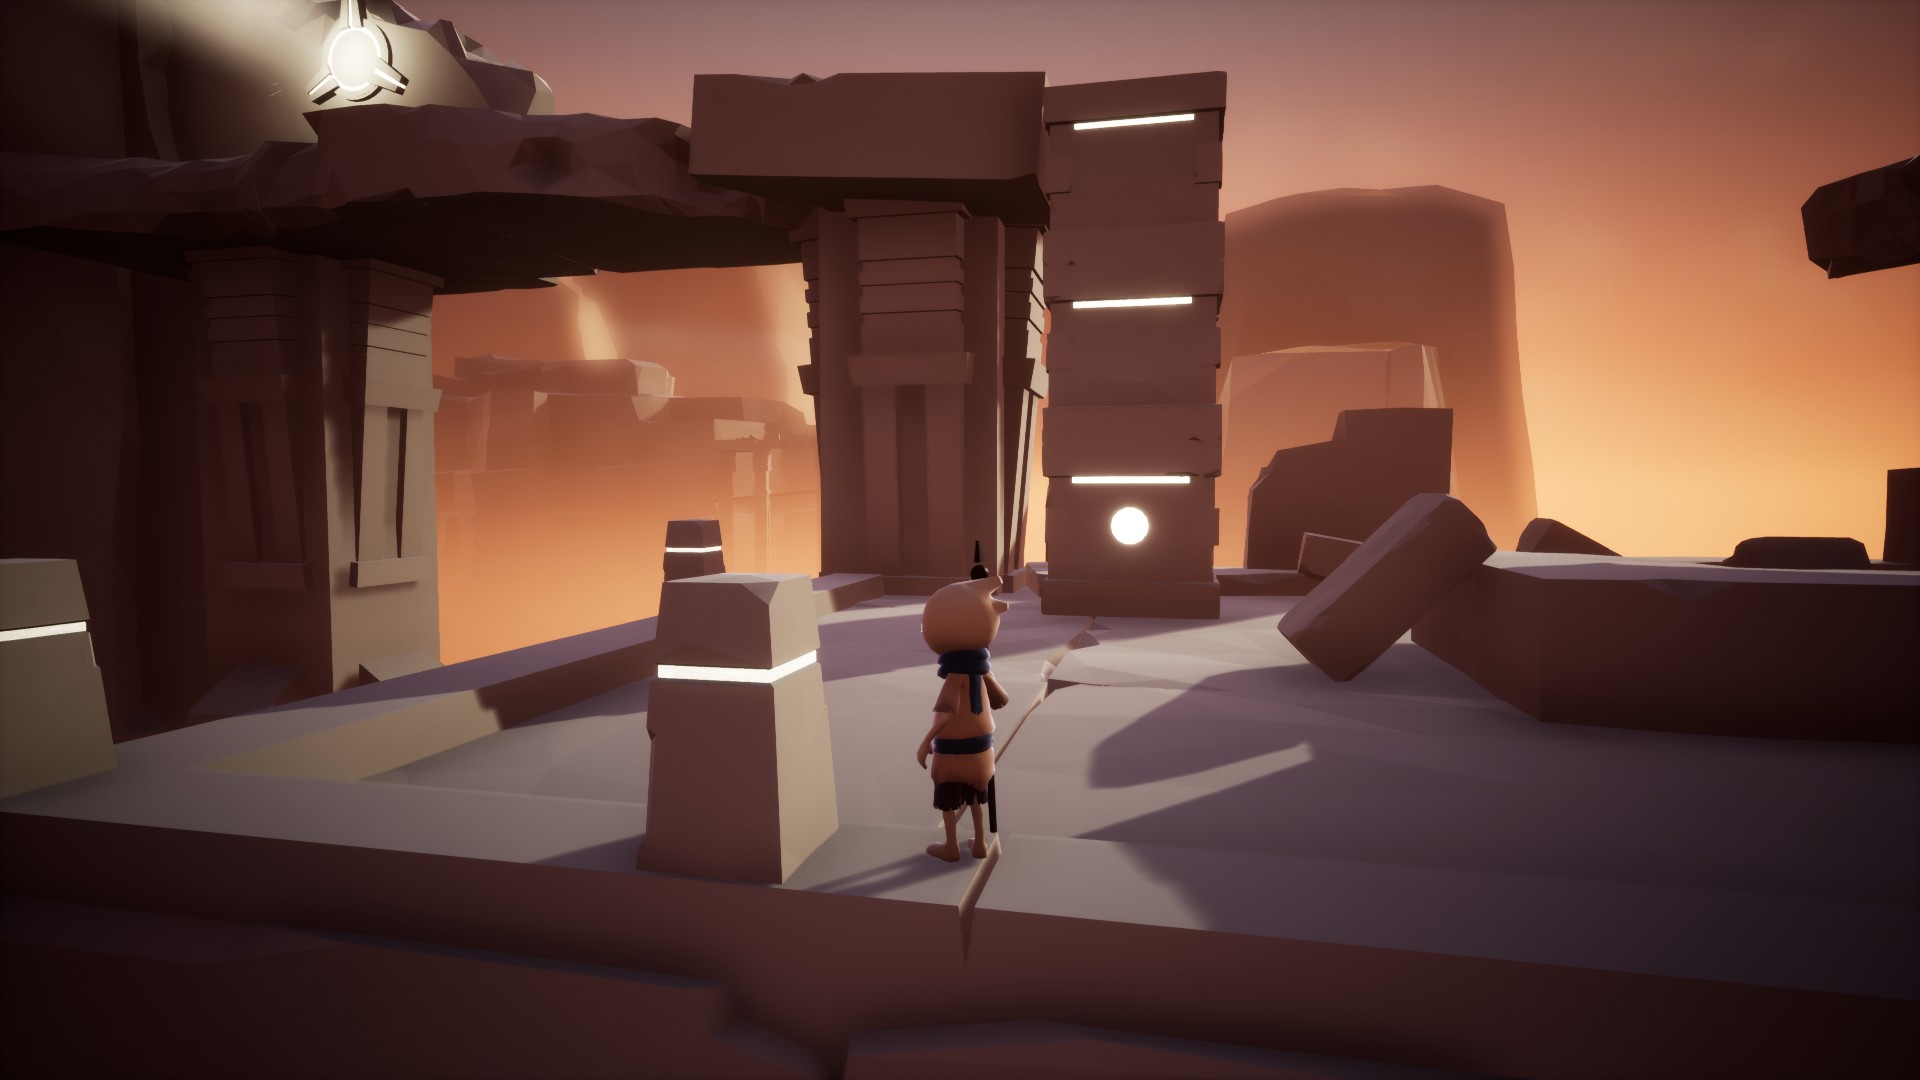

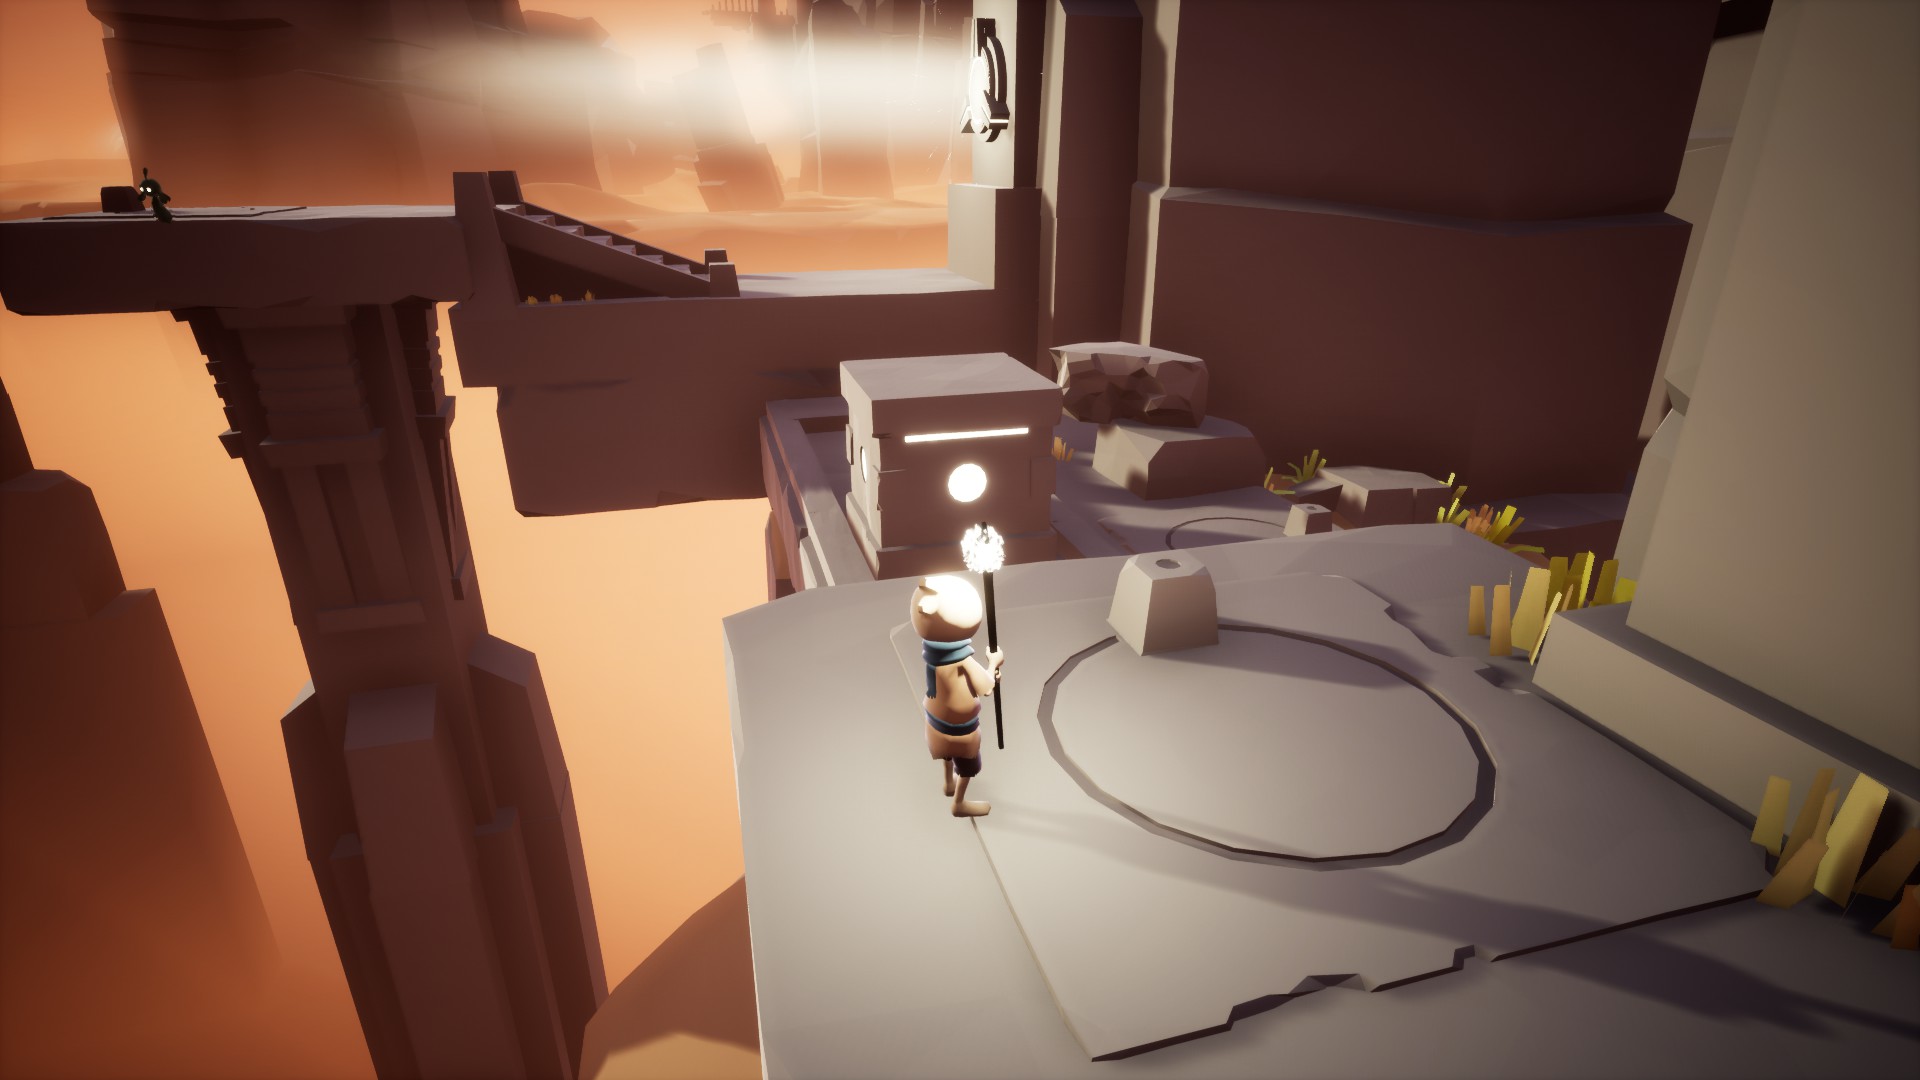
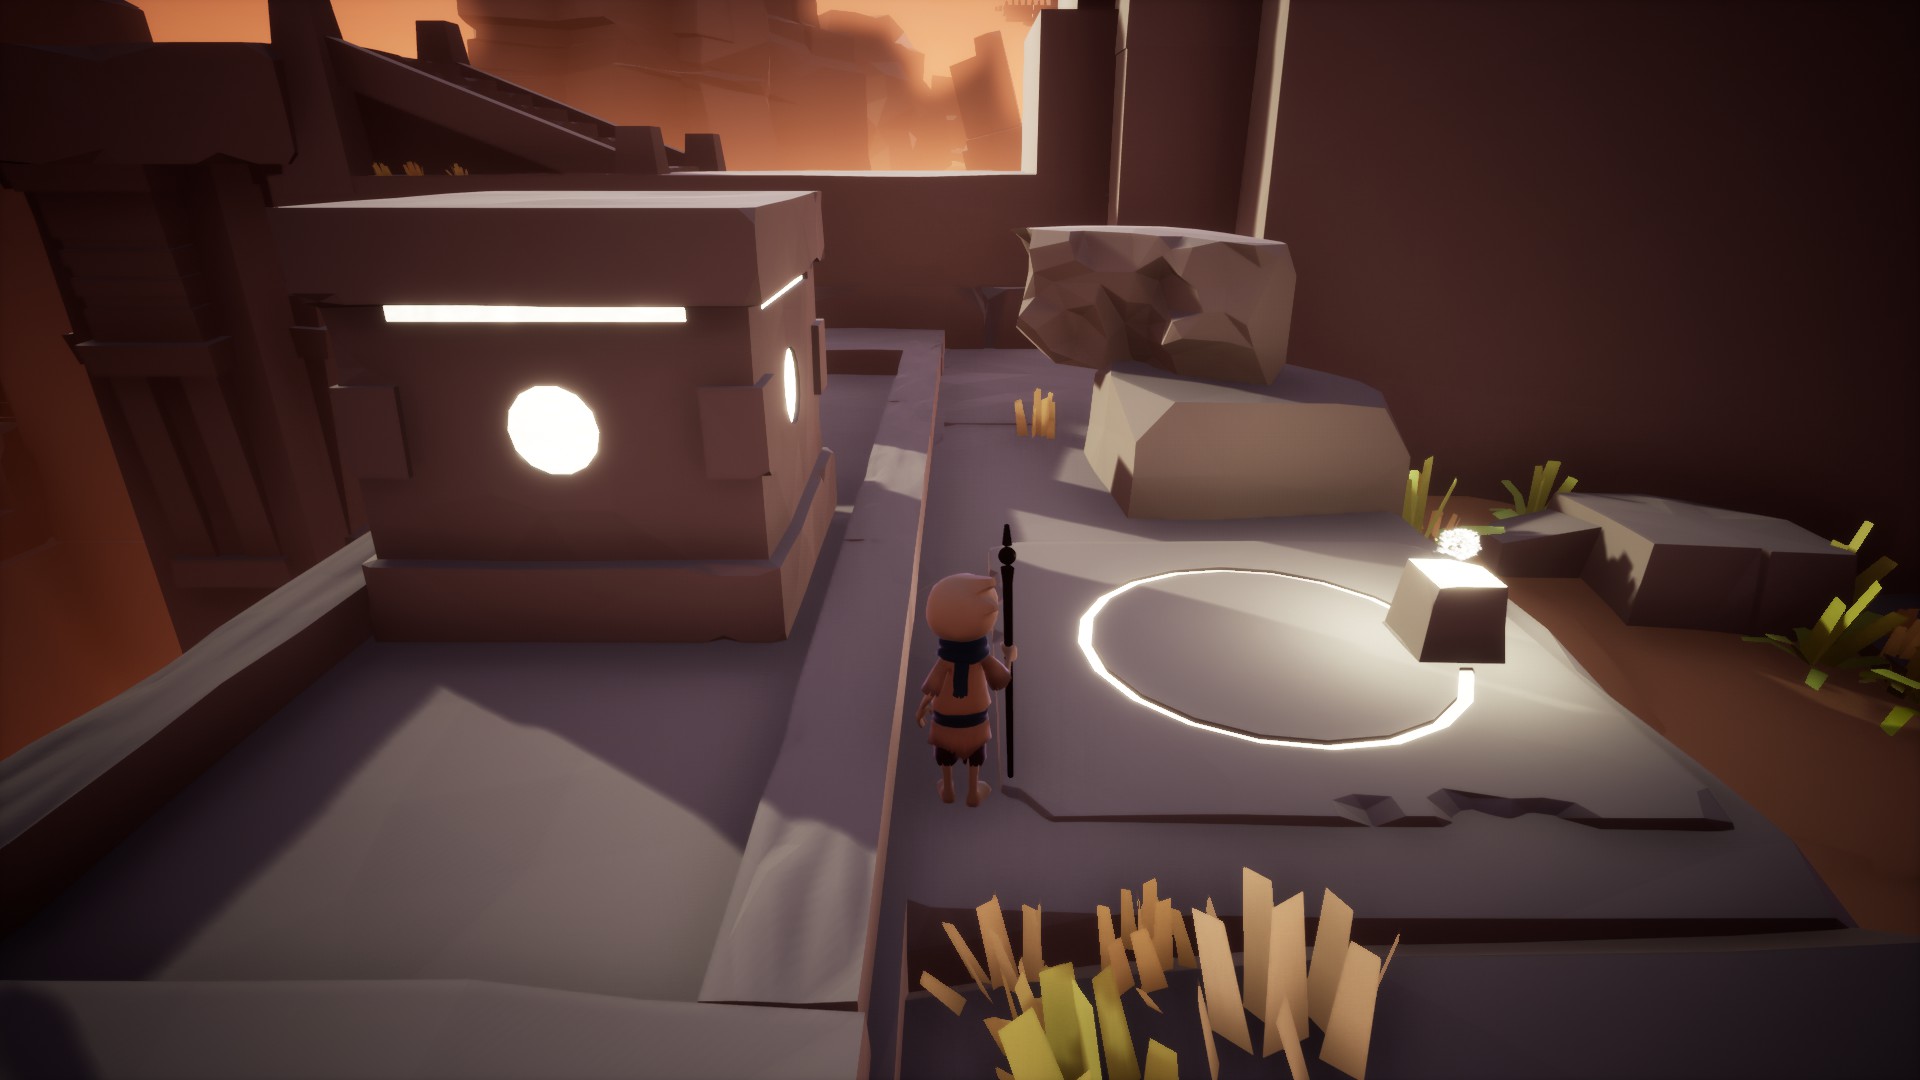
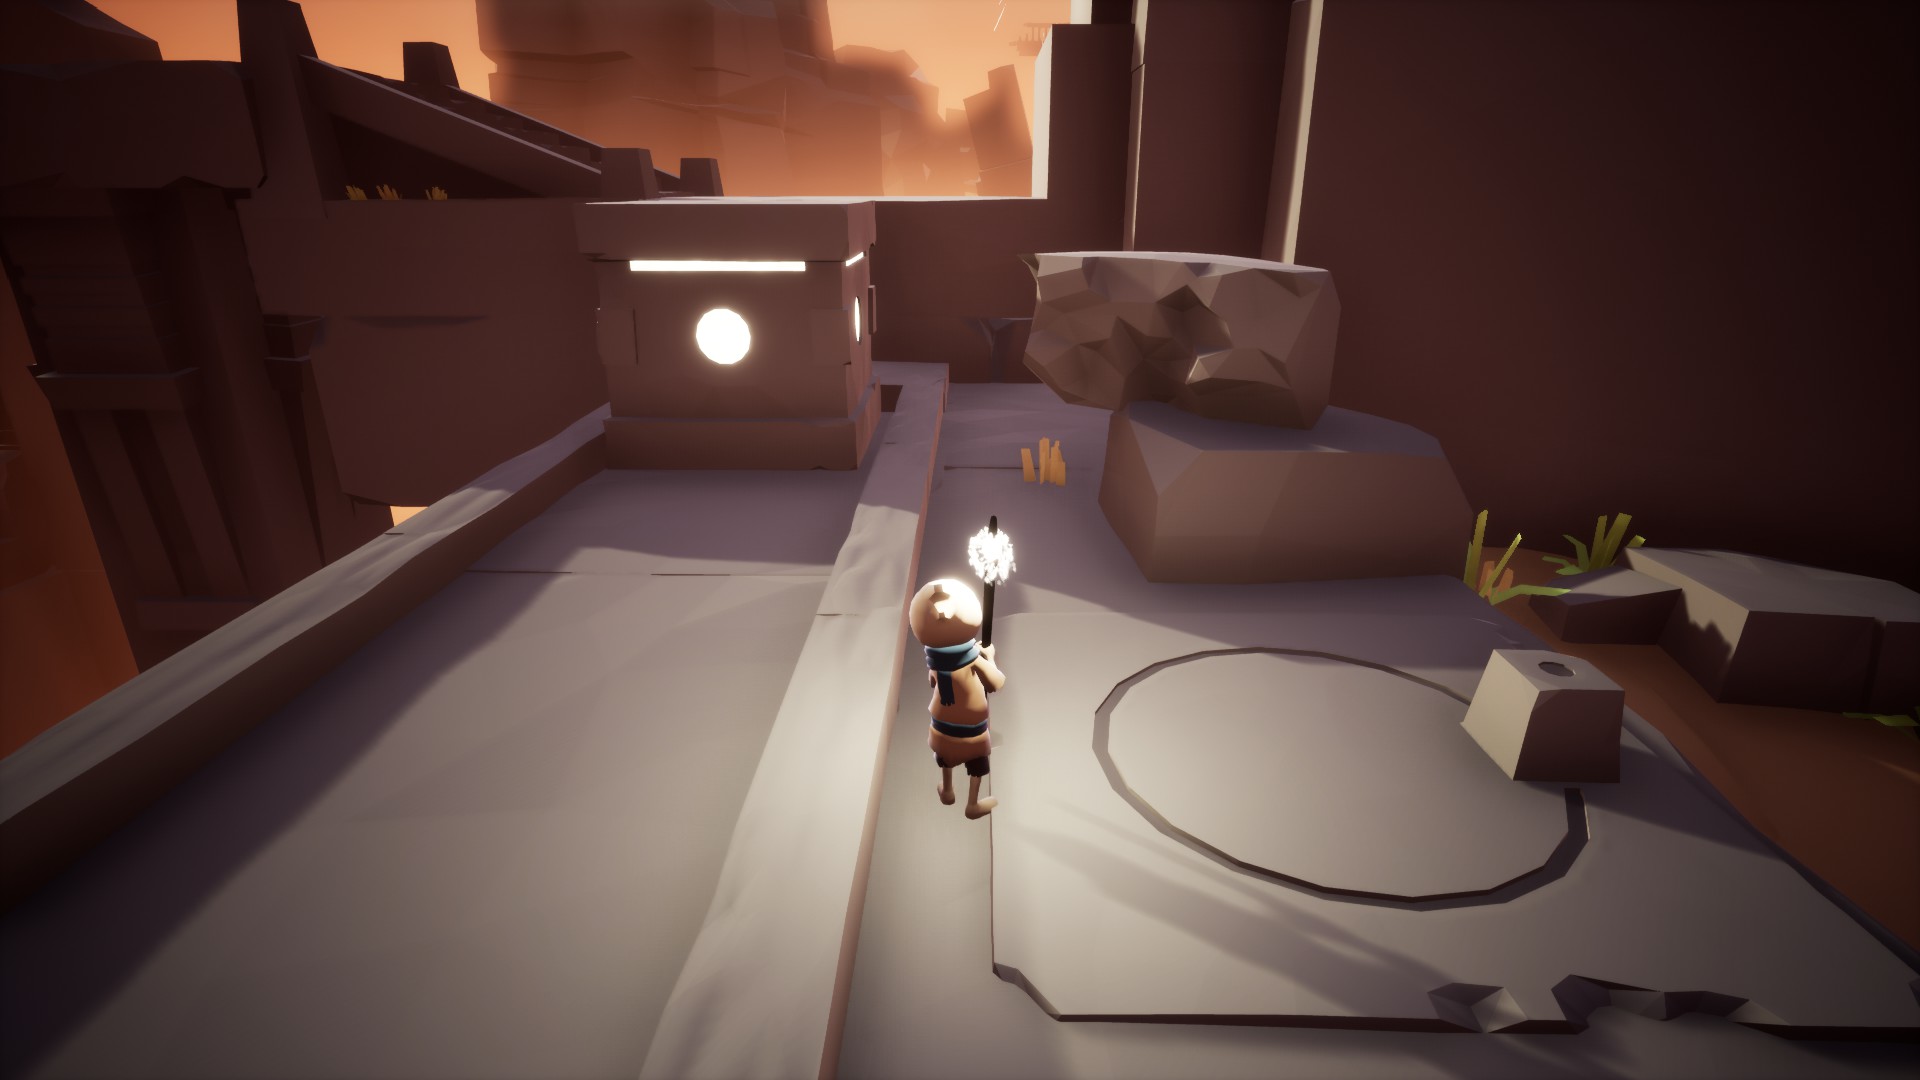
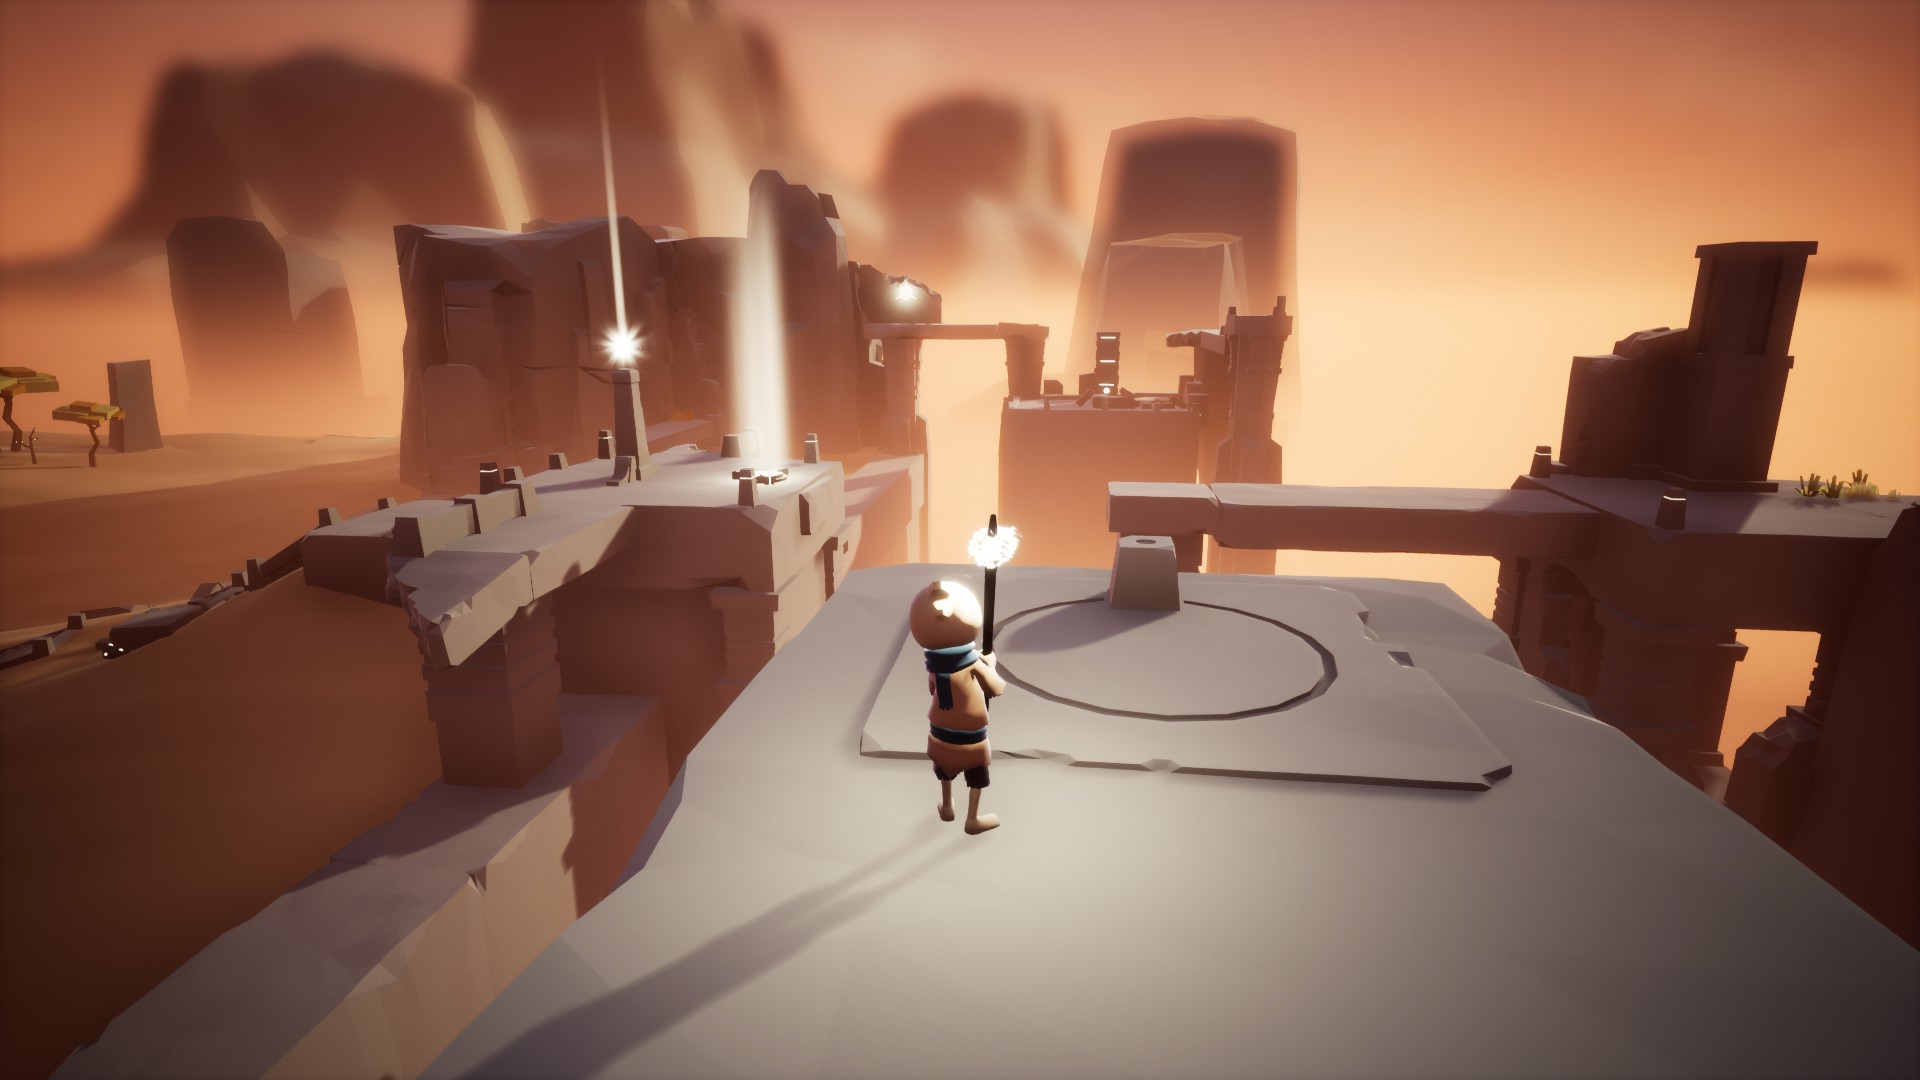


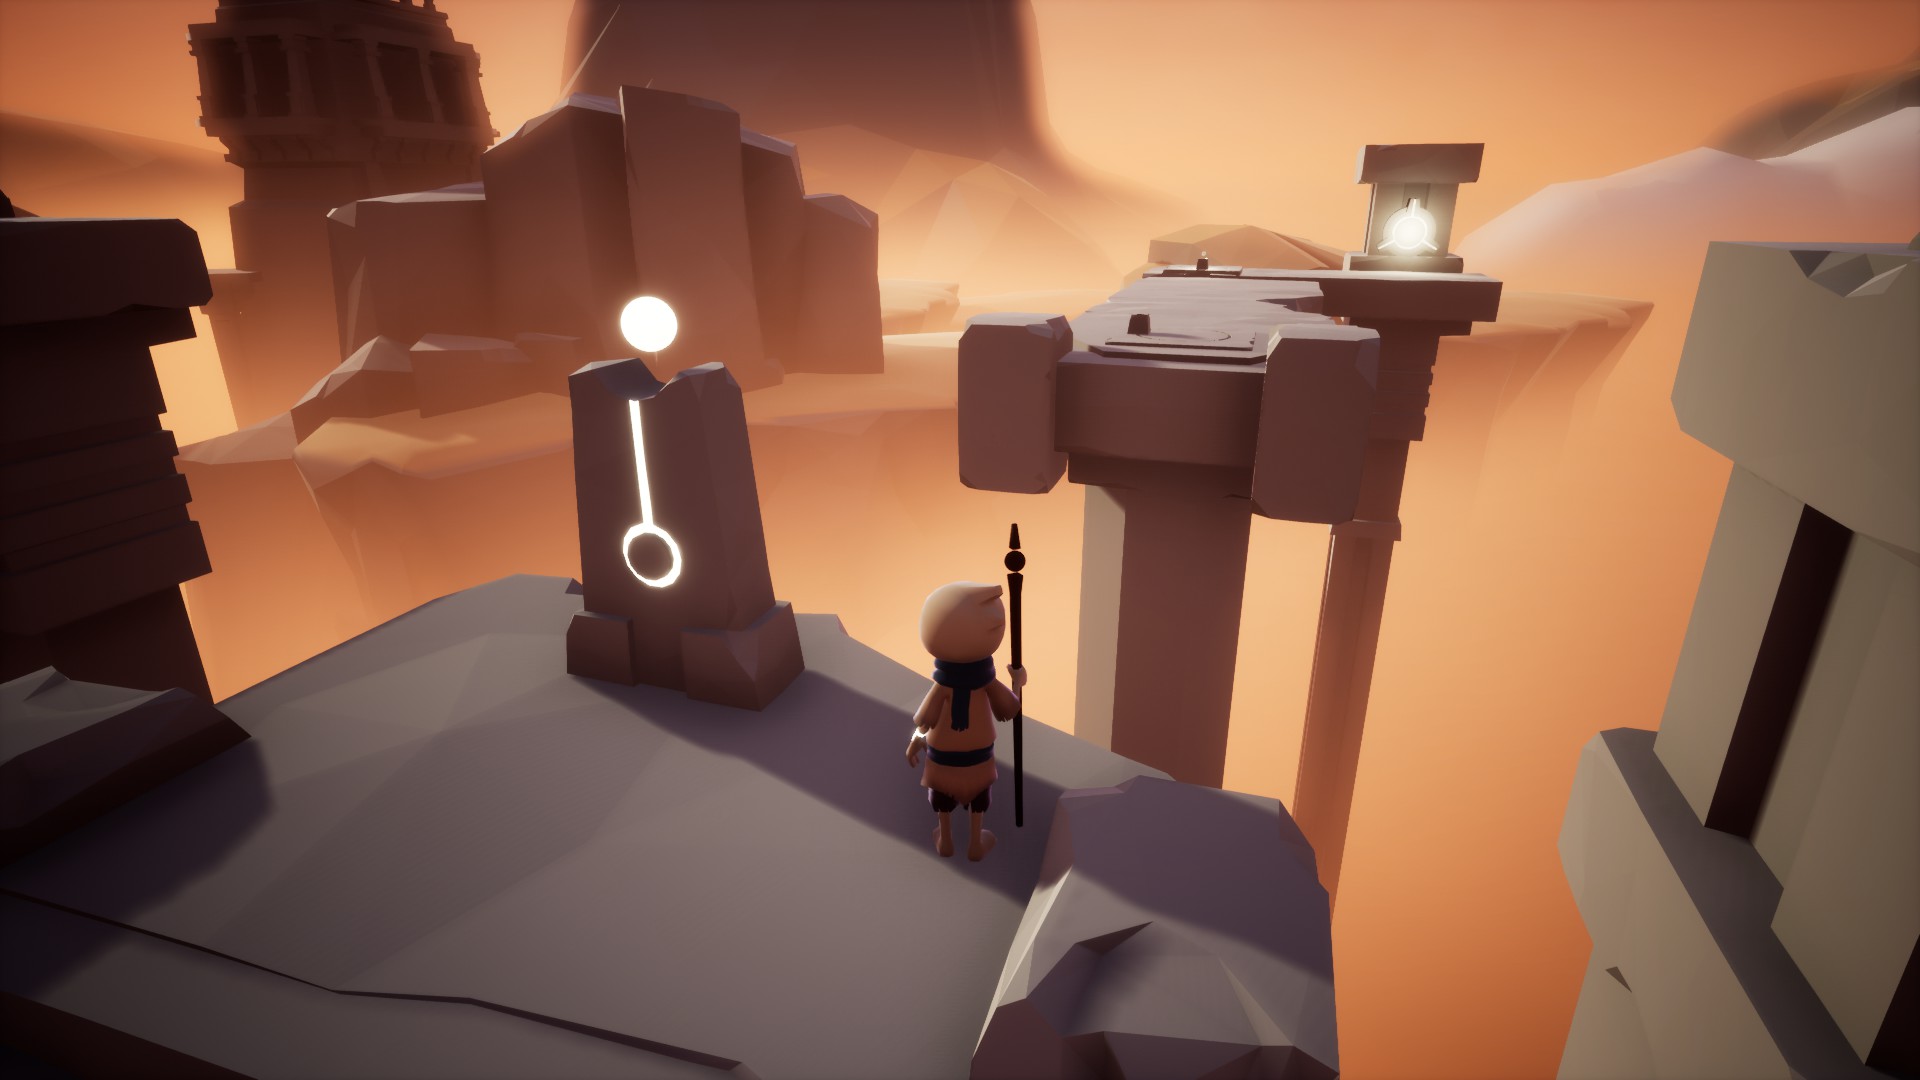
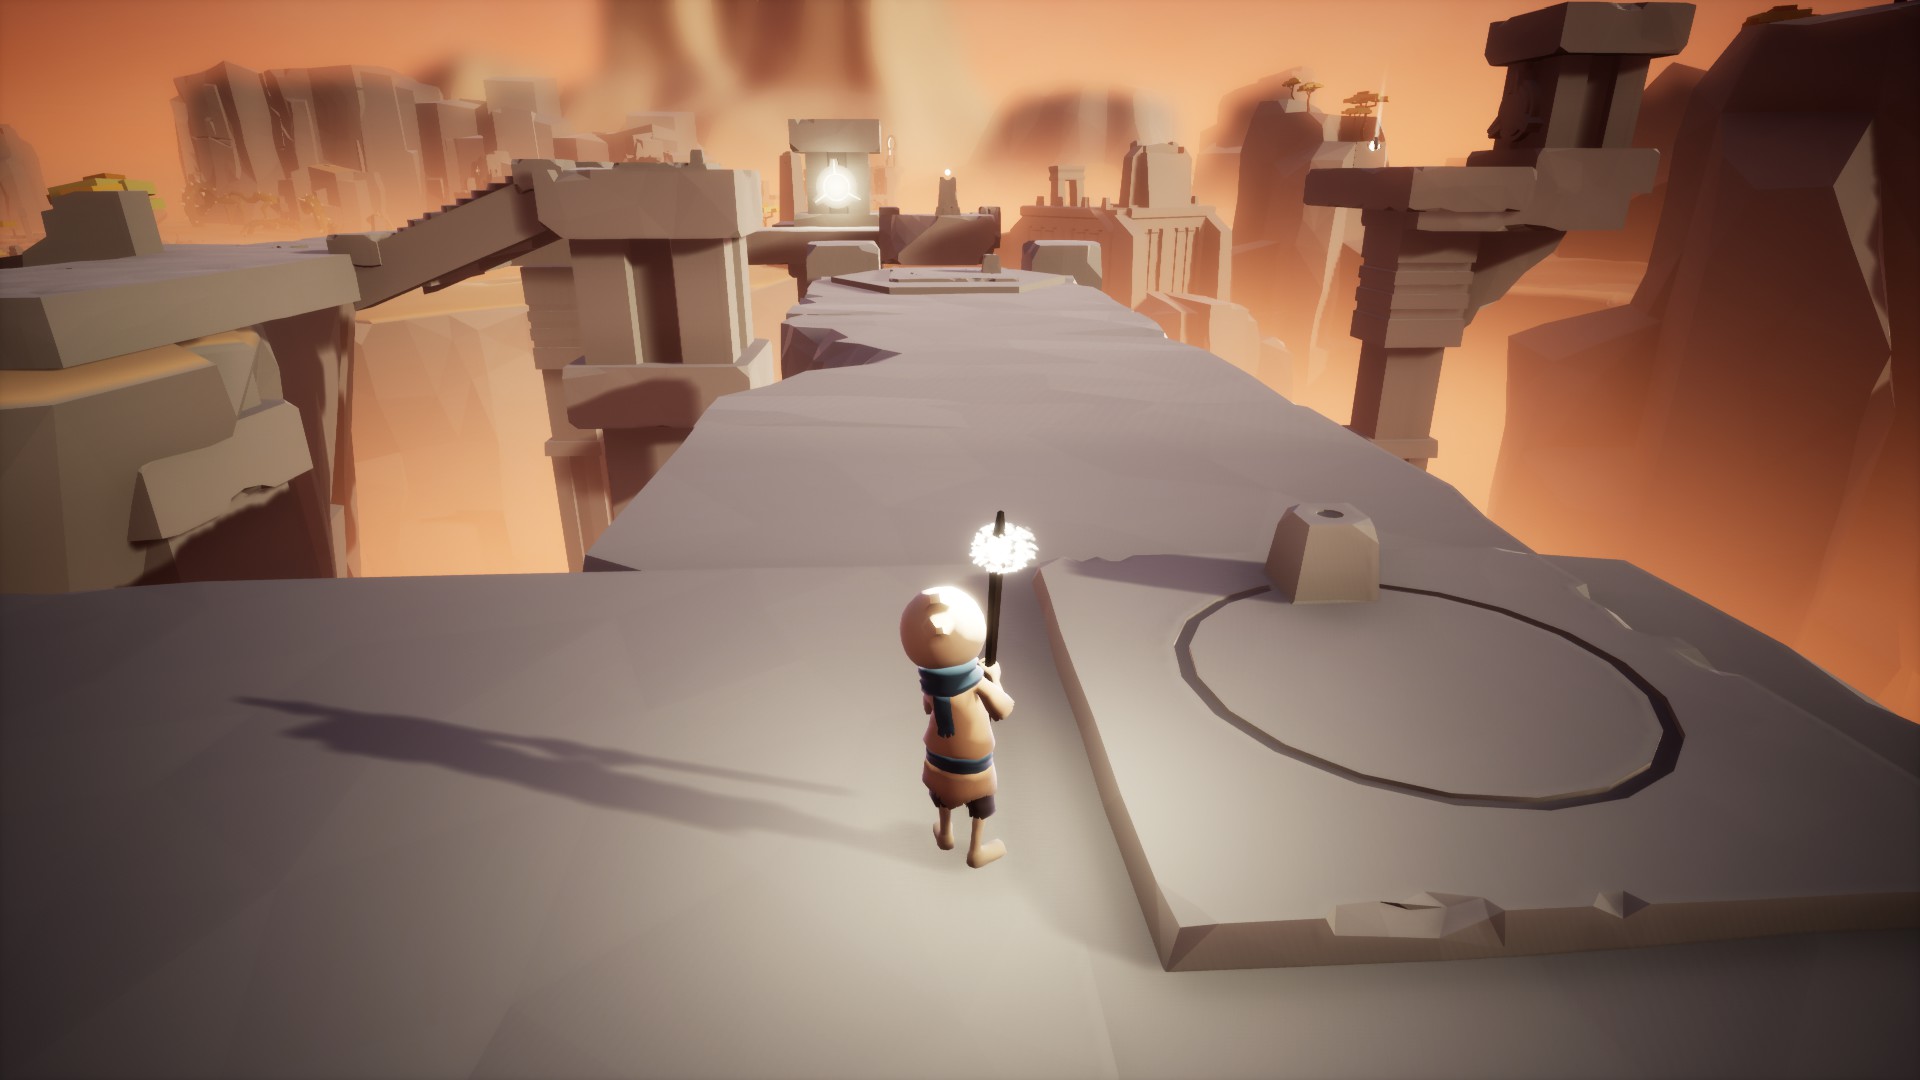
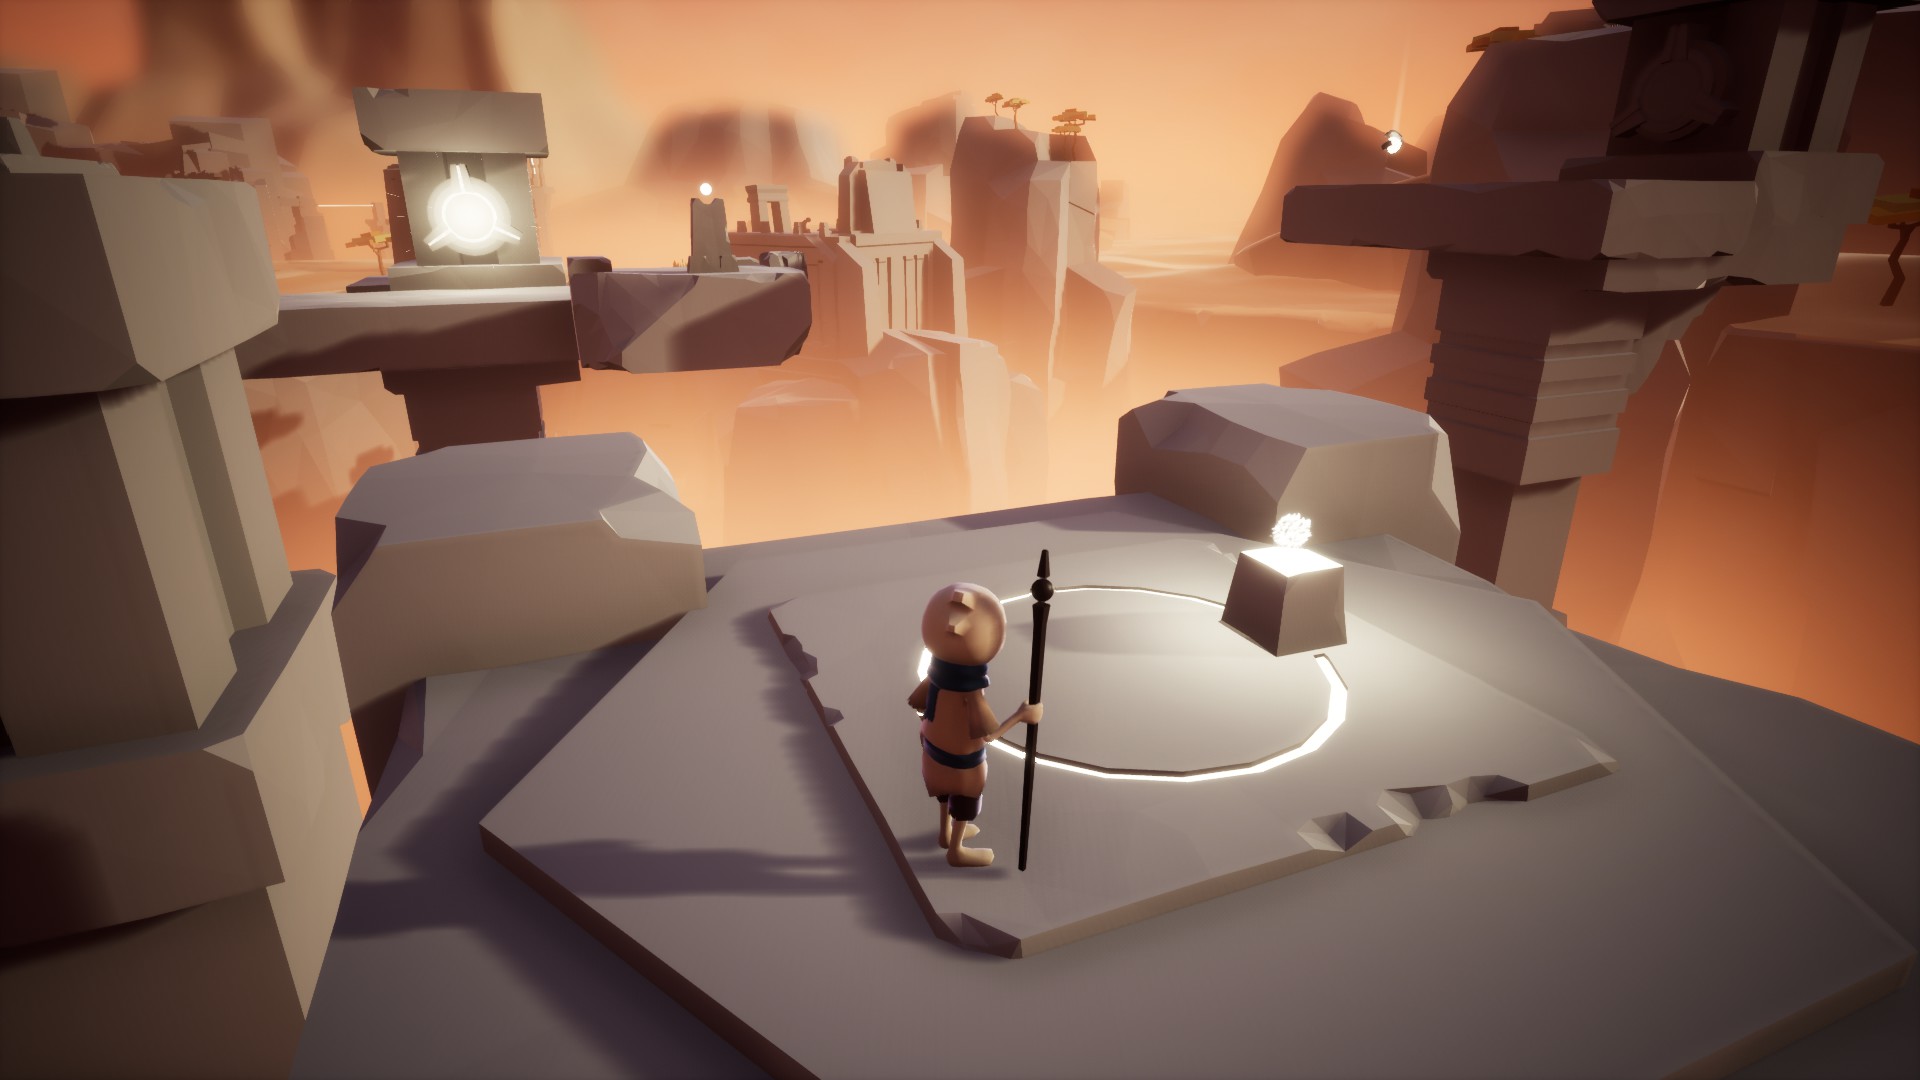
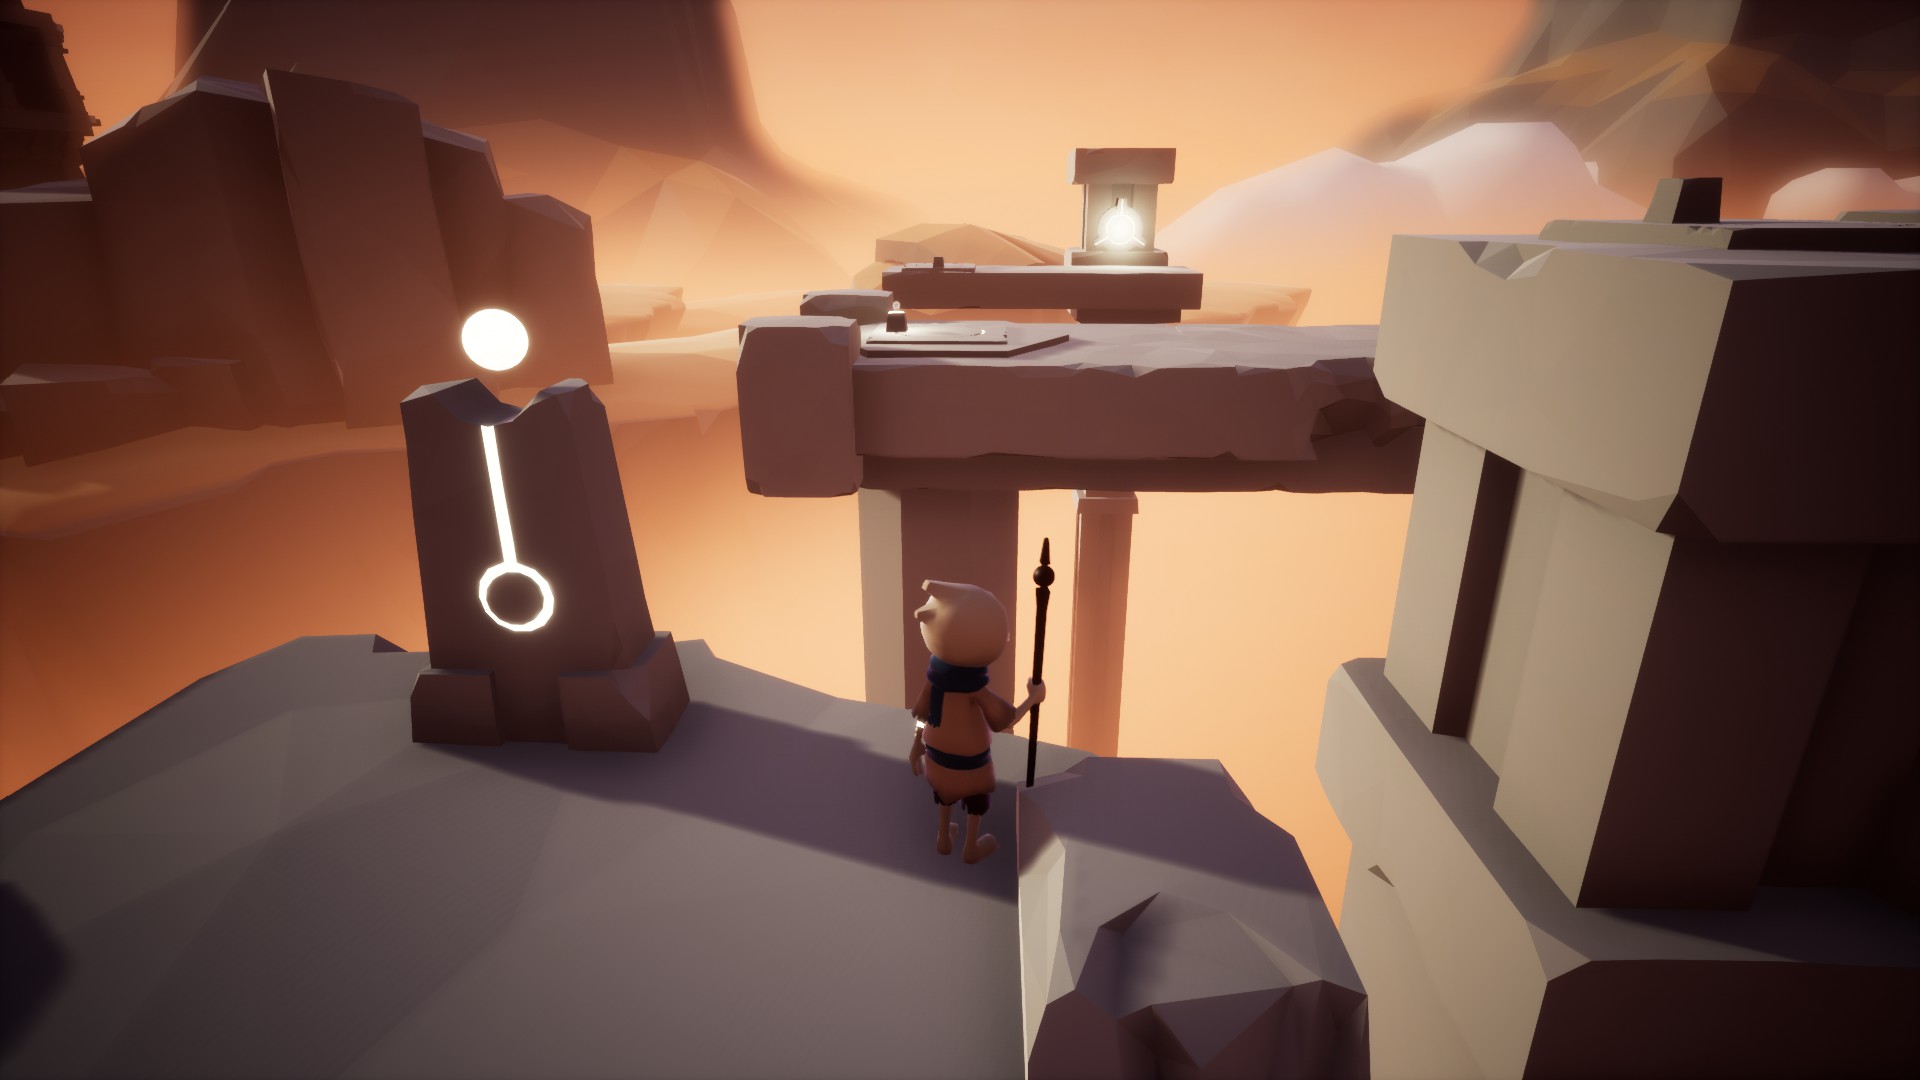
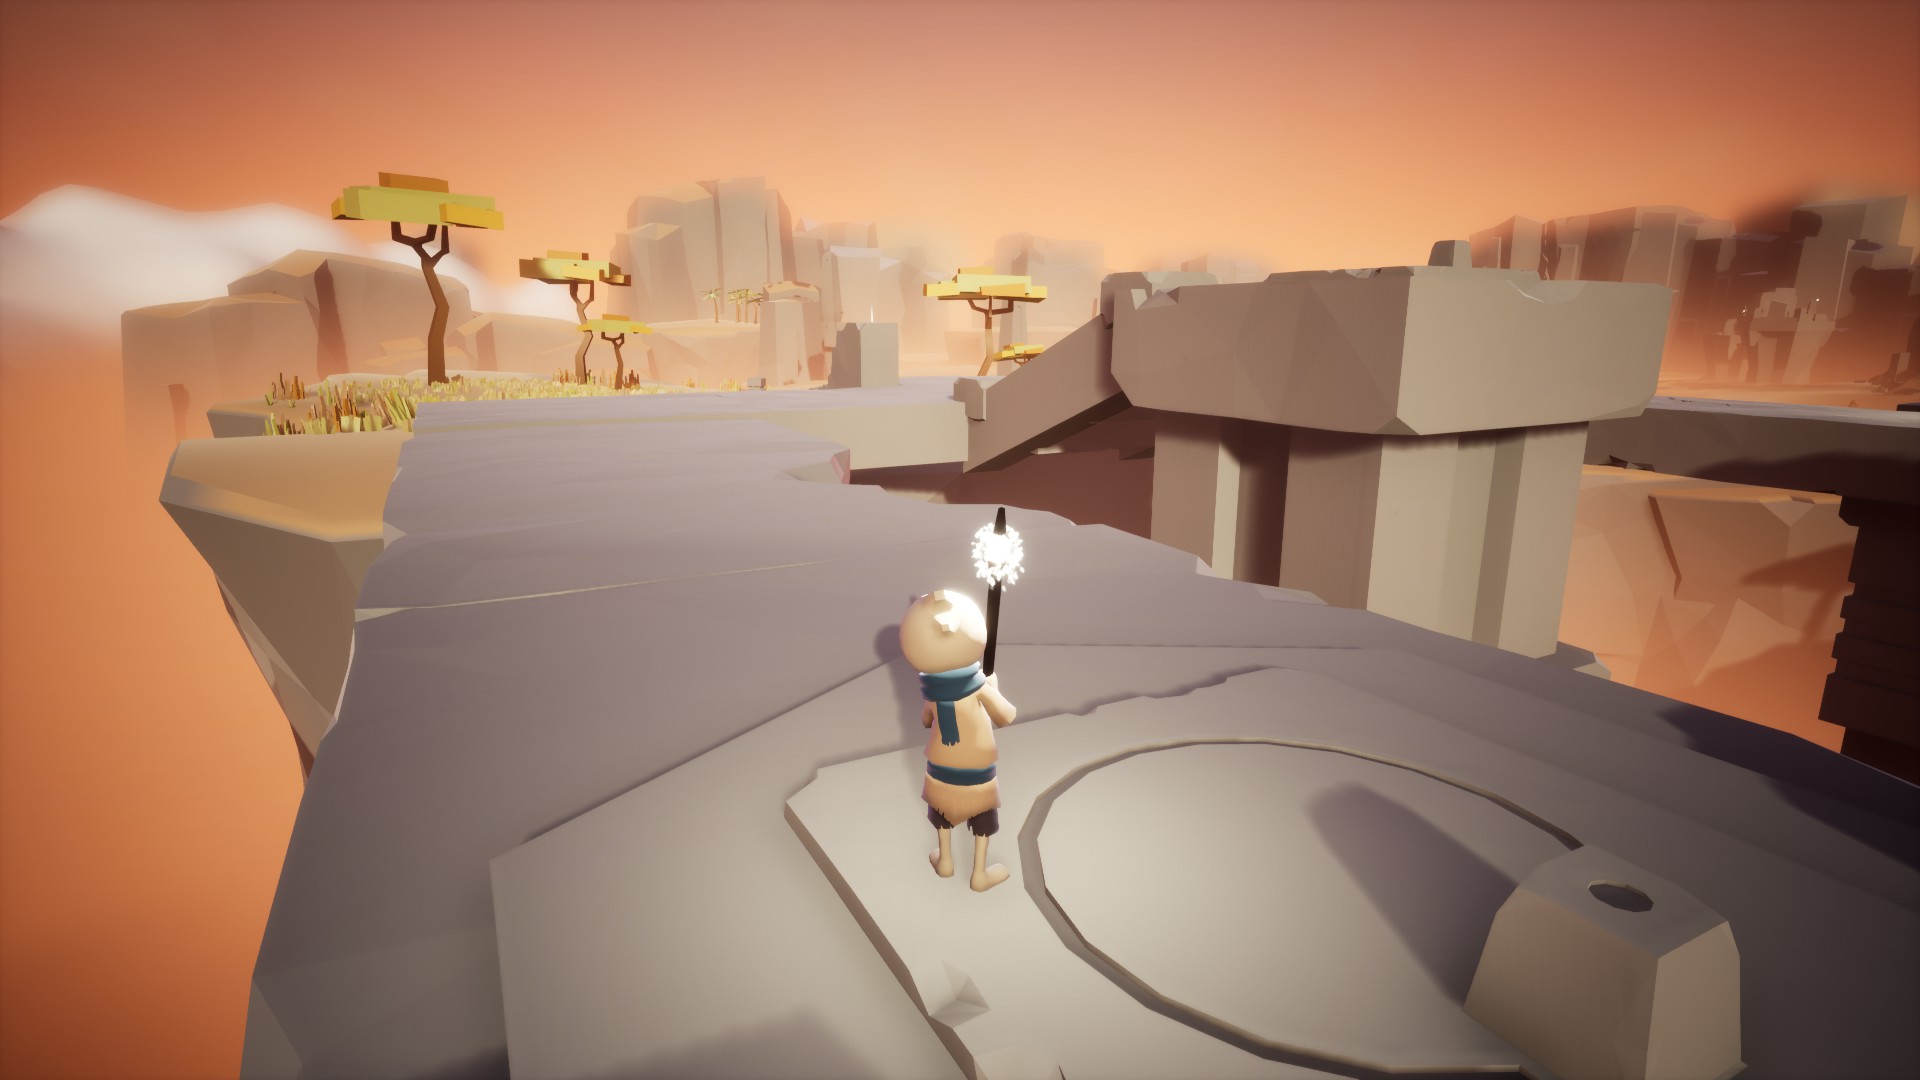
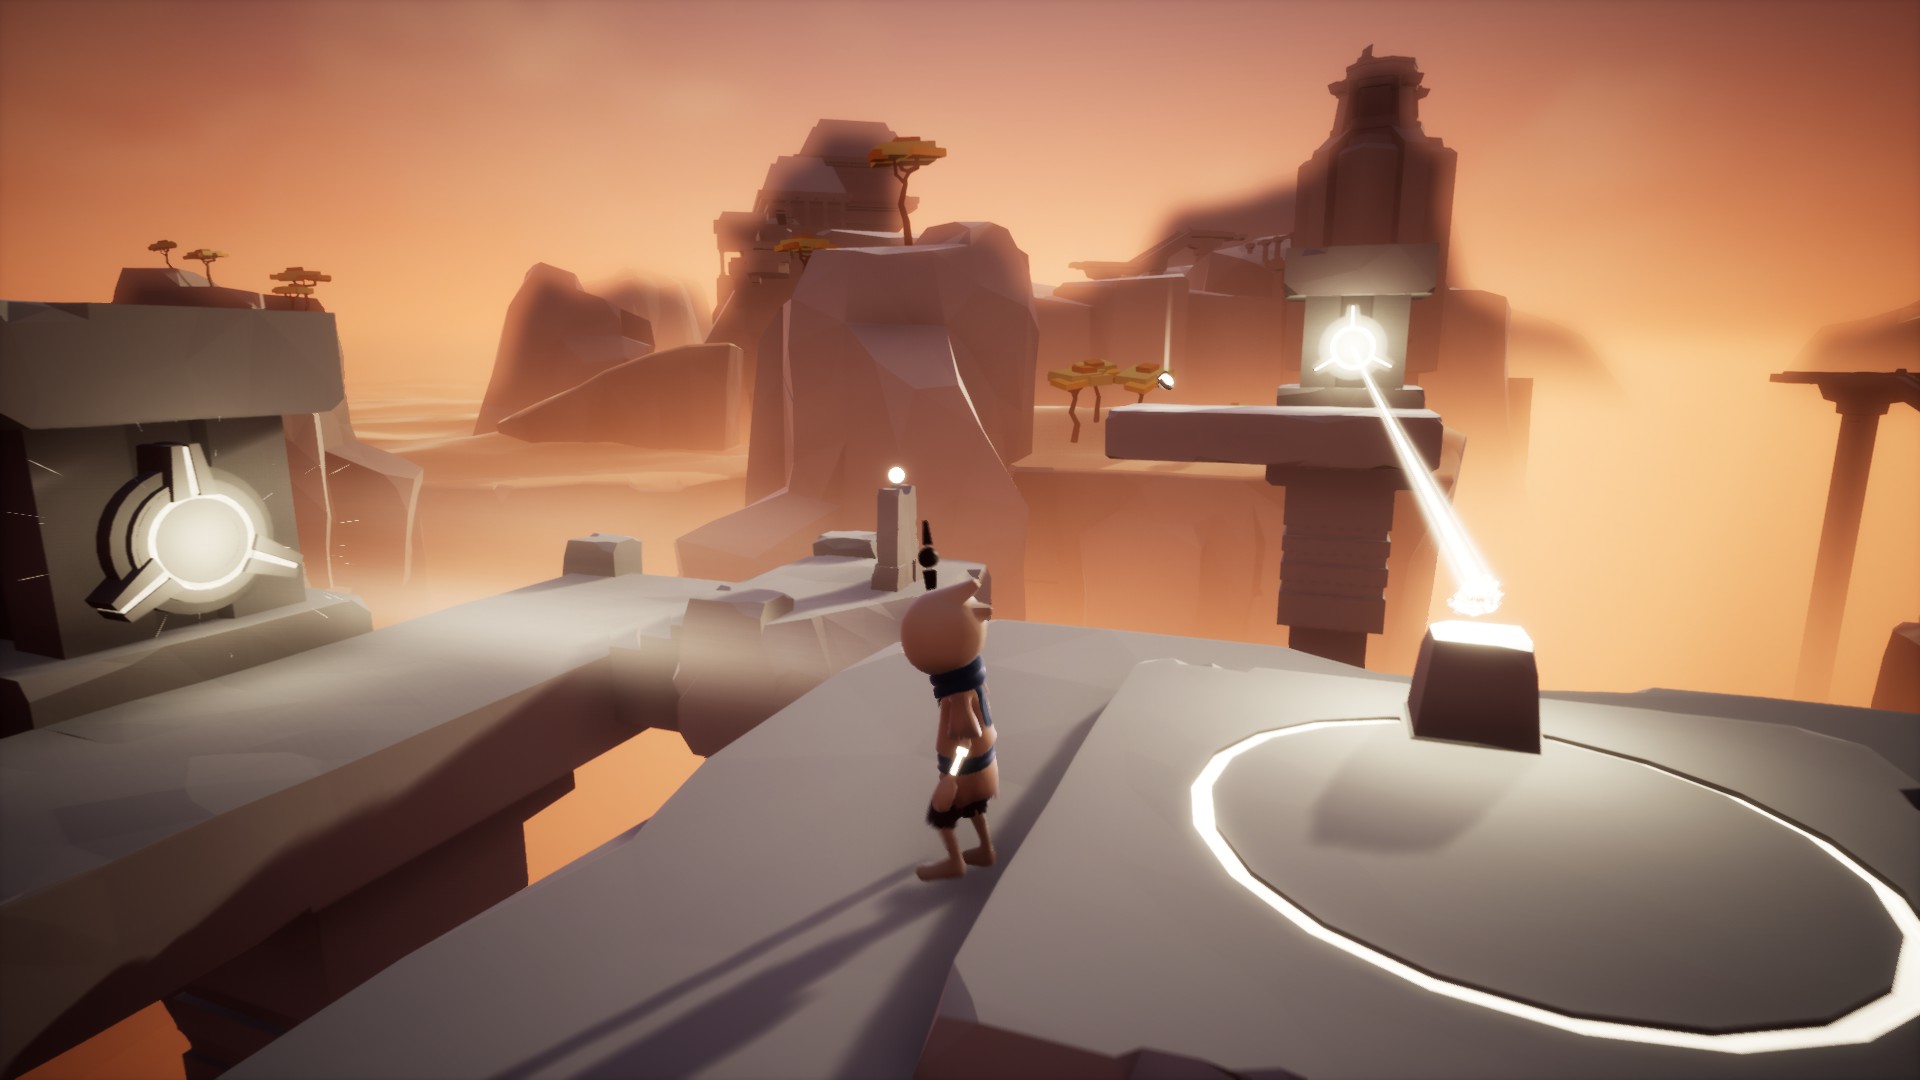

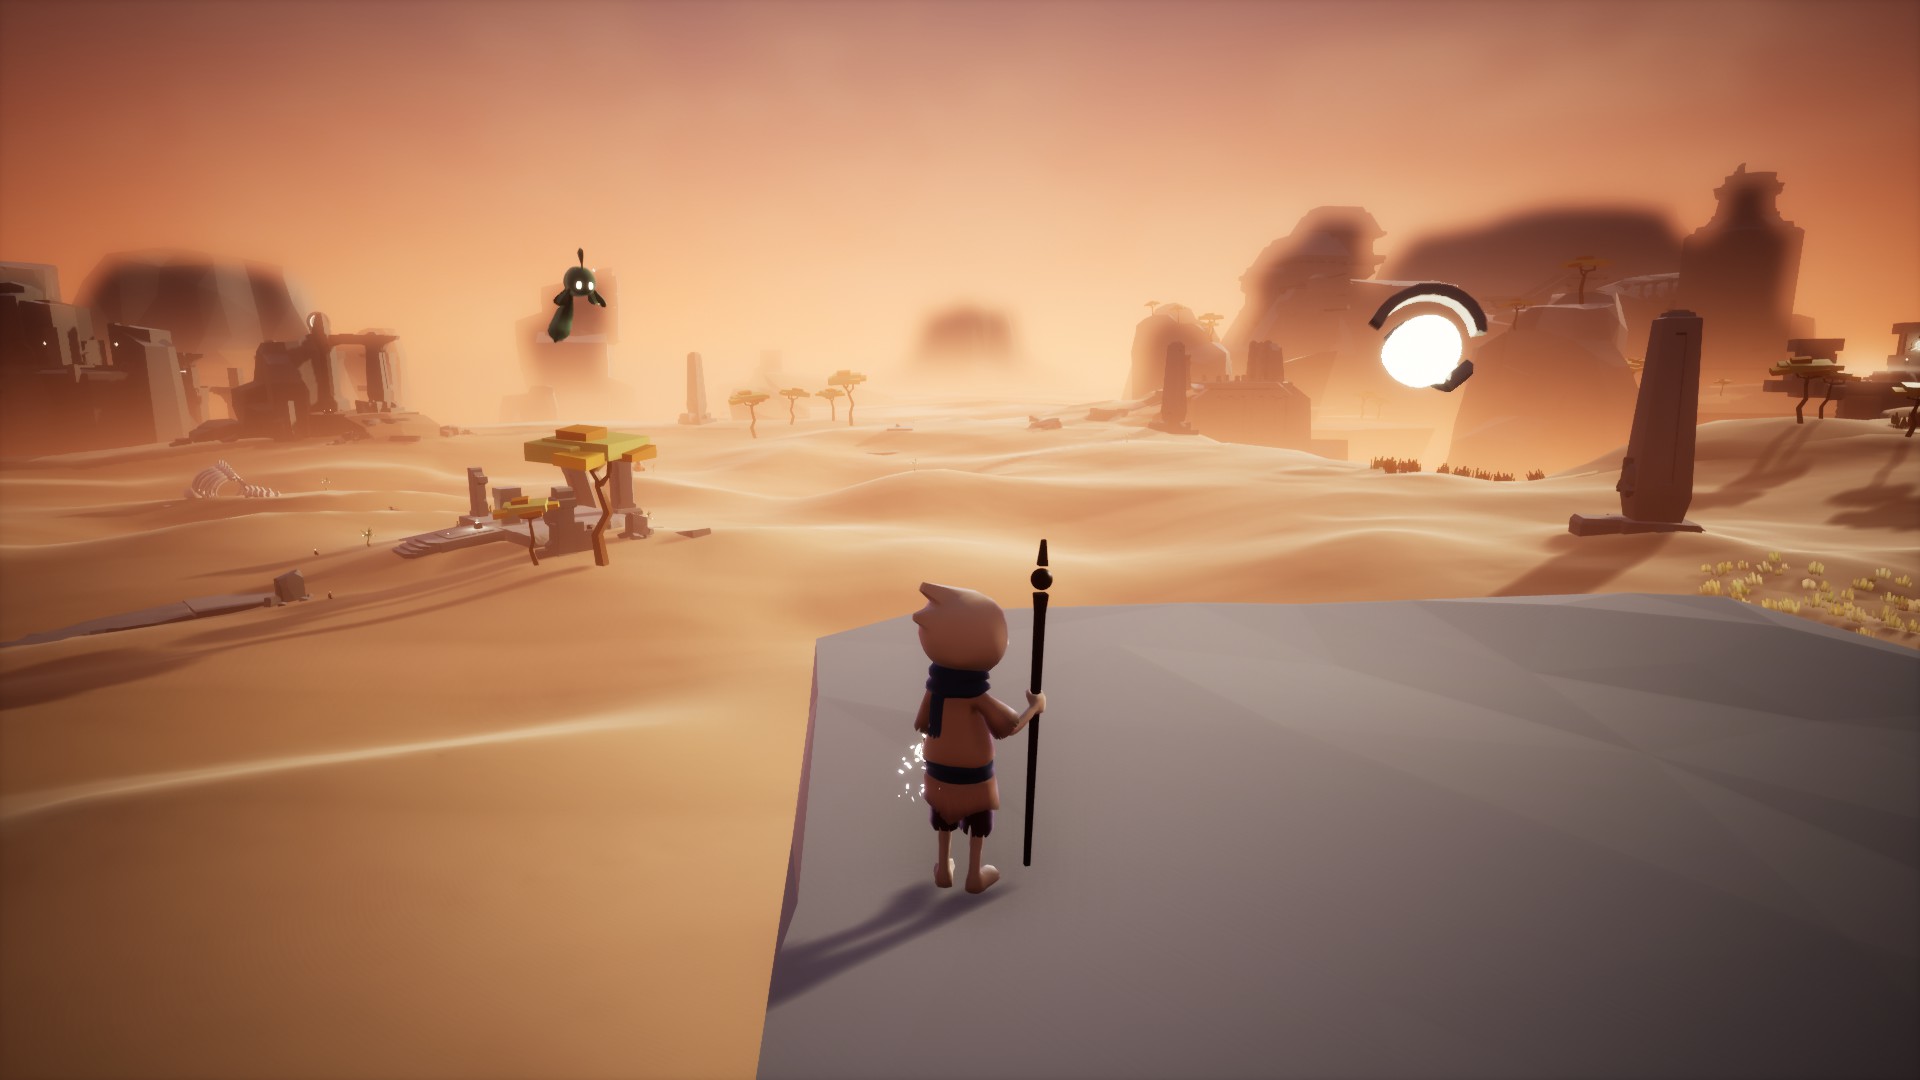
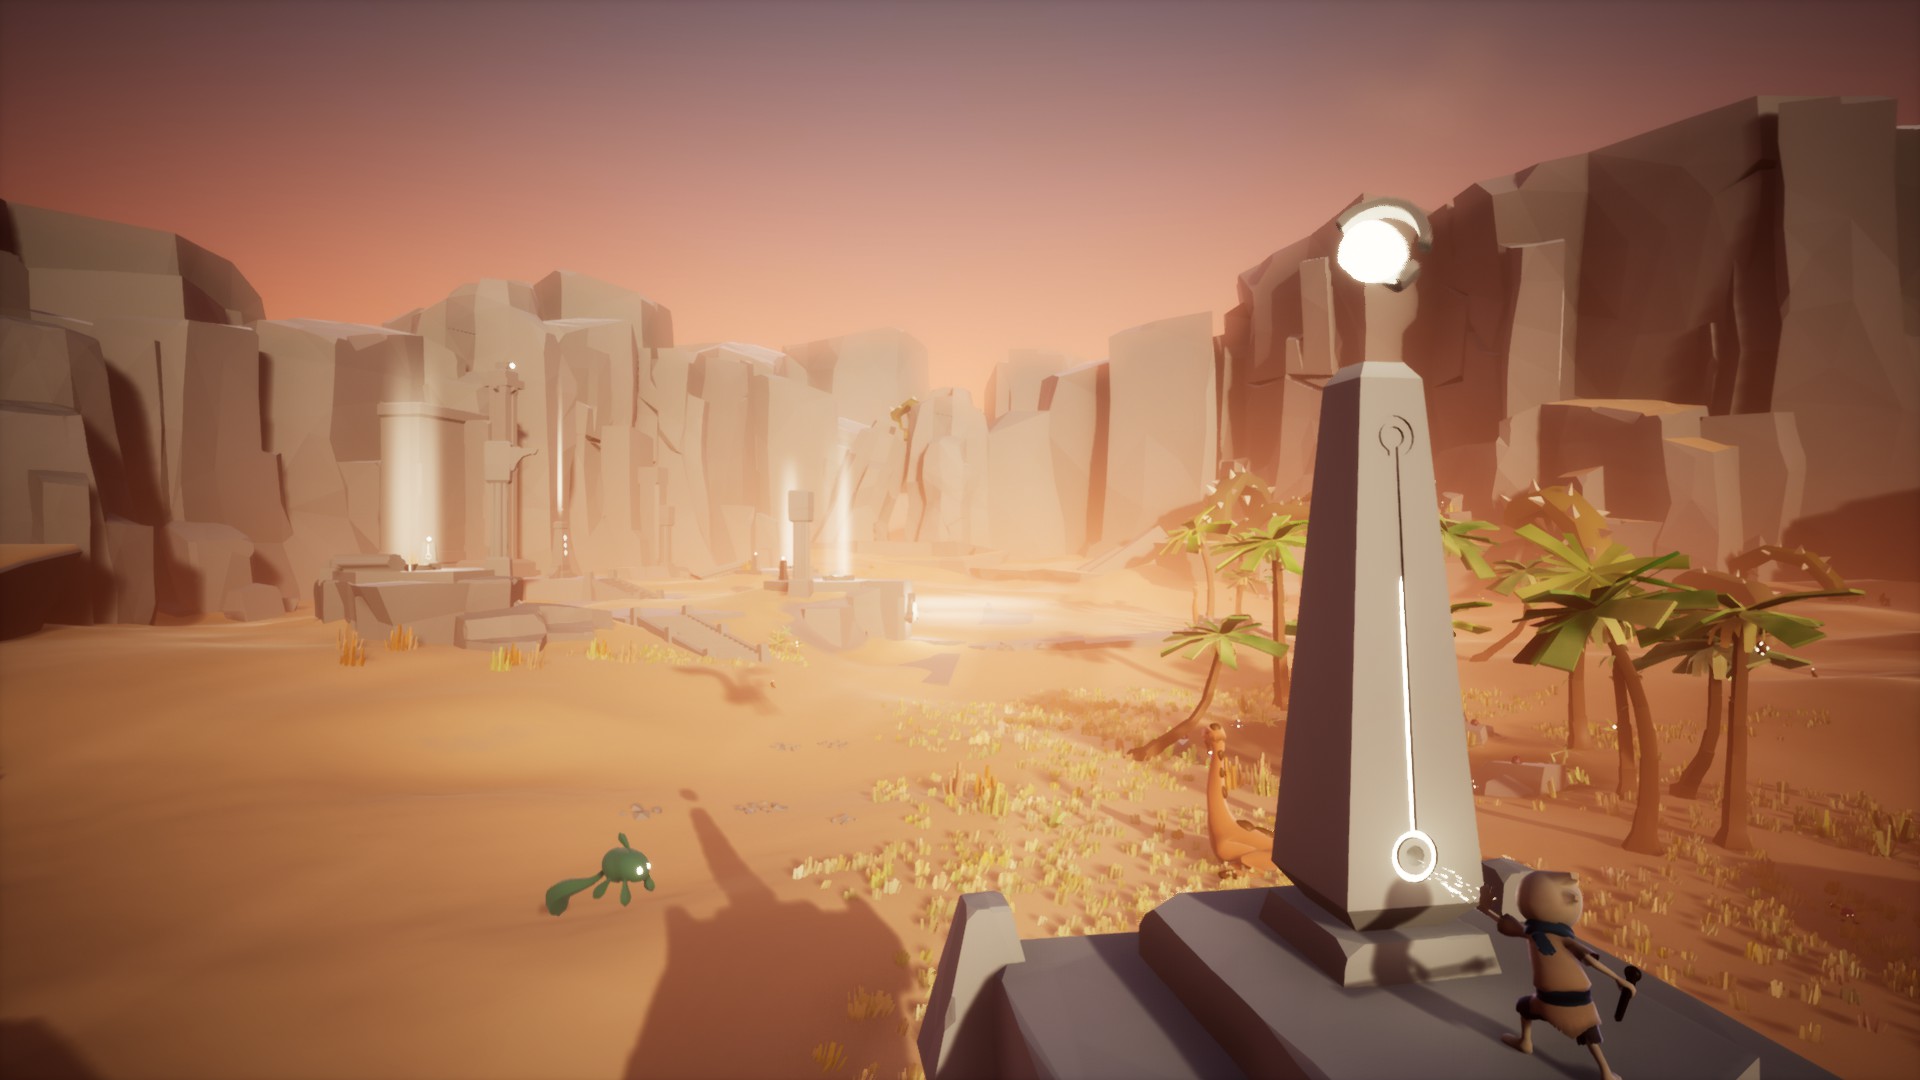
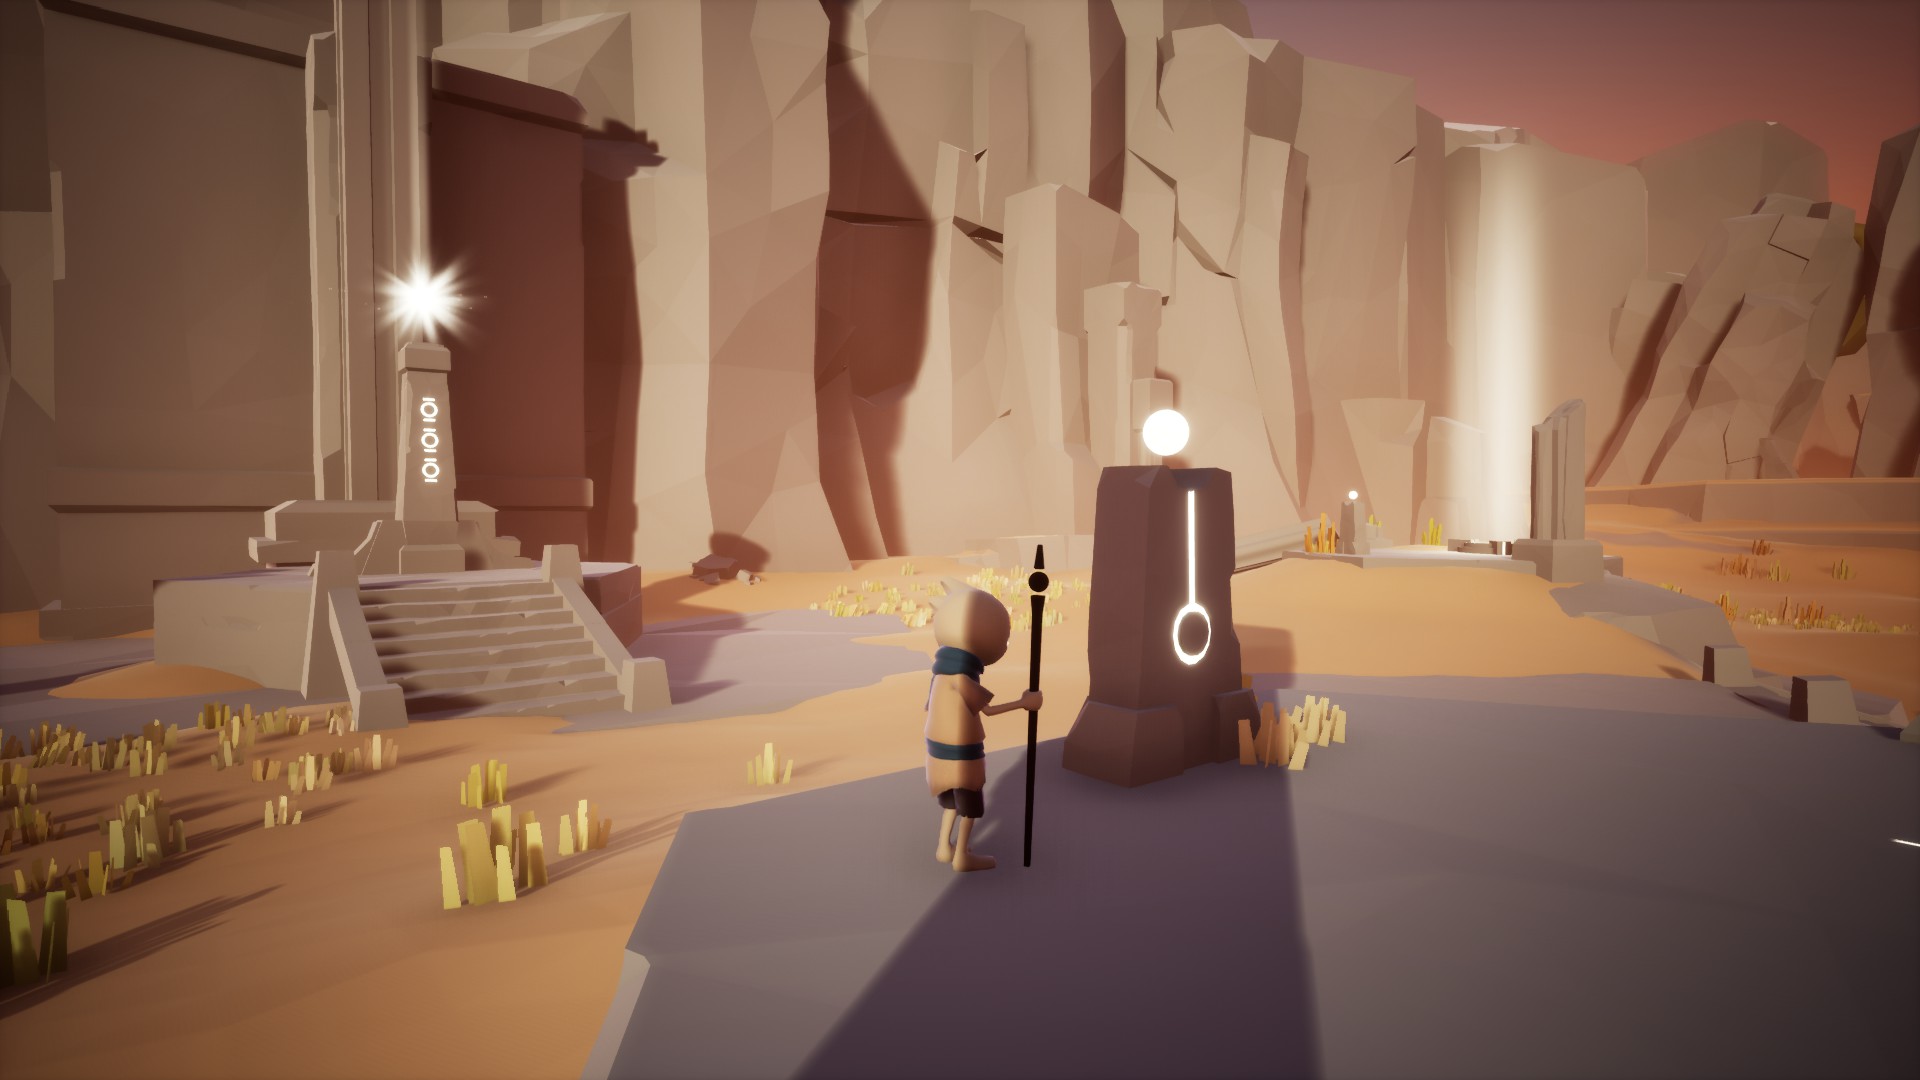
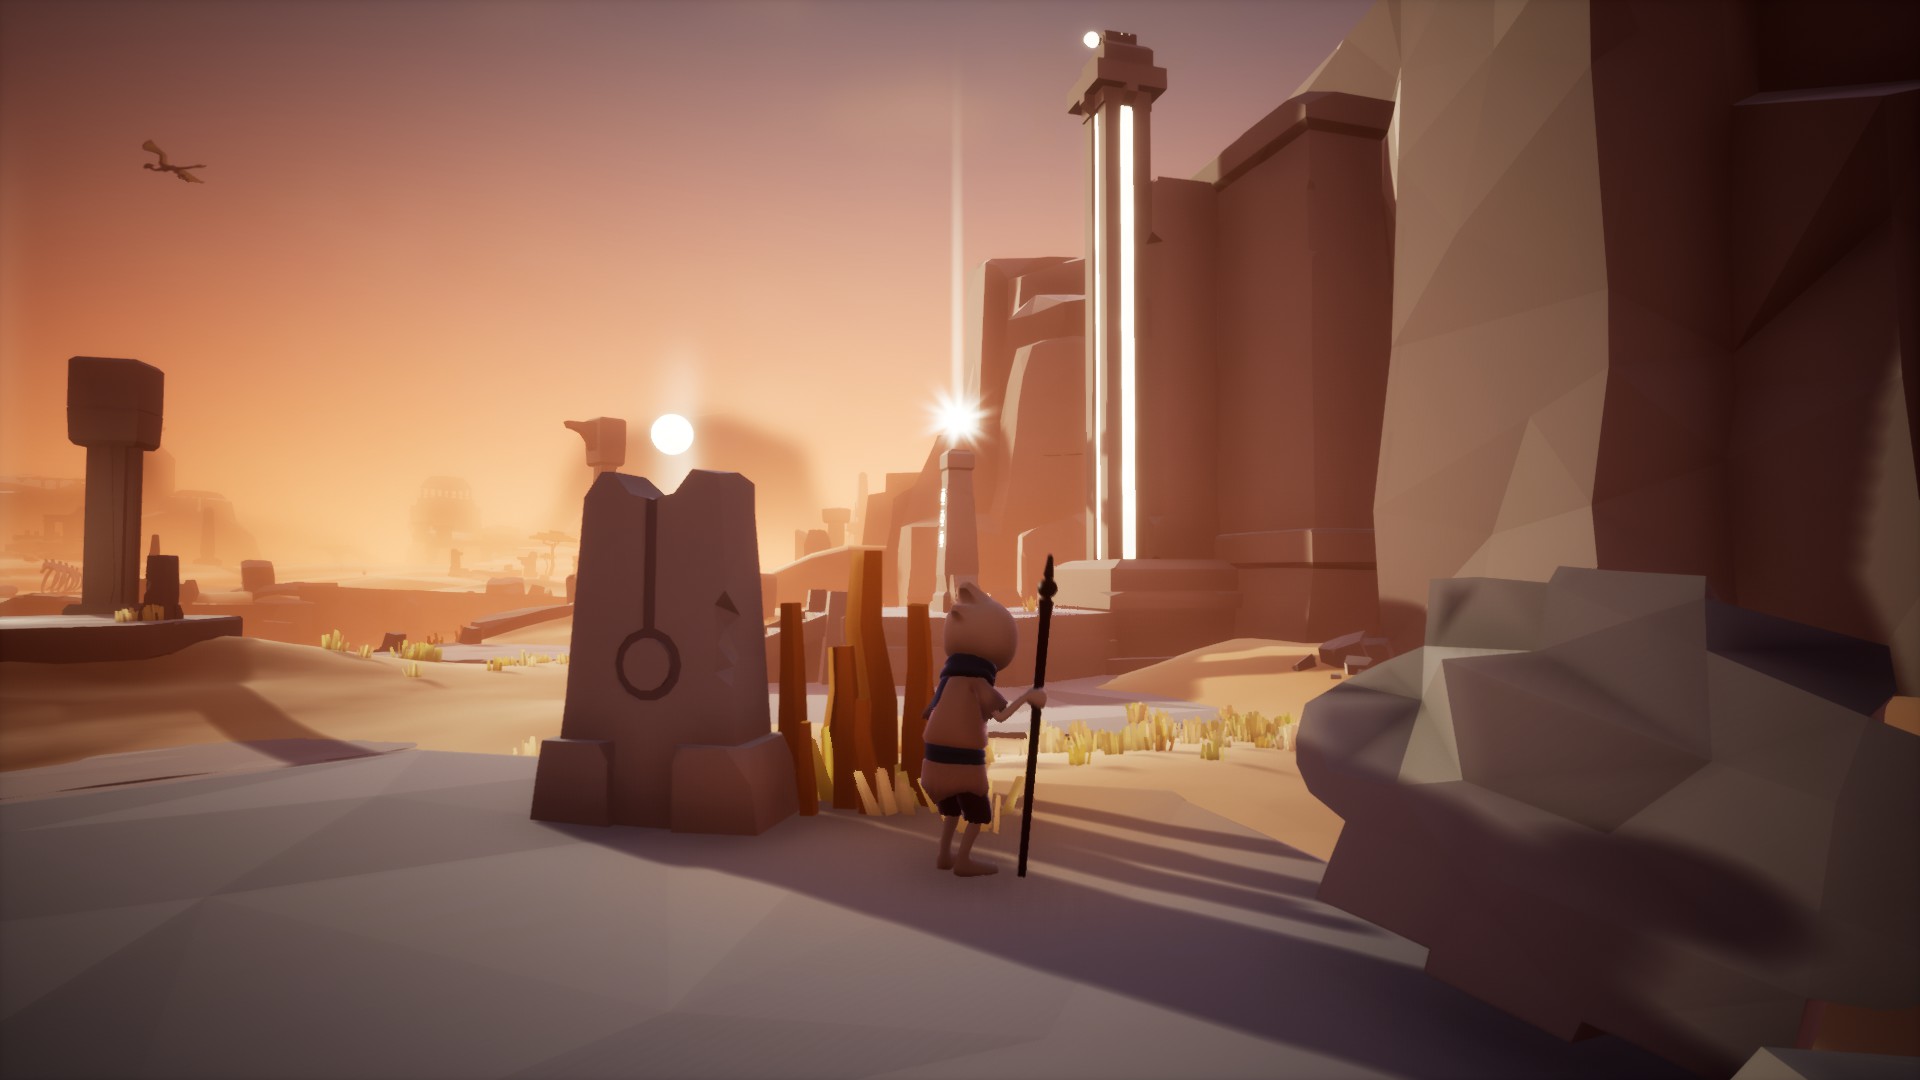

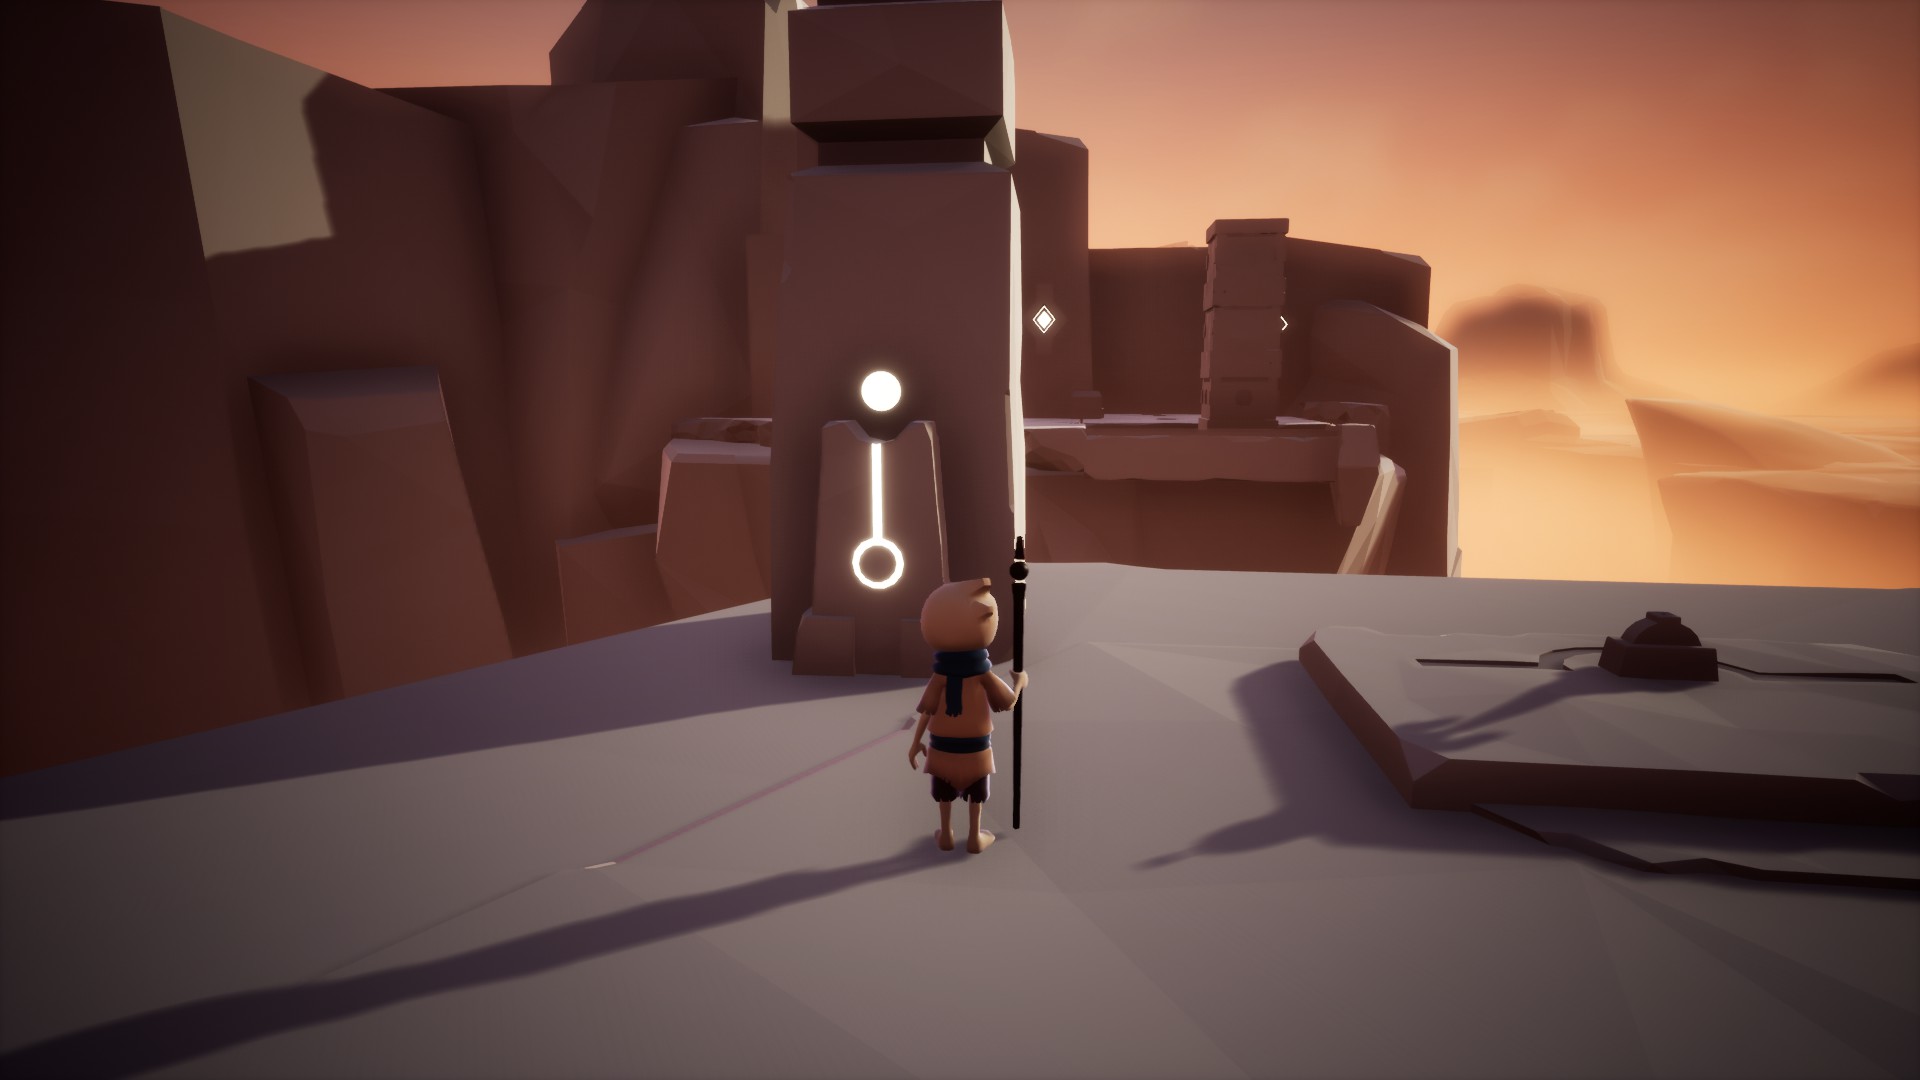
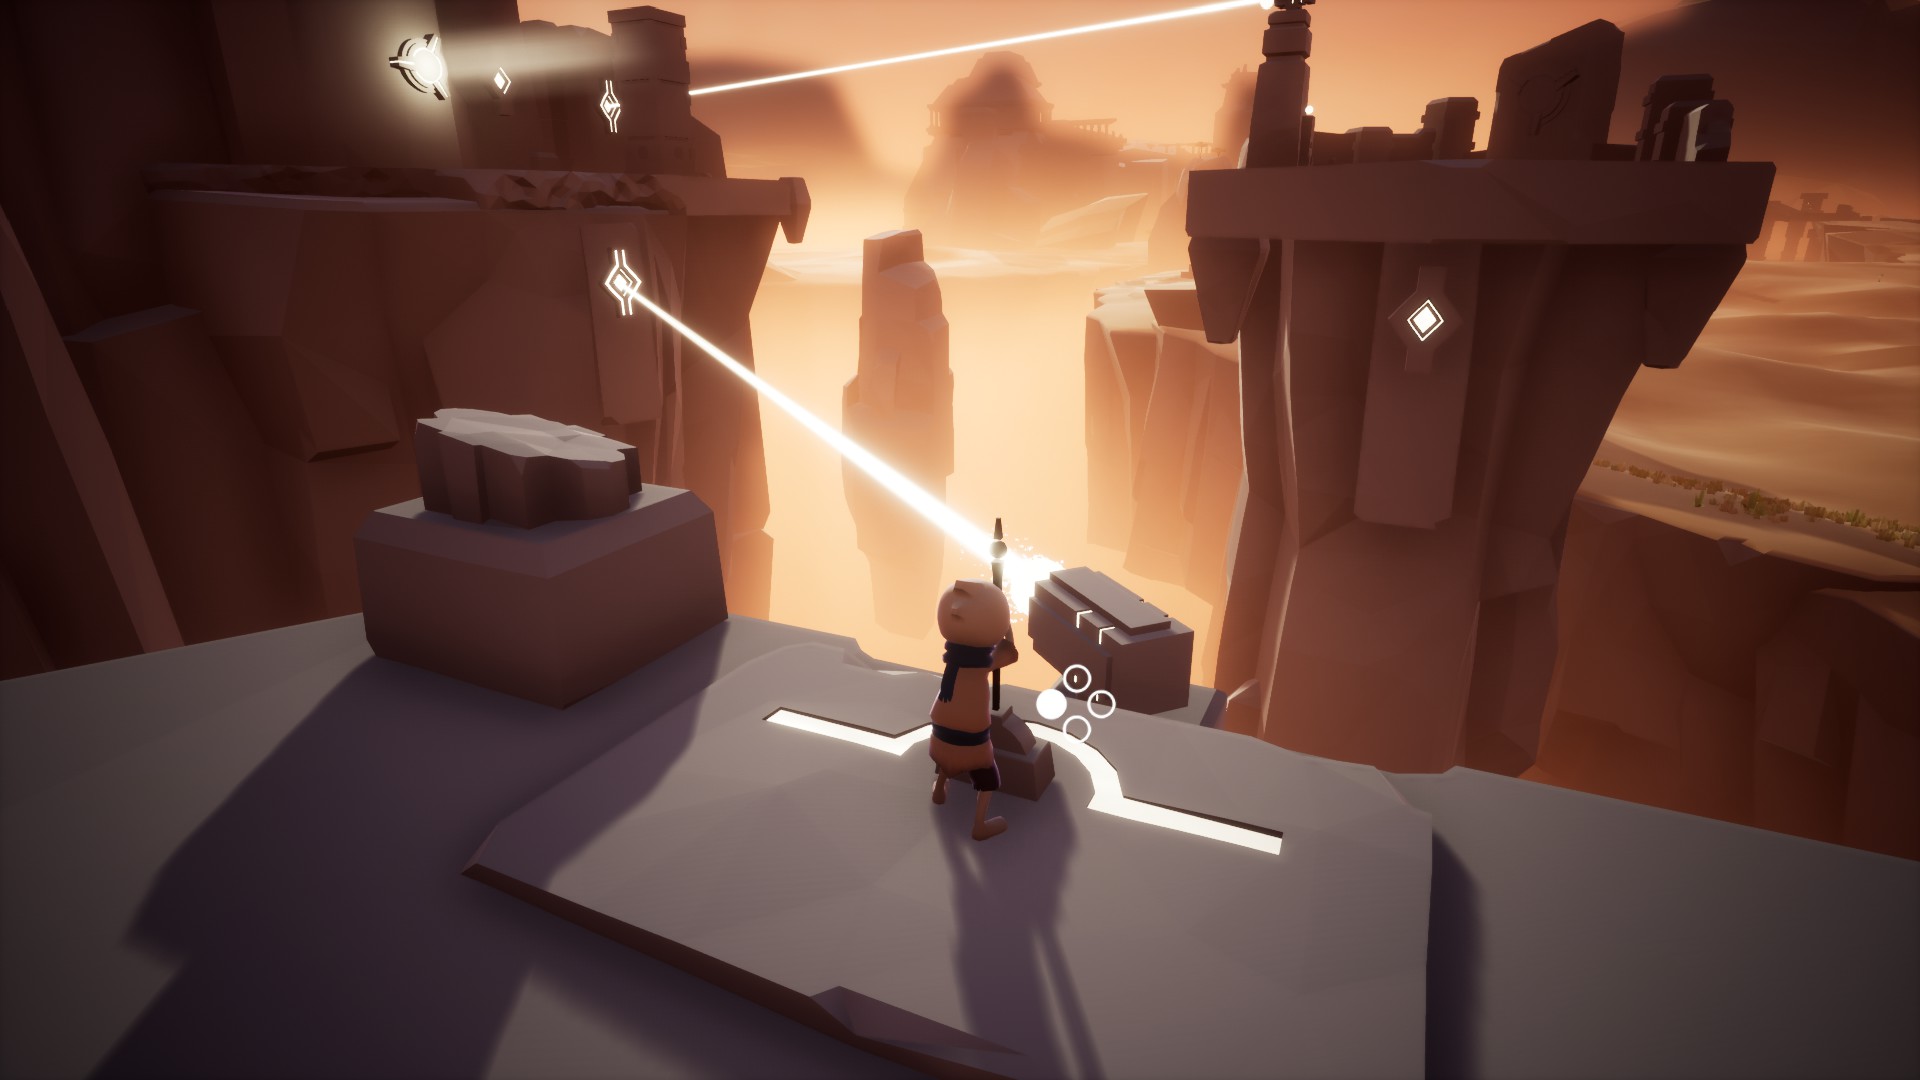
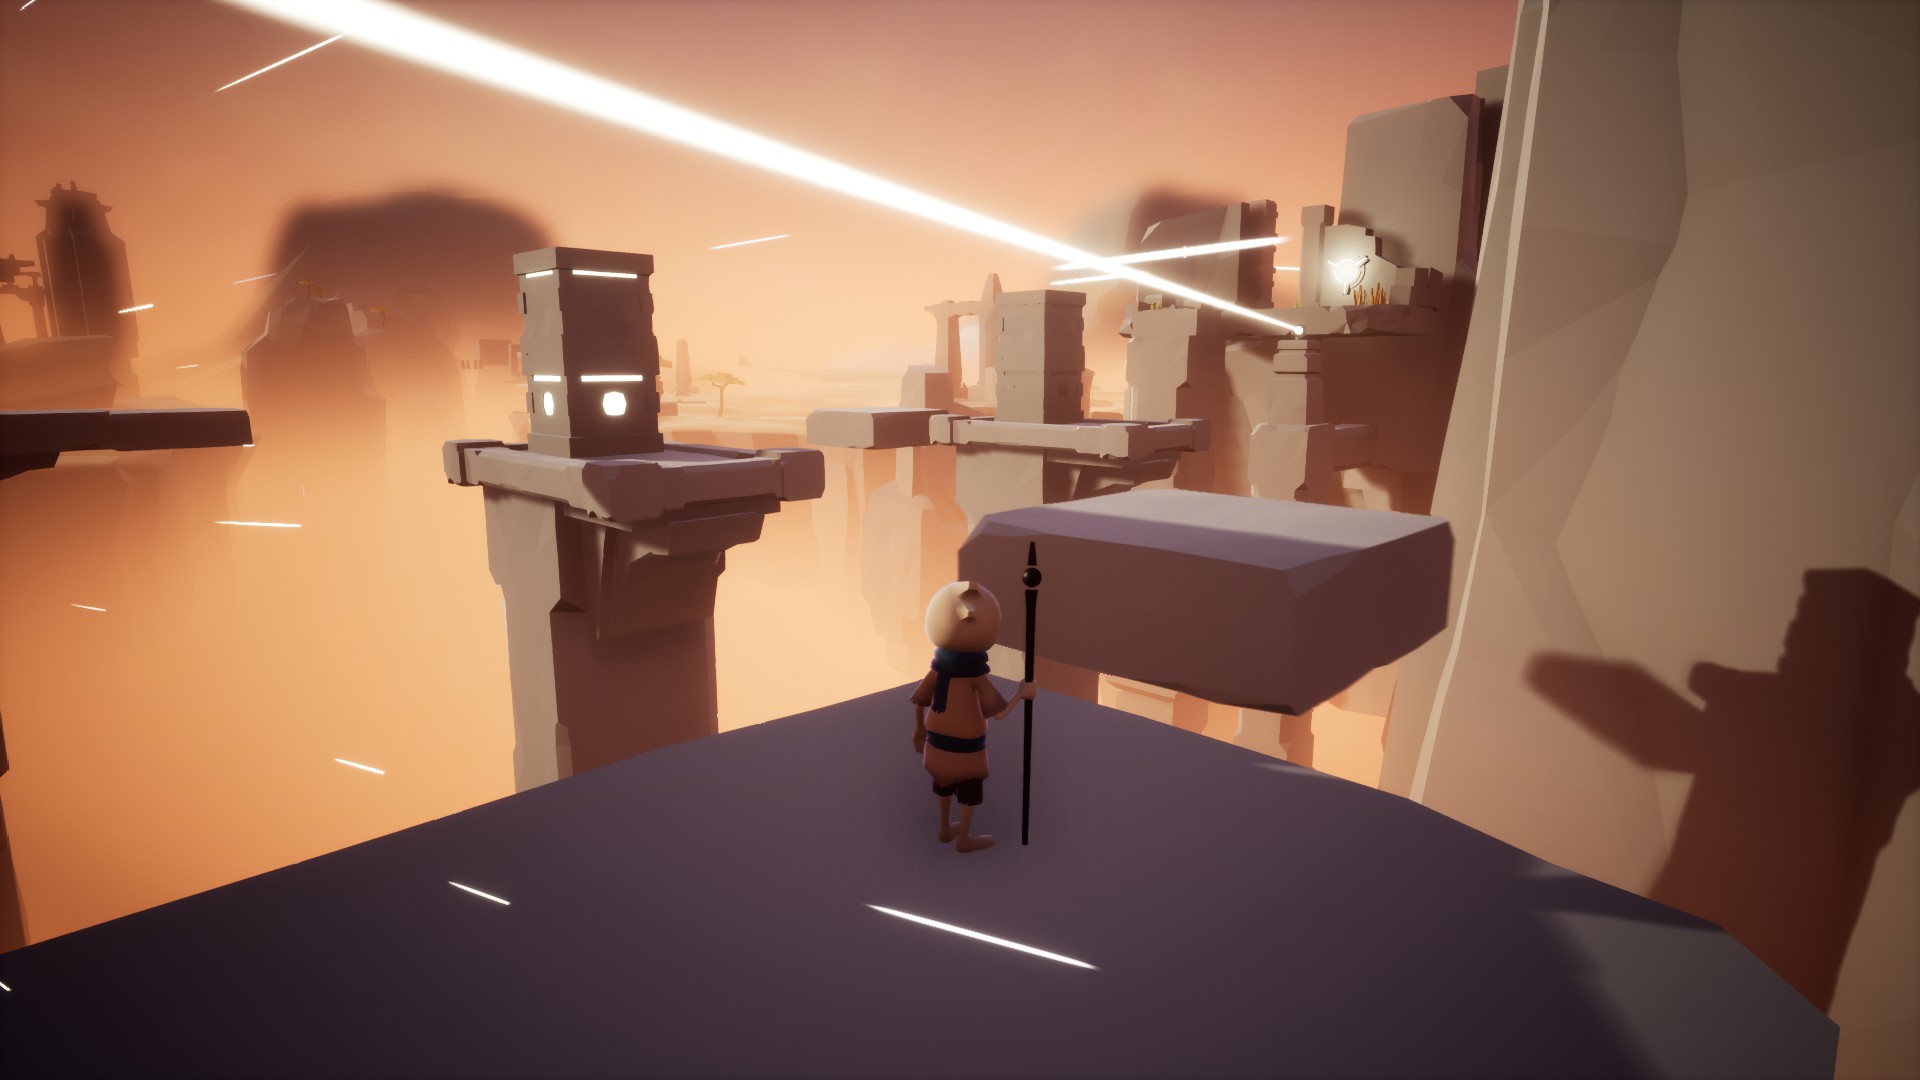
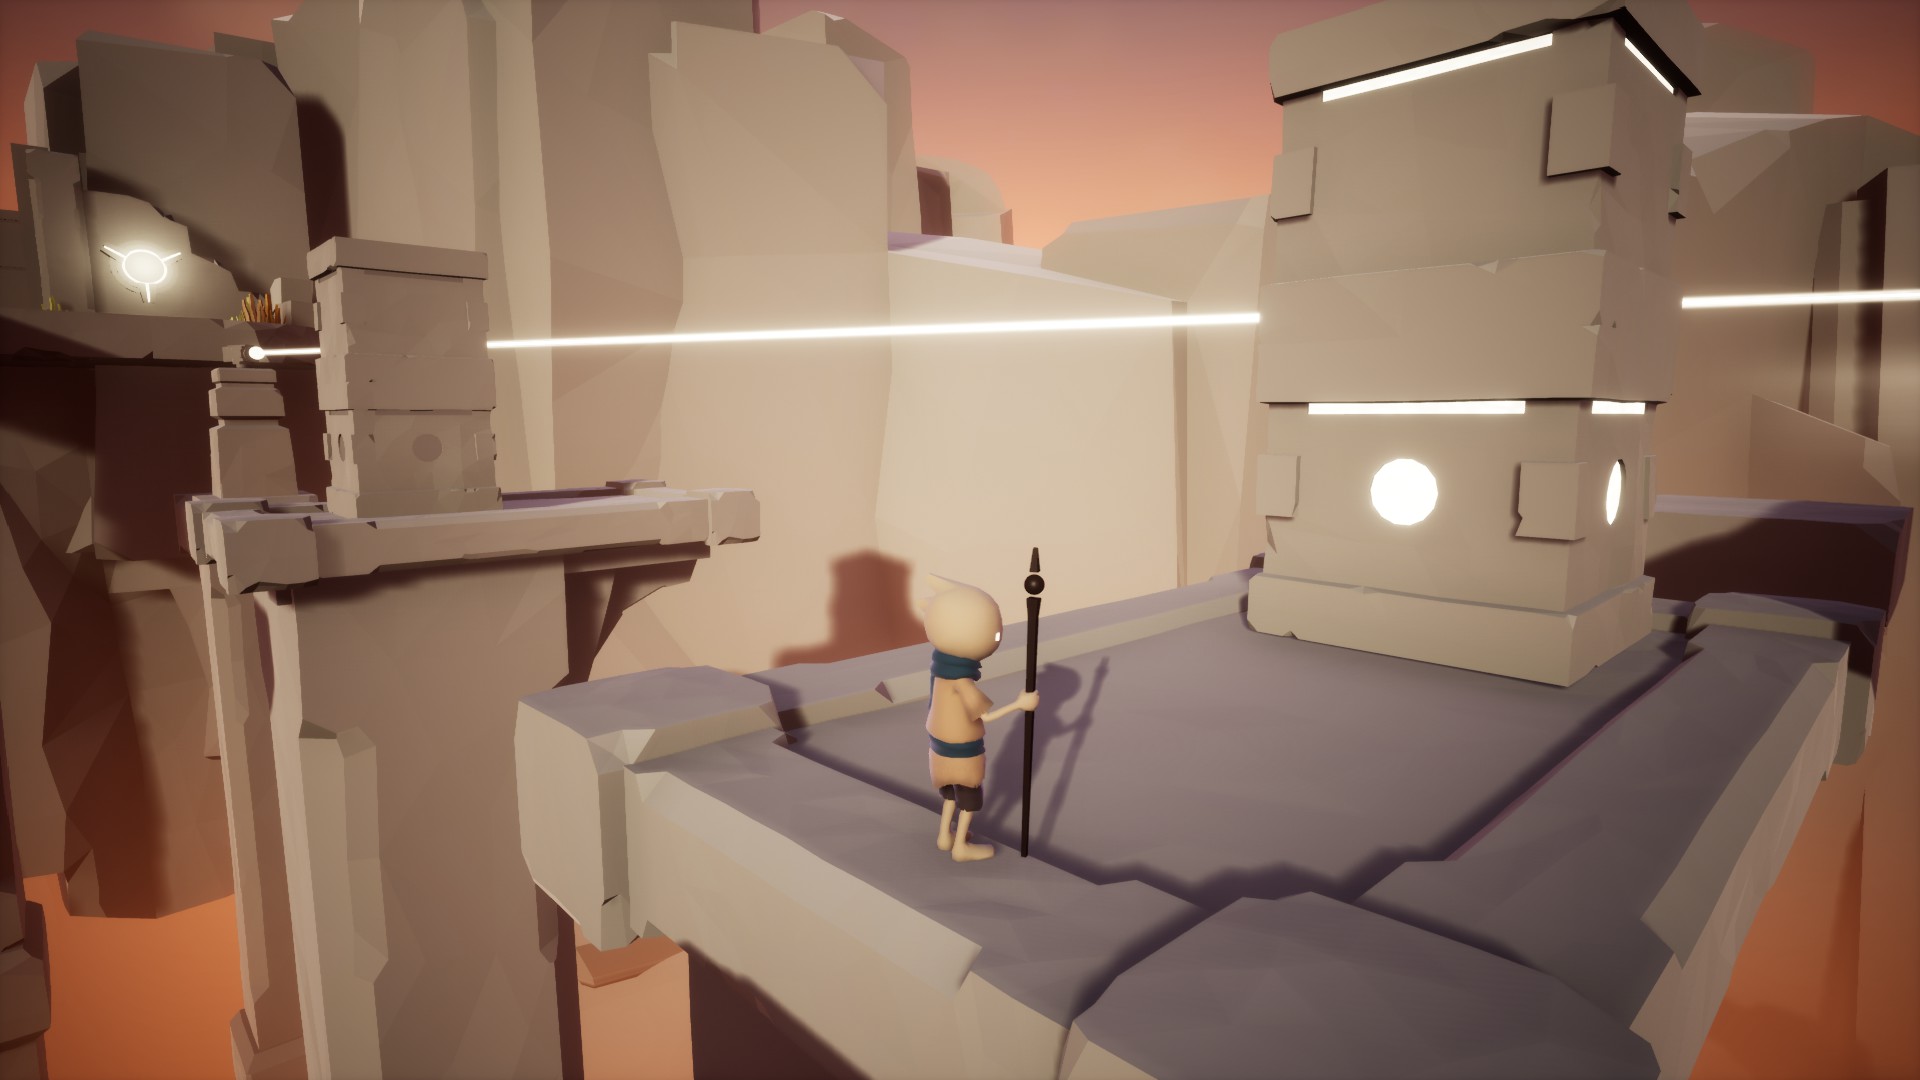
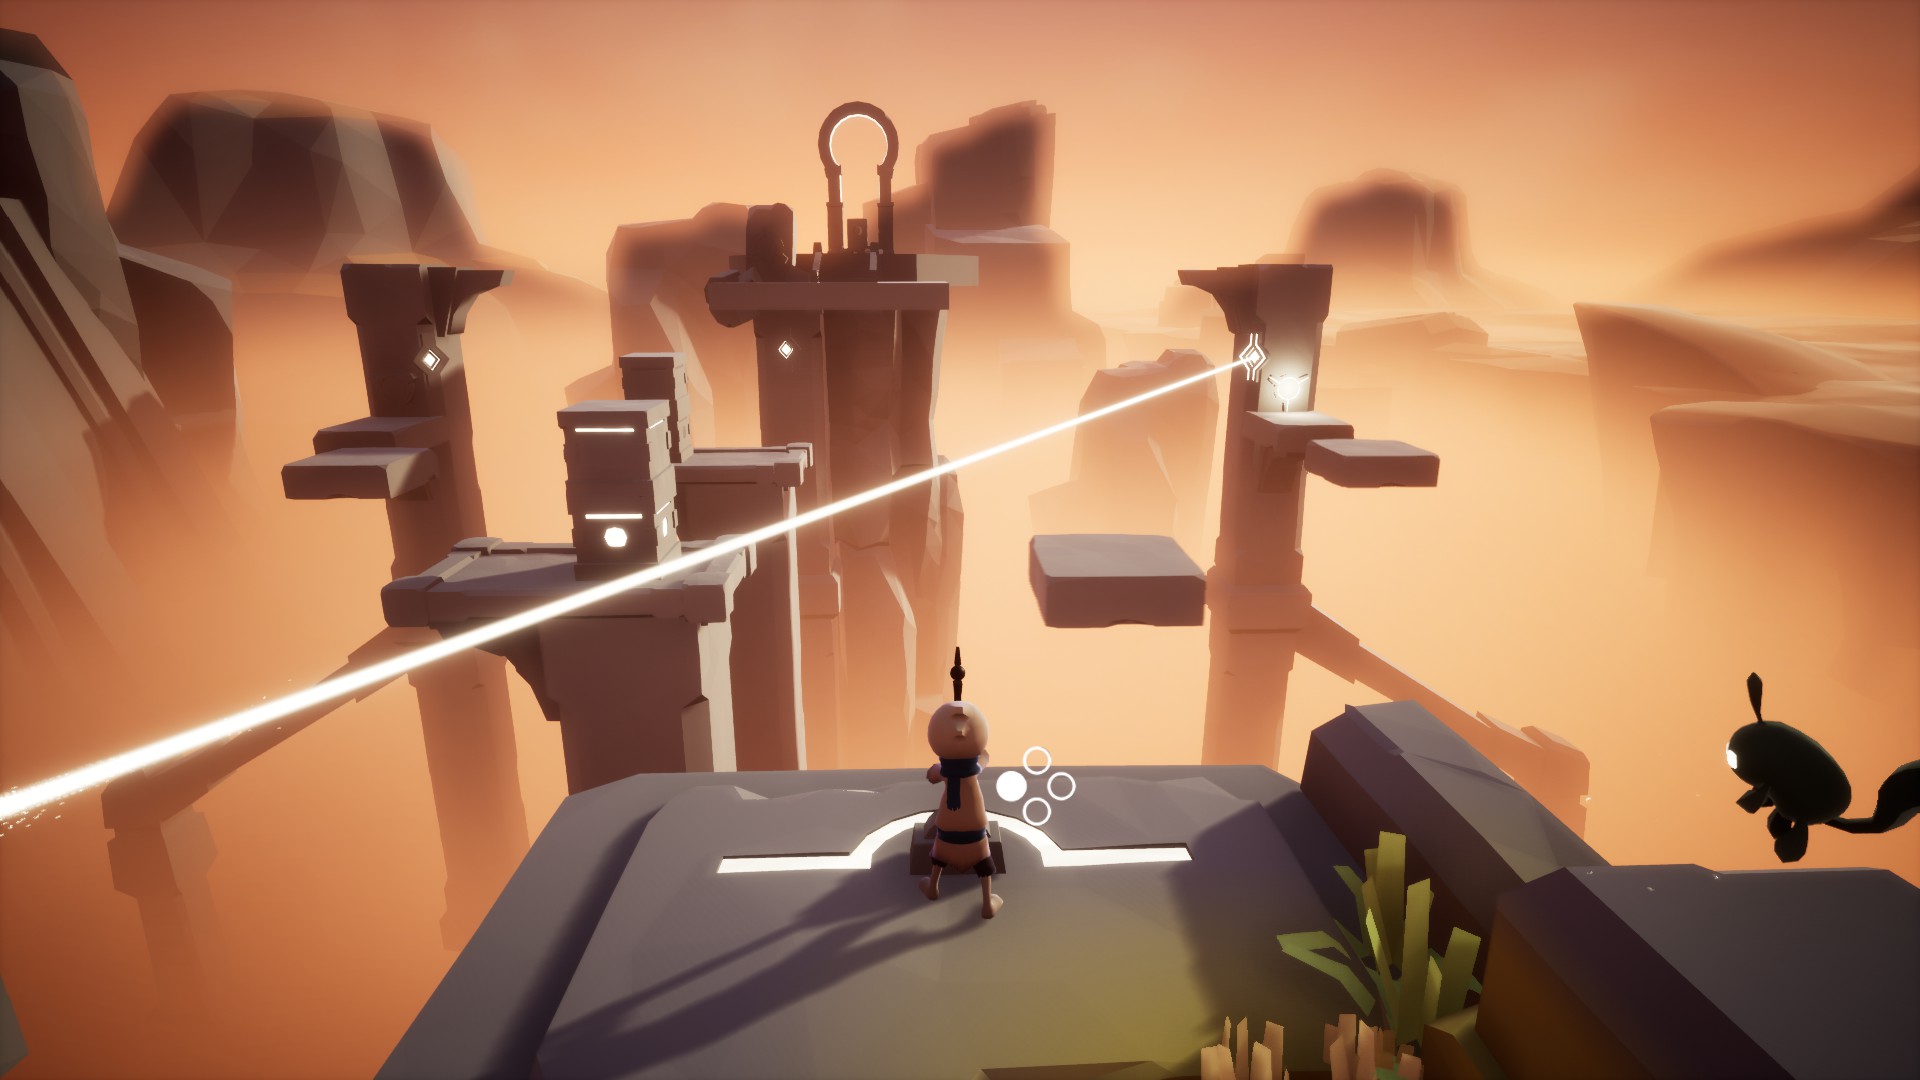
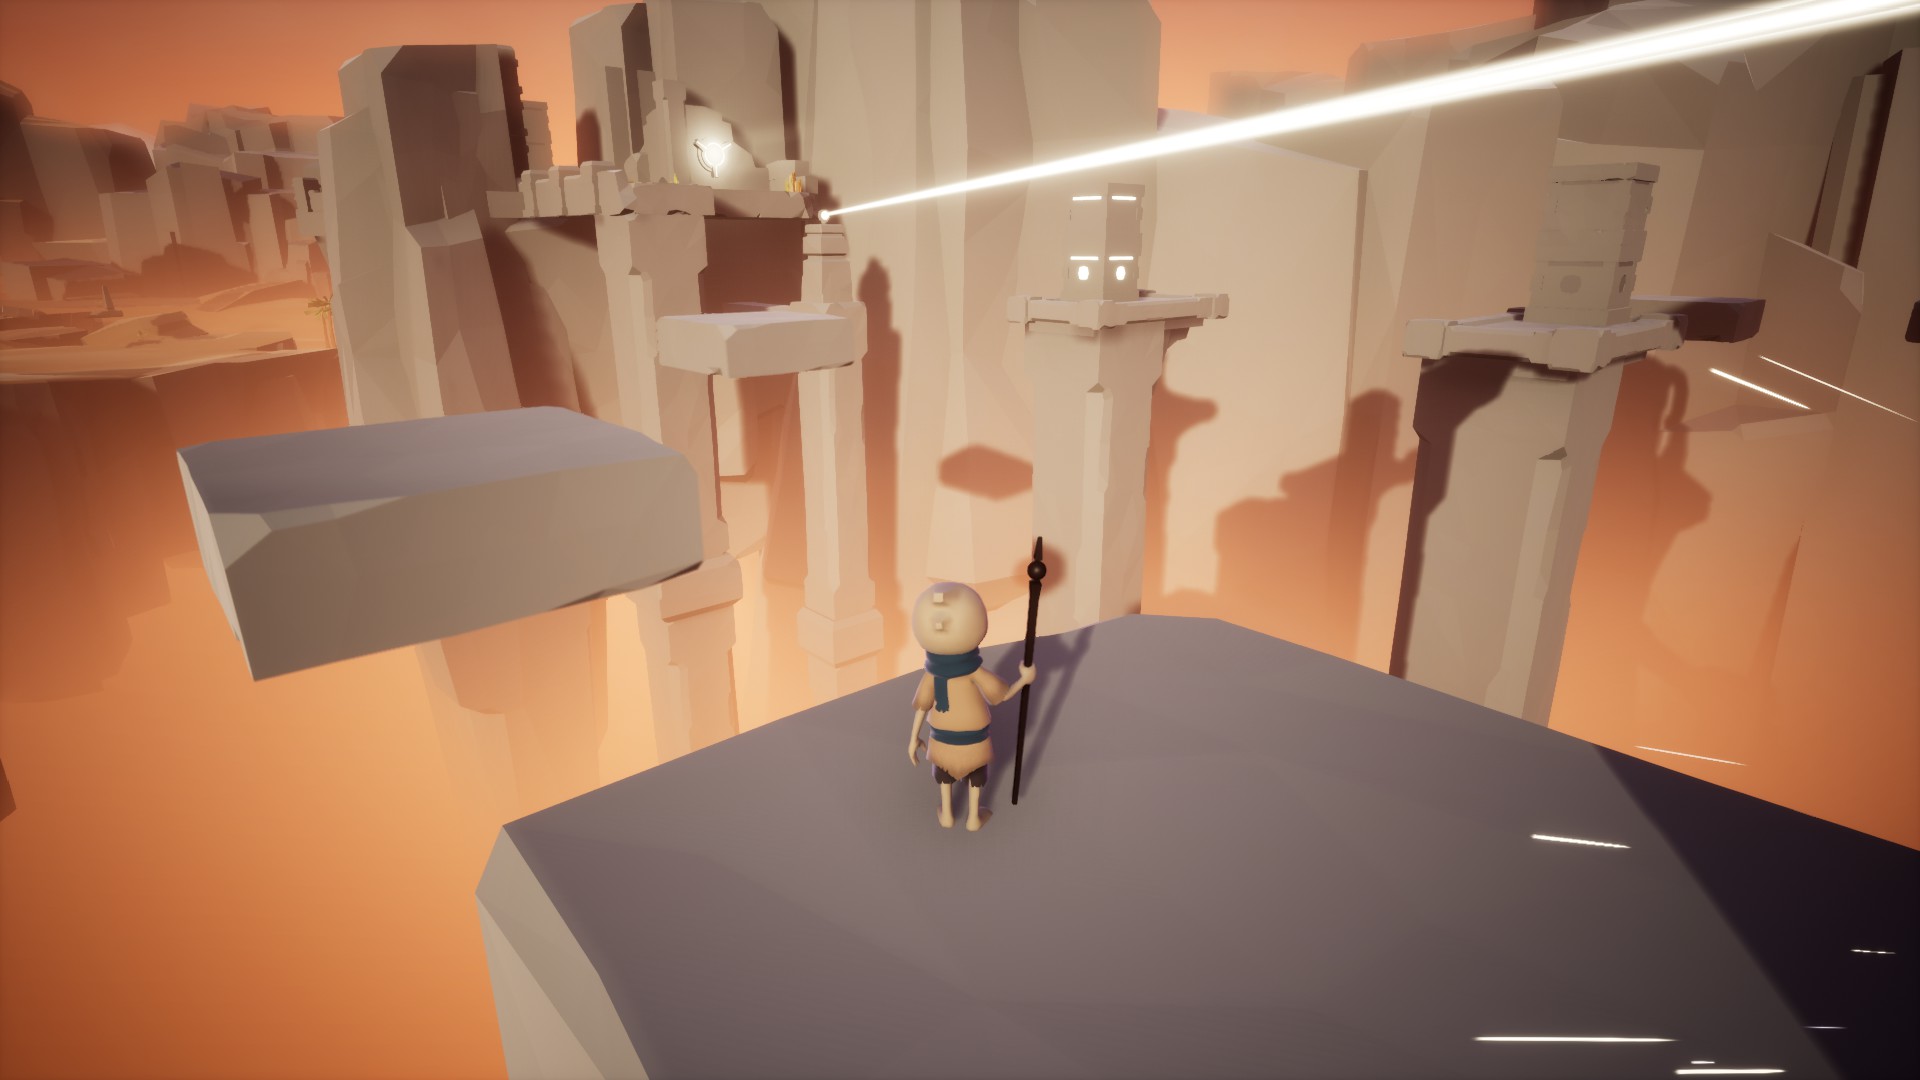
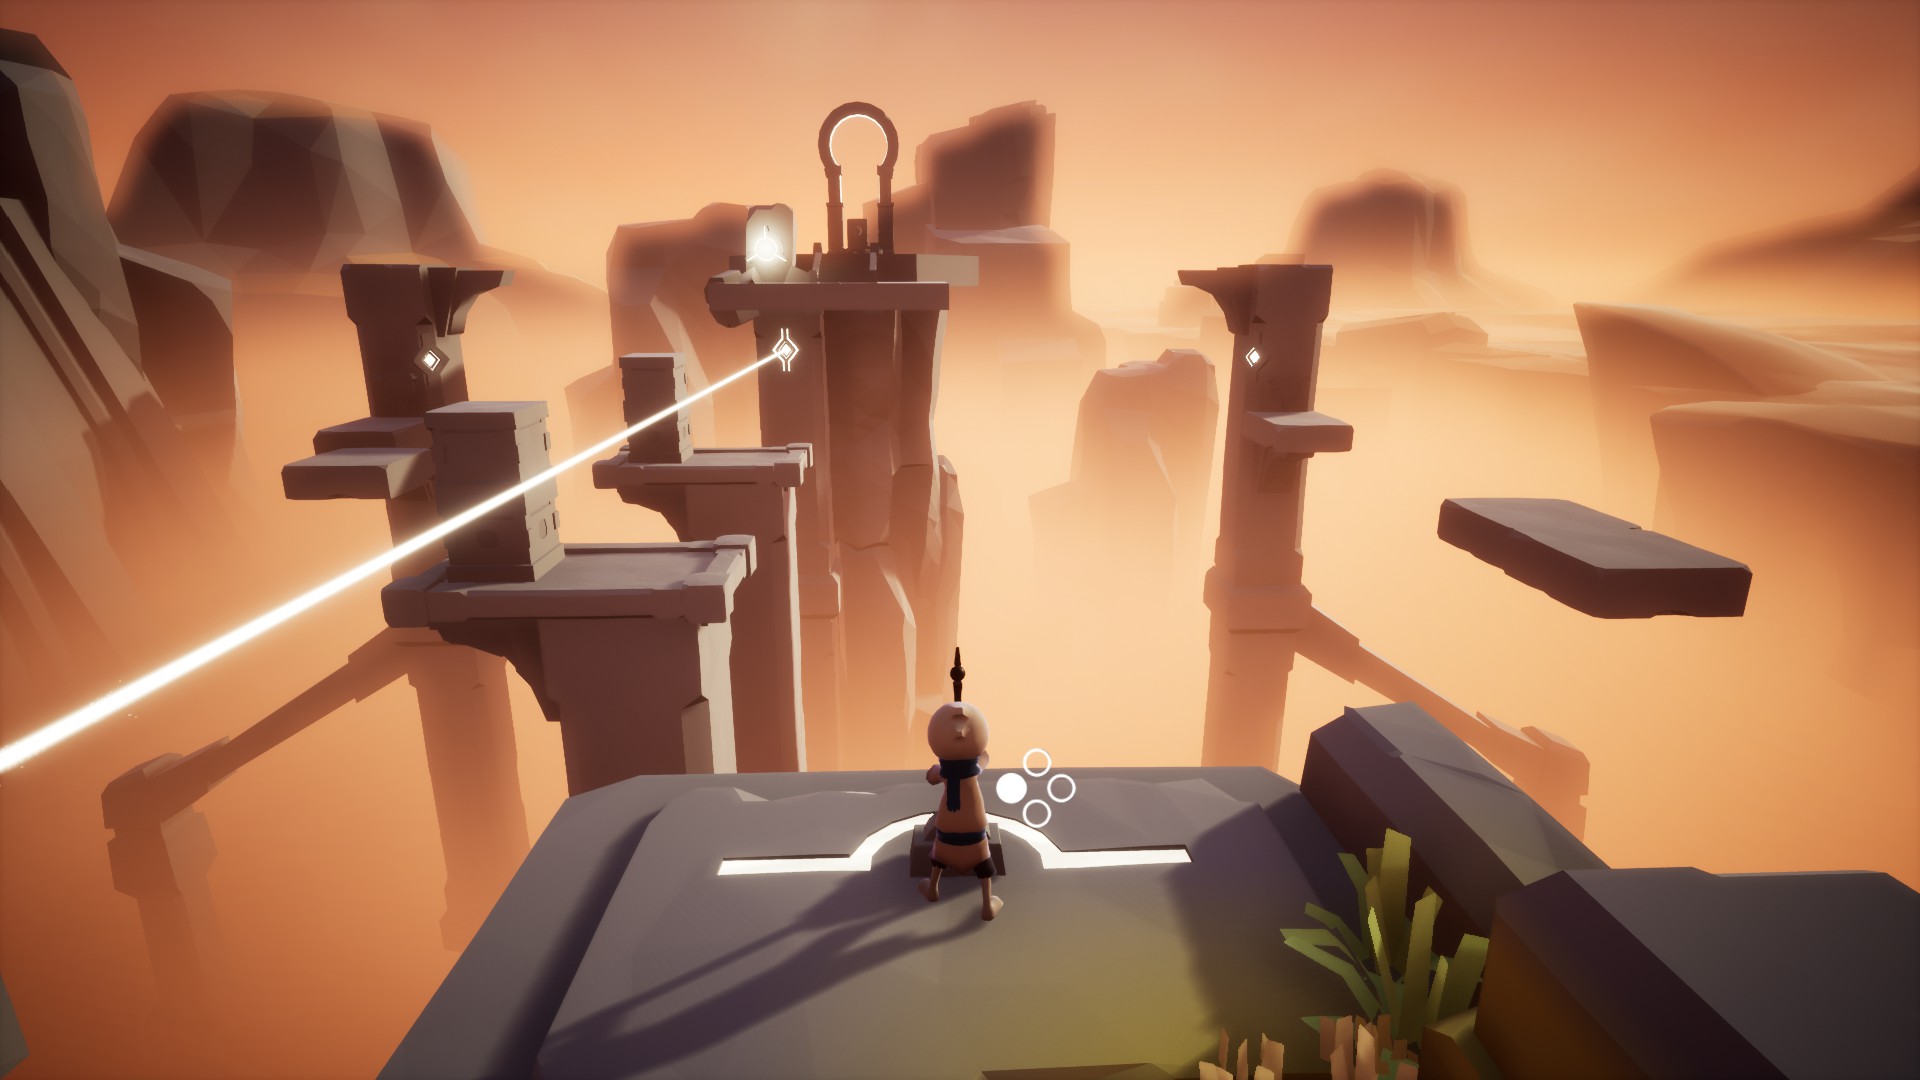
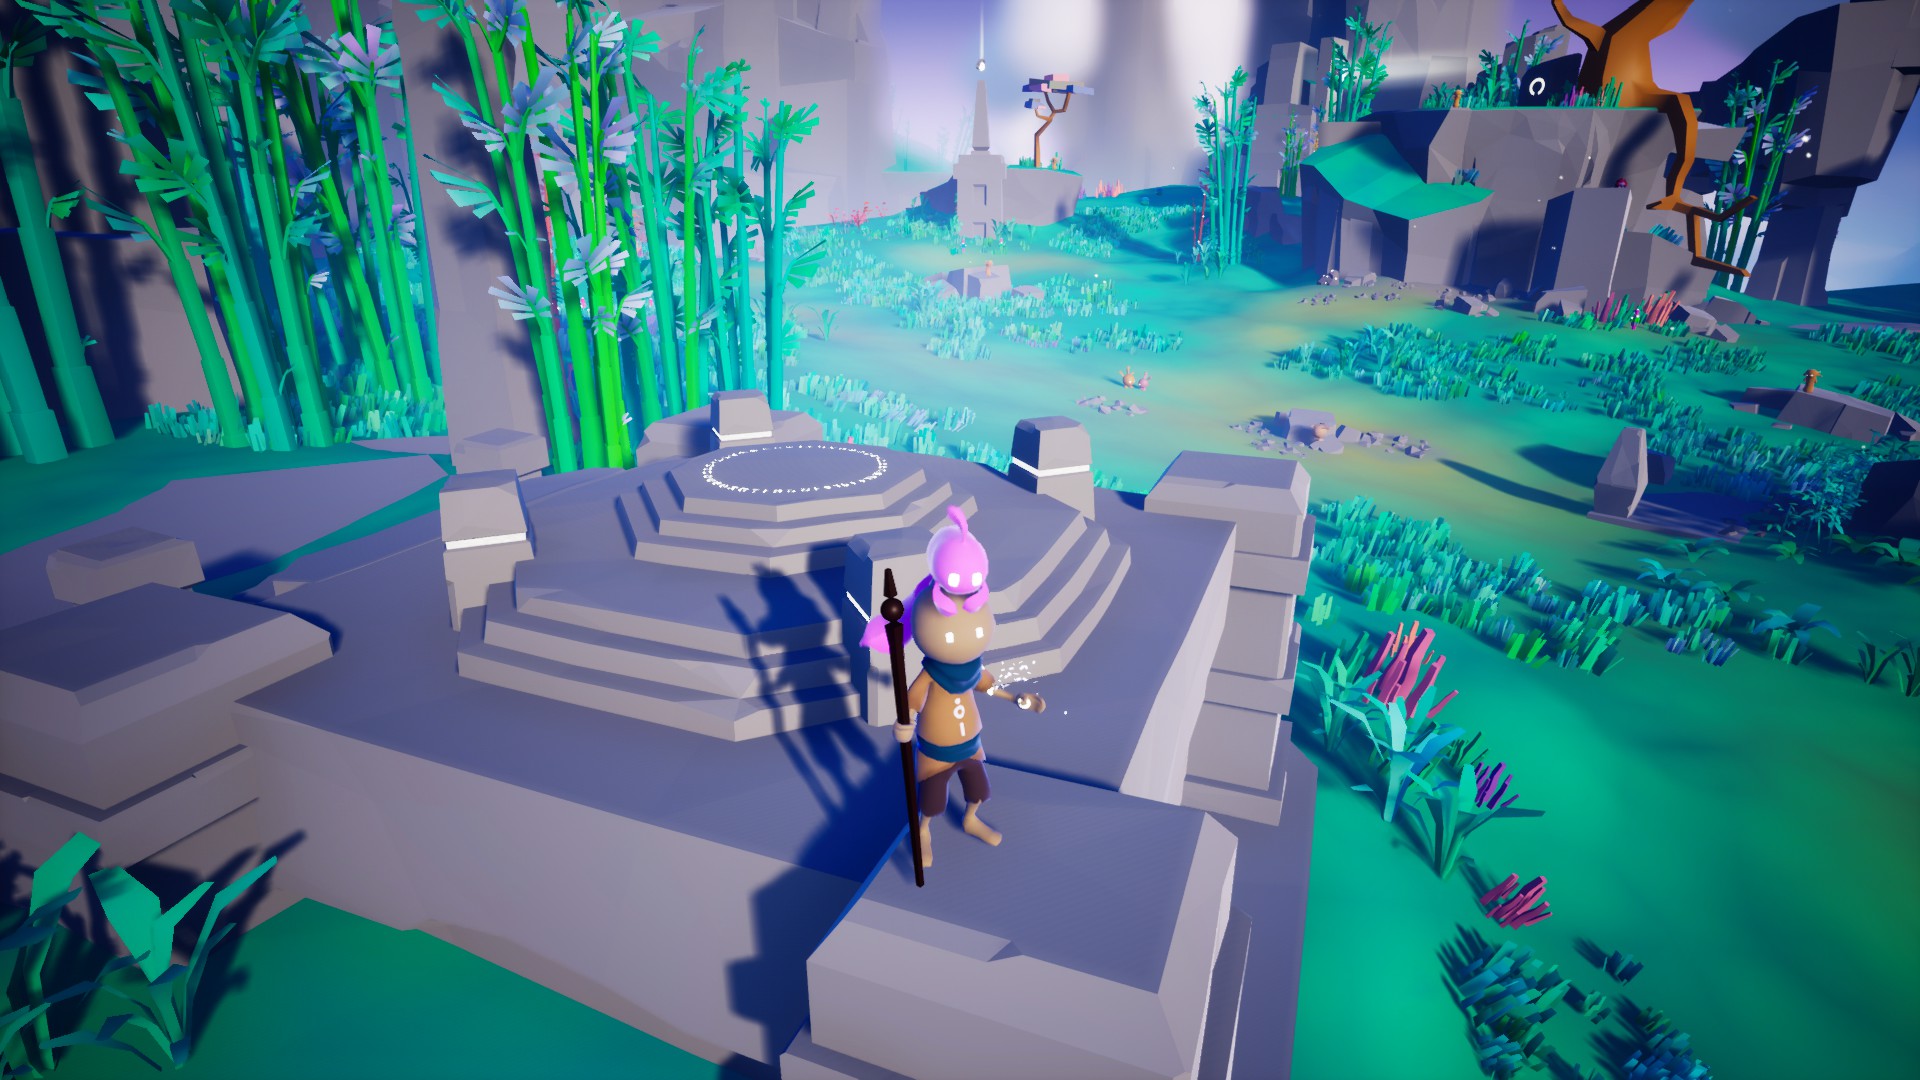

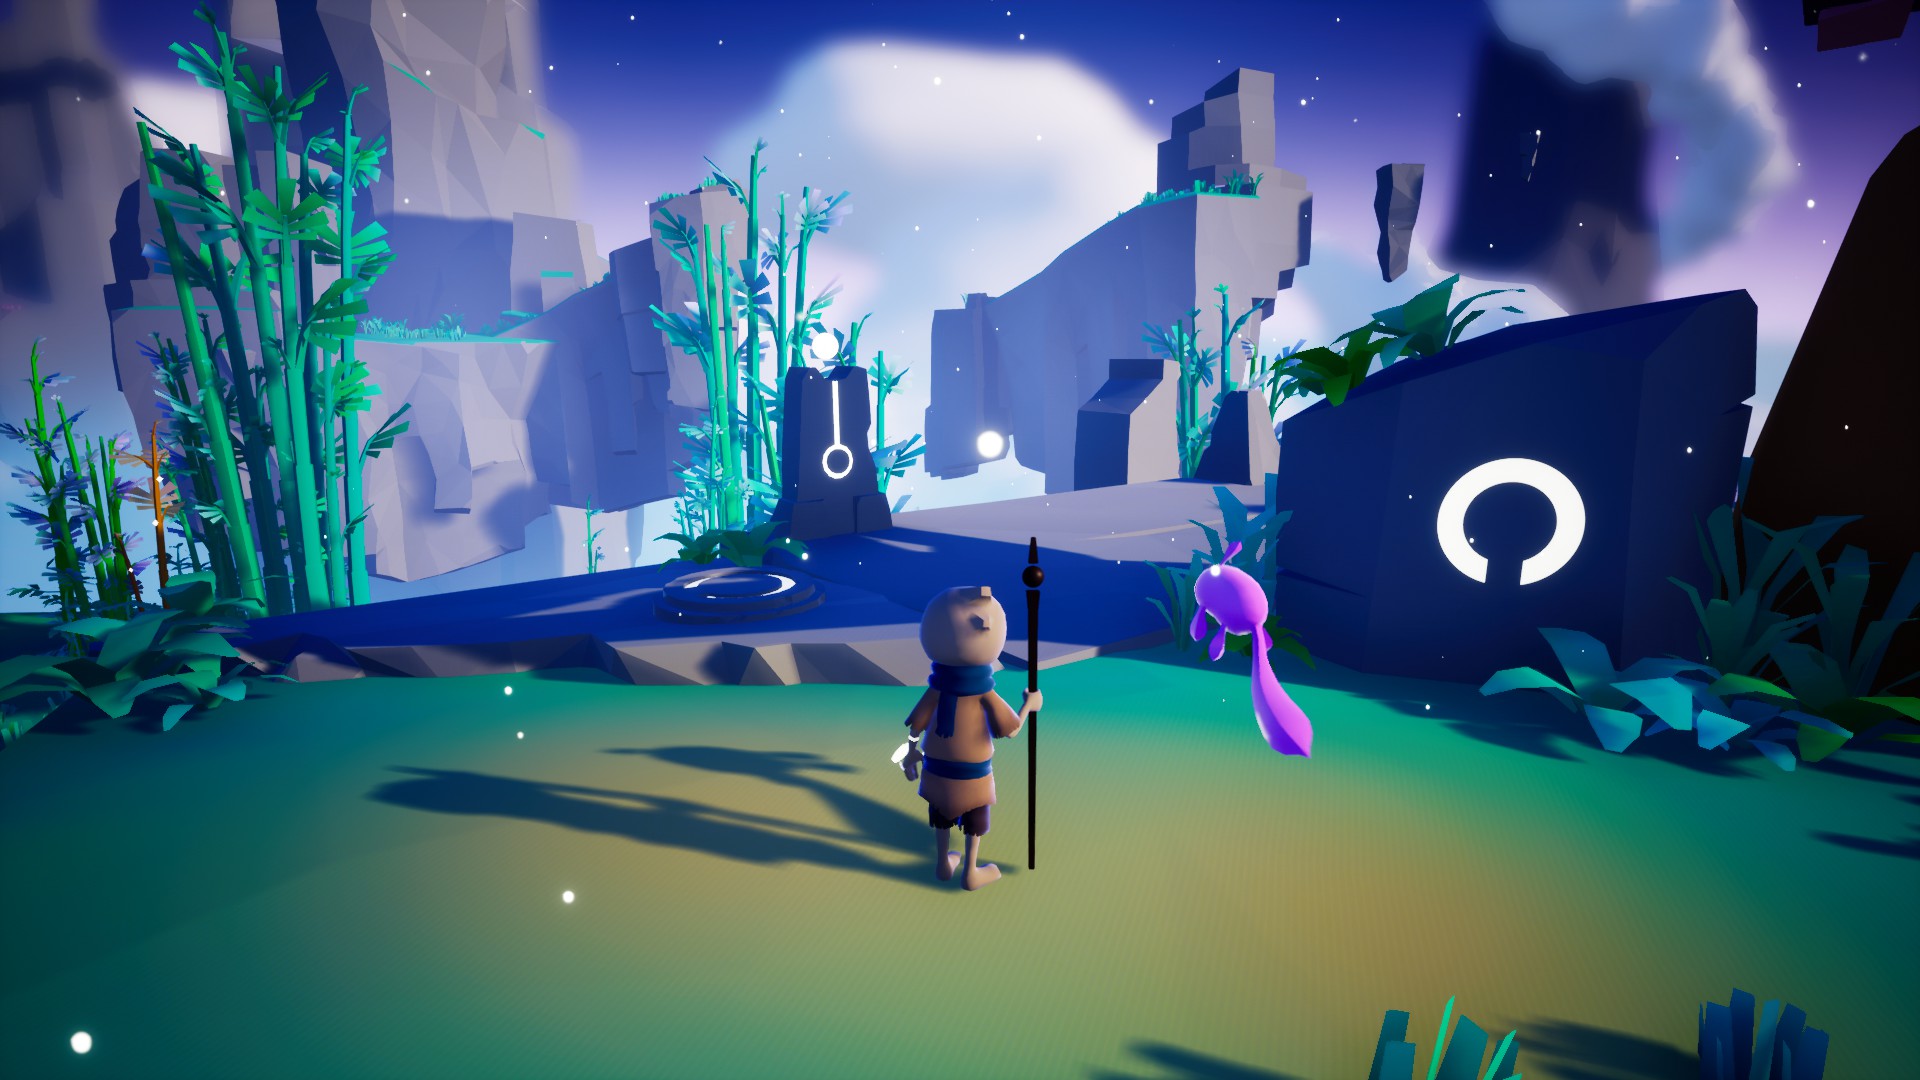
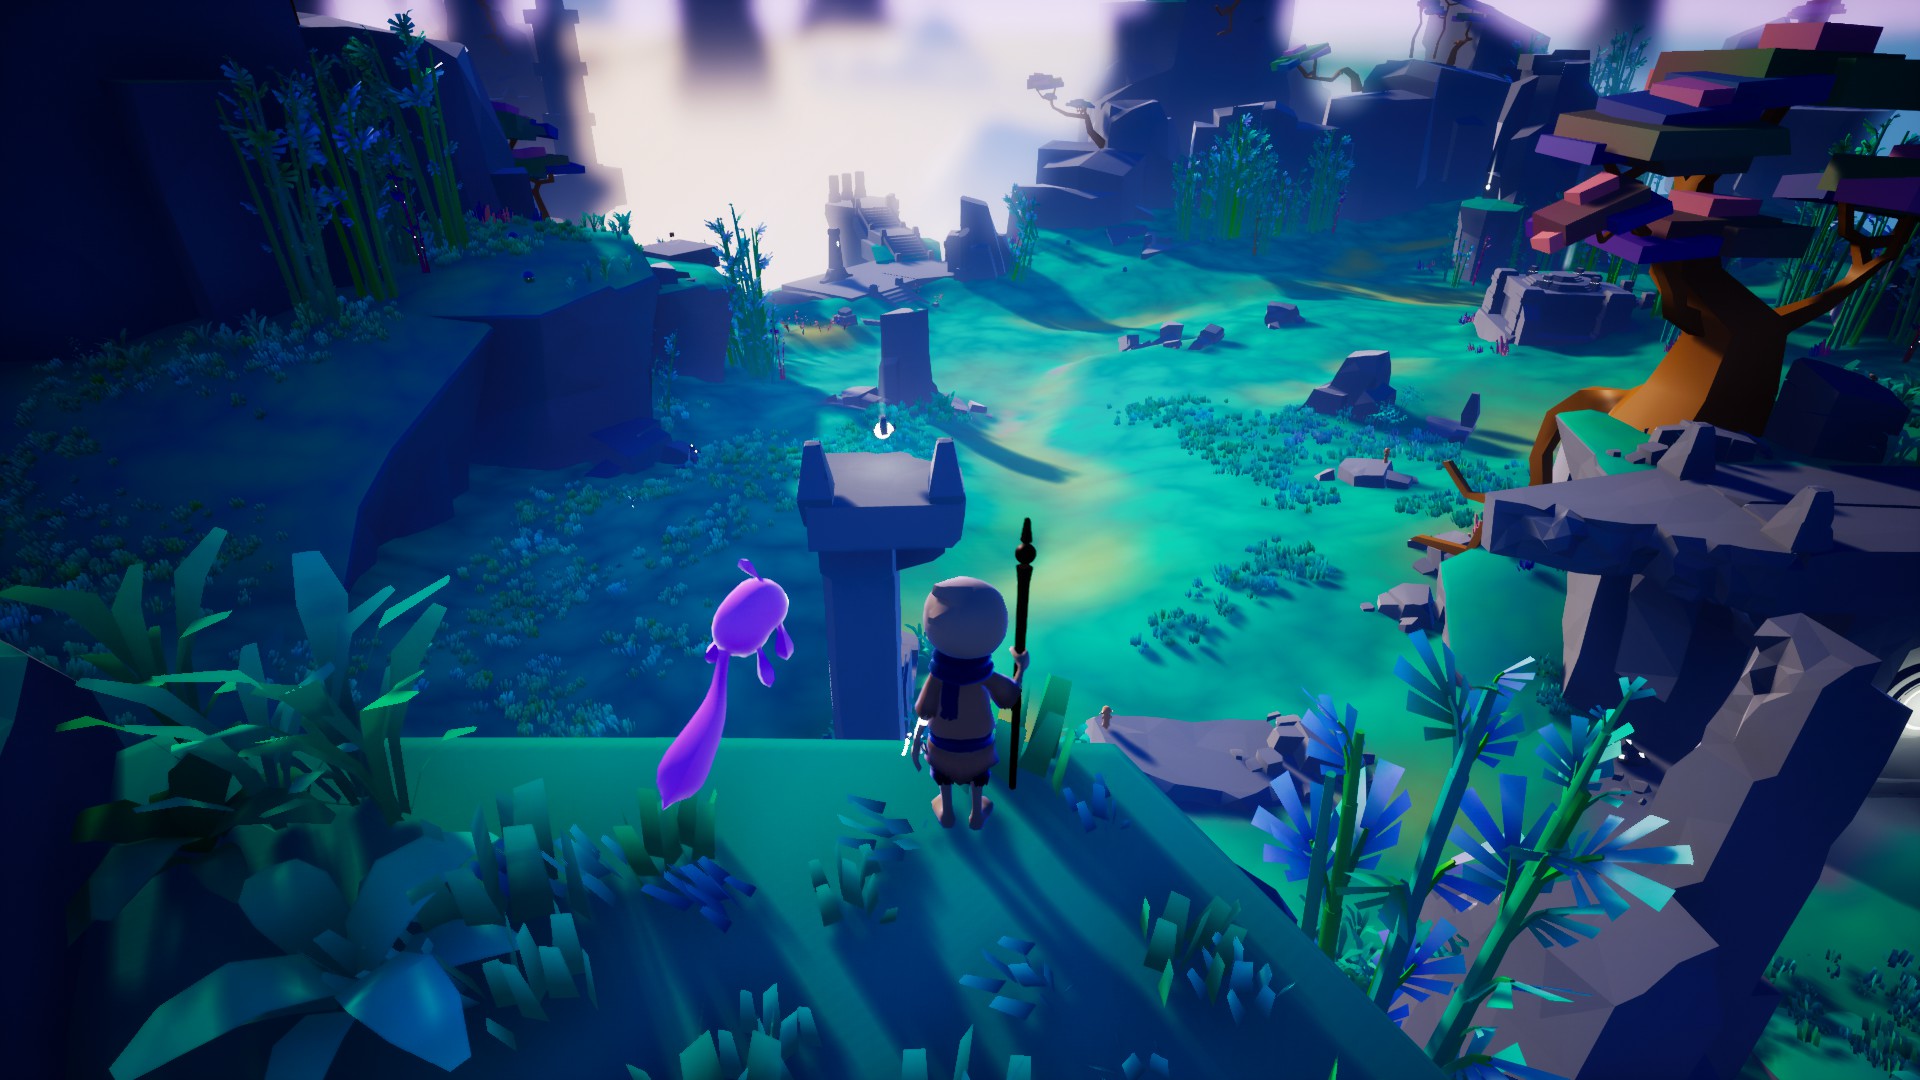
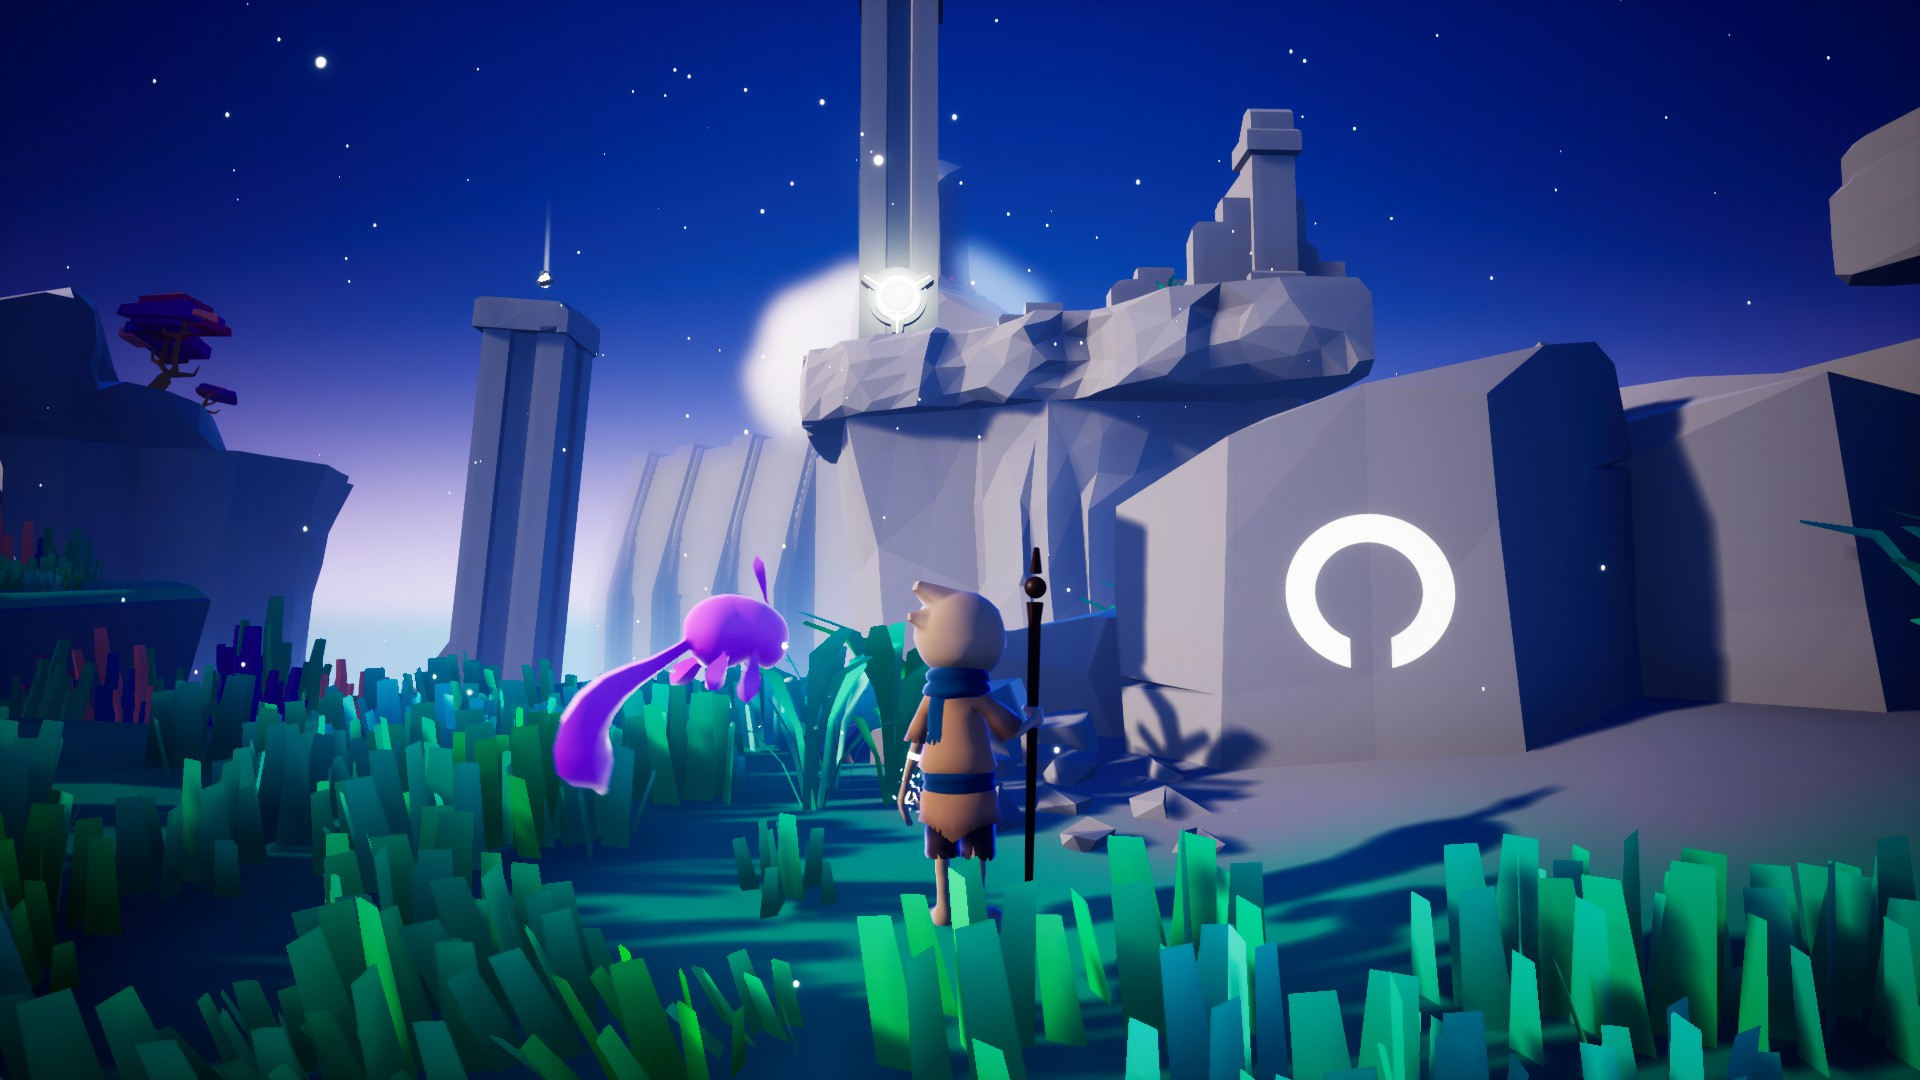
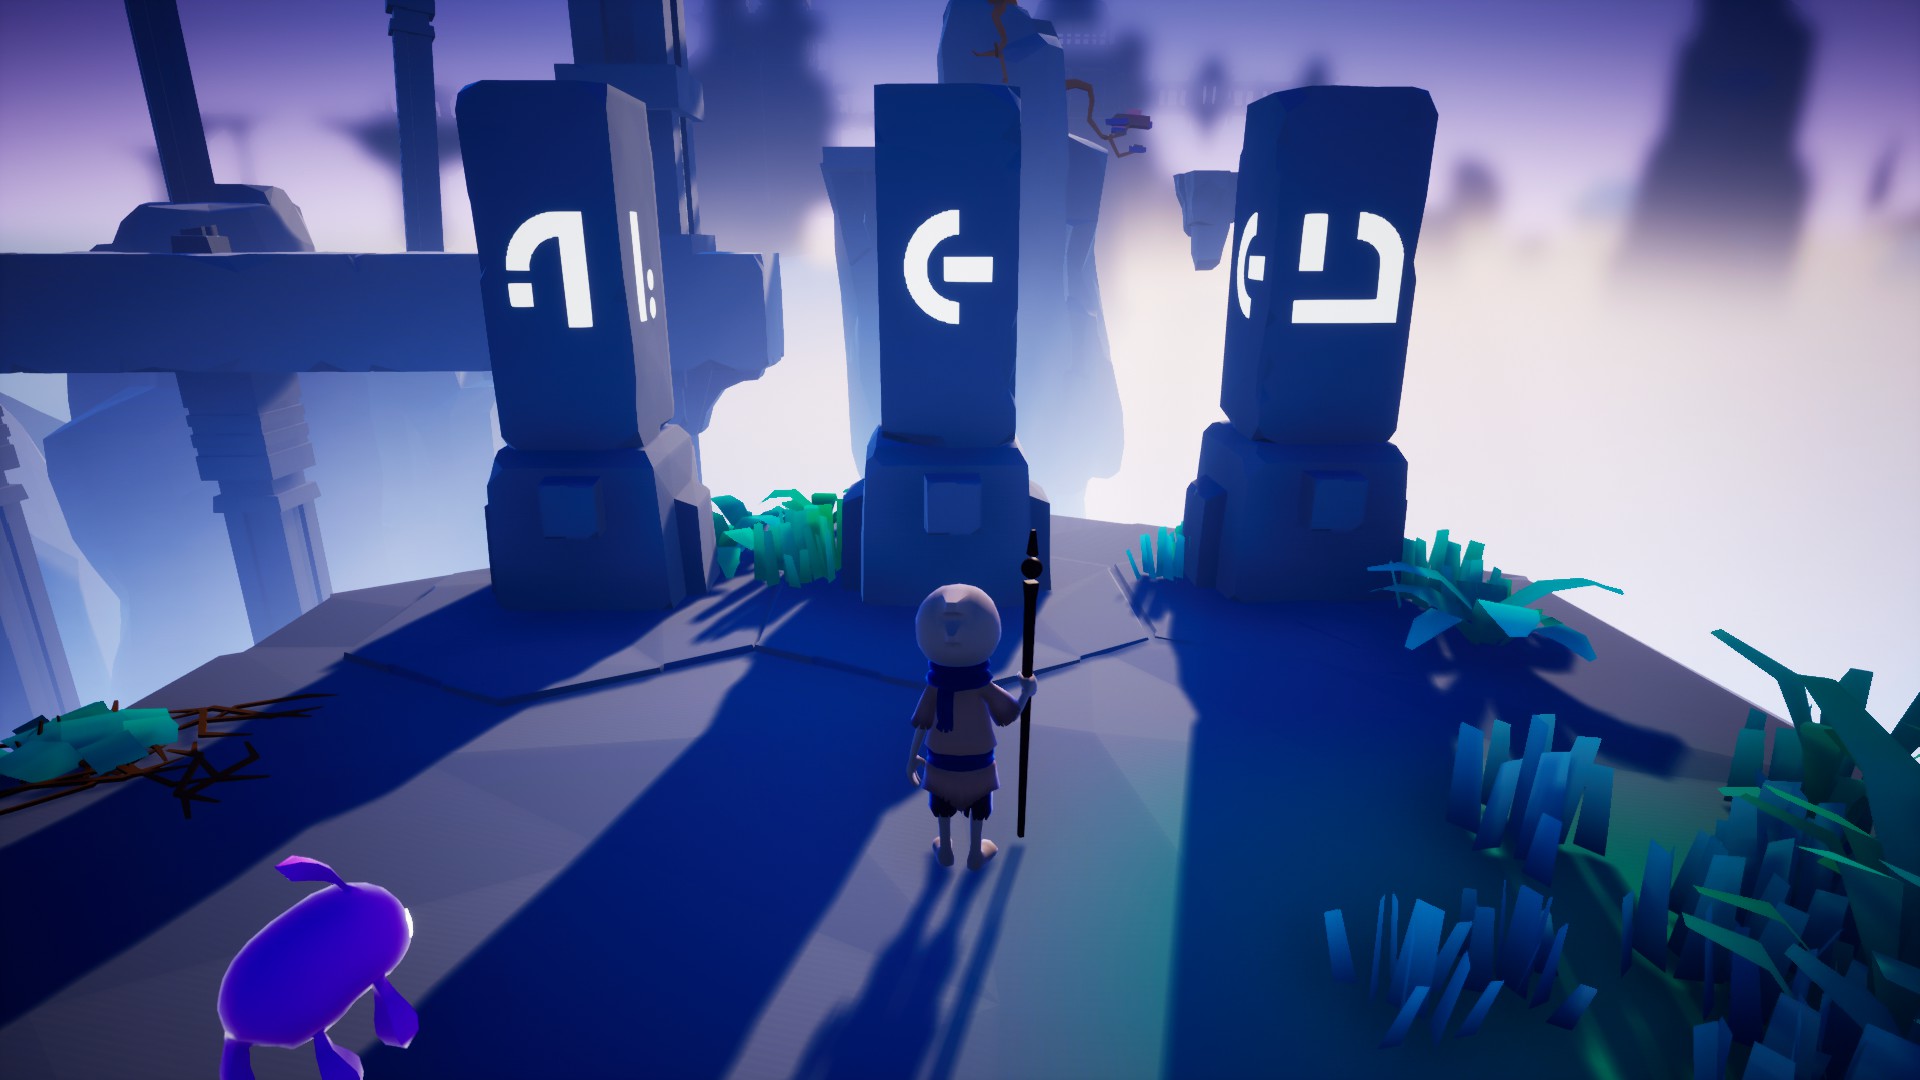
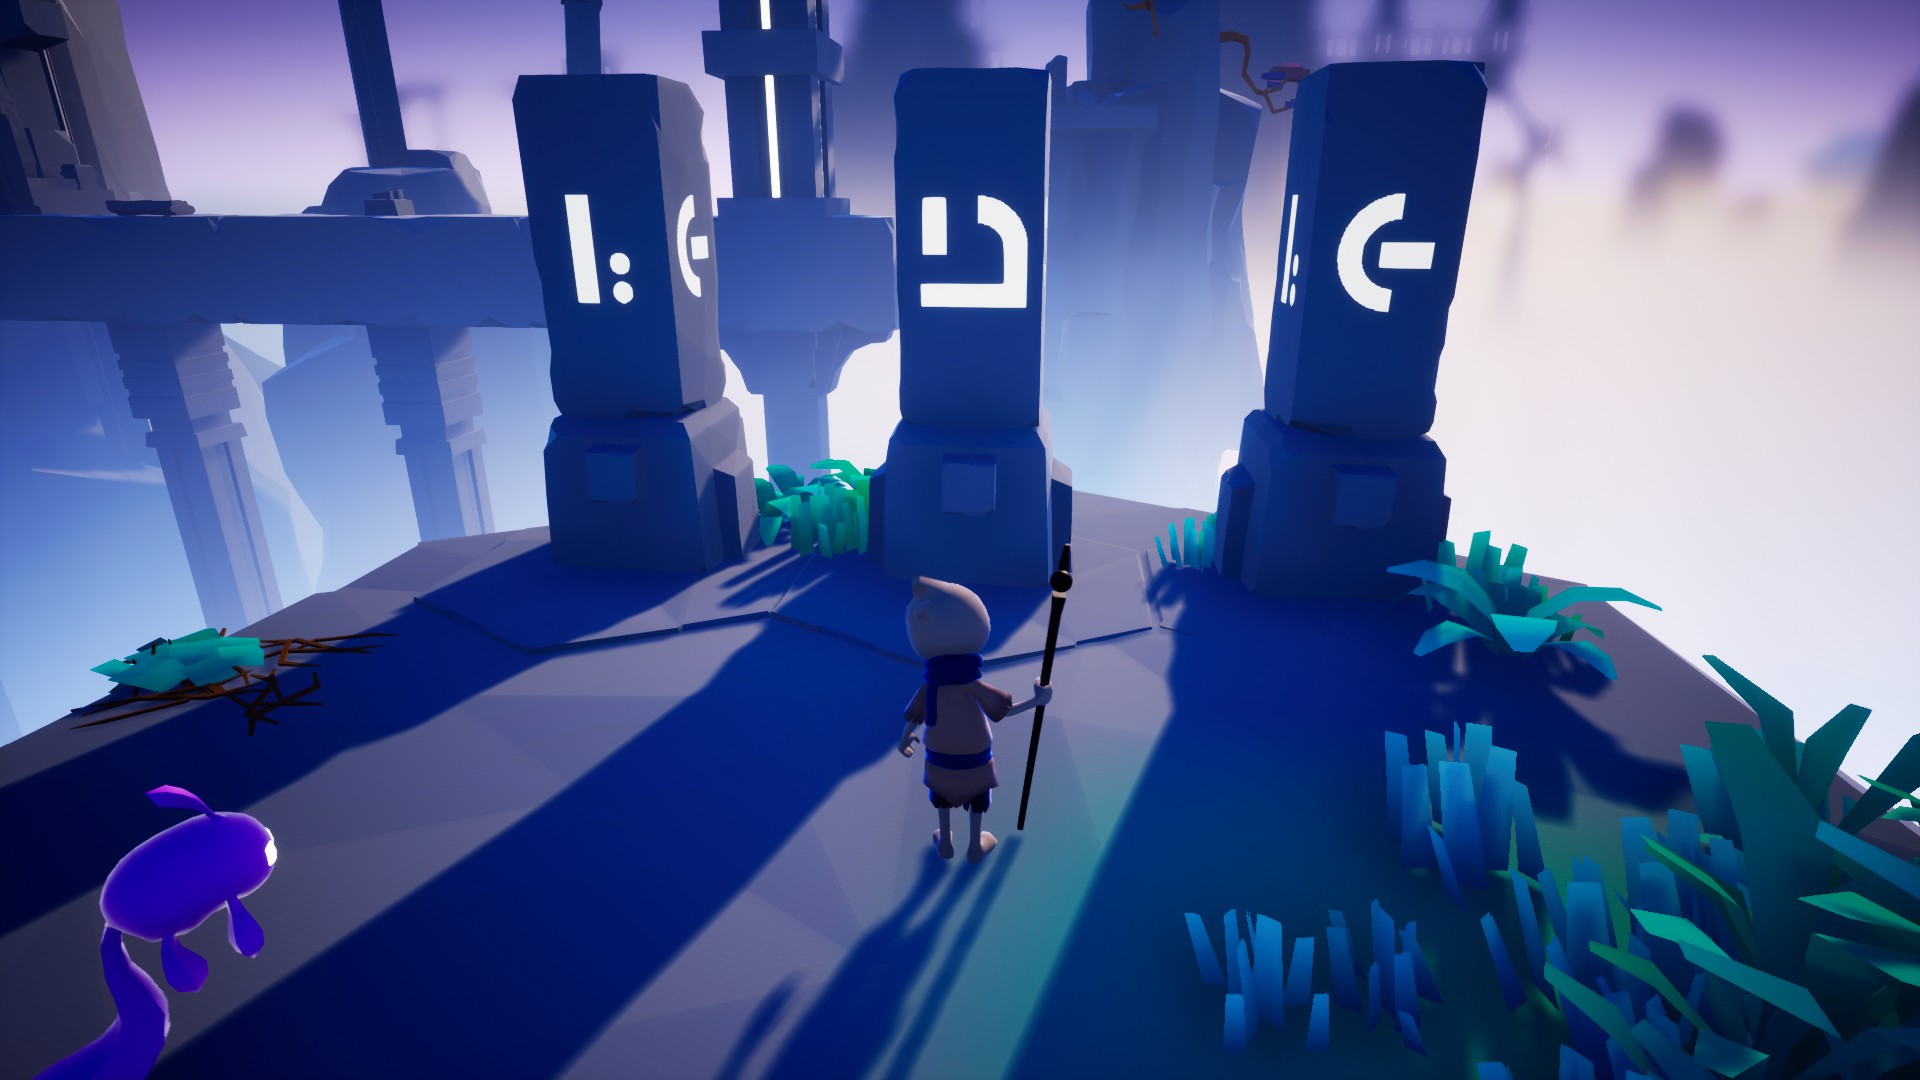
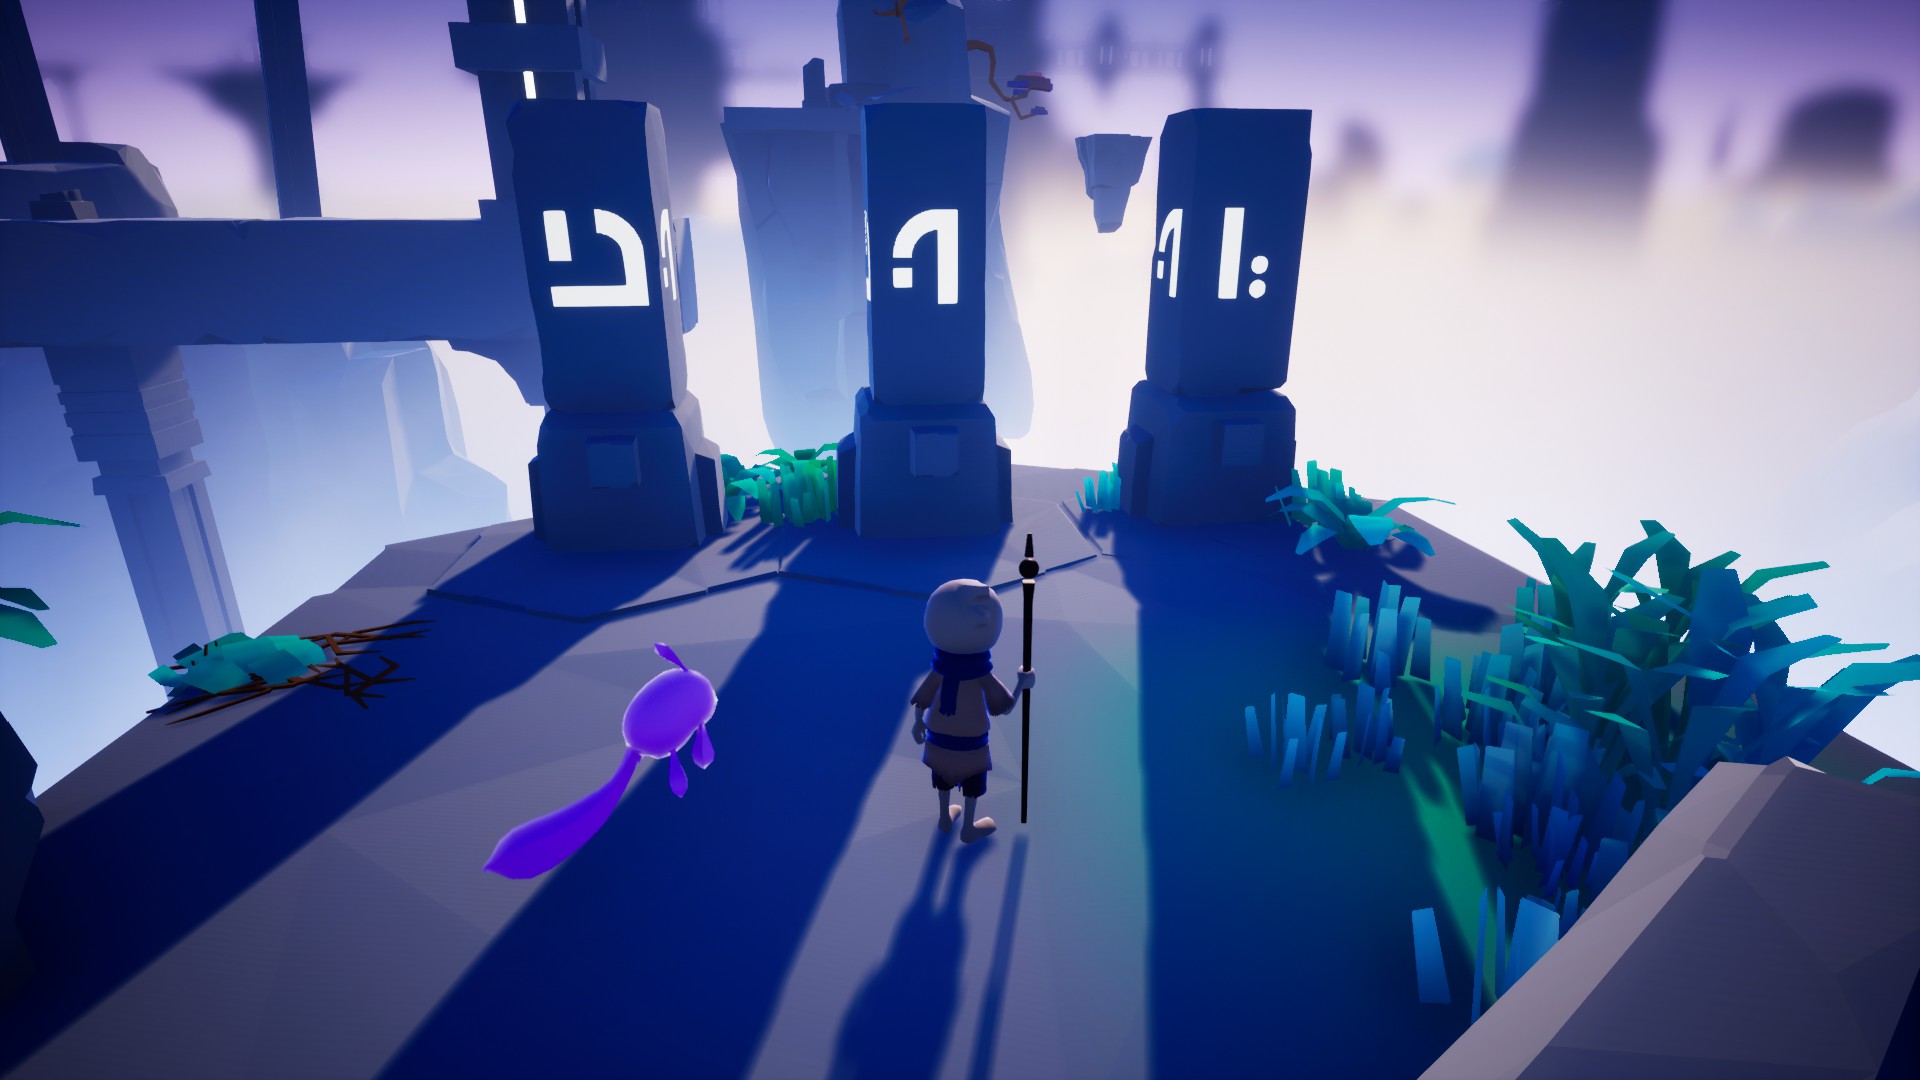
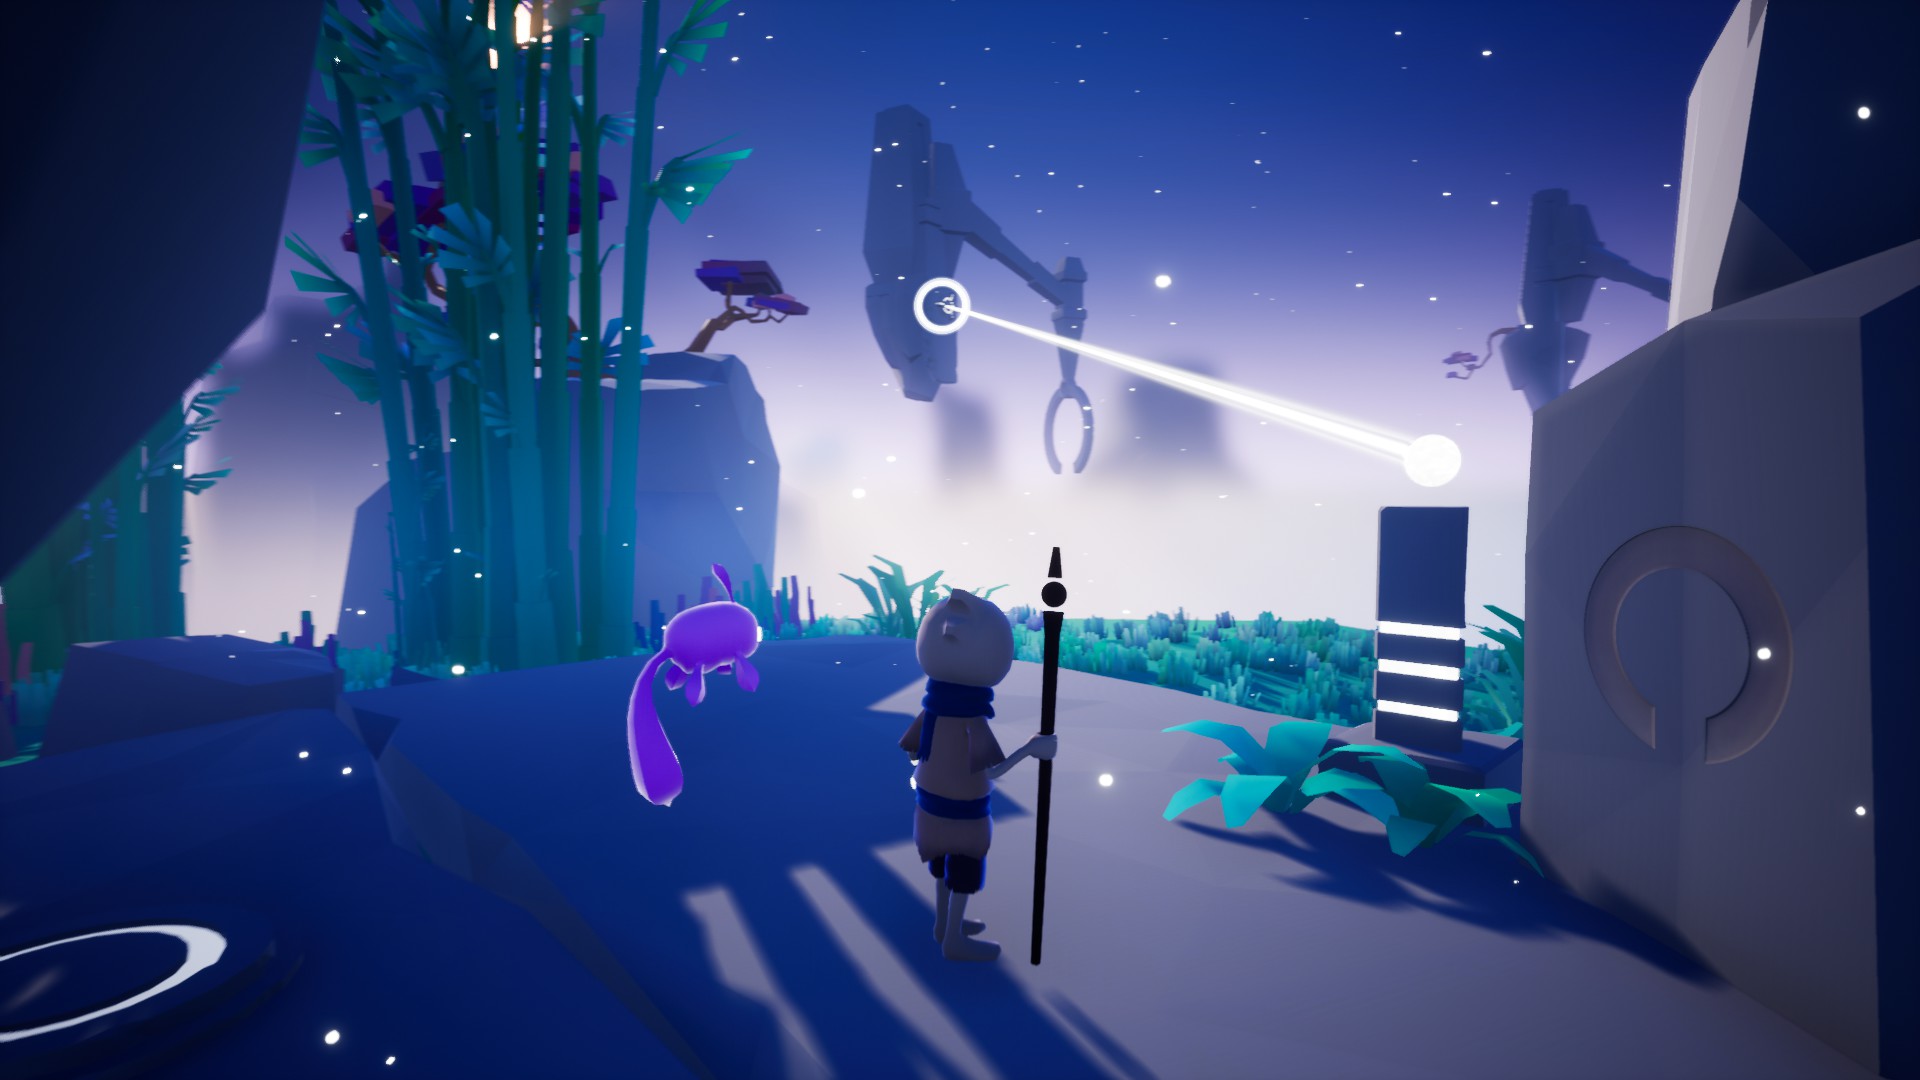
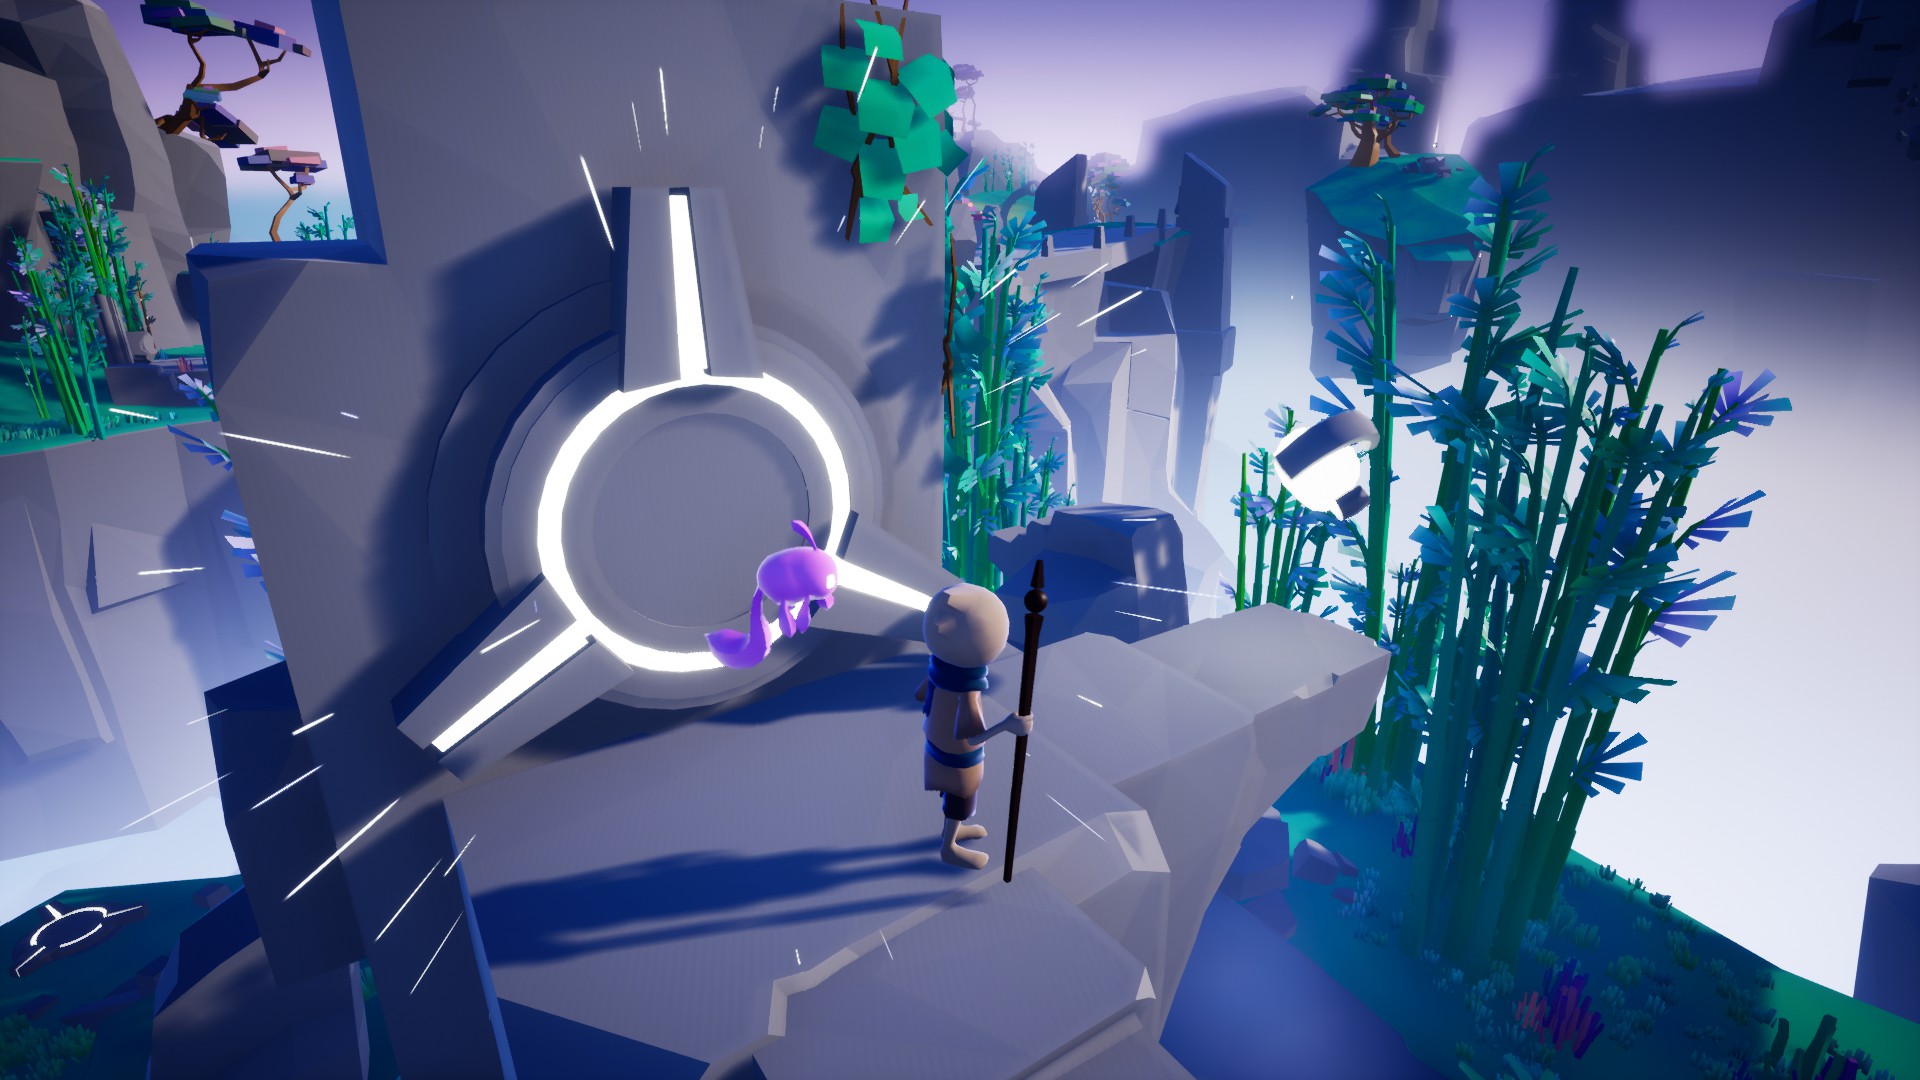
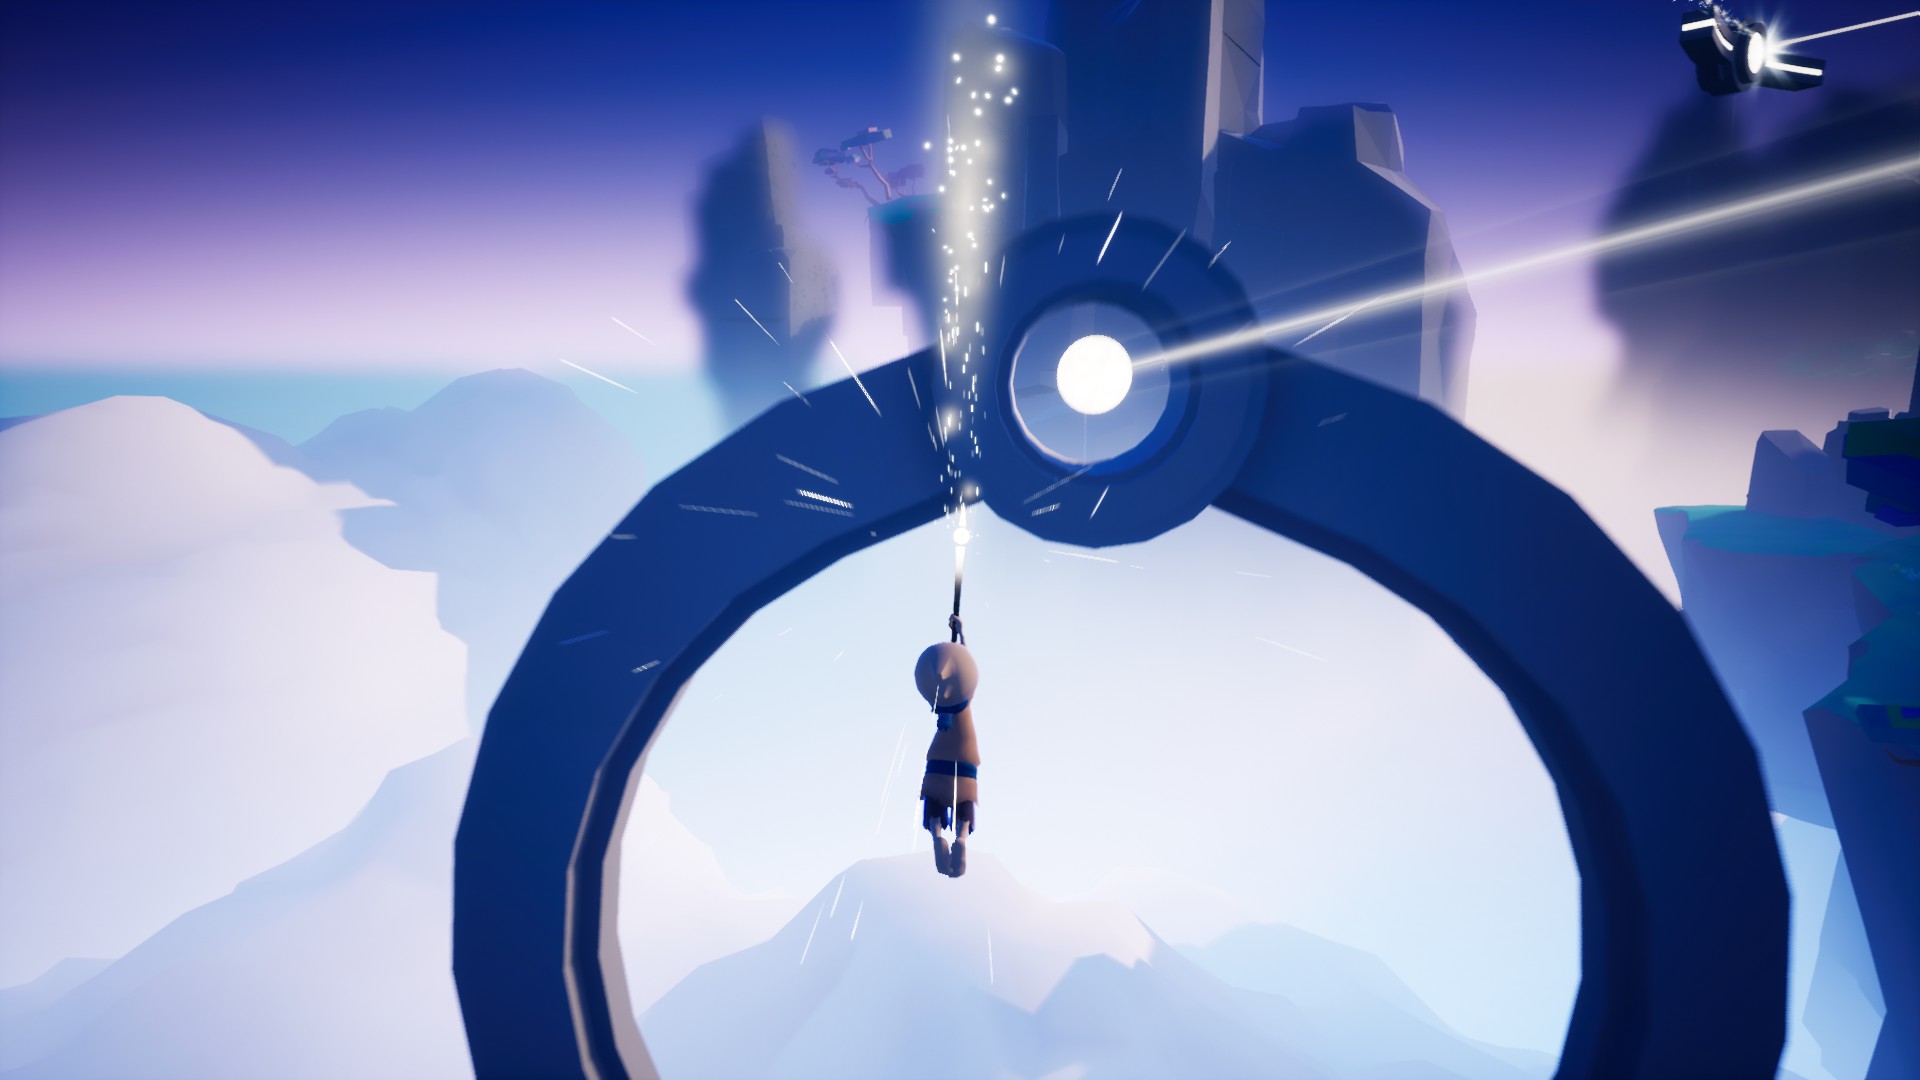
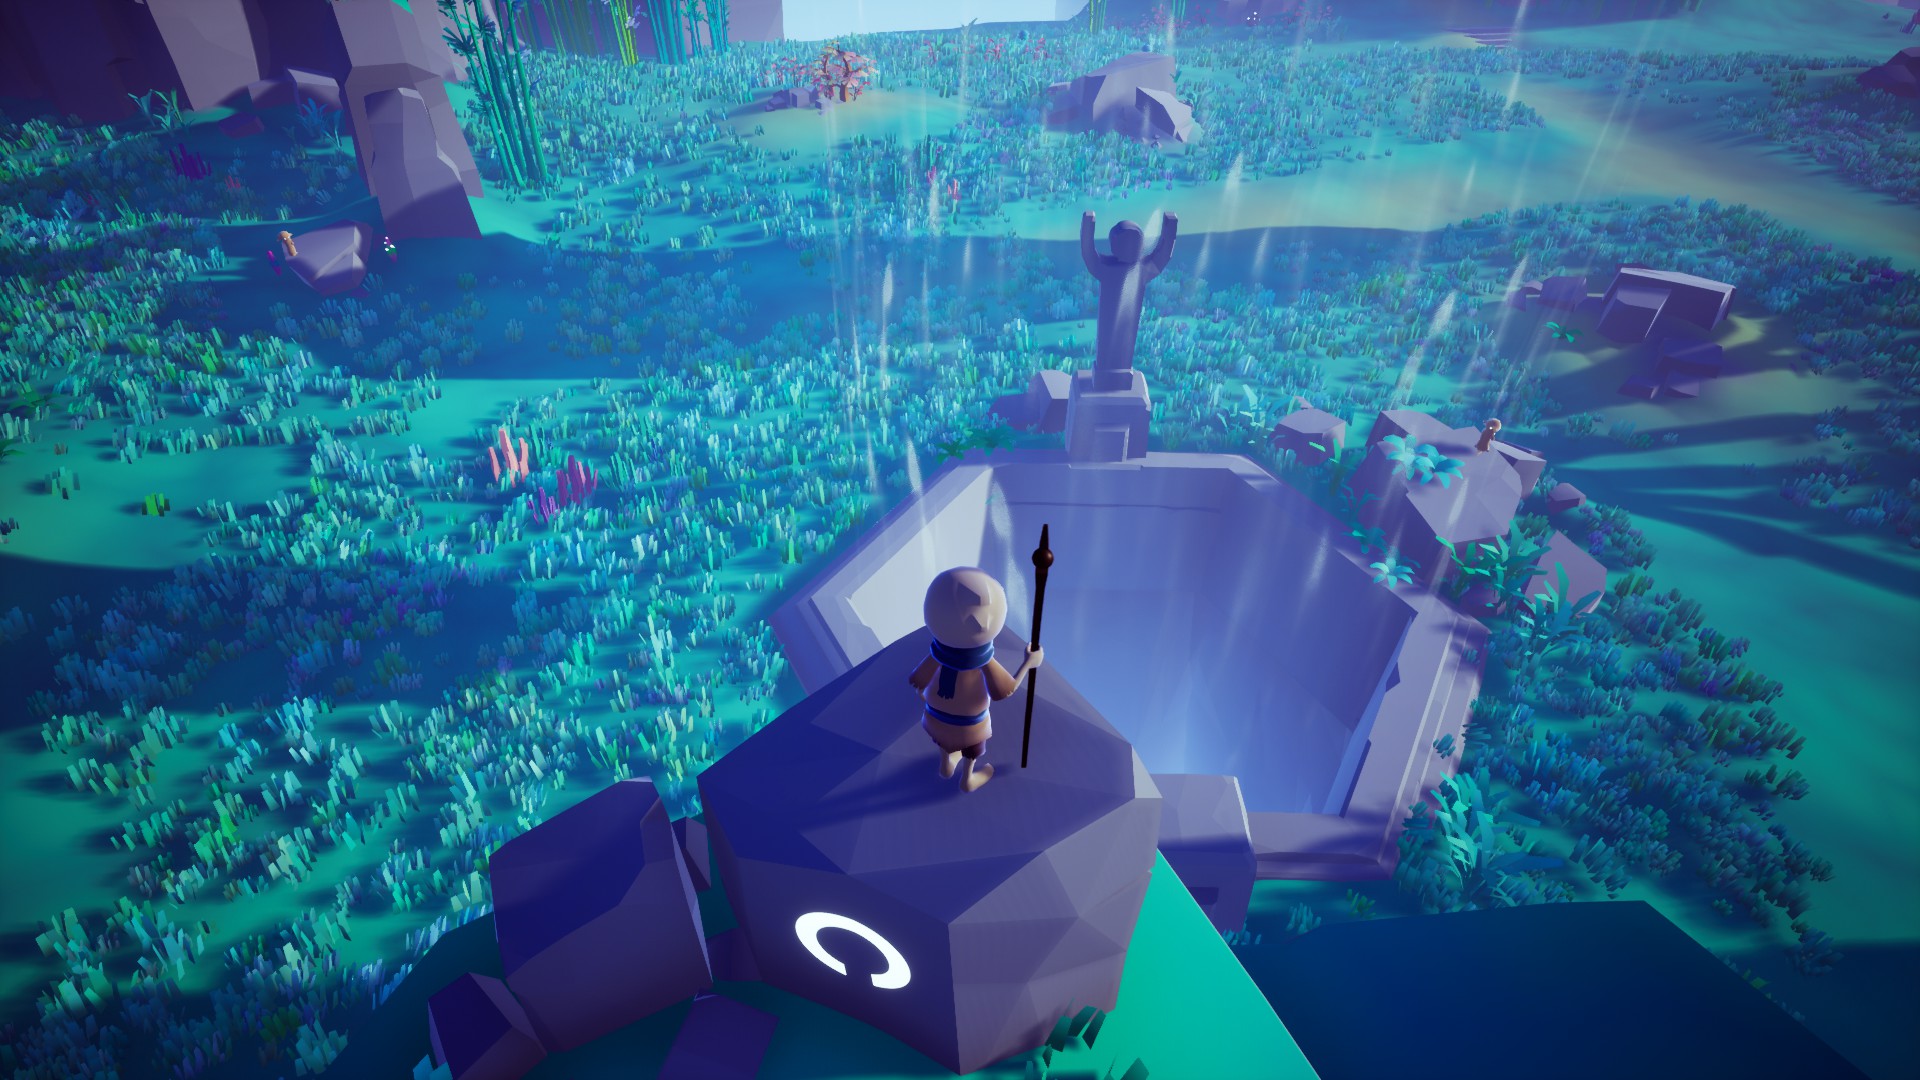
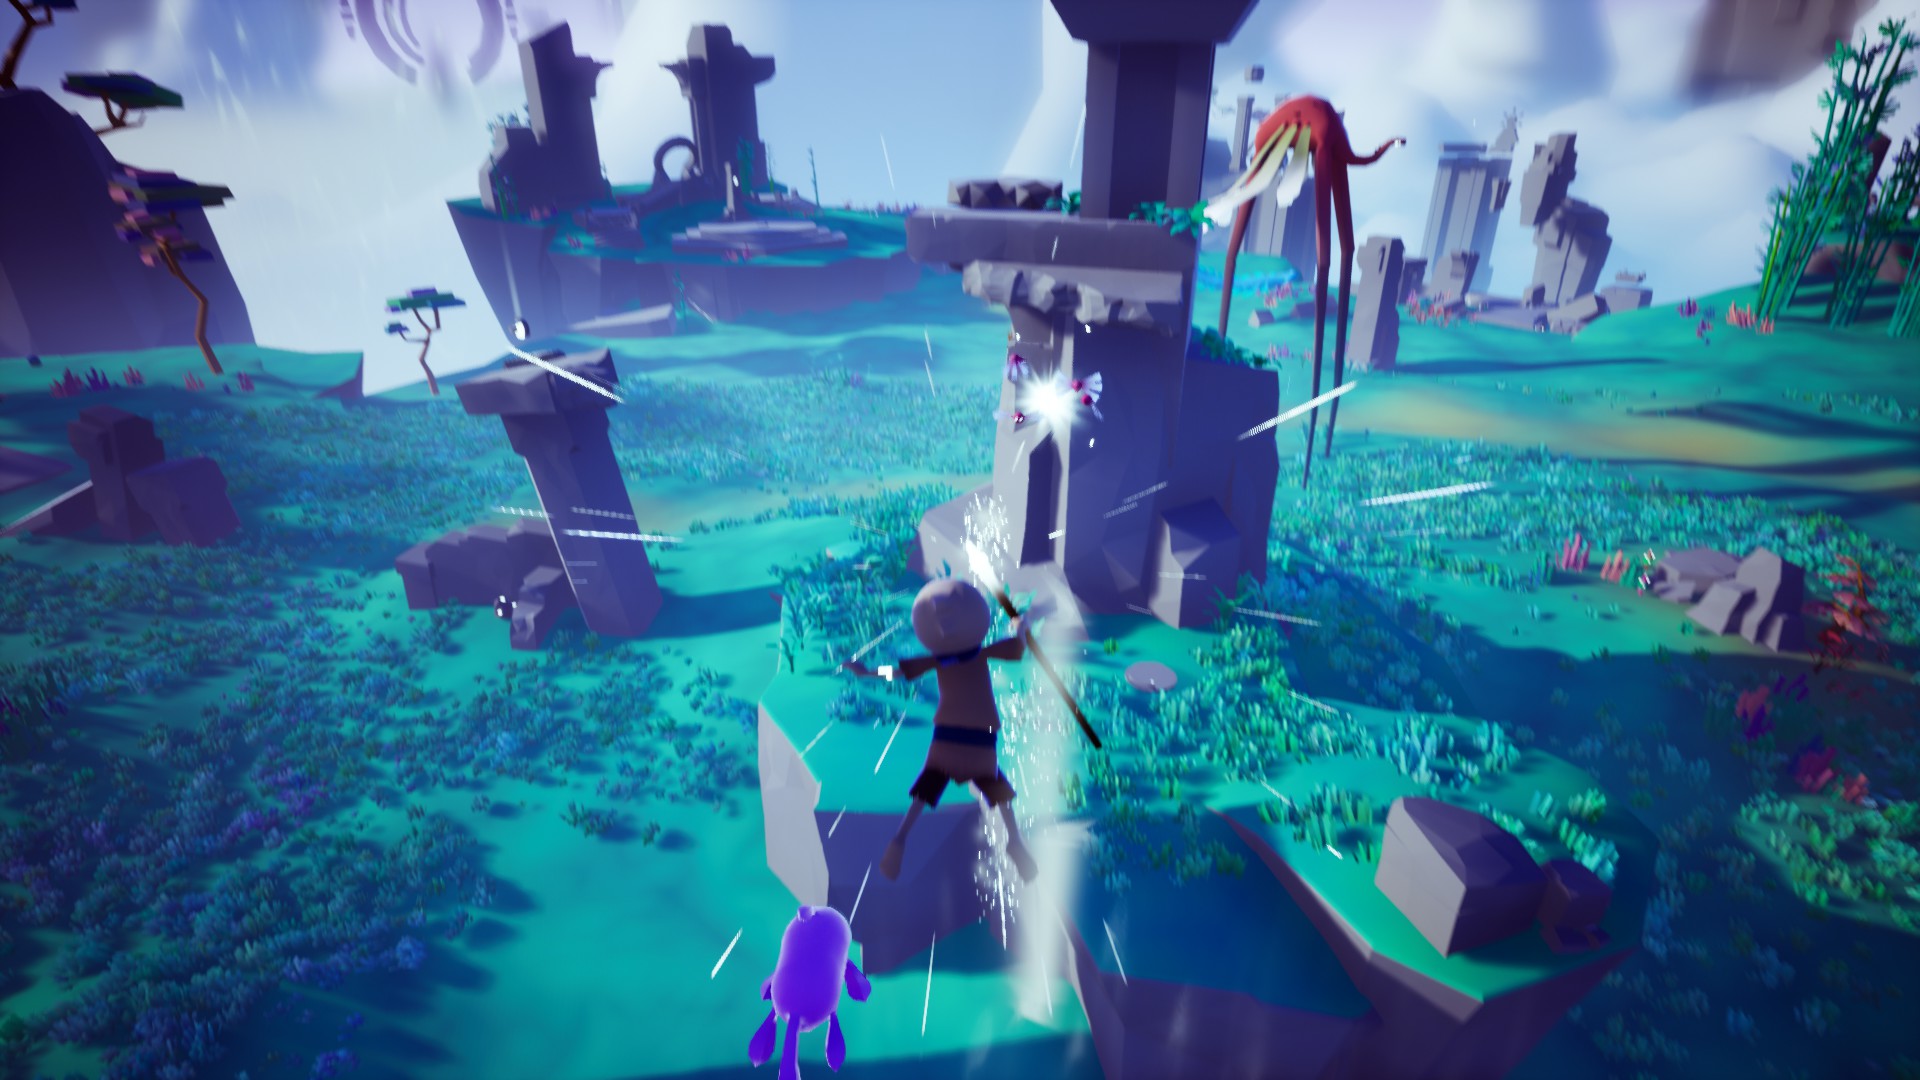

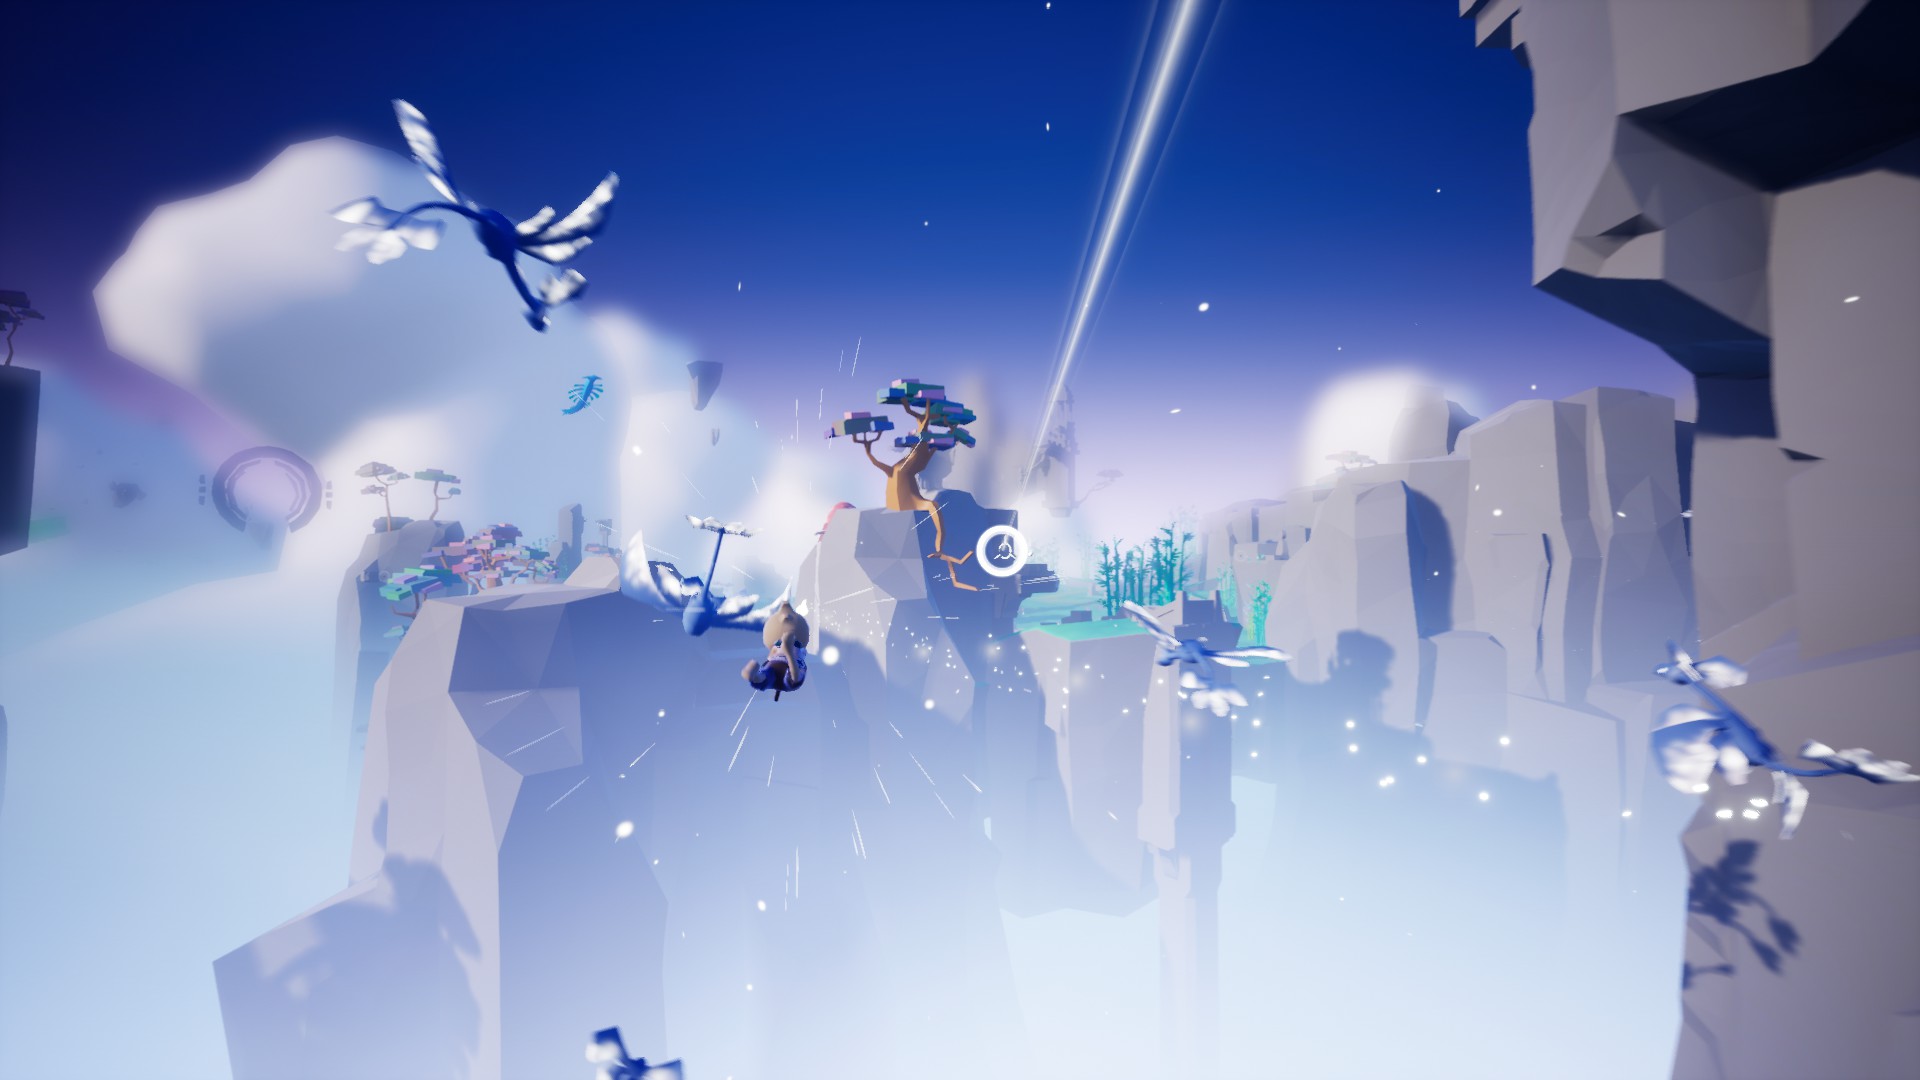
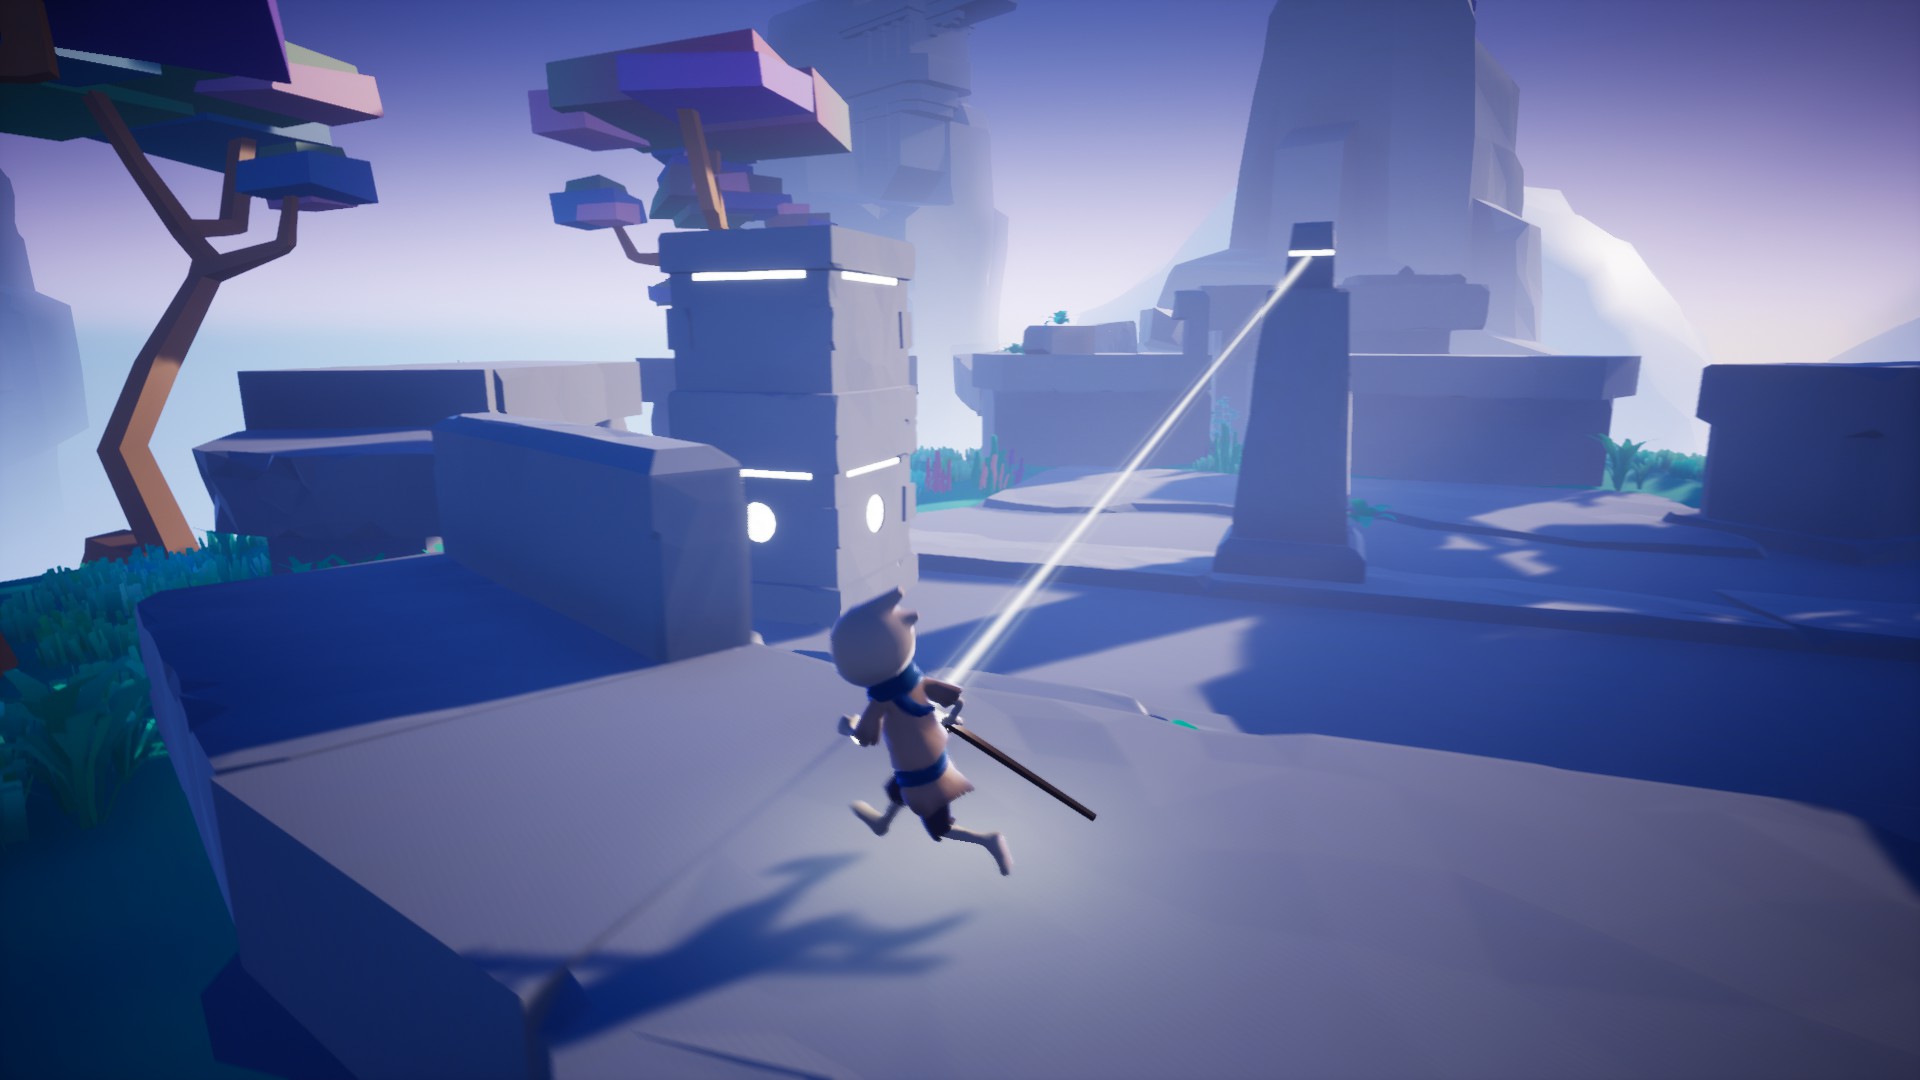
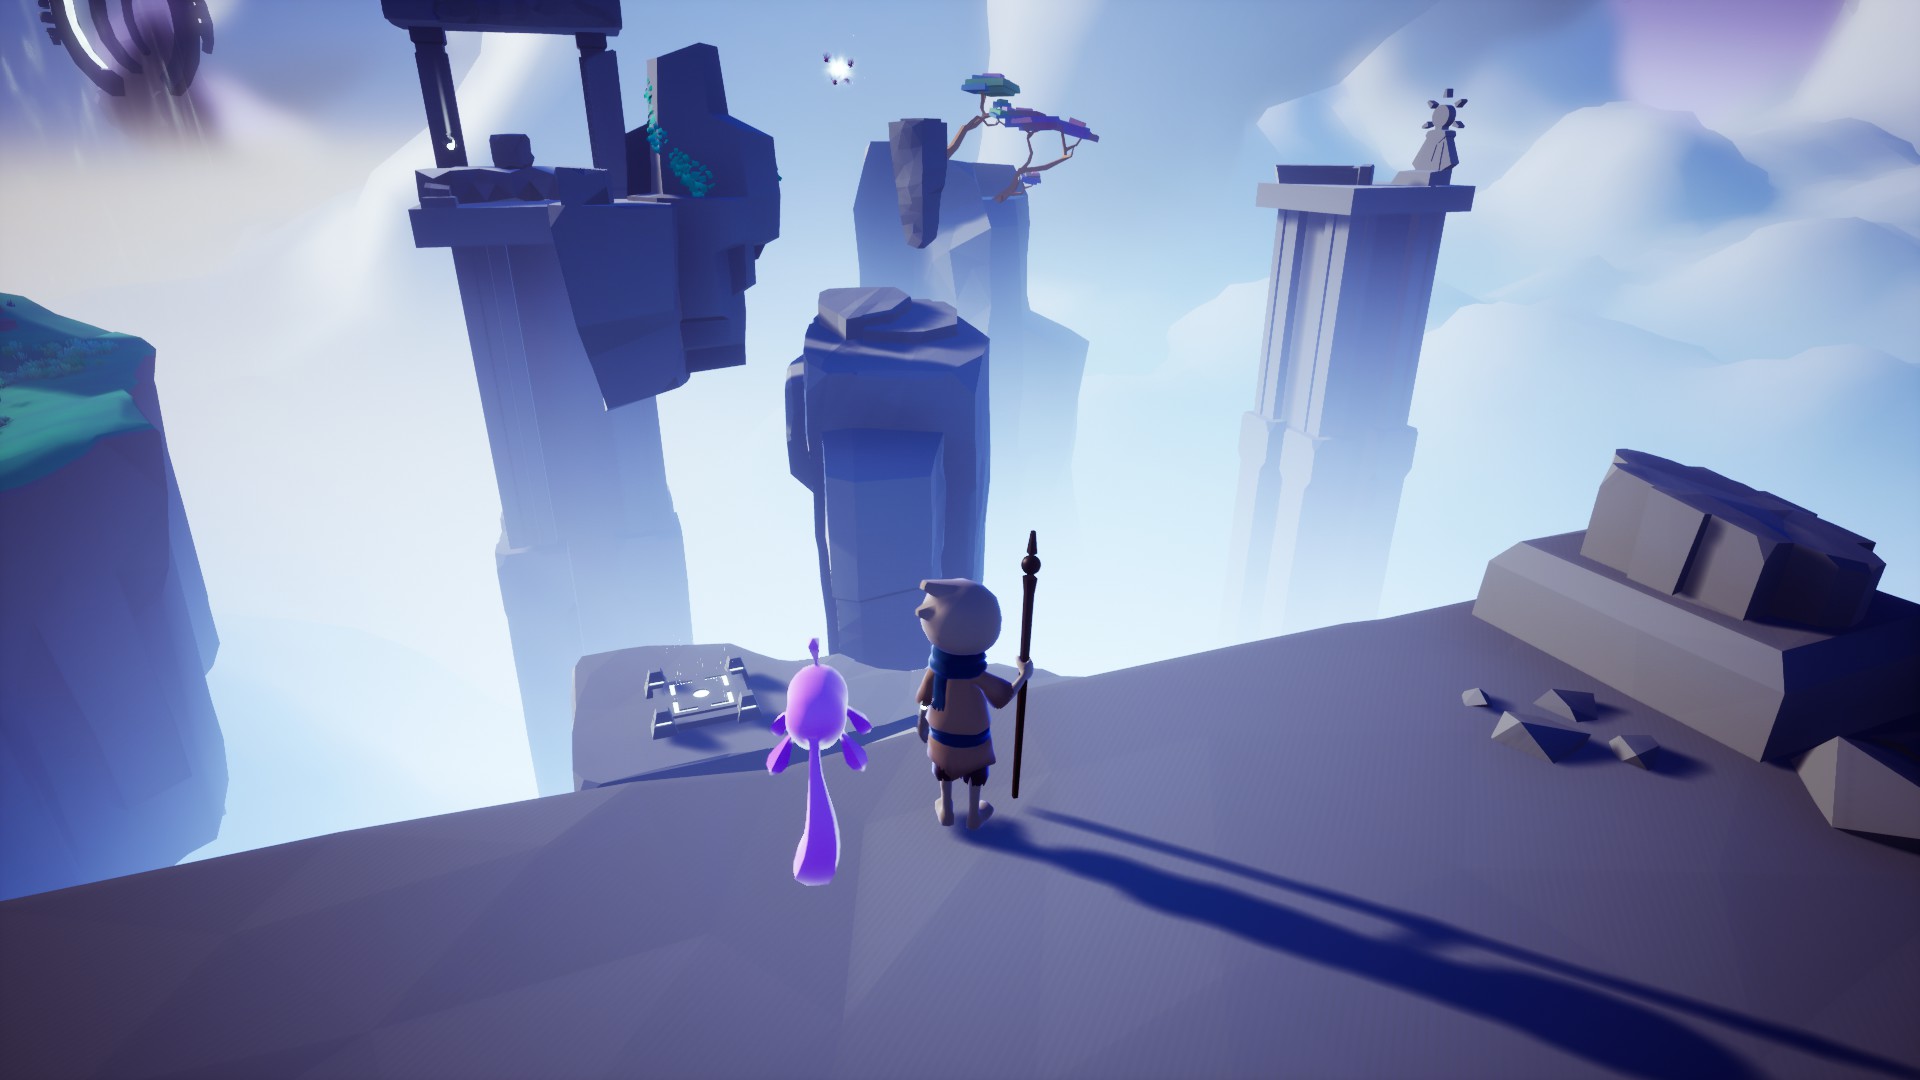
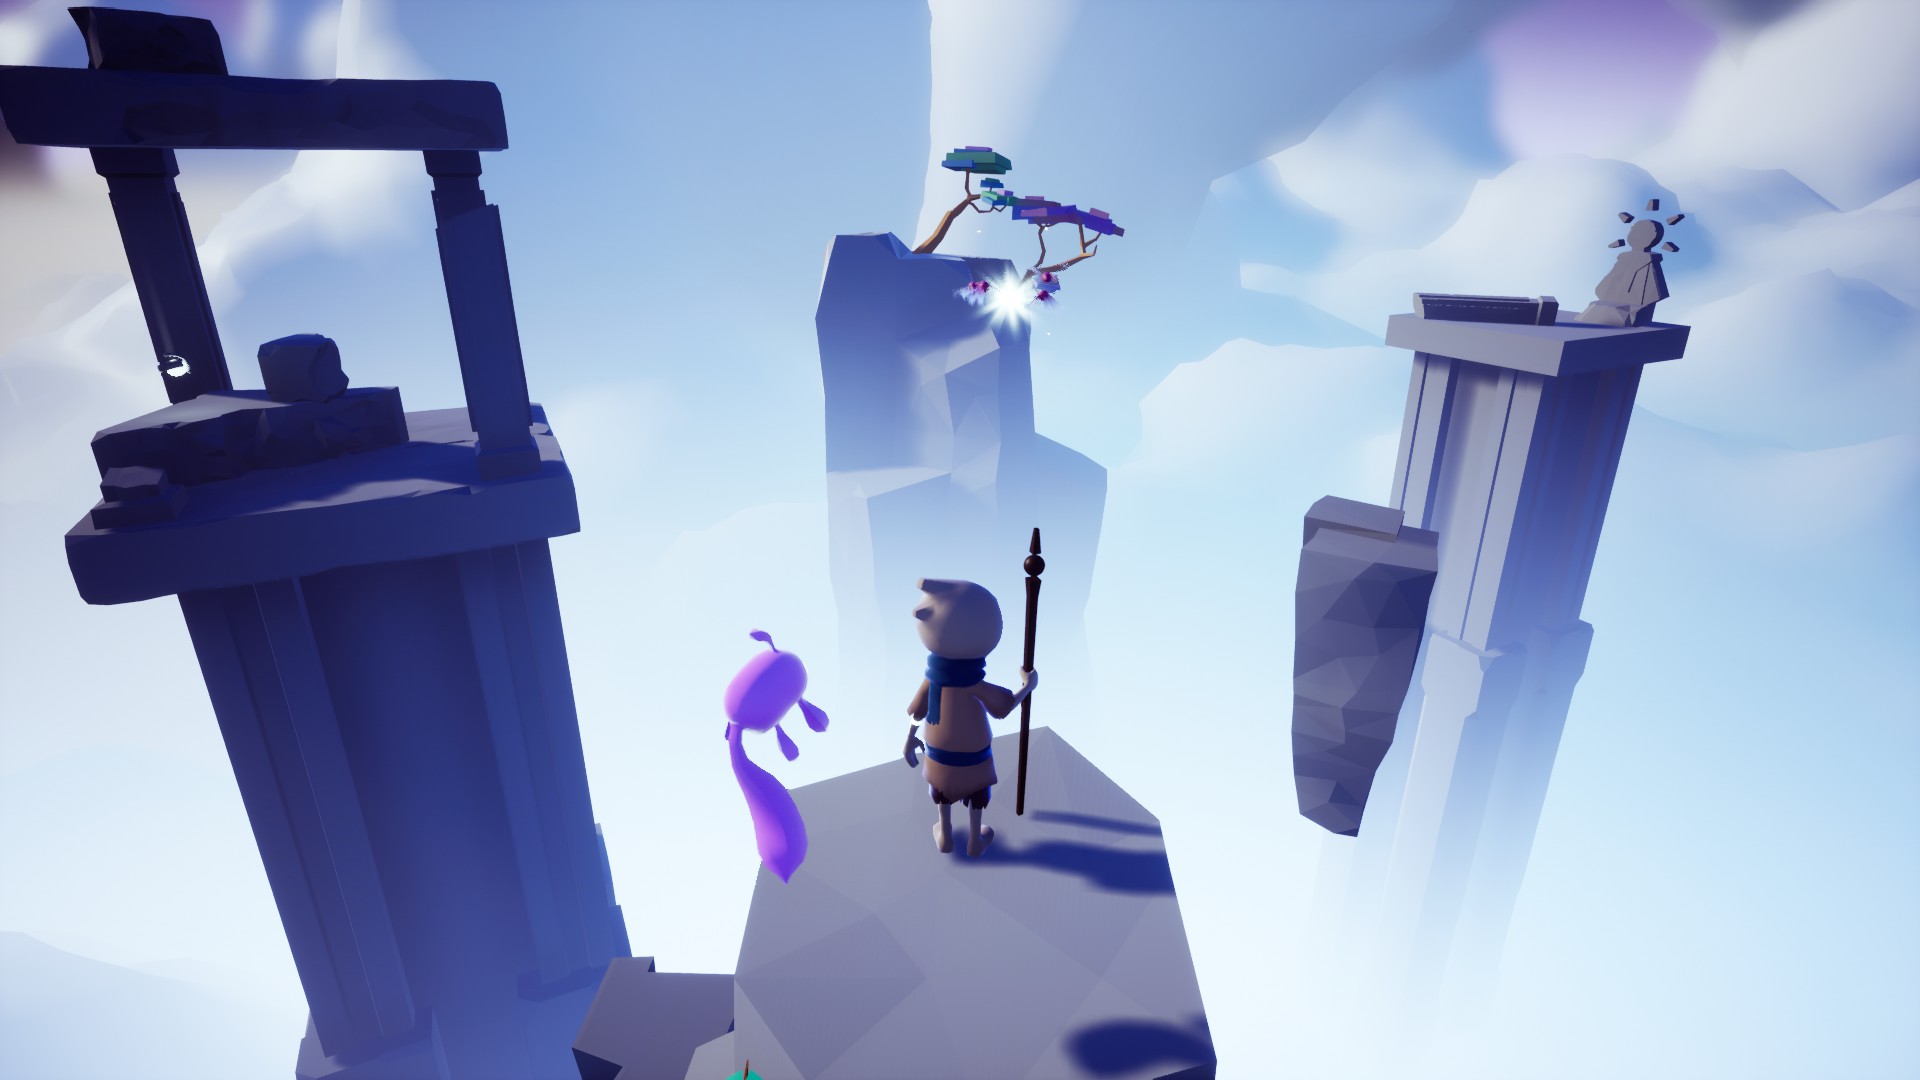
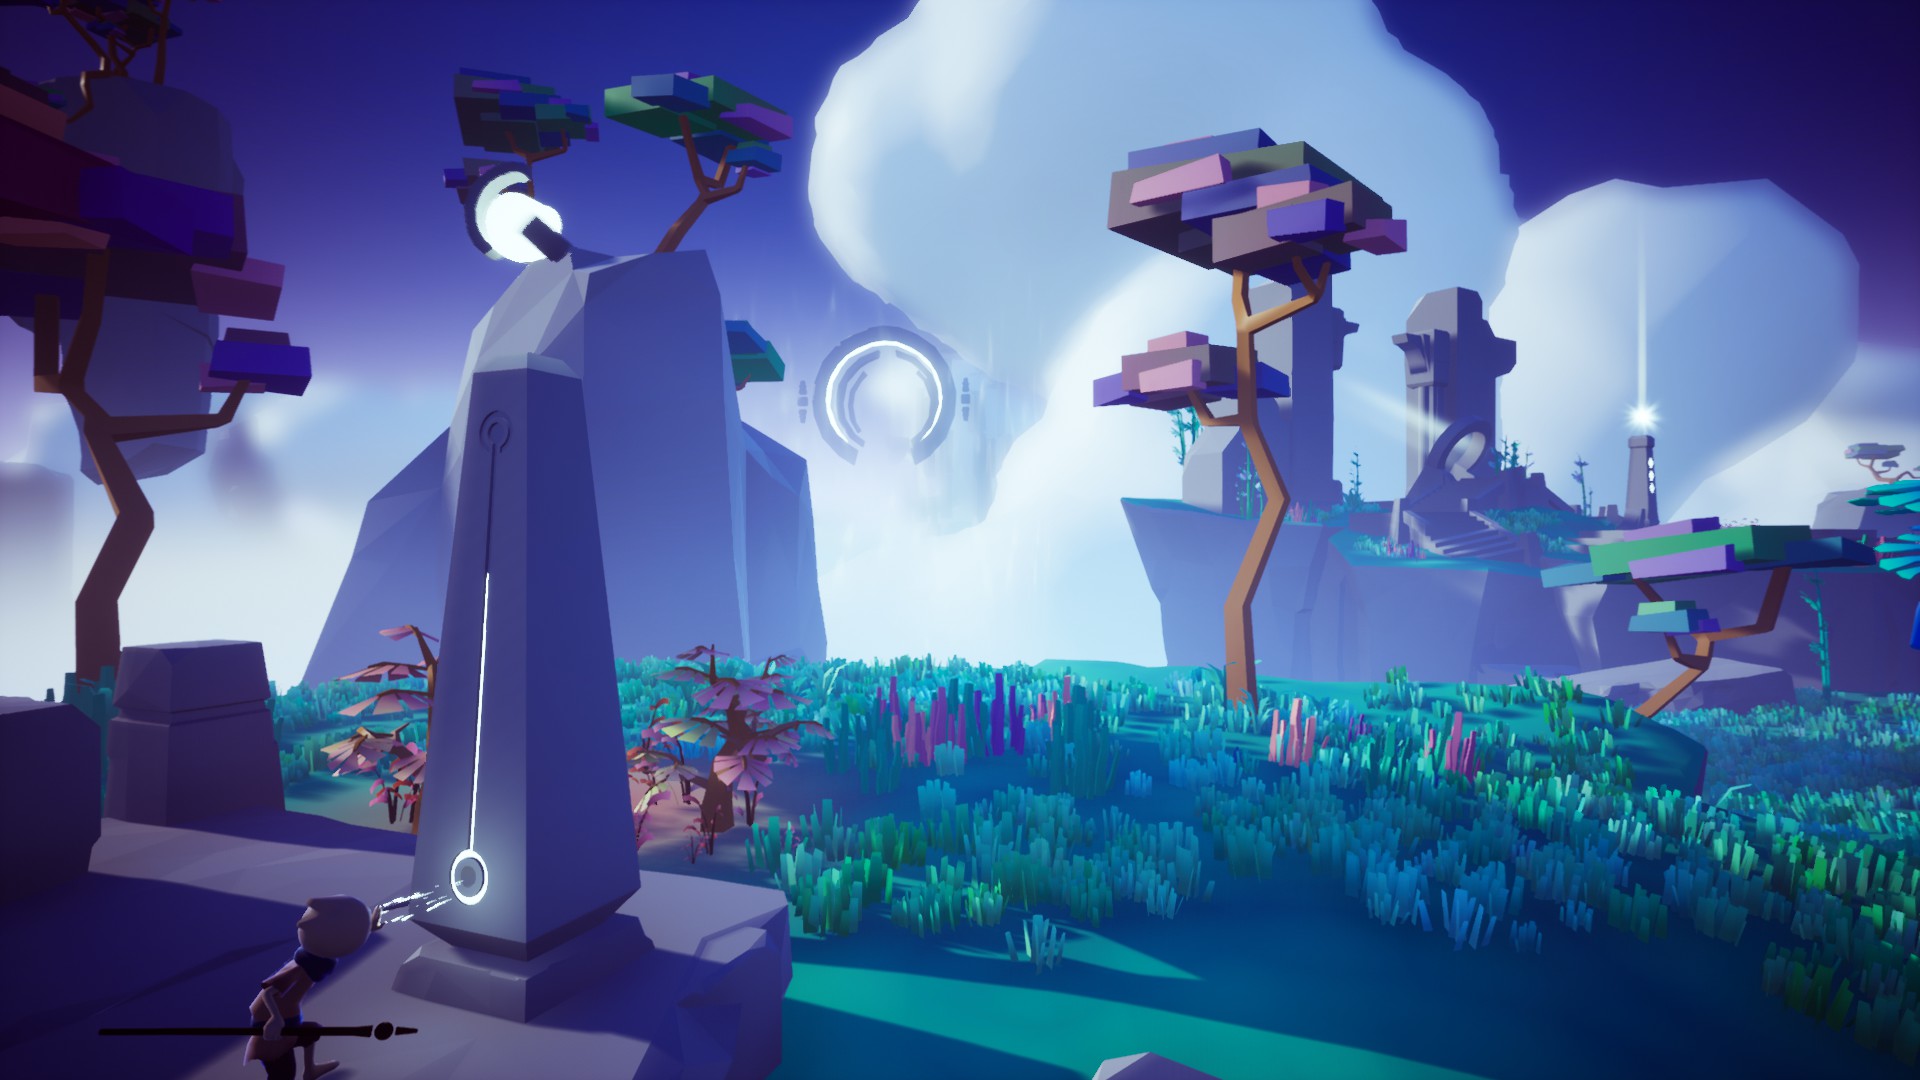


But this is a trash puzzle!
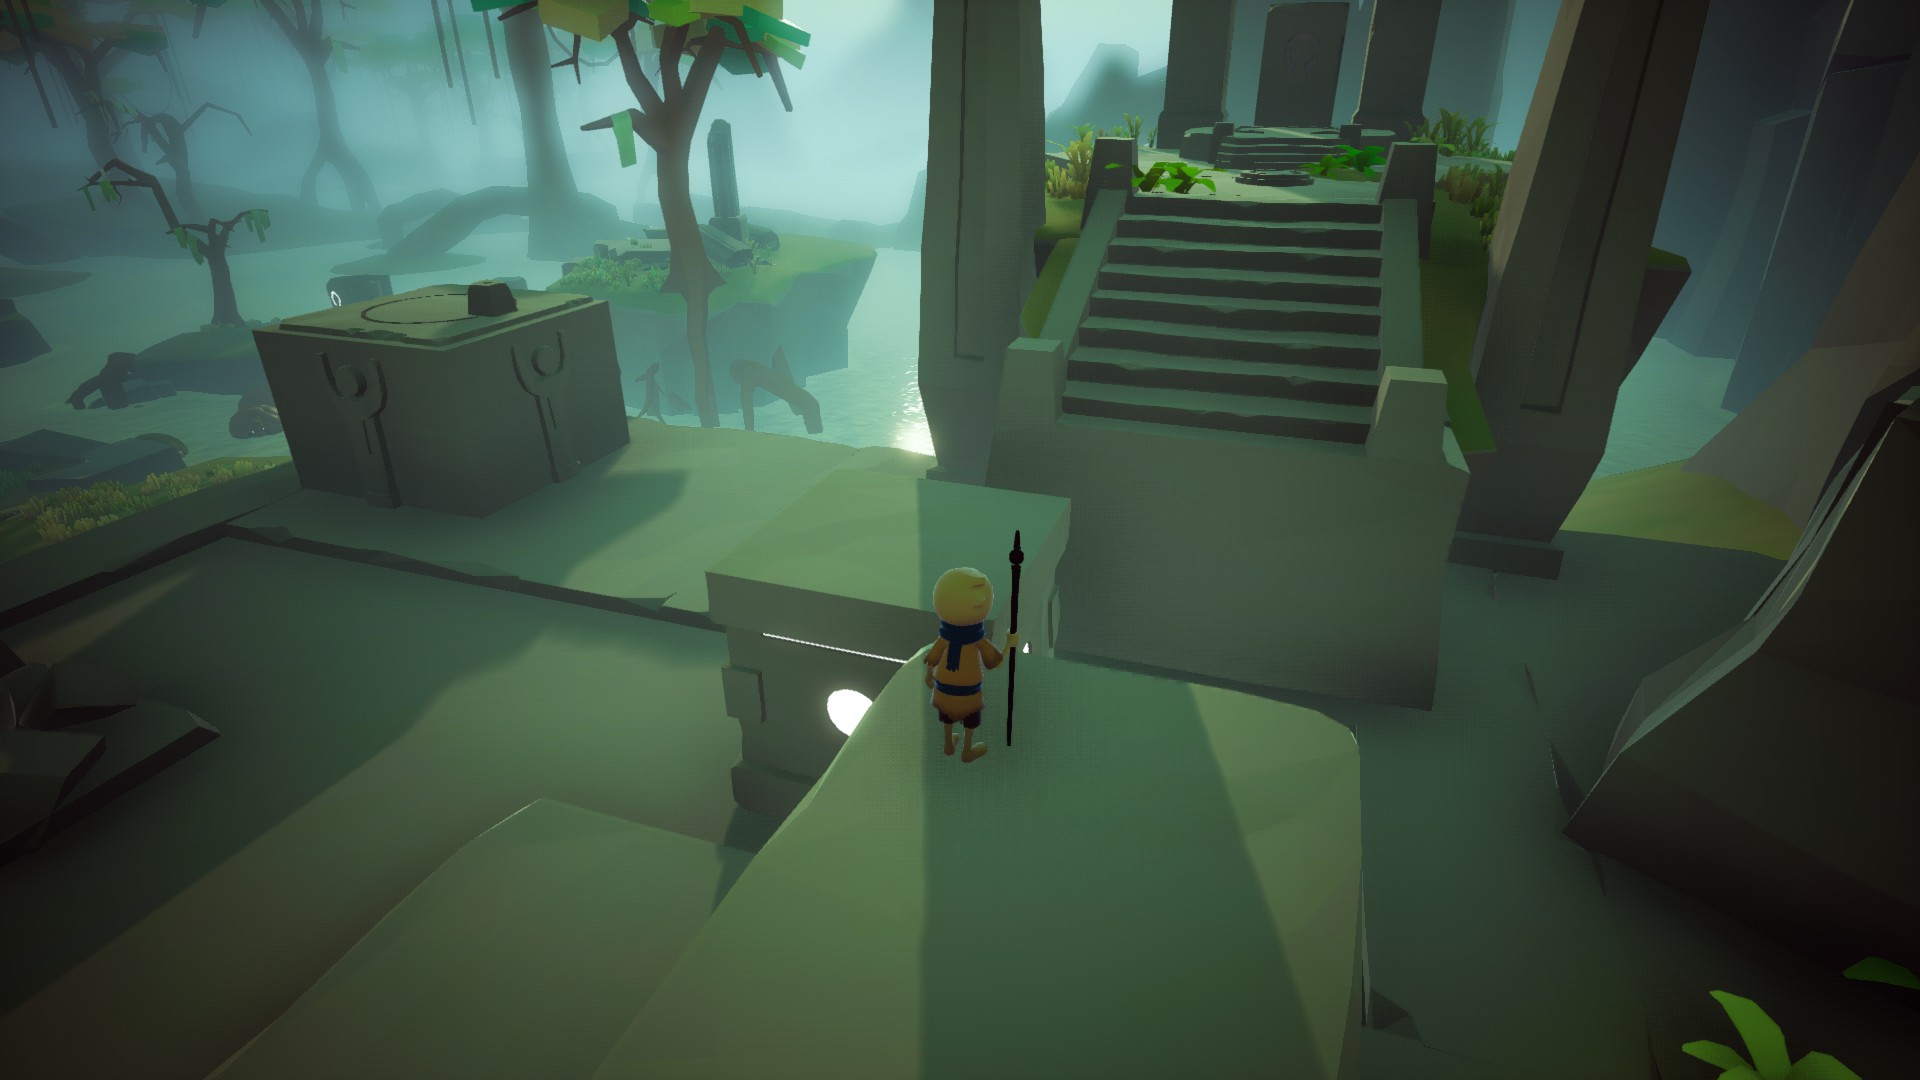
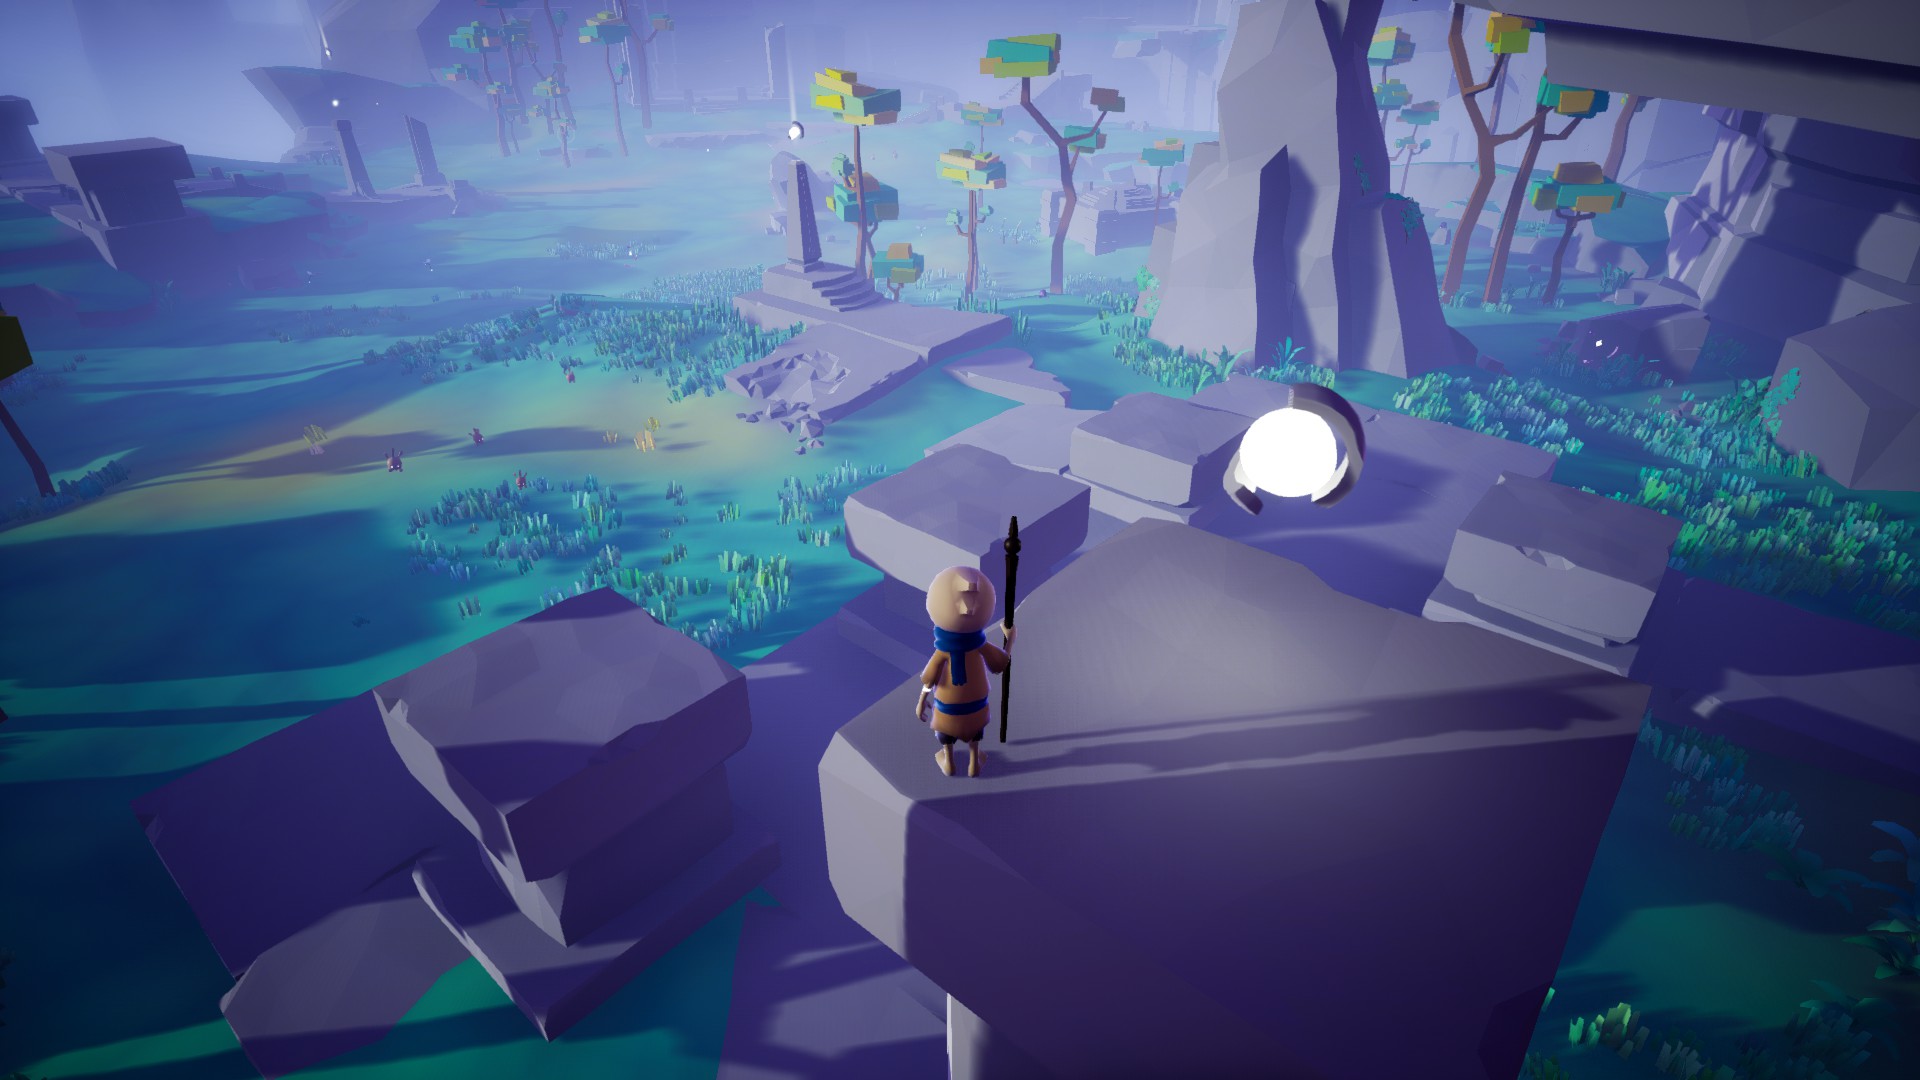
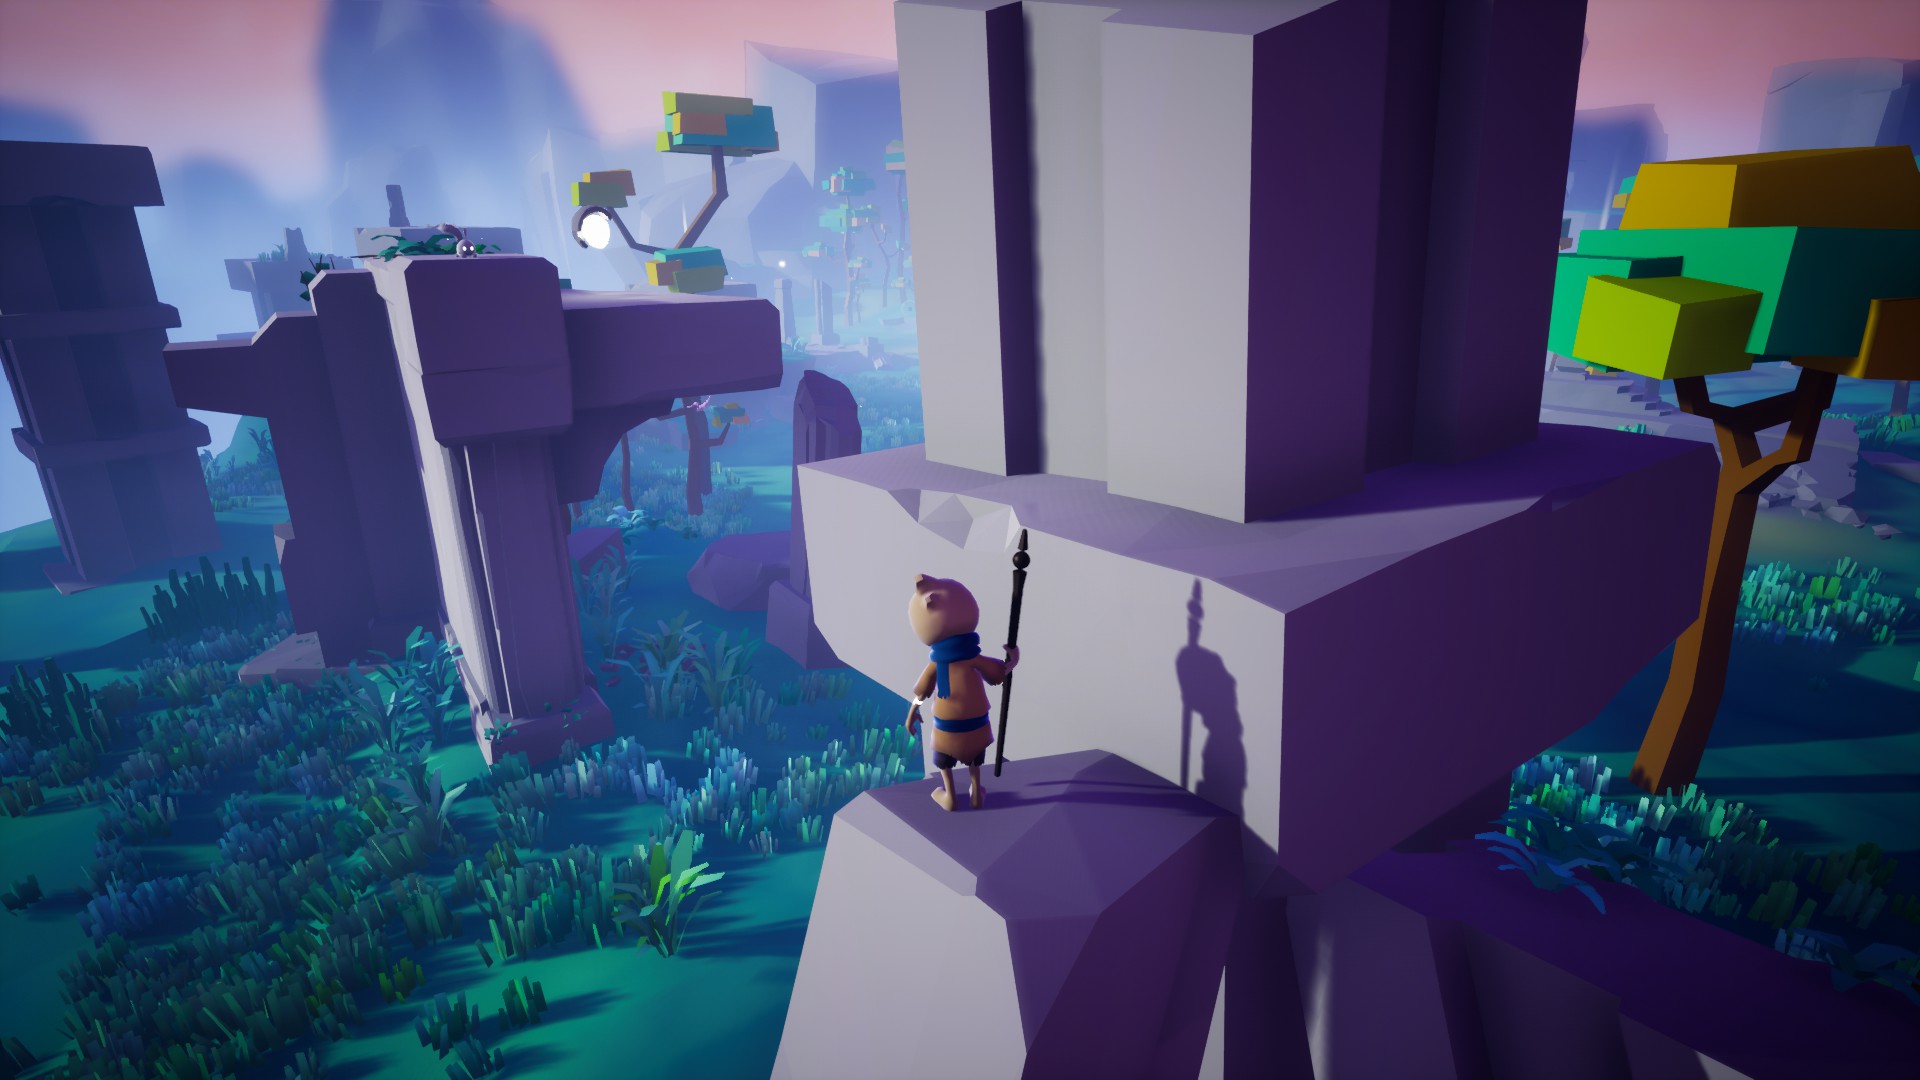
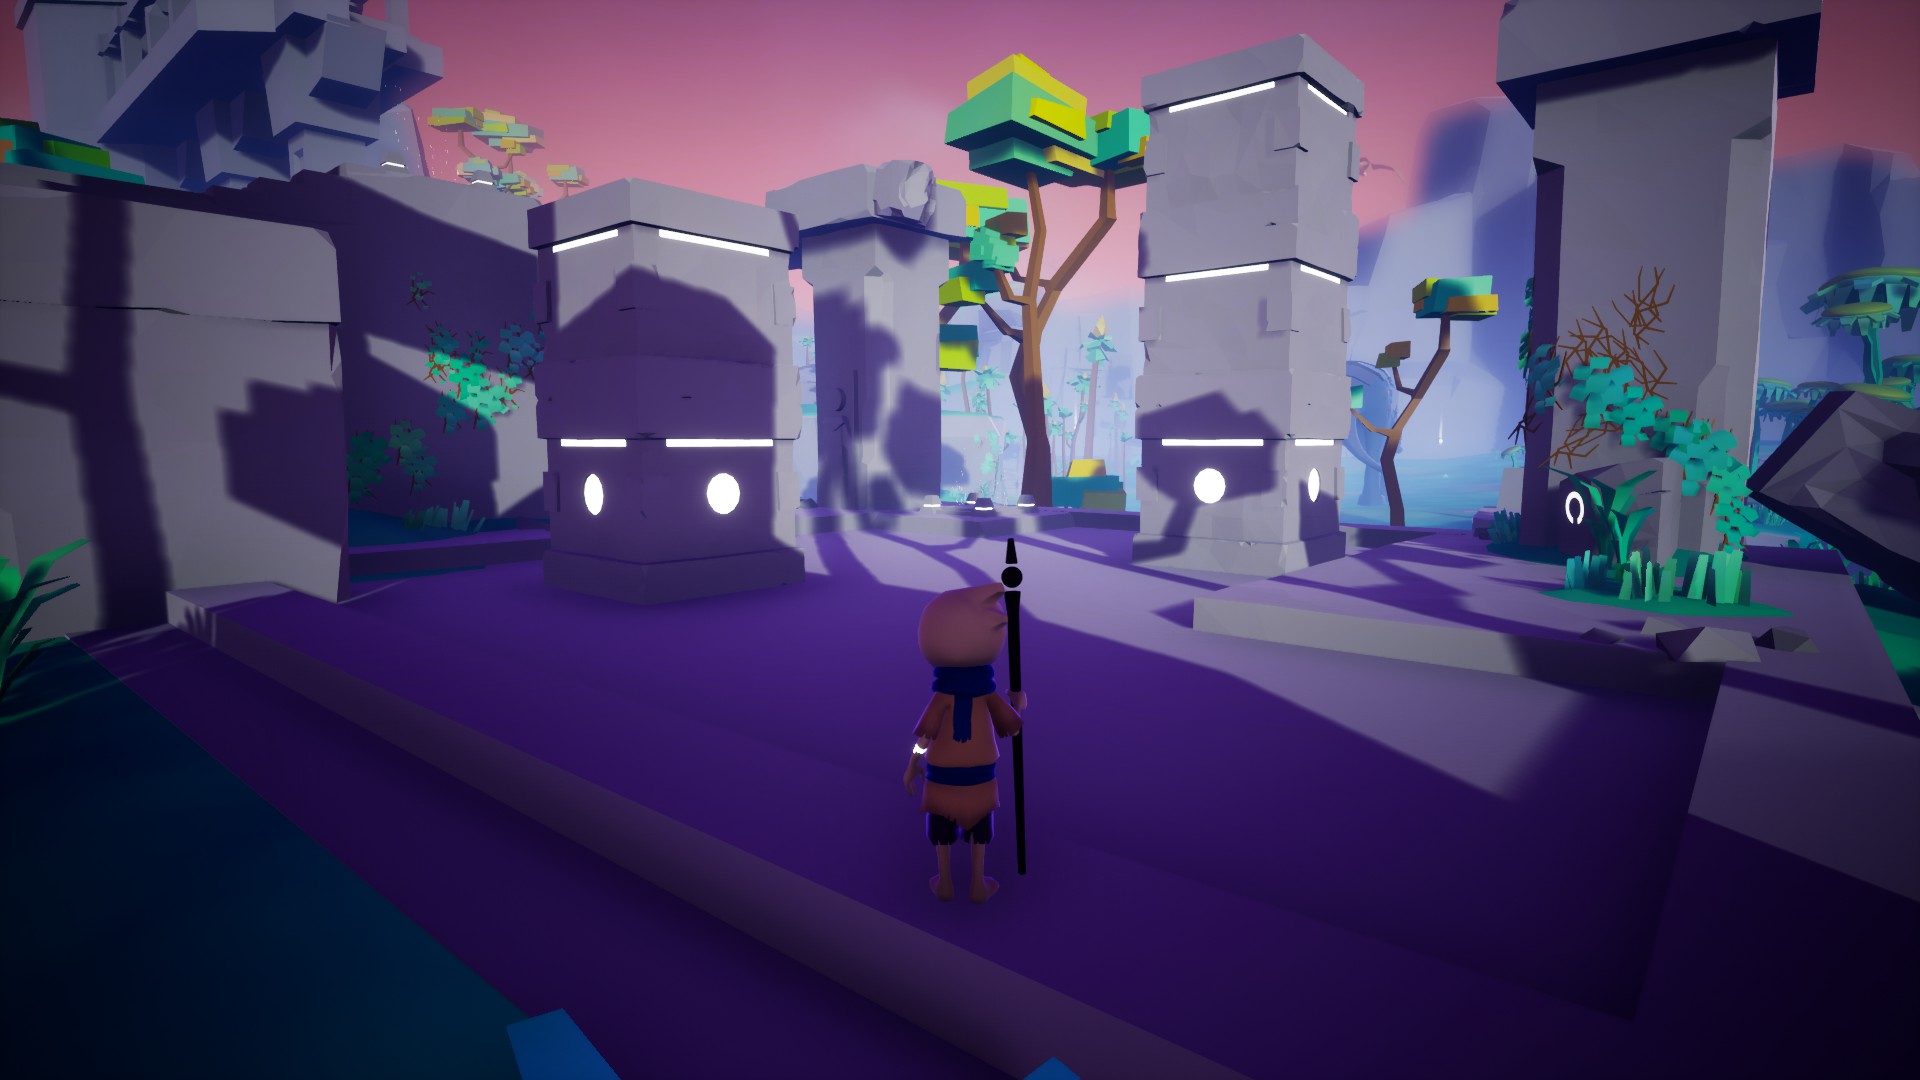
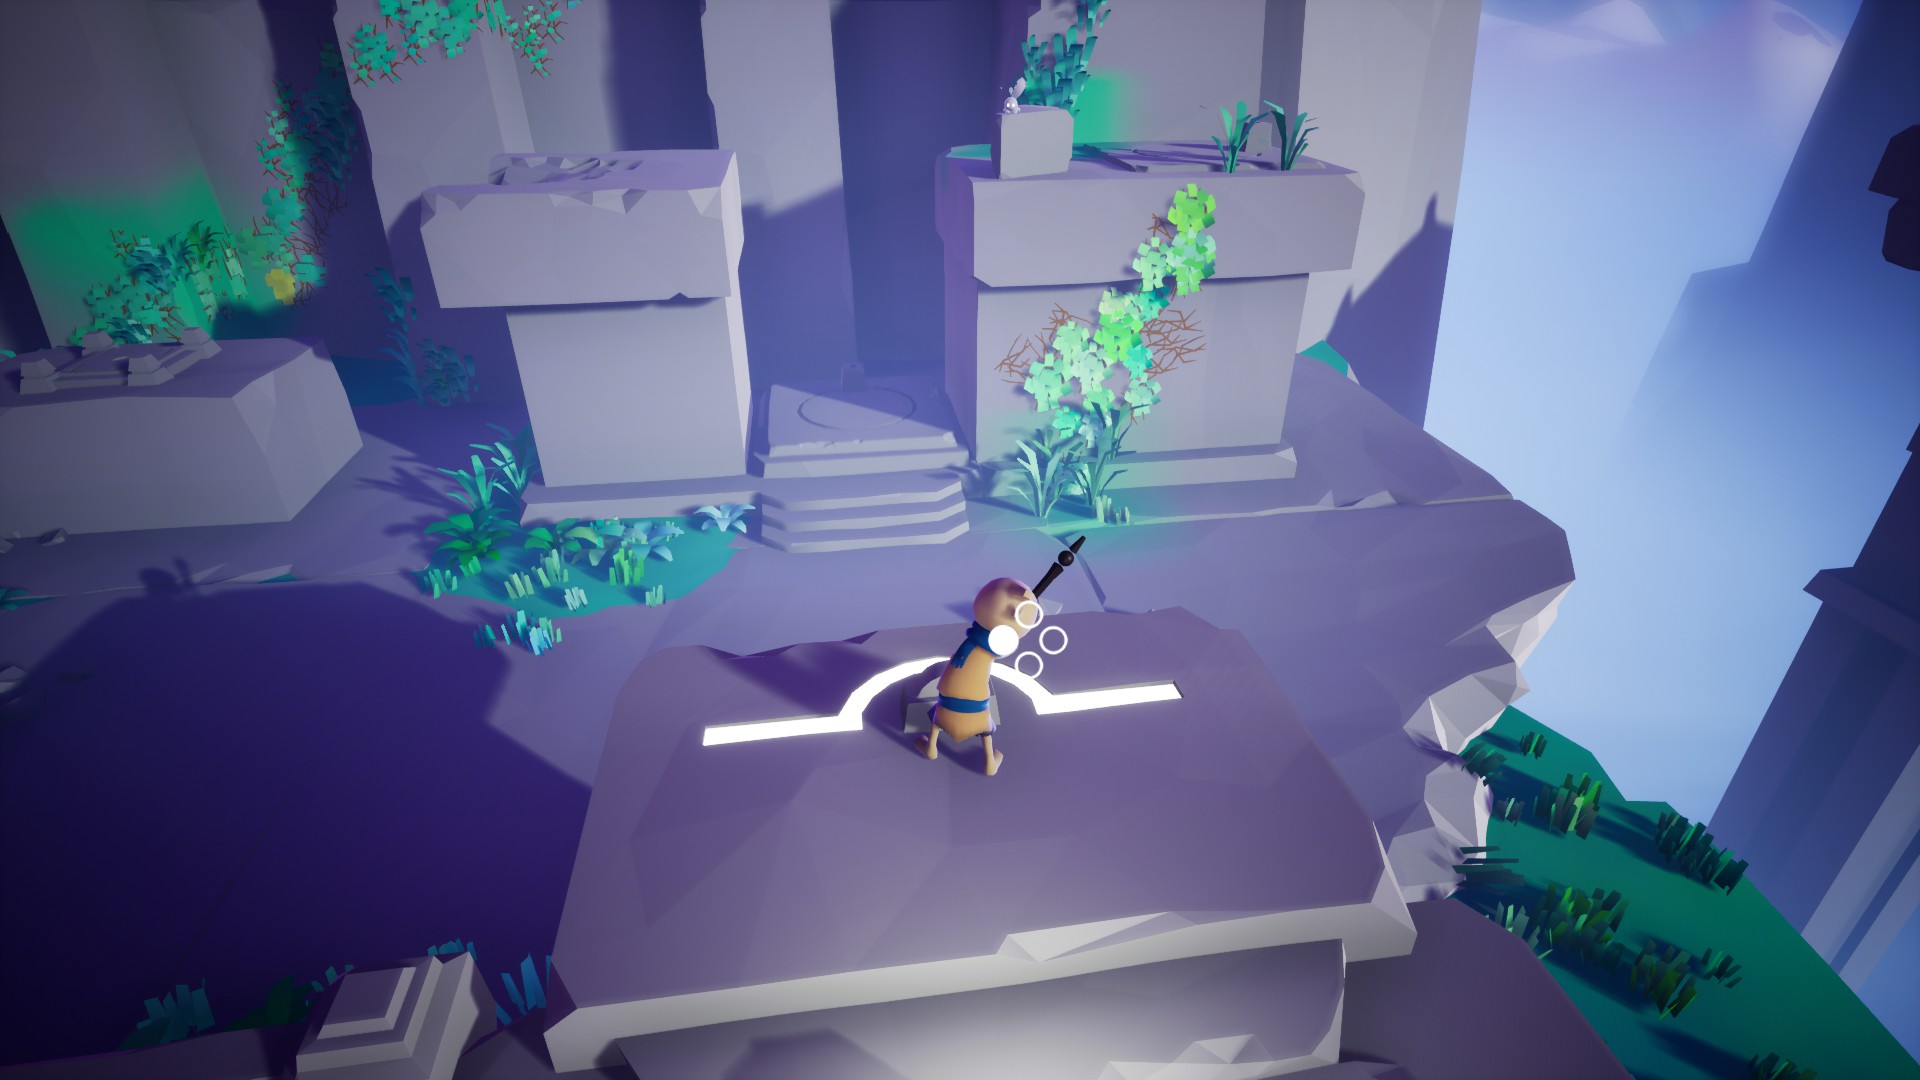
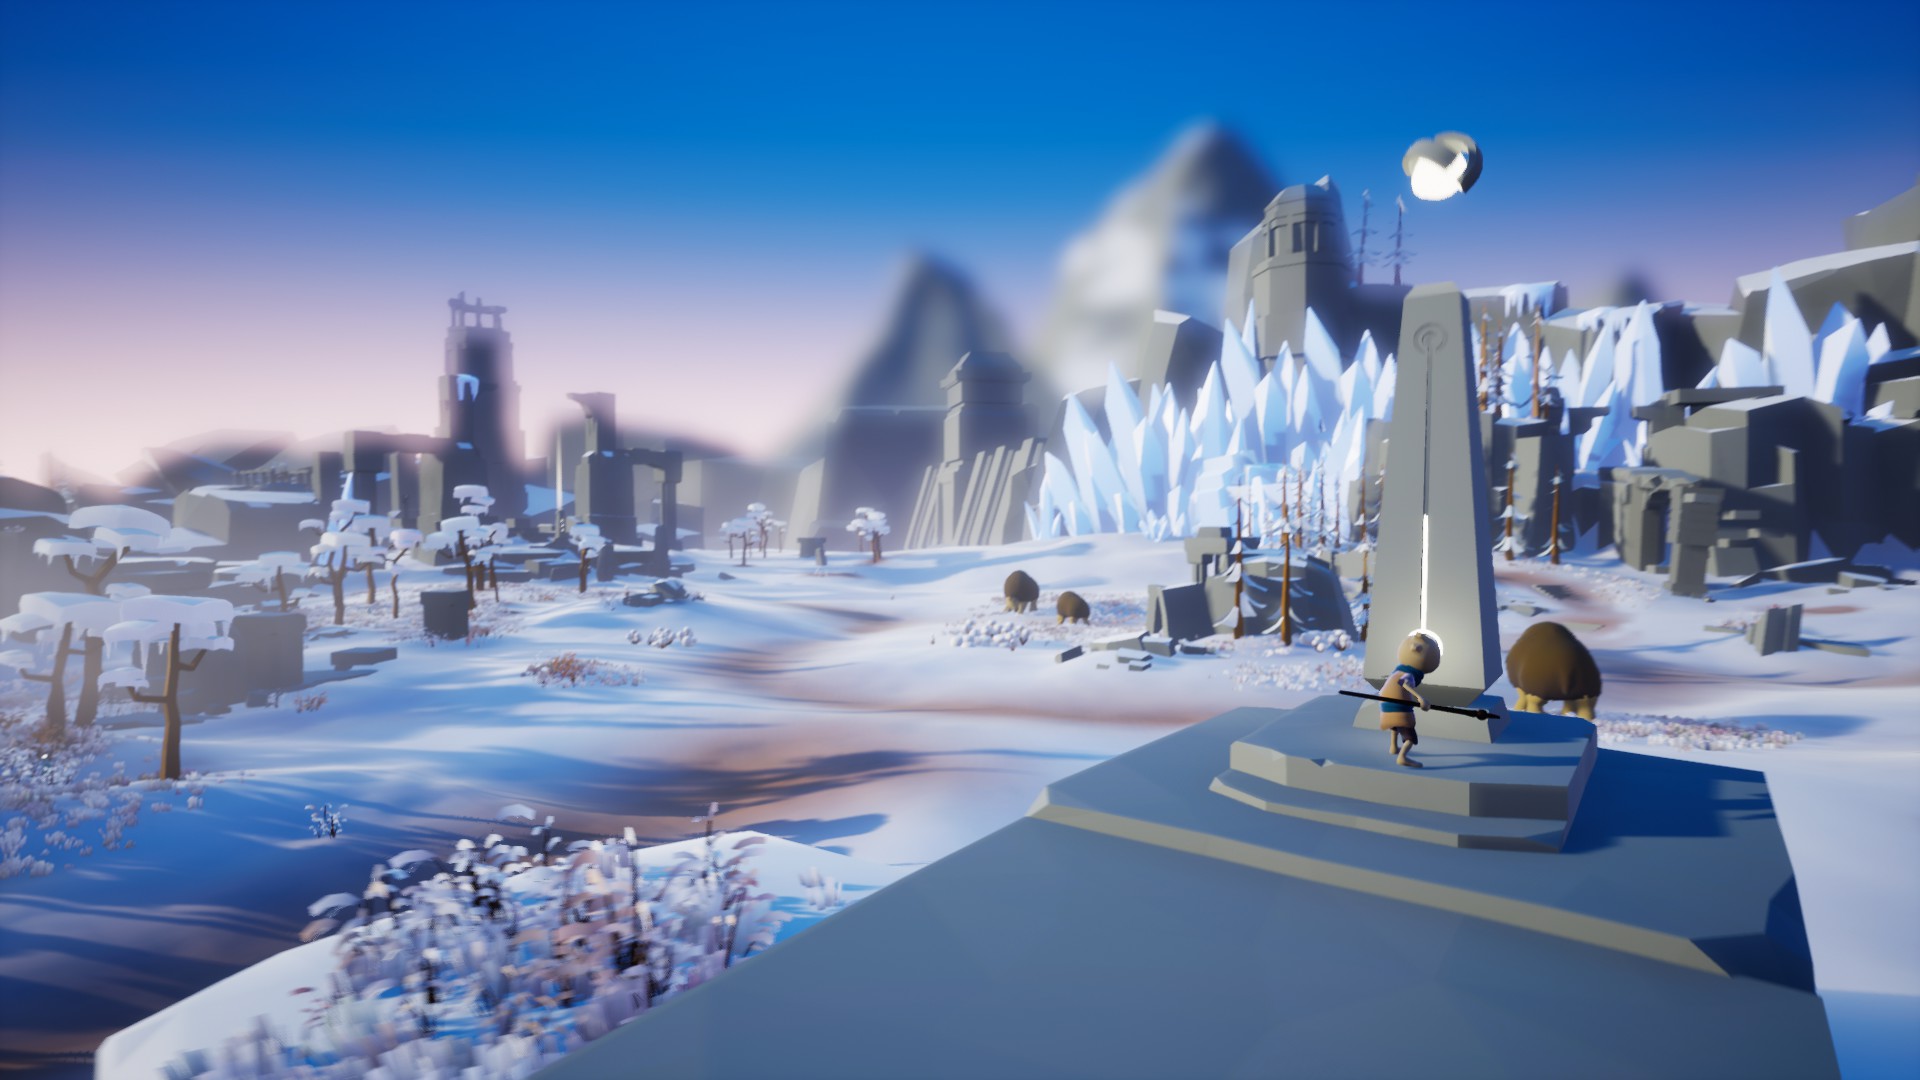
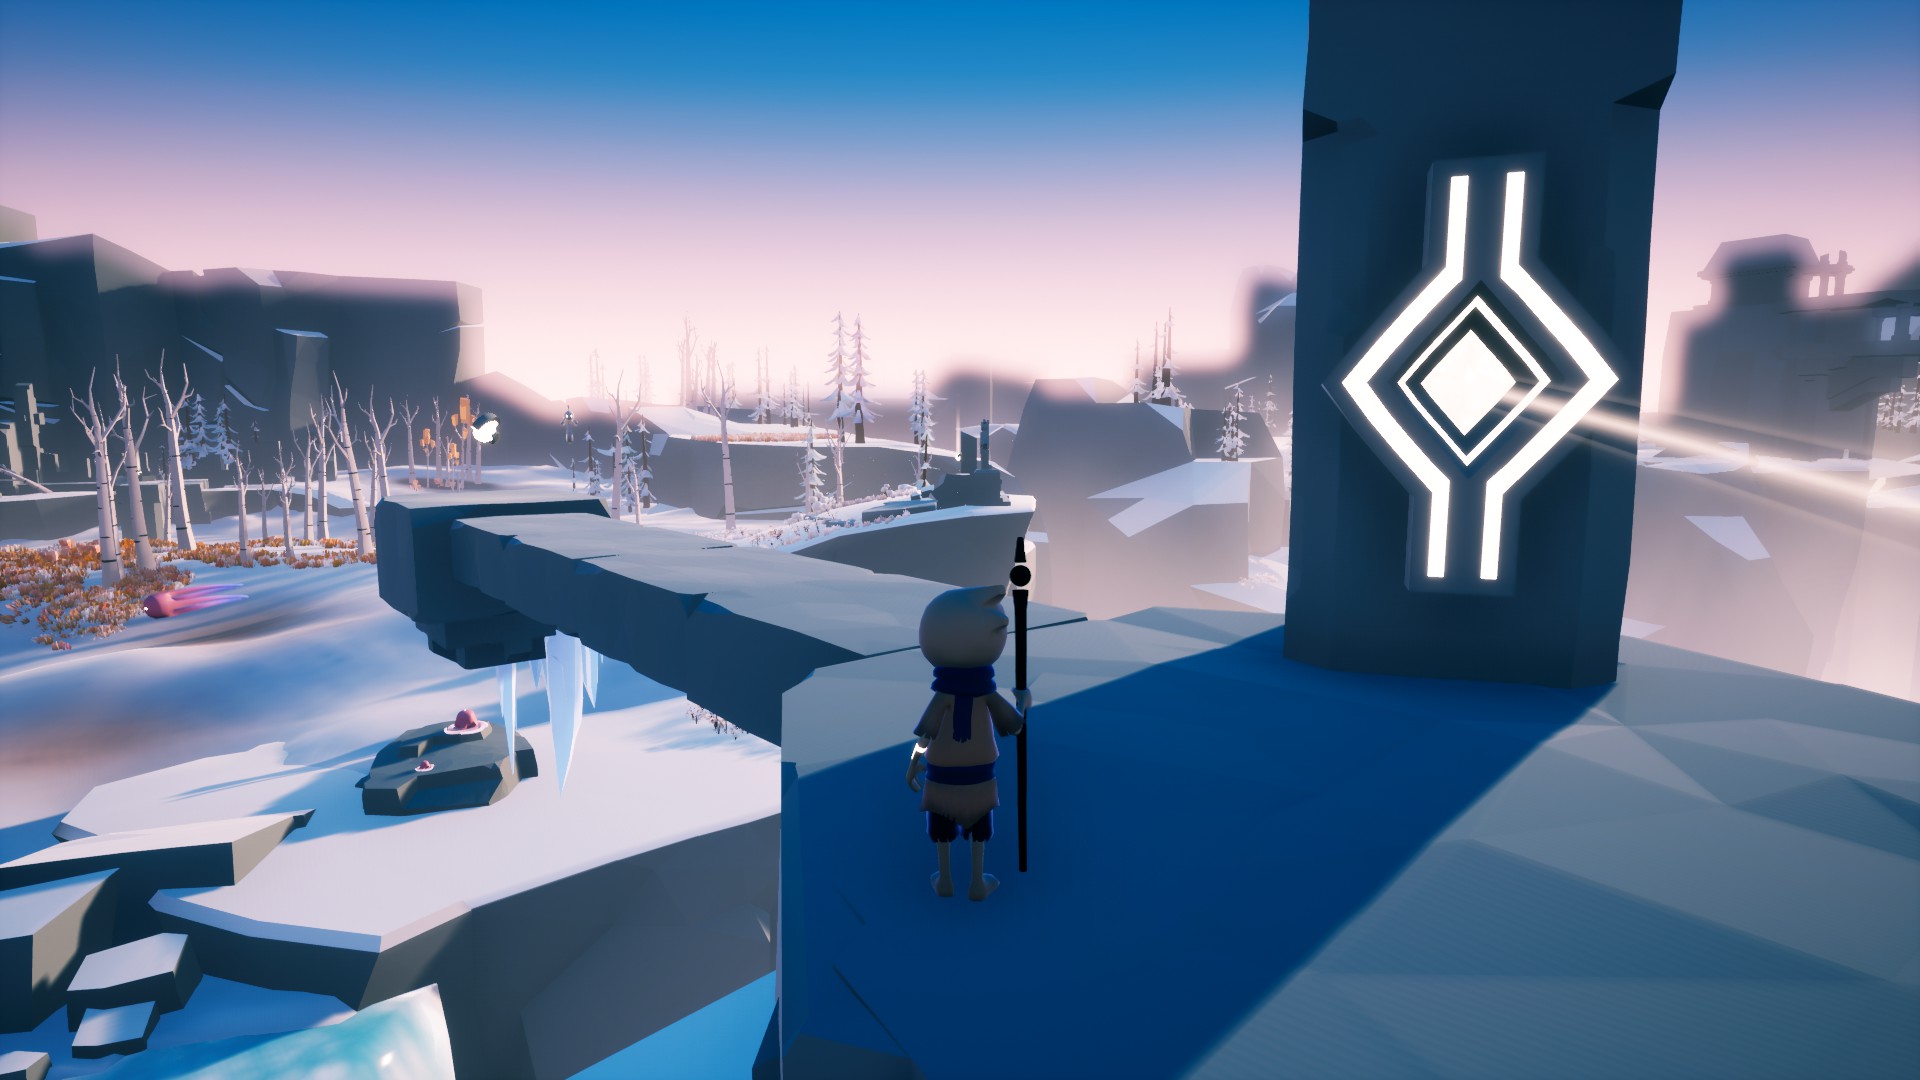
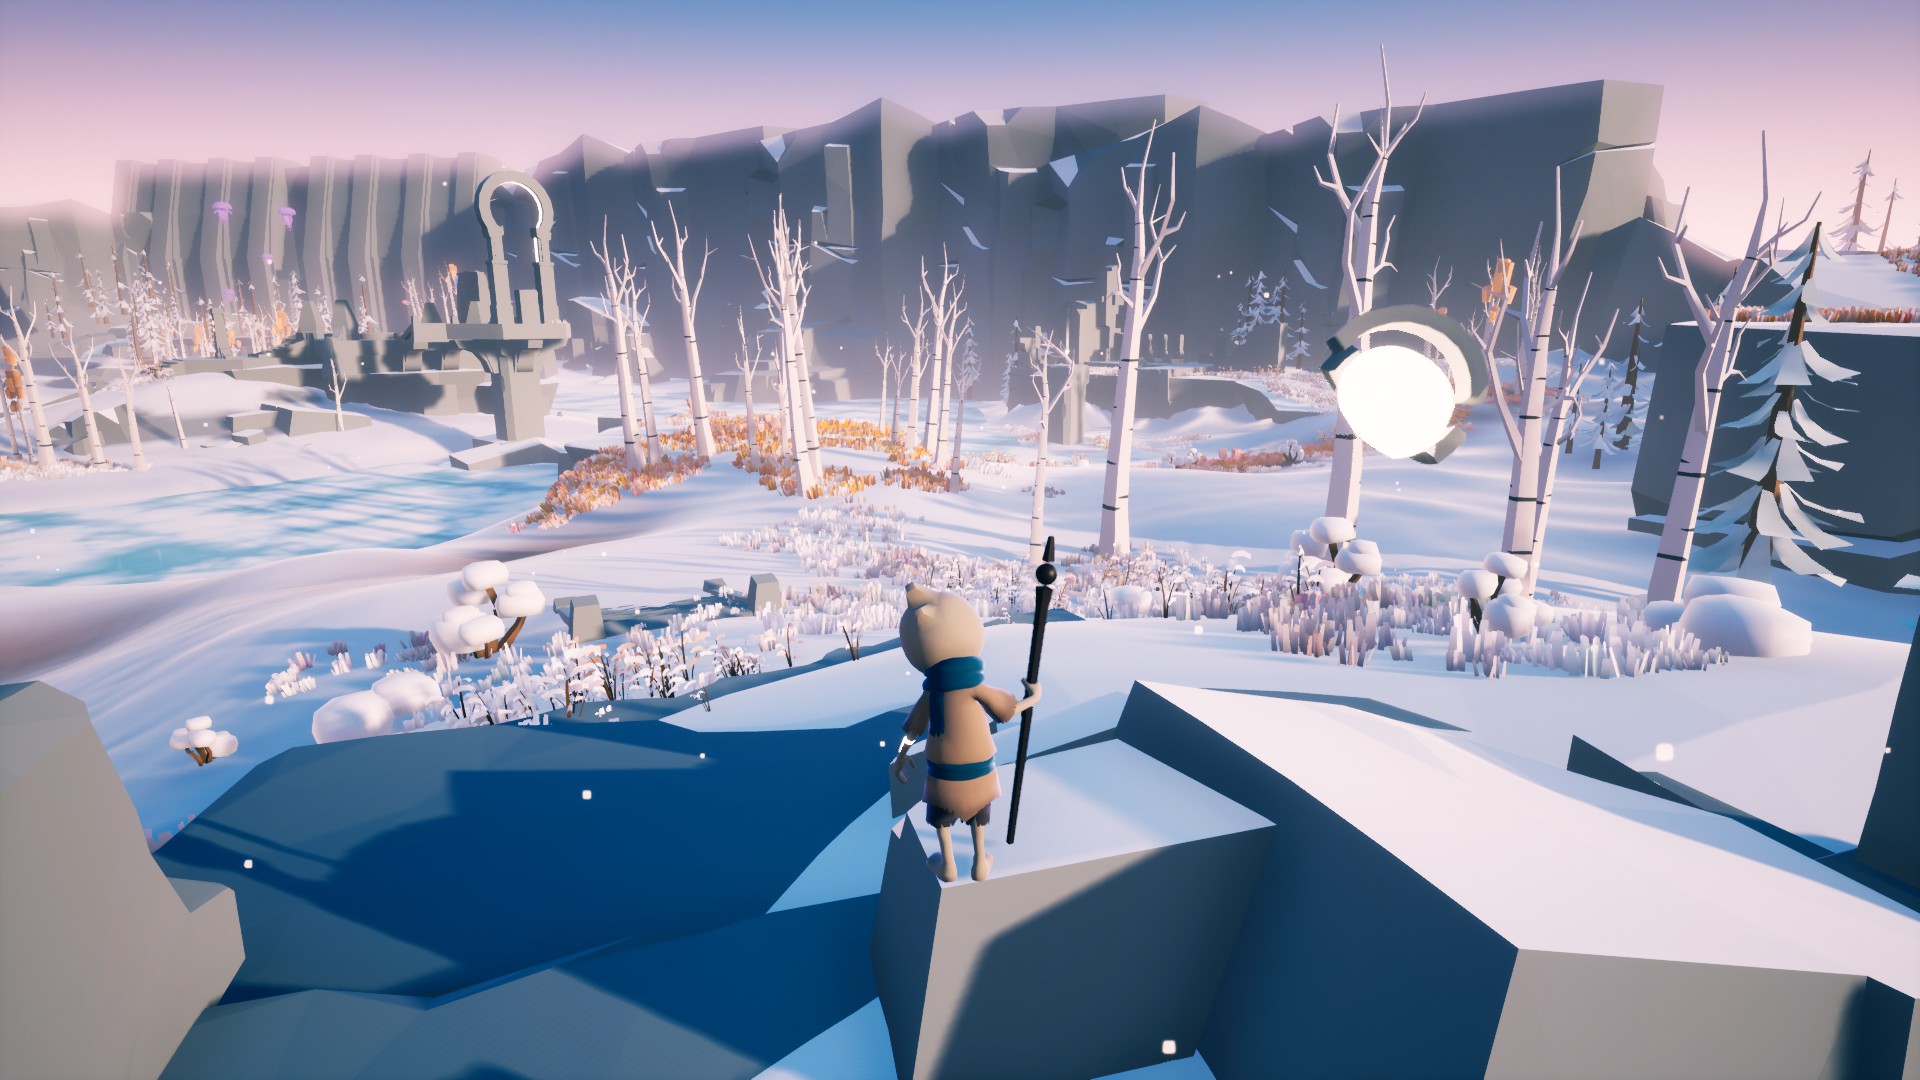
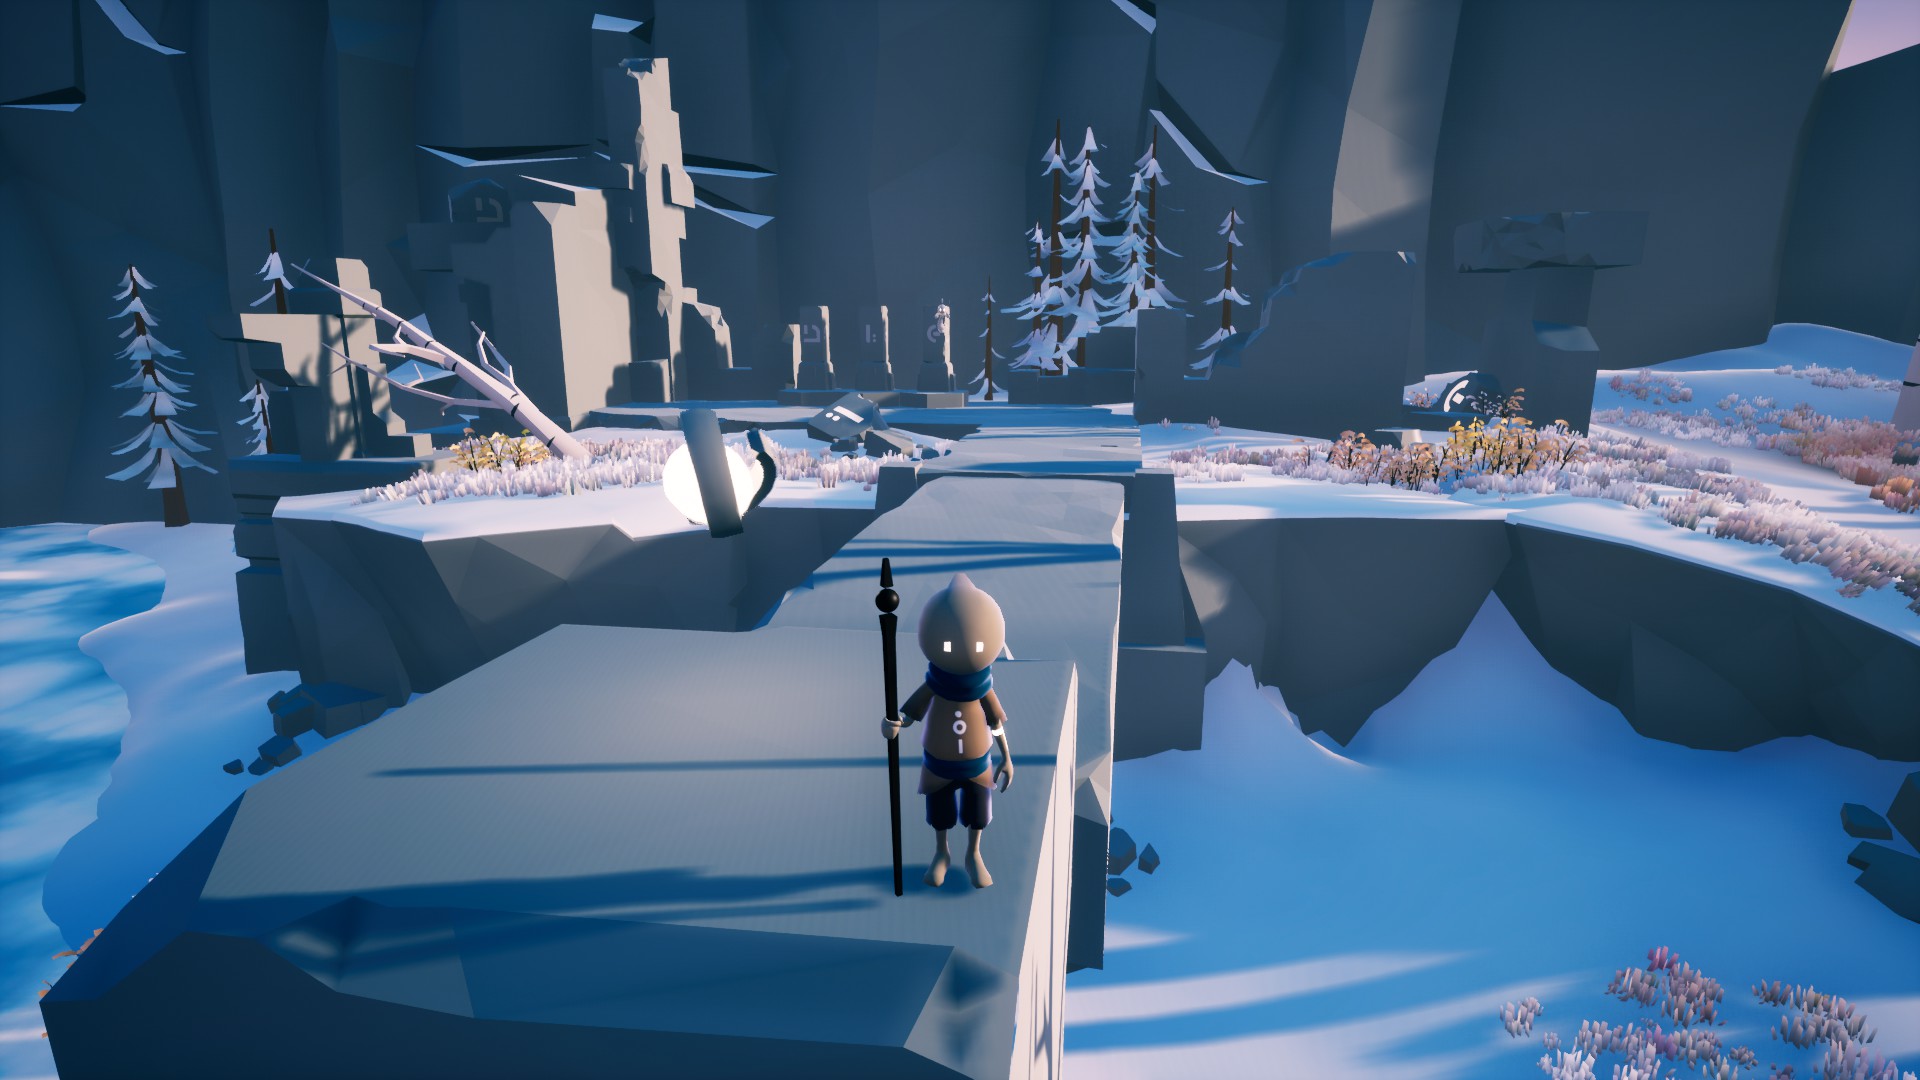
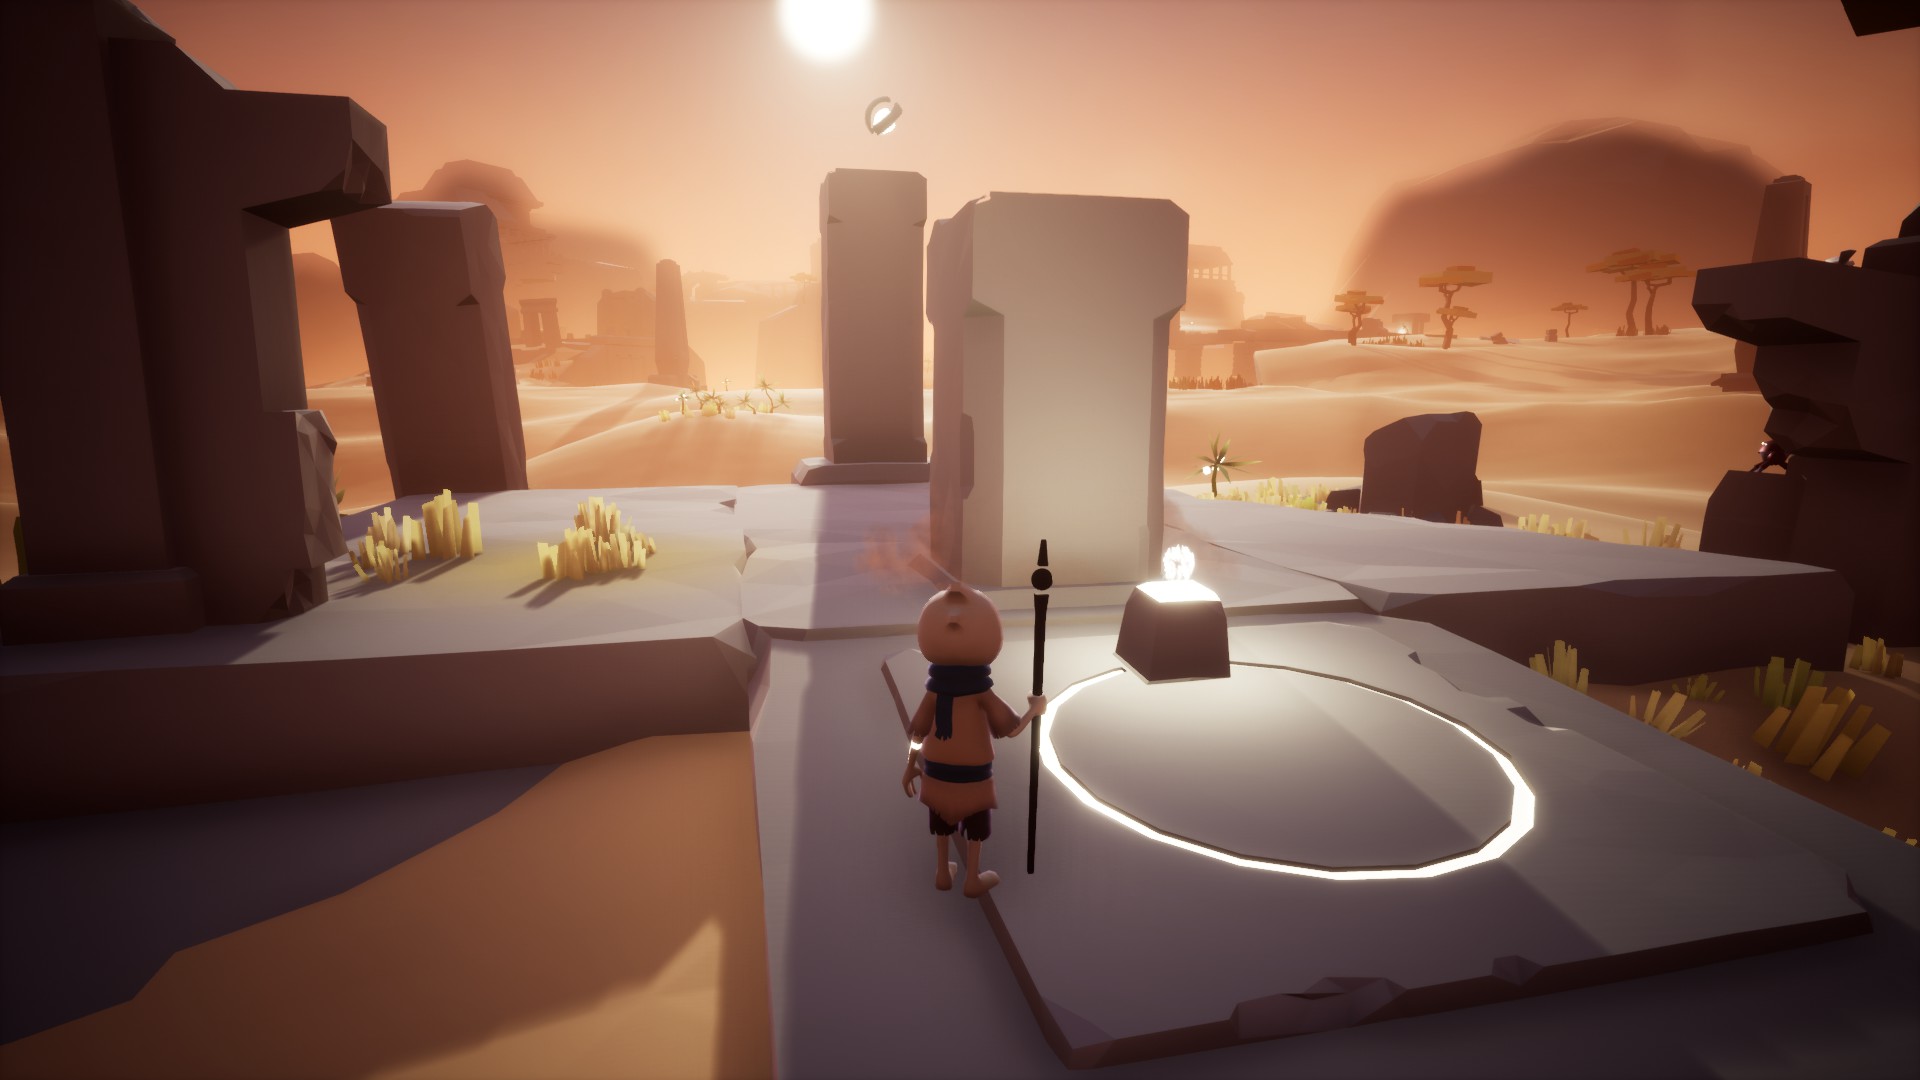
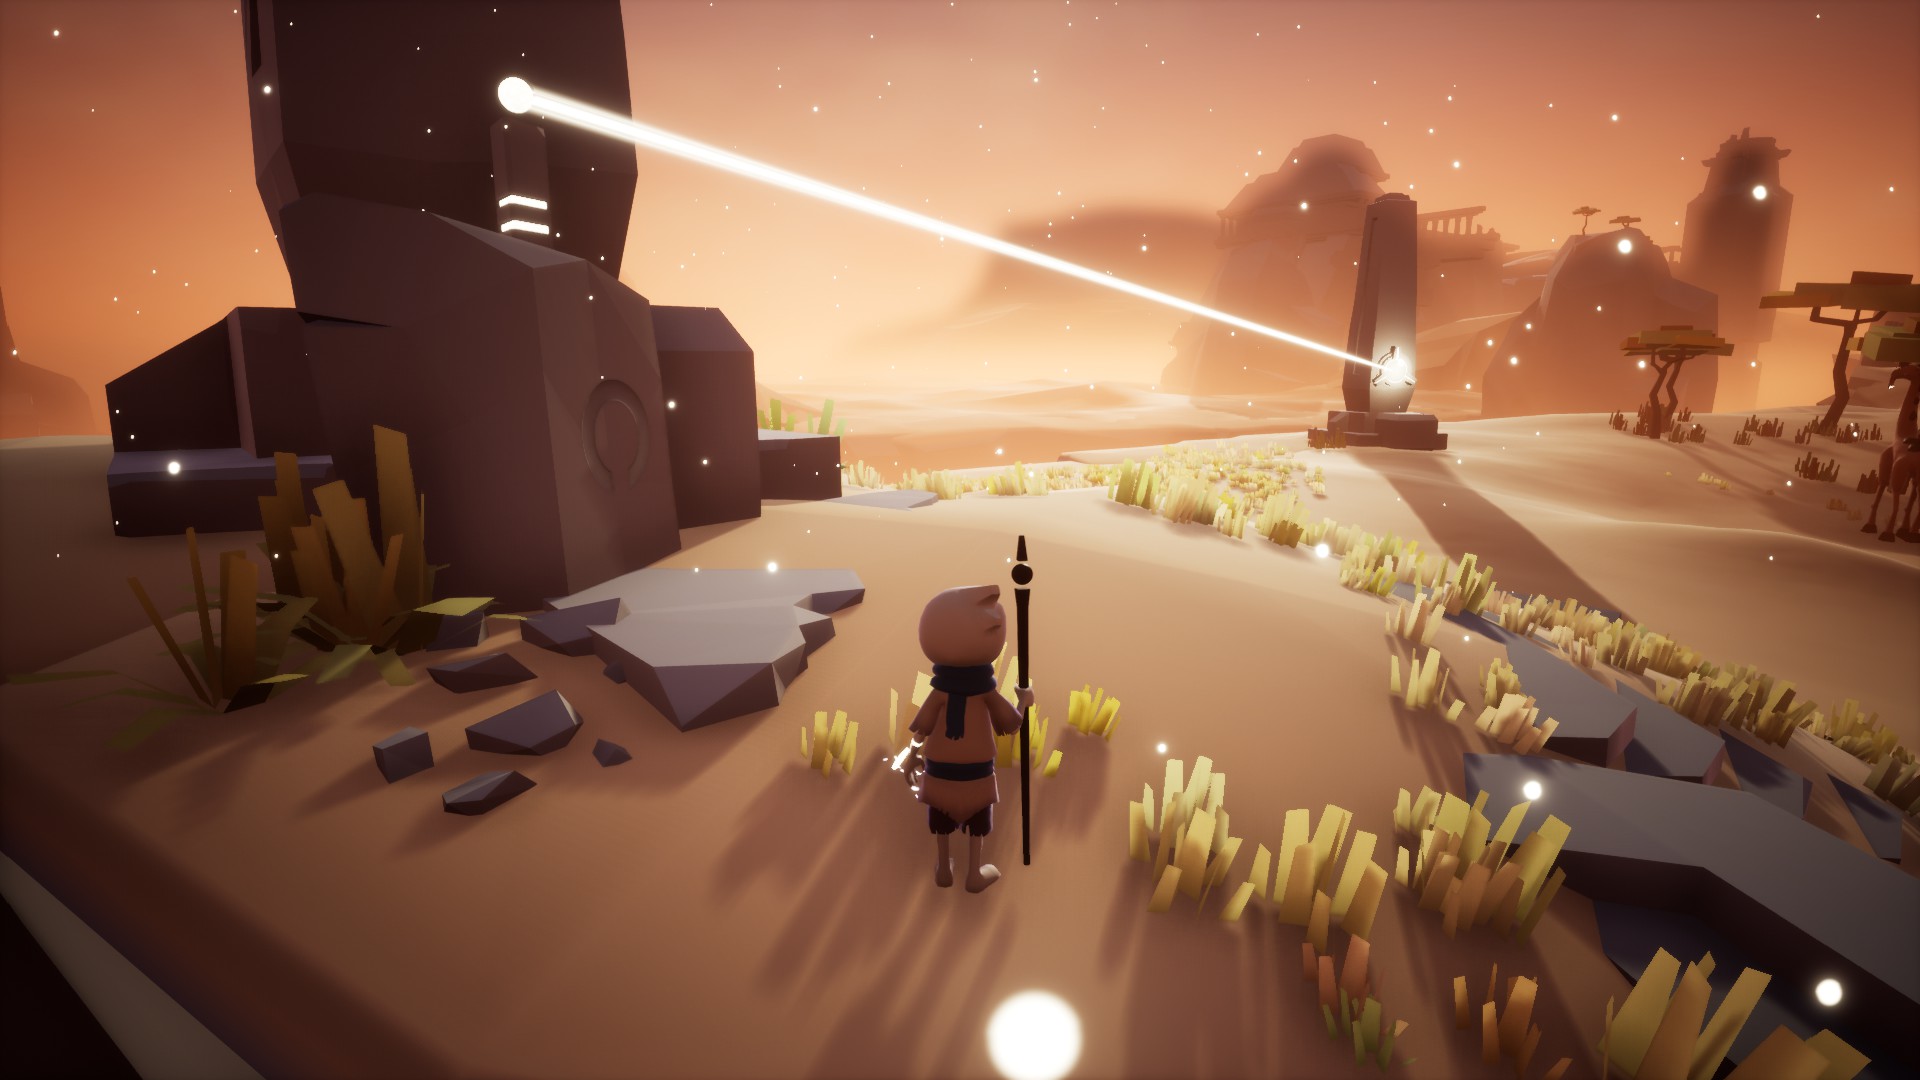
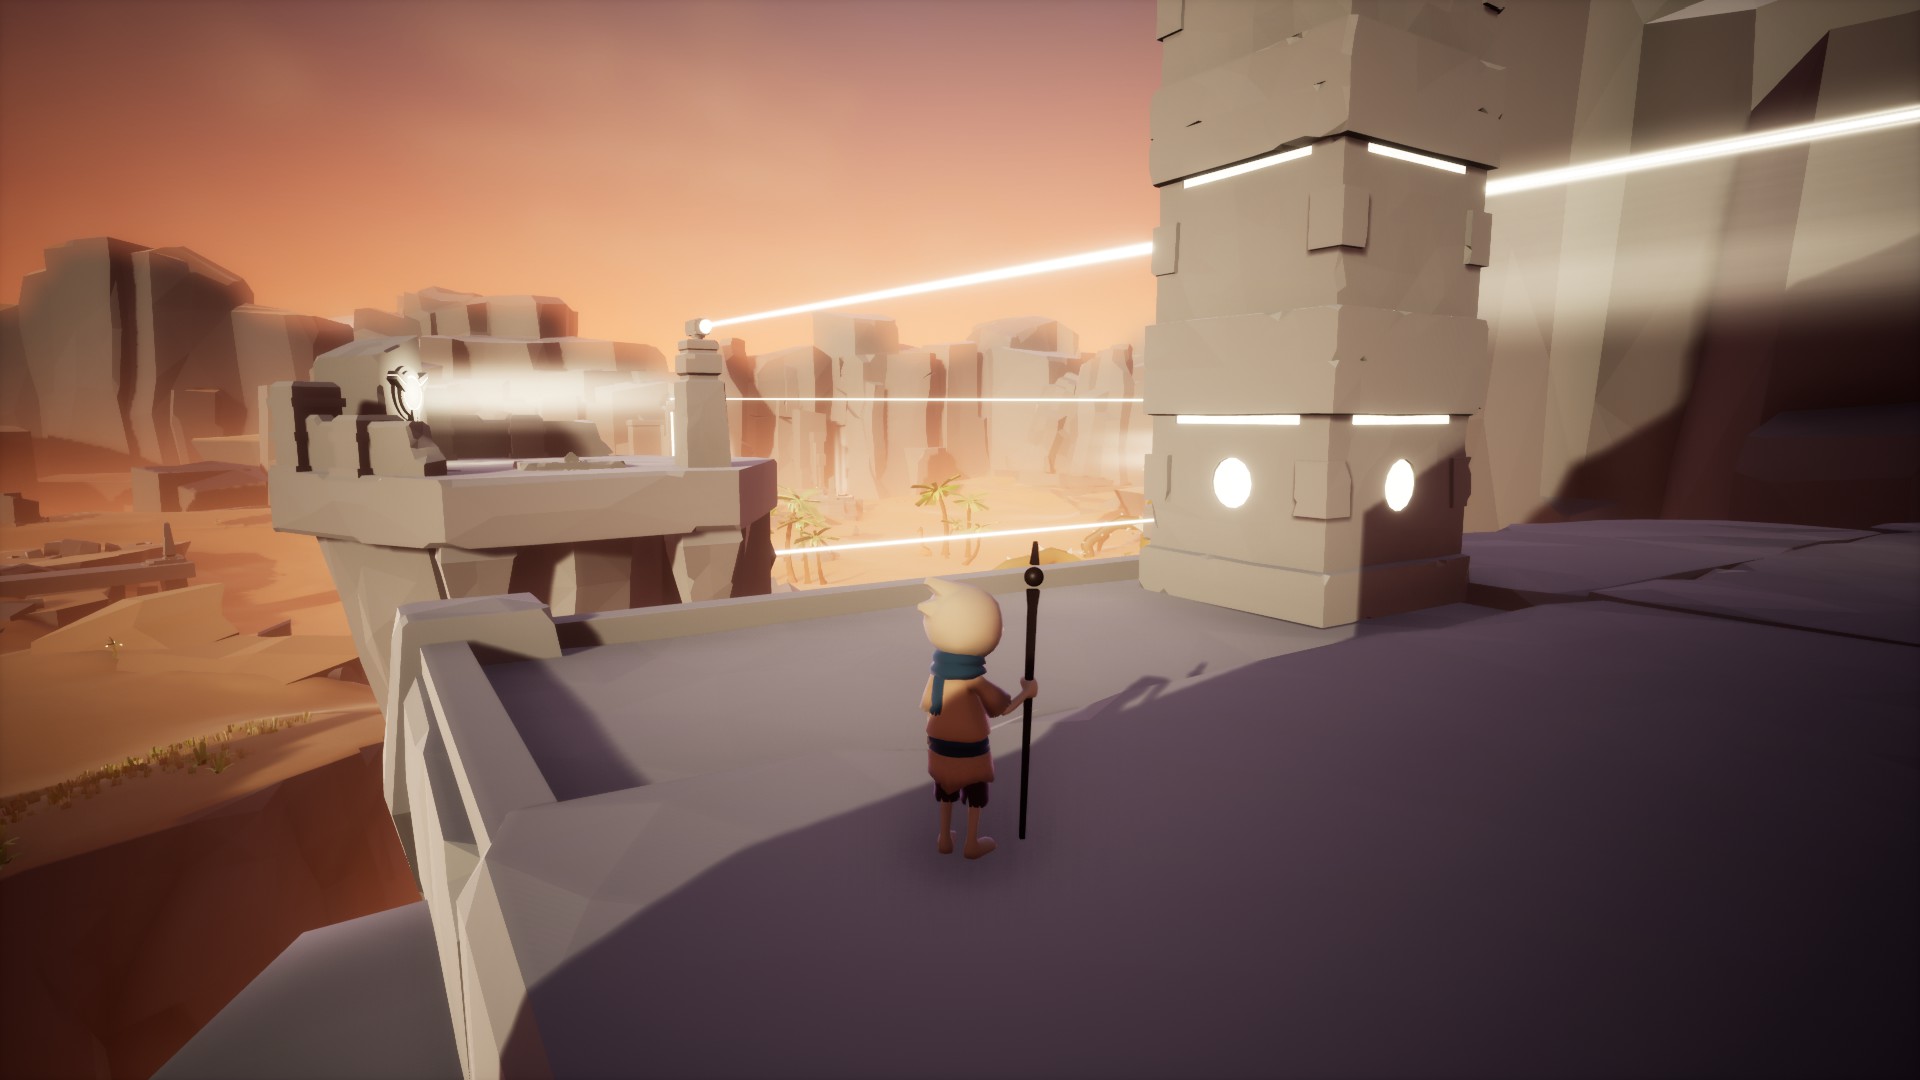
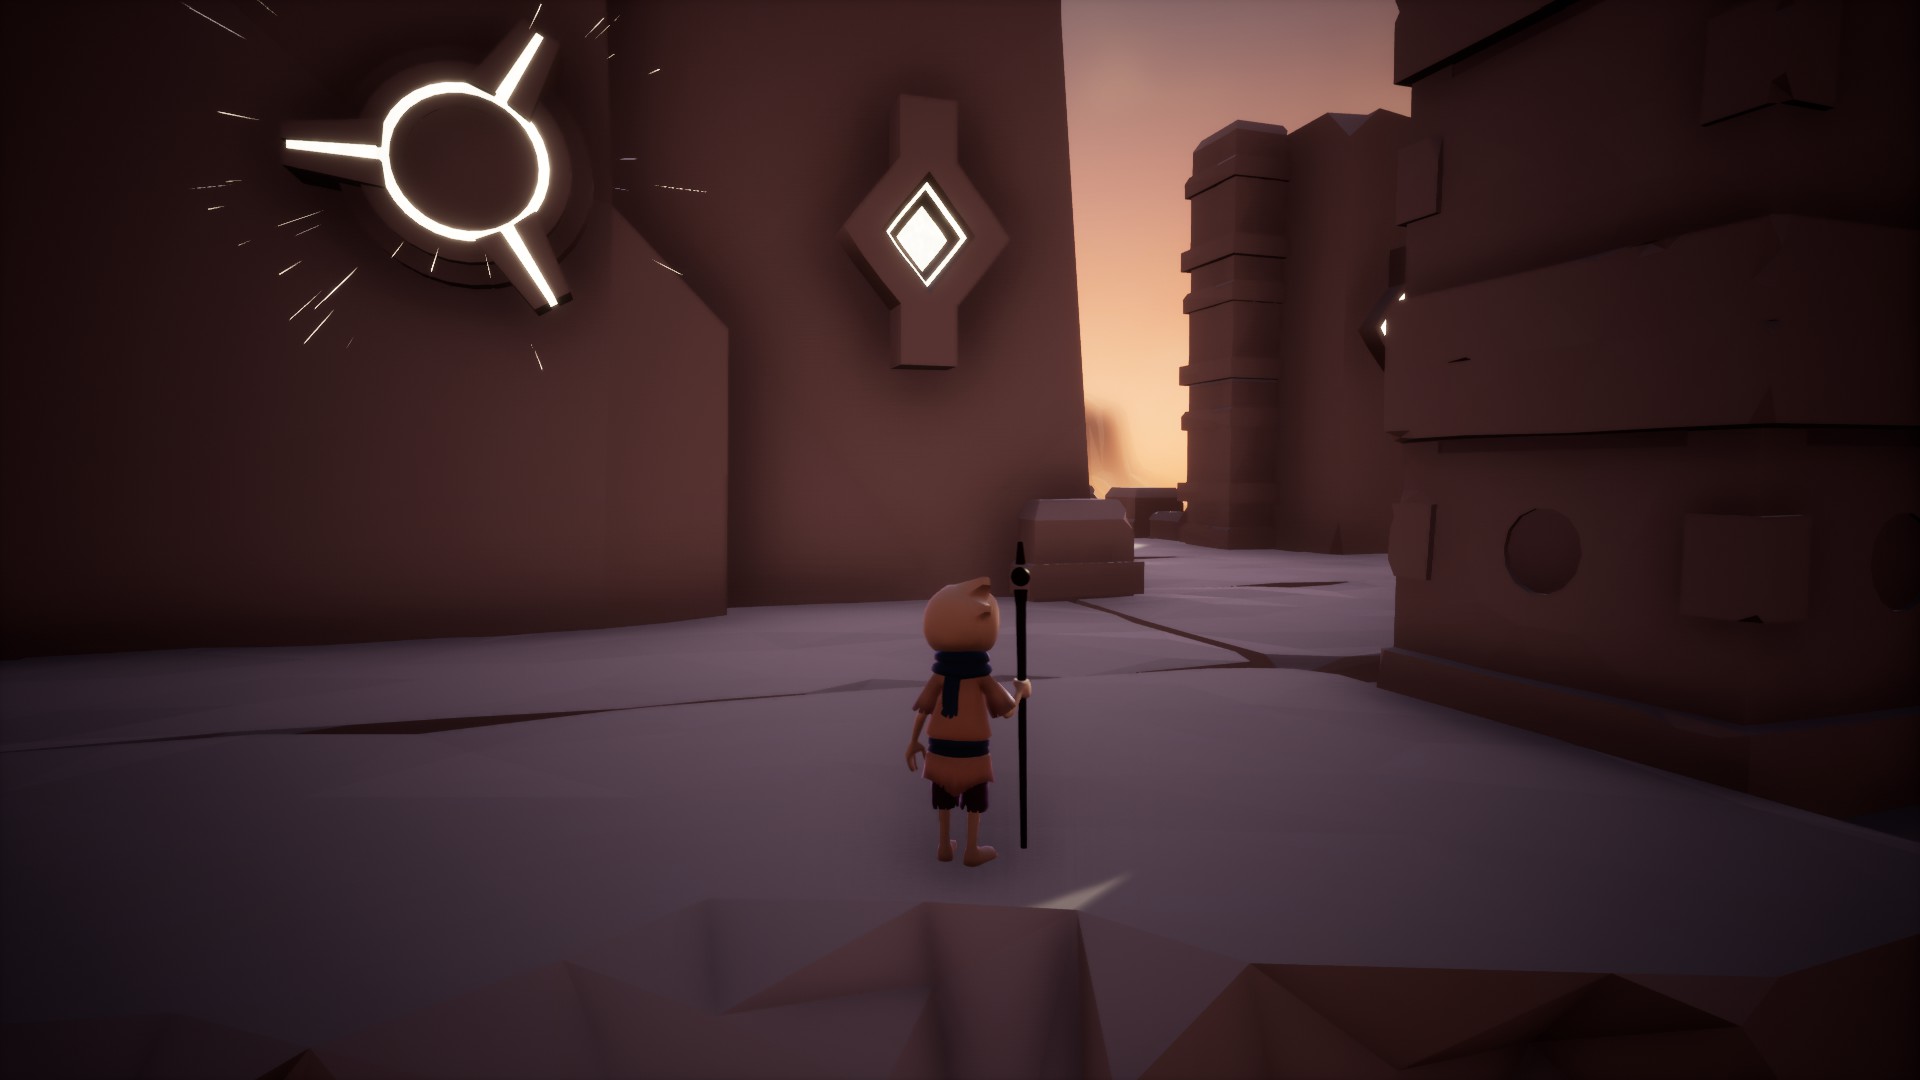
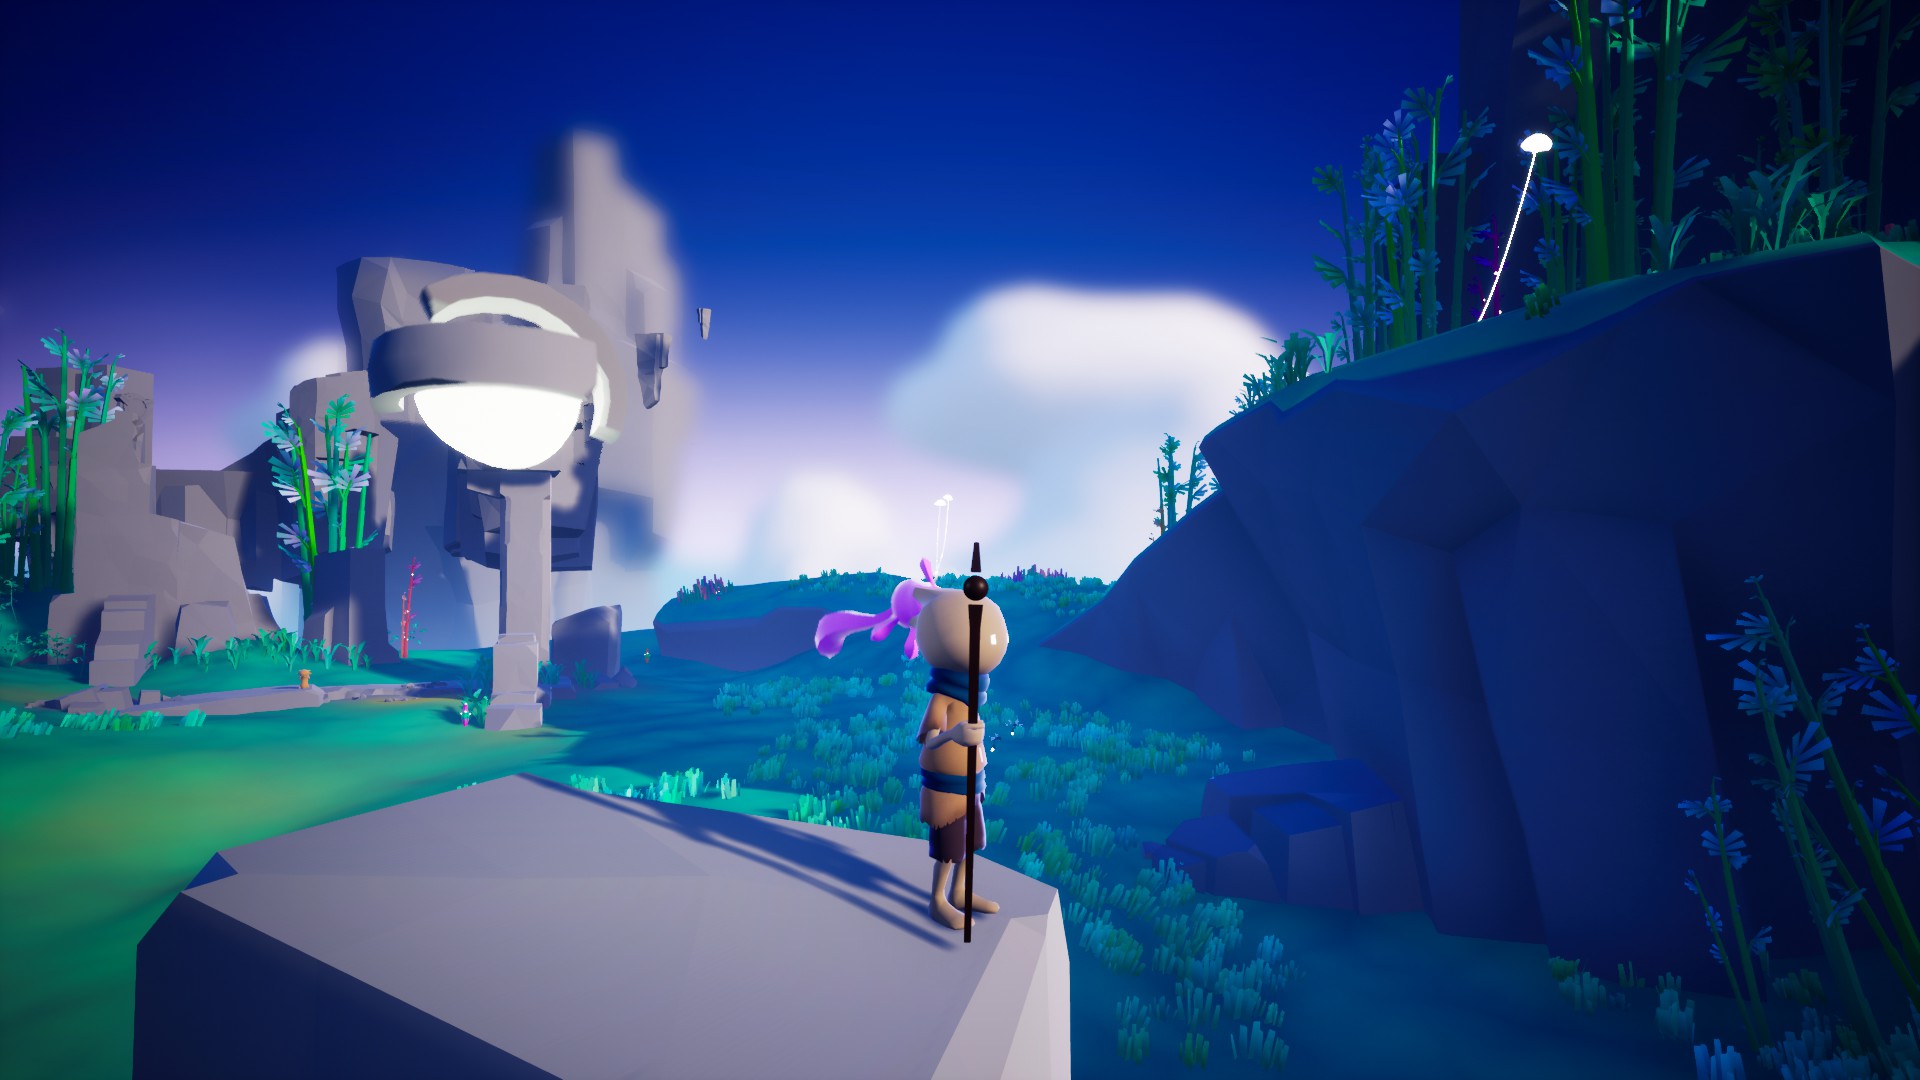
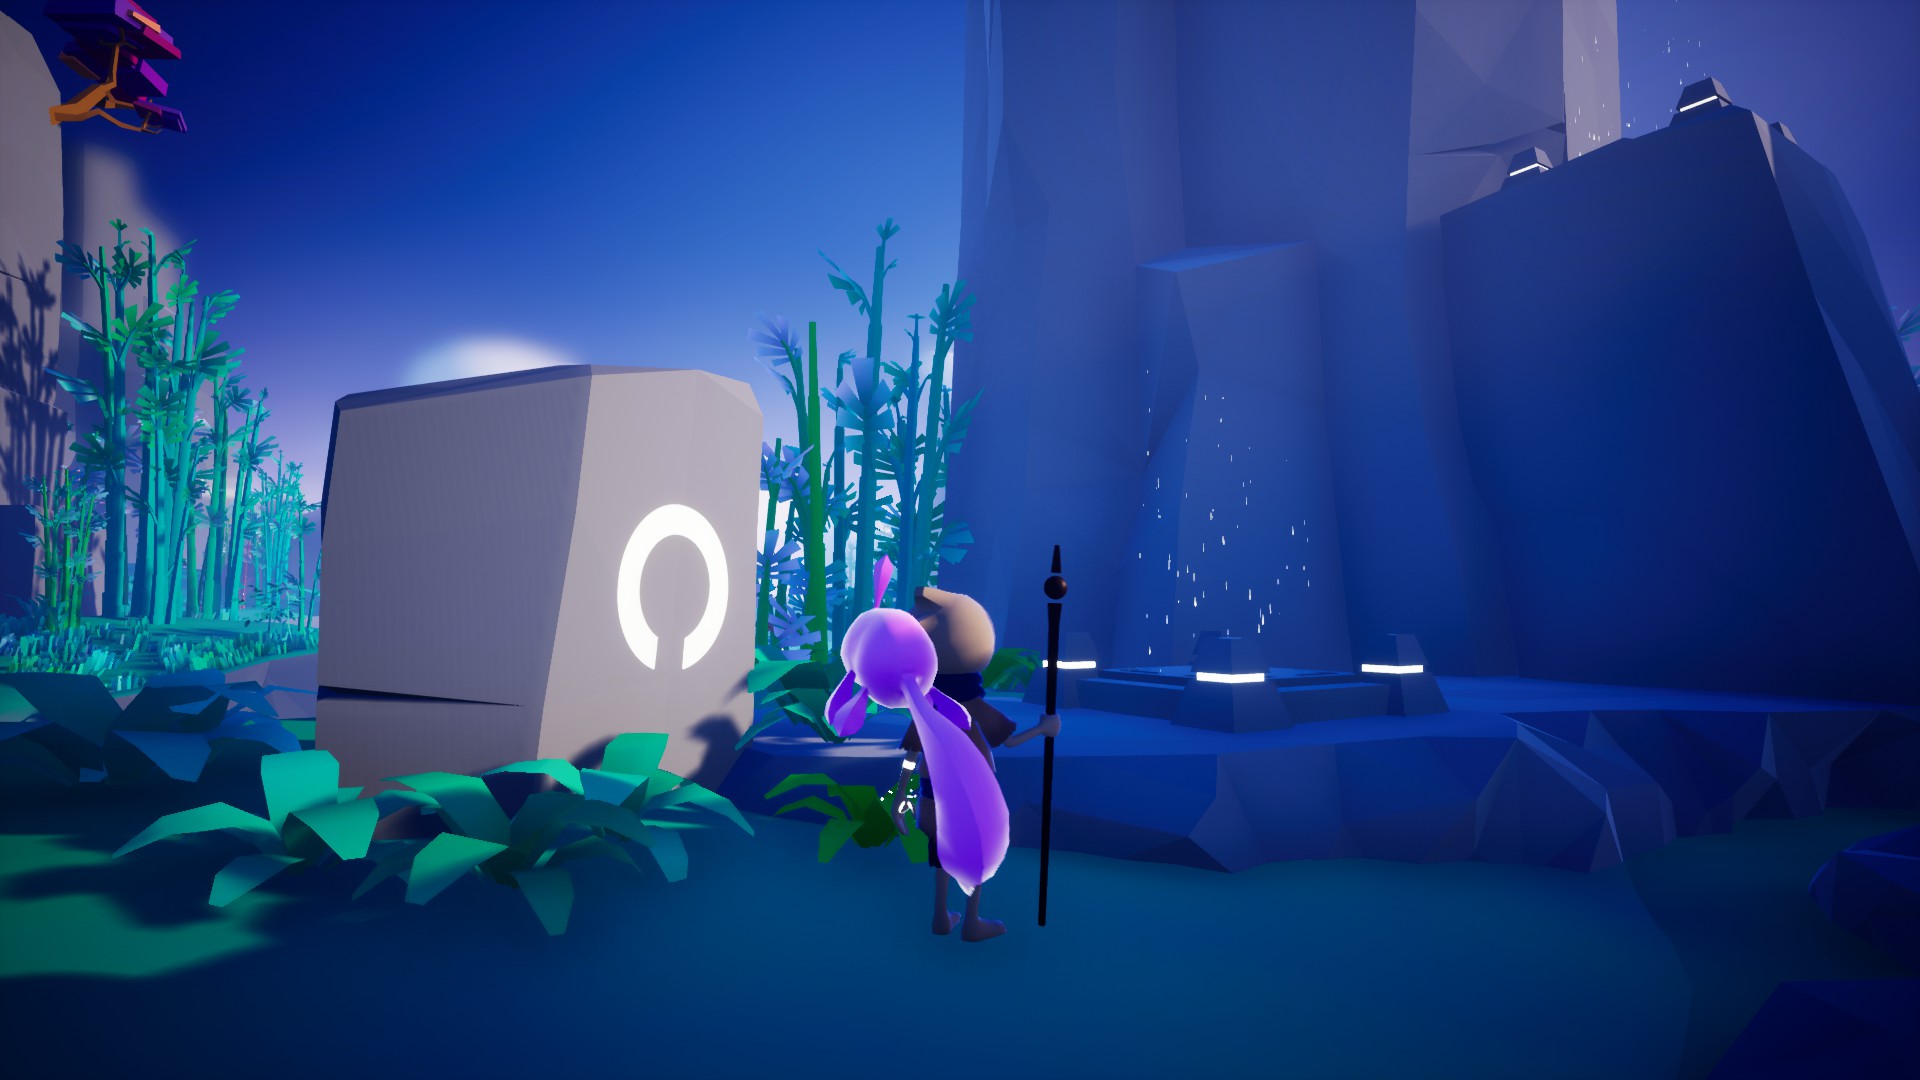
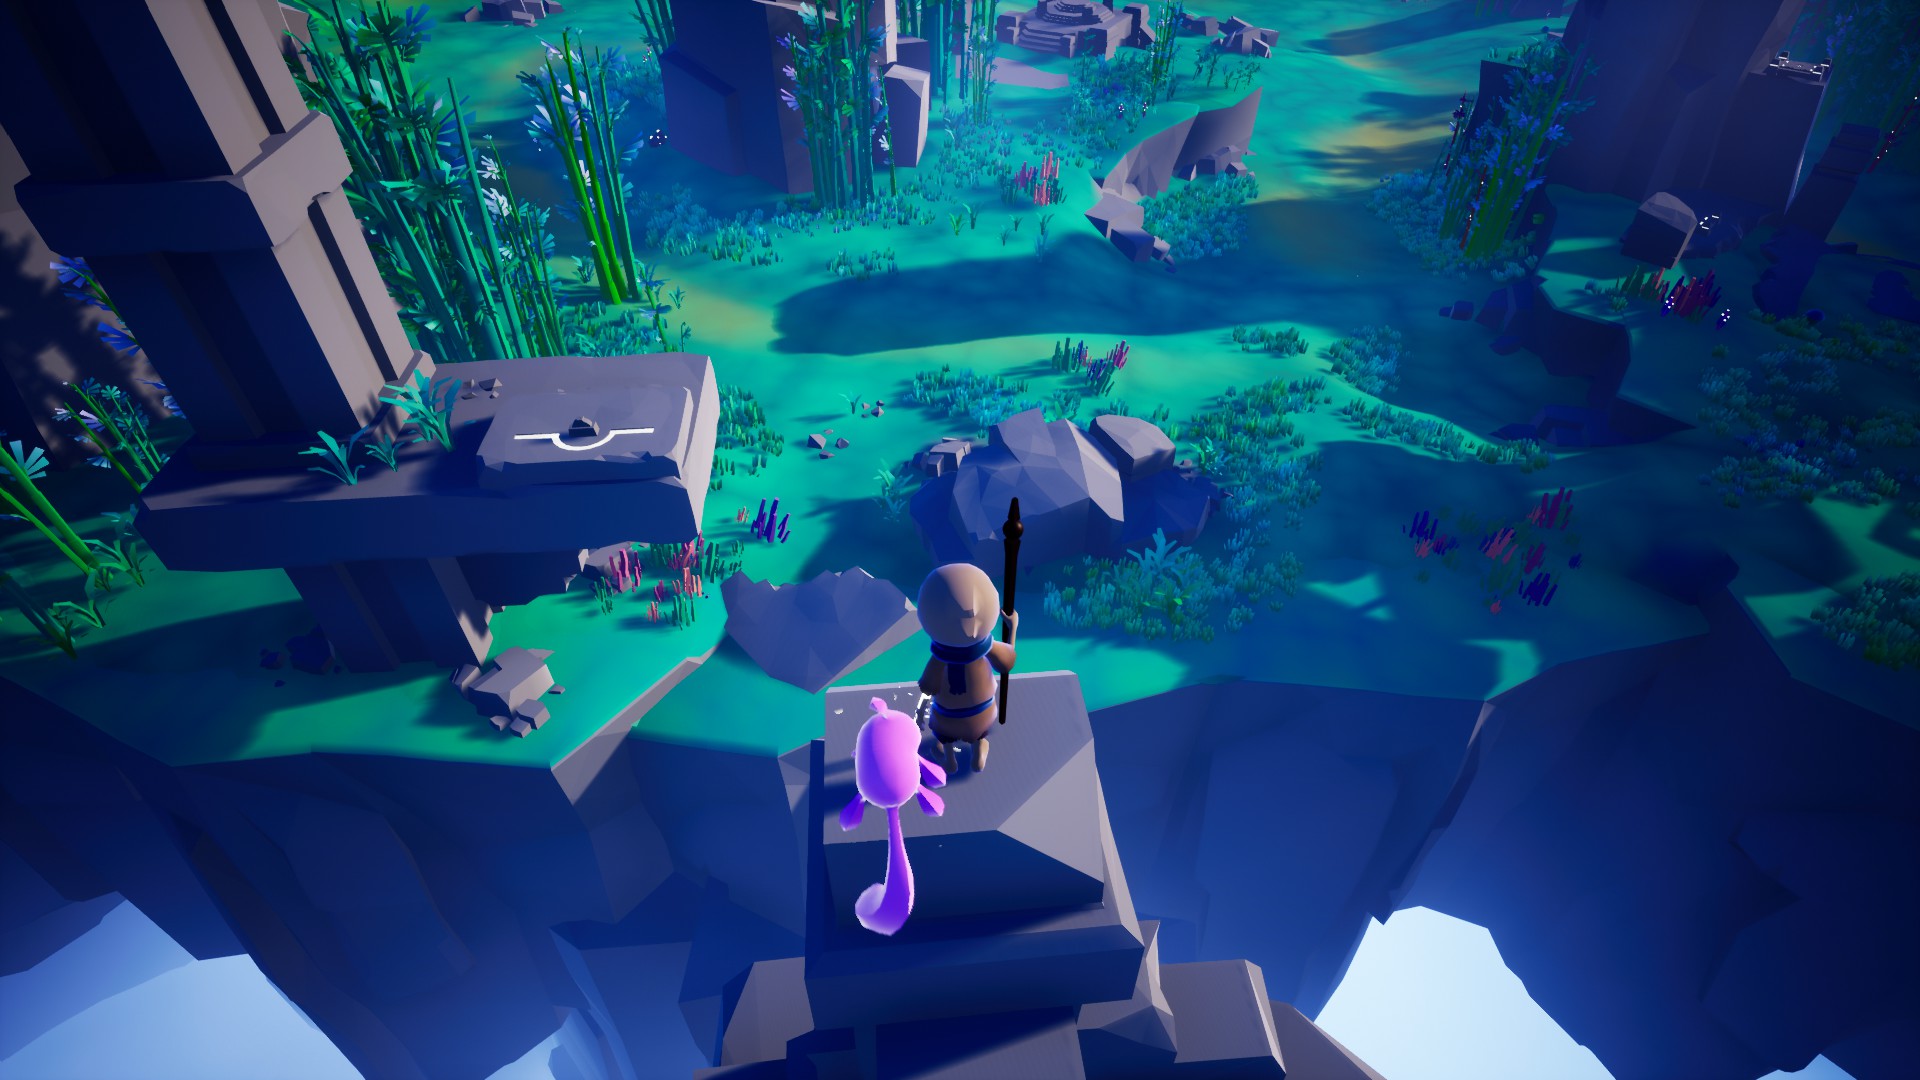
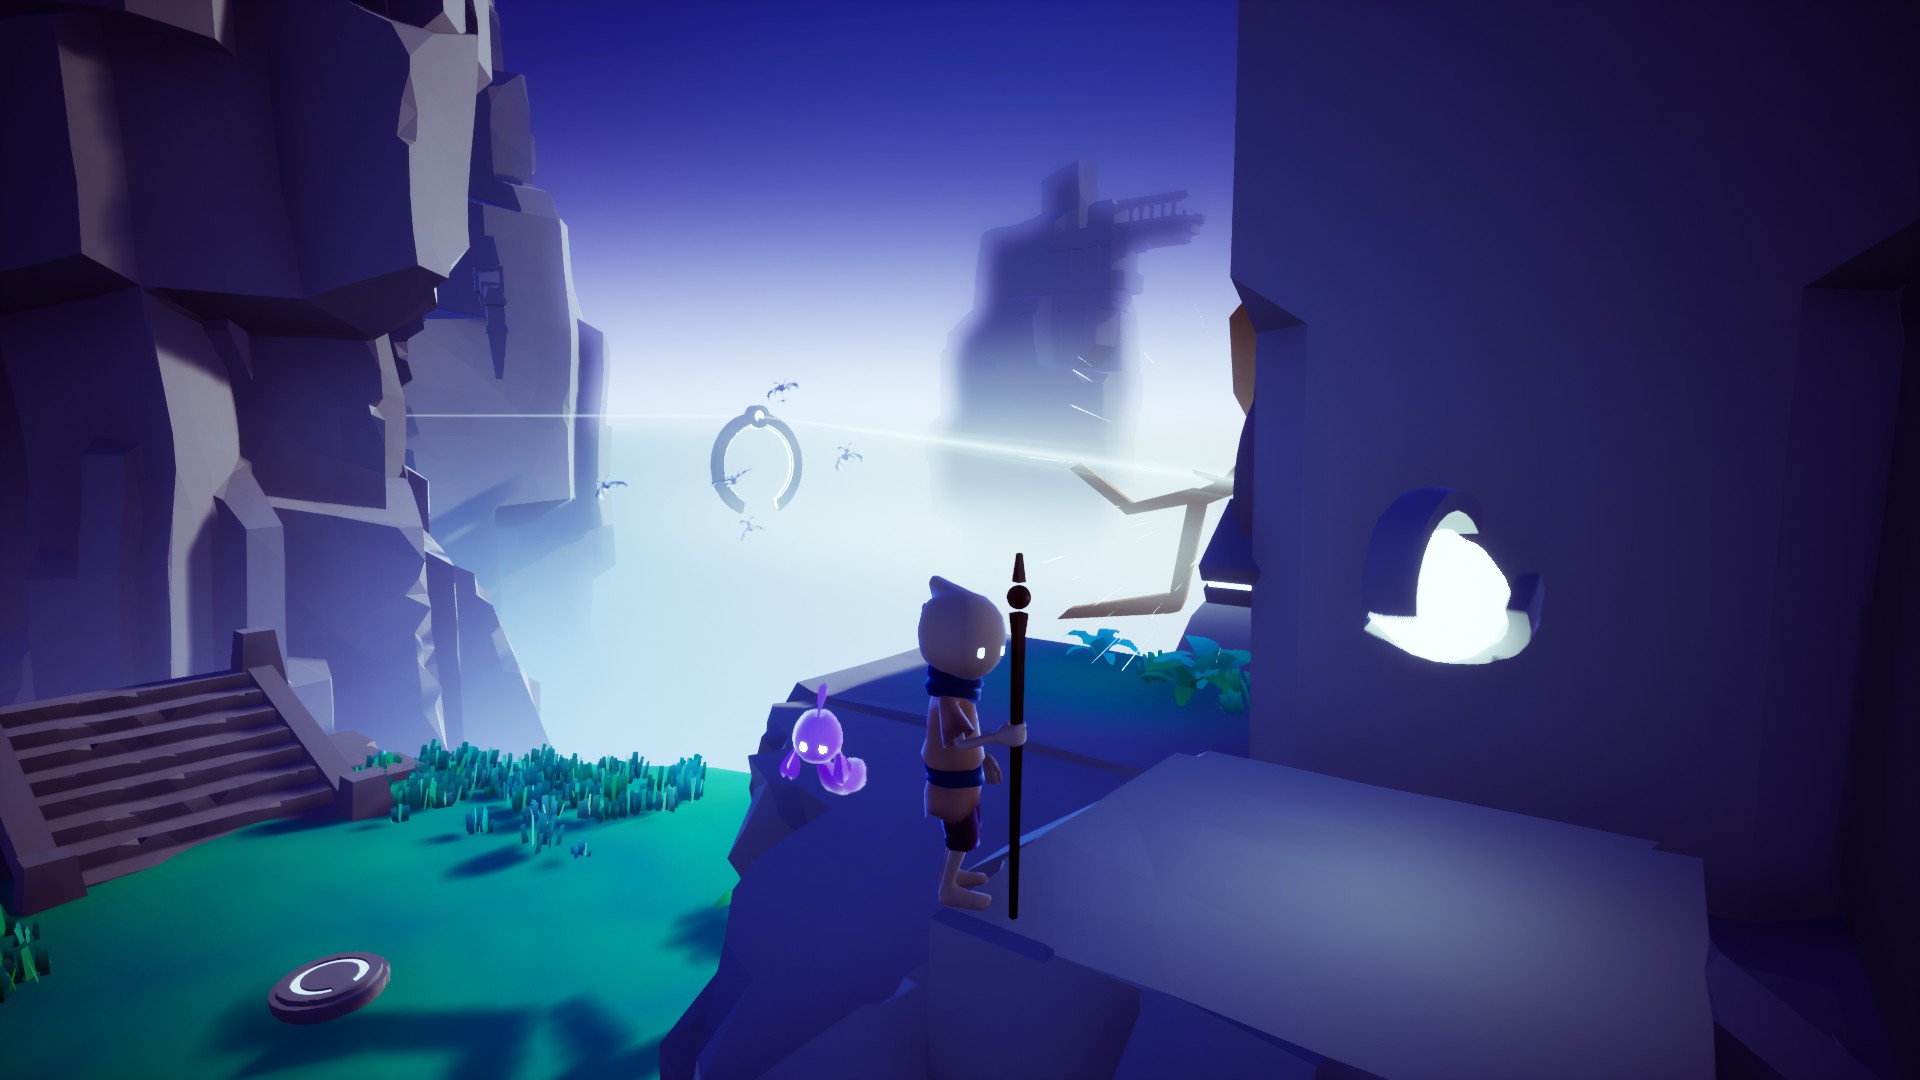
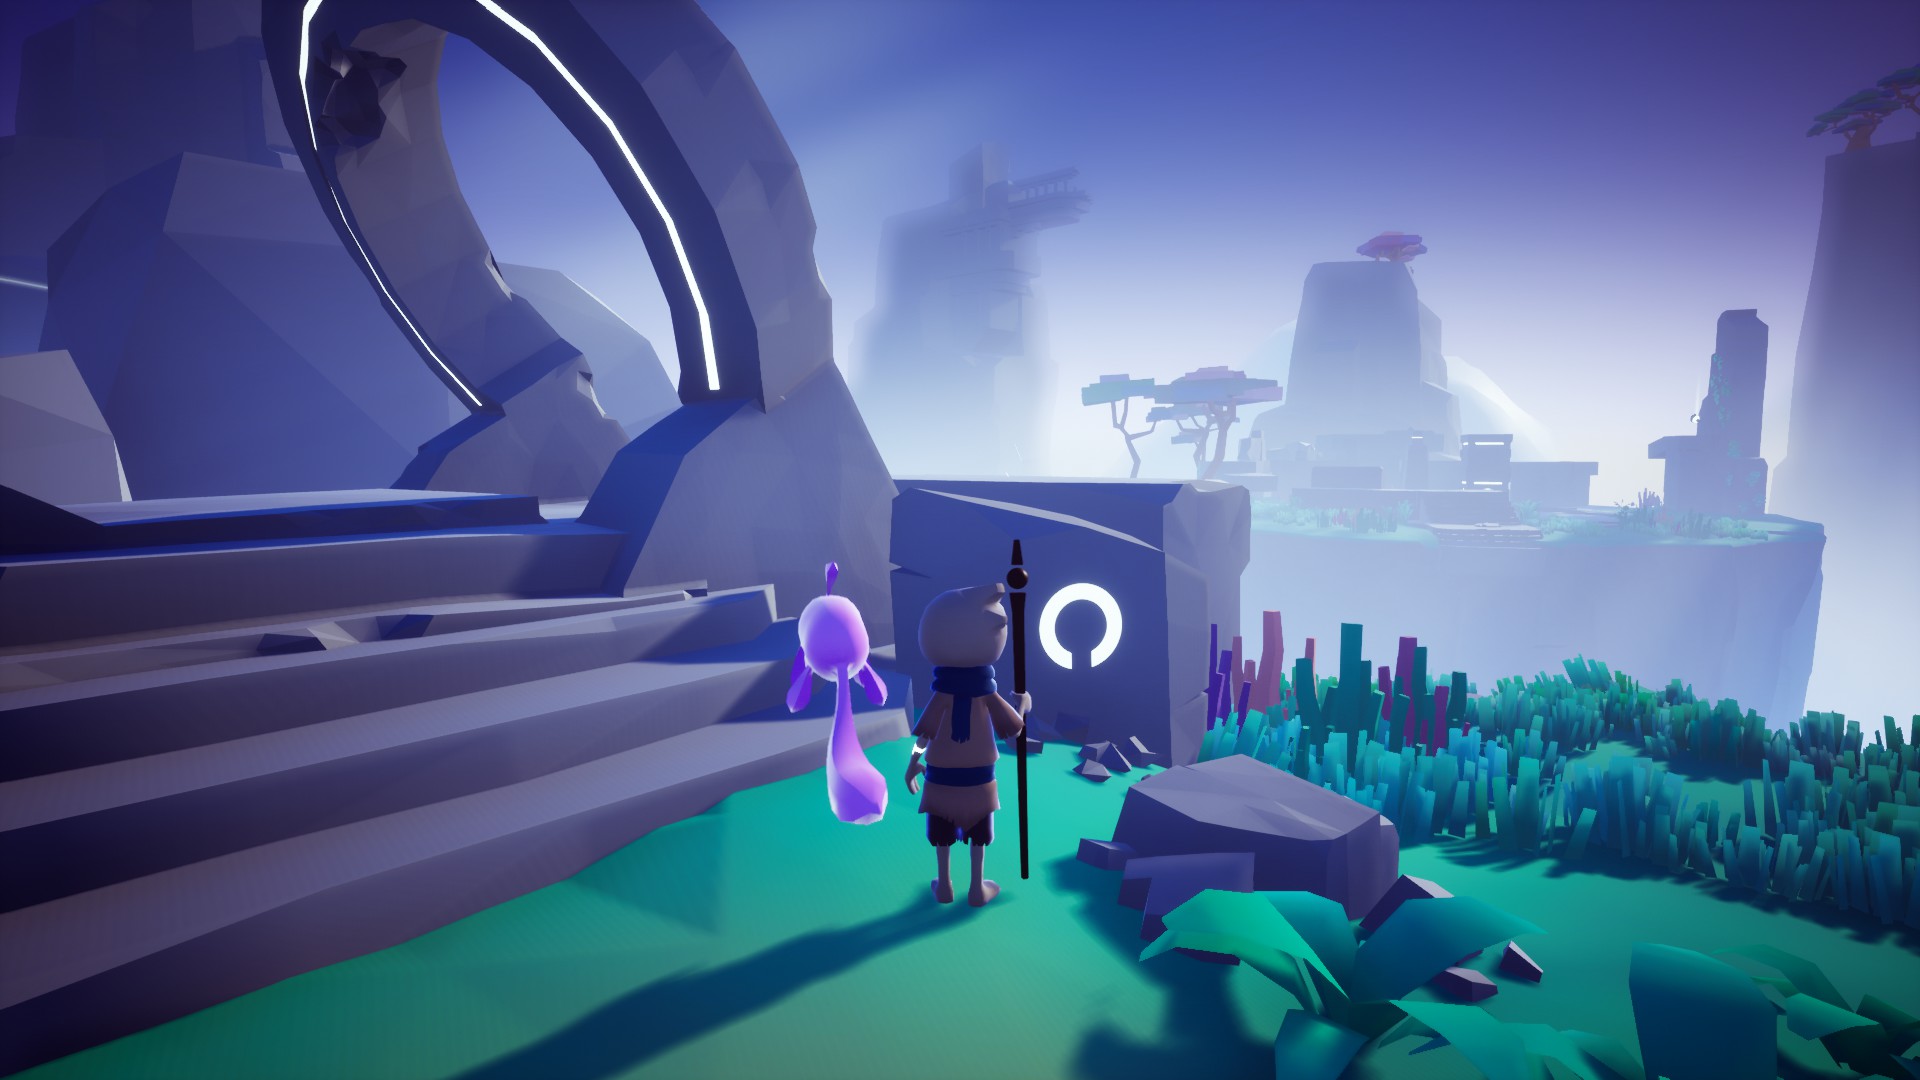
The display on the wall shows the platforms from a top view and the pillars around it.
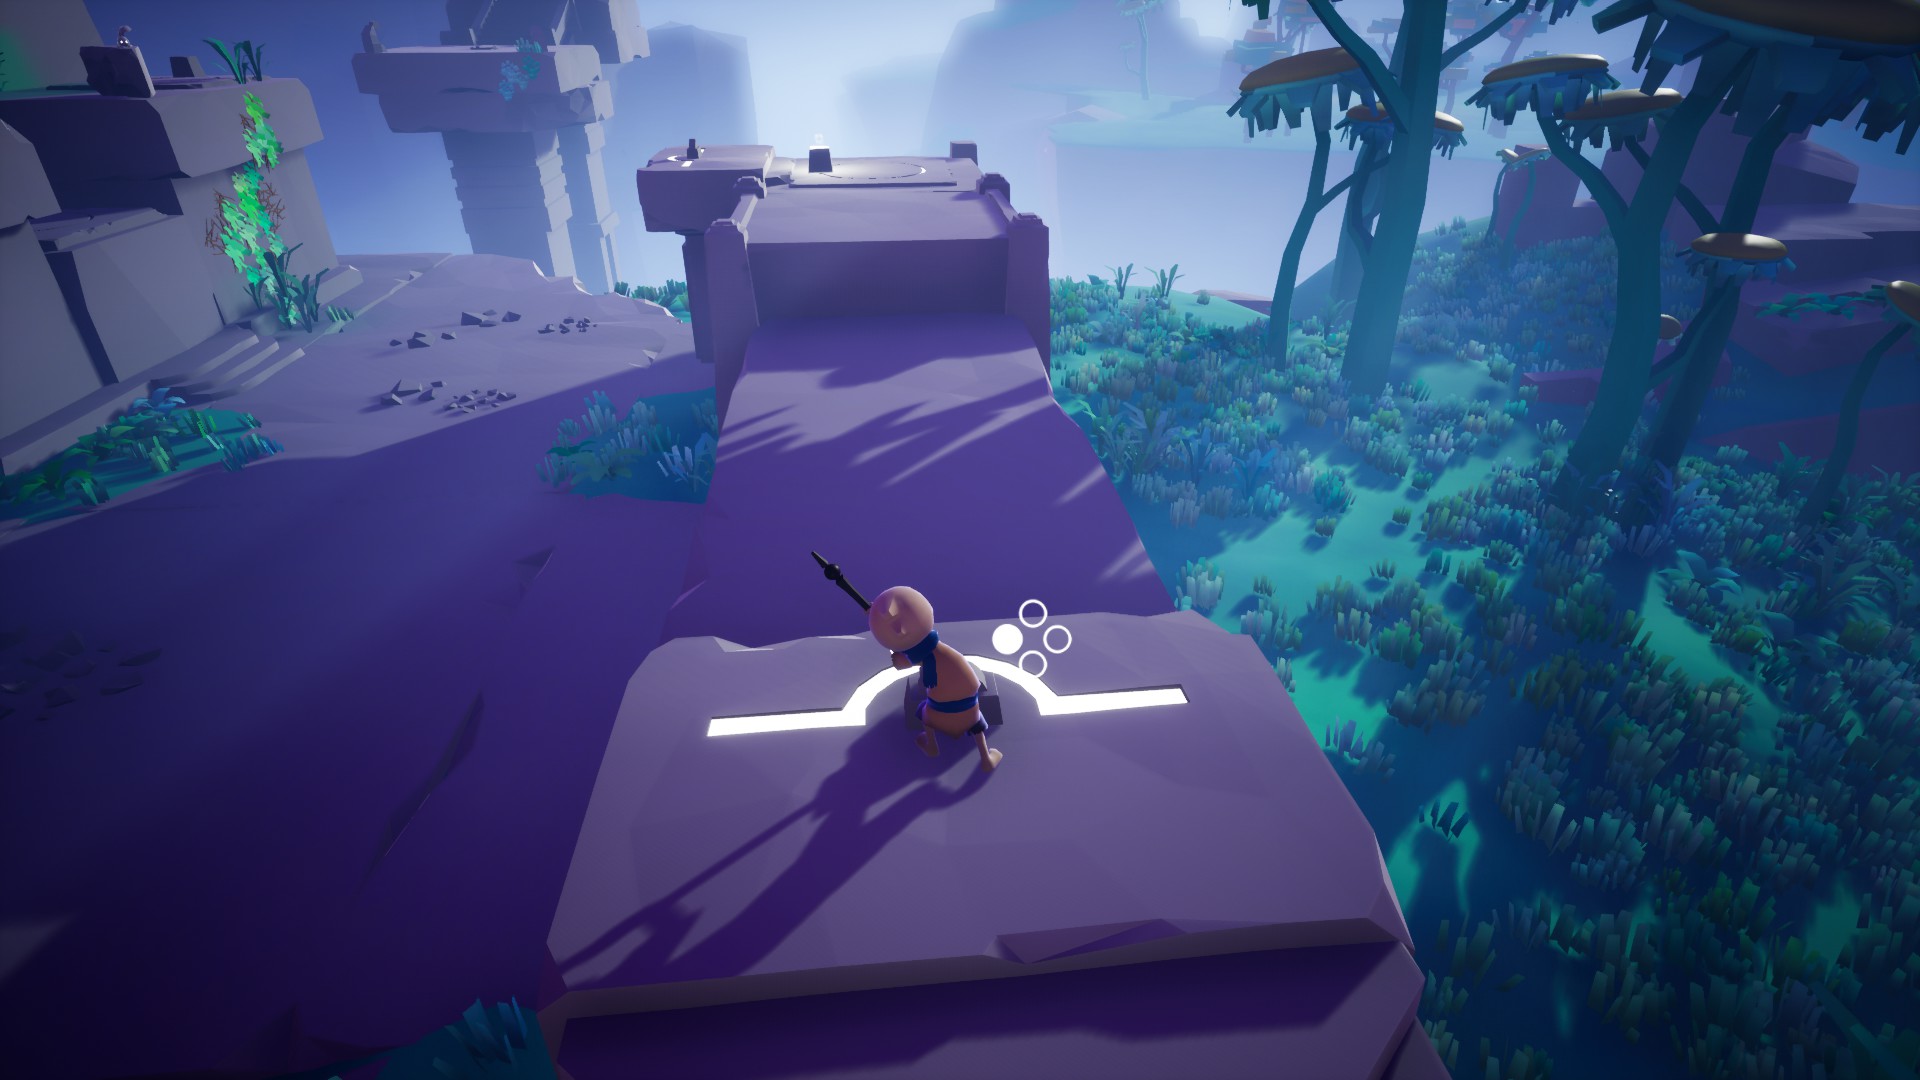
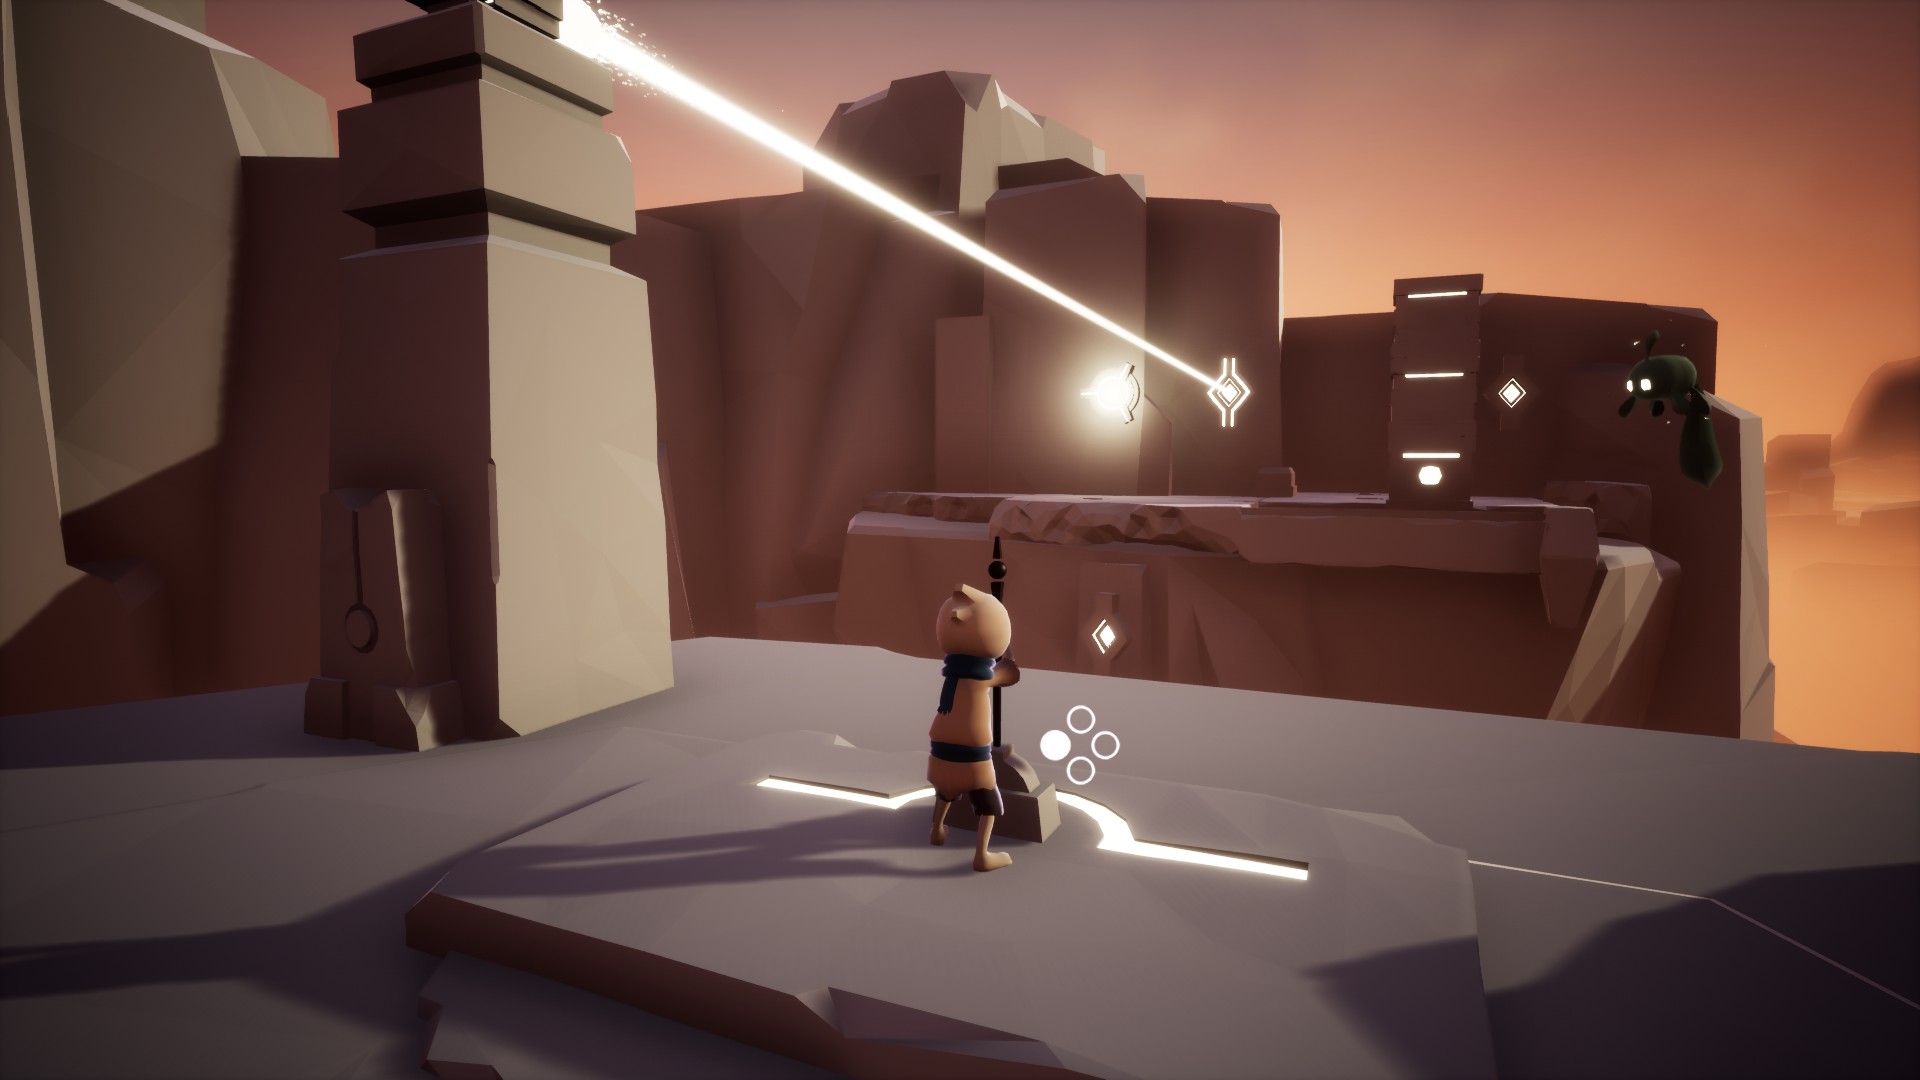
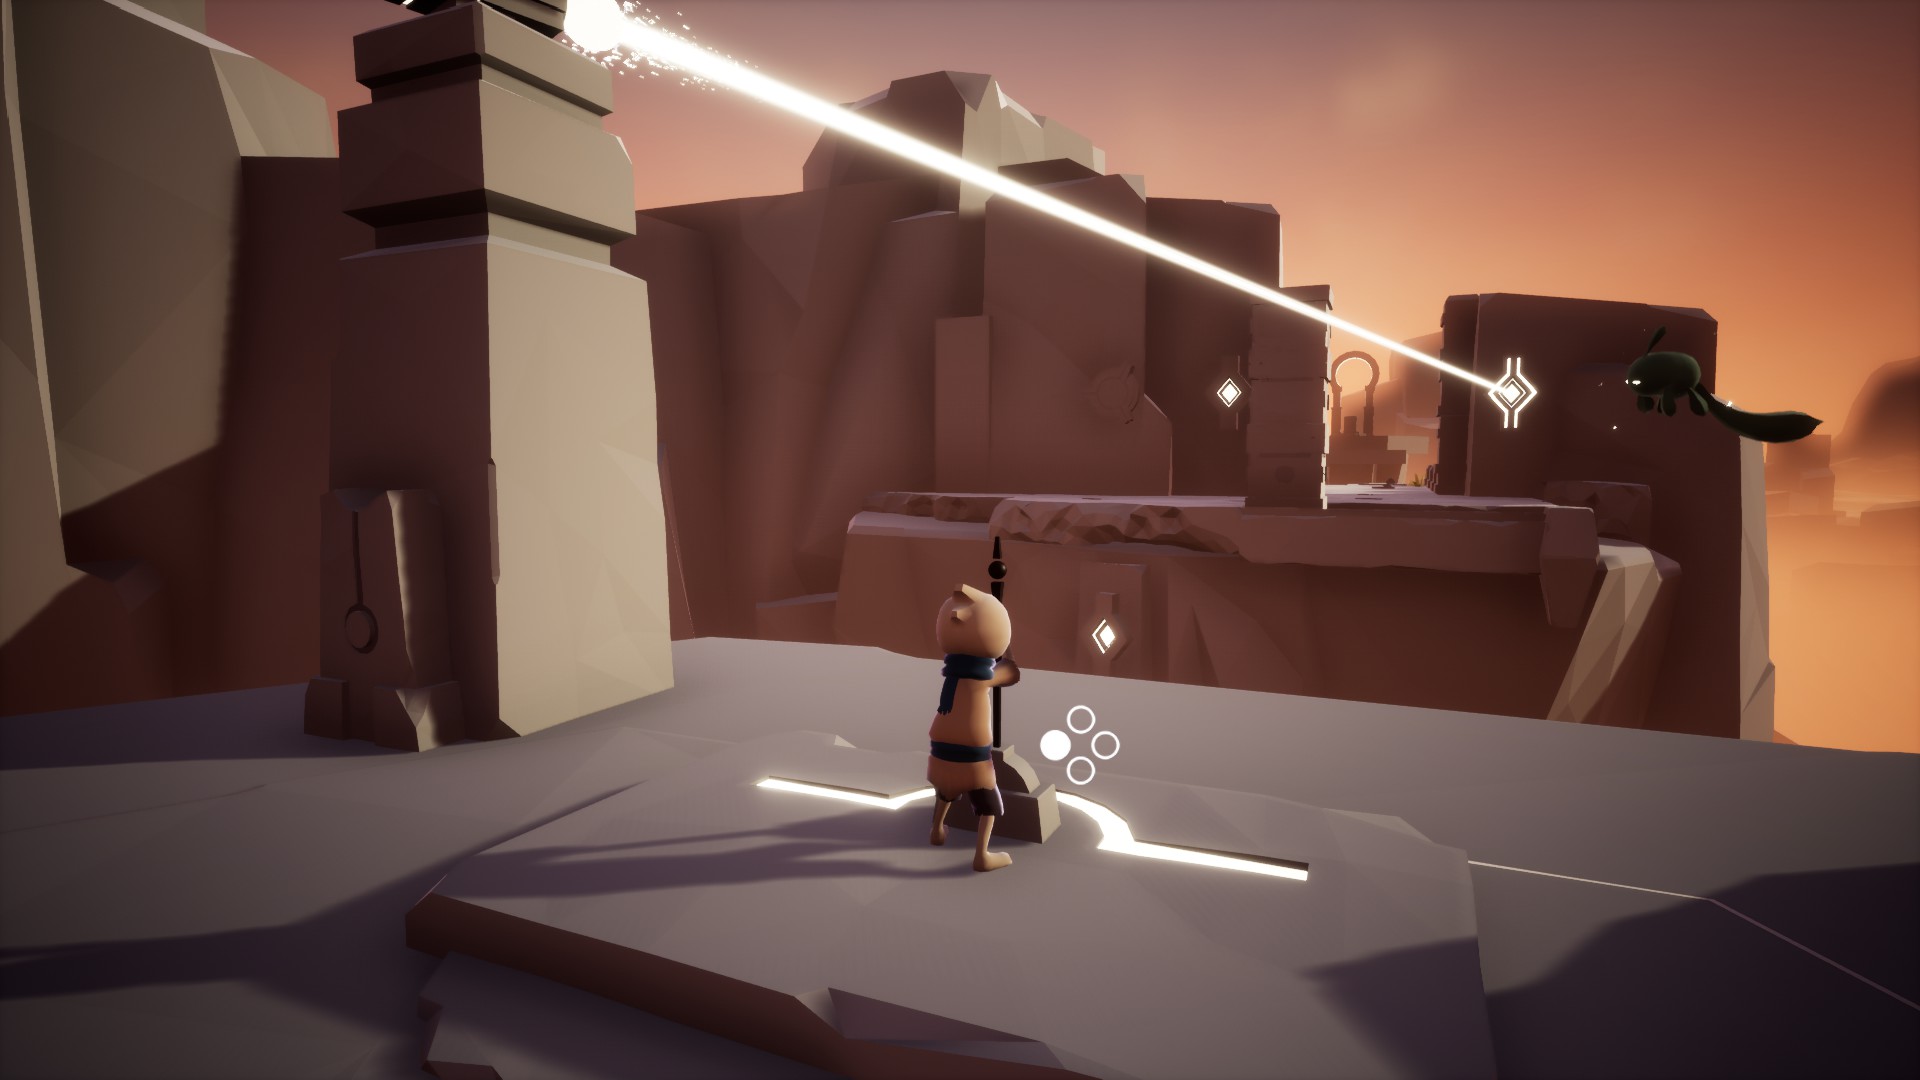
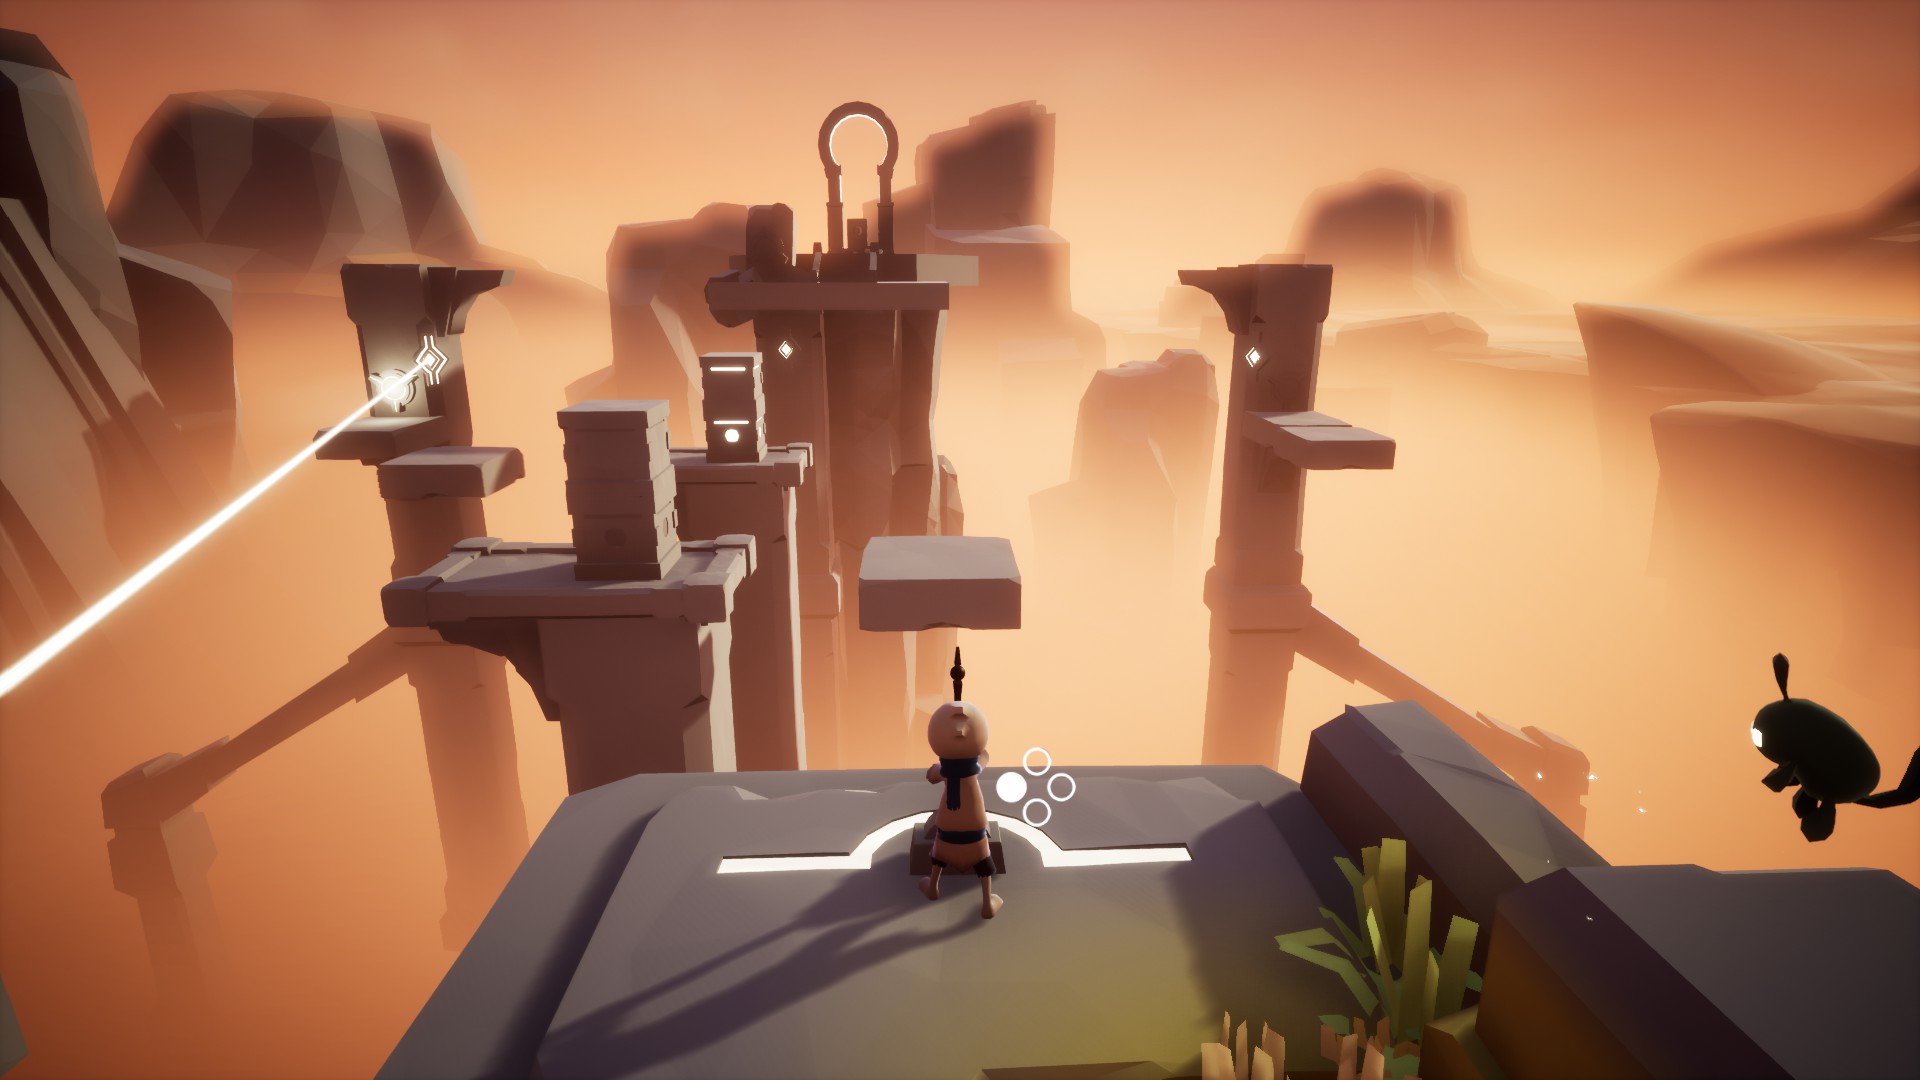
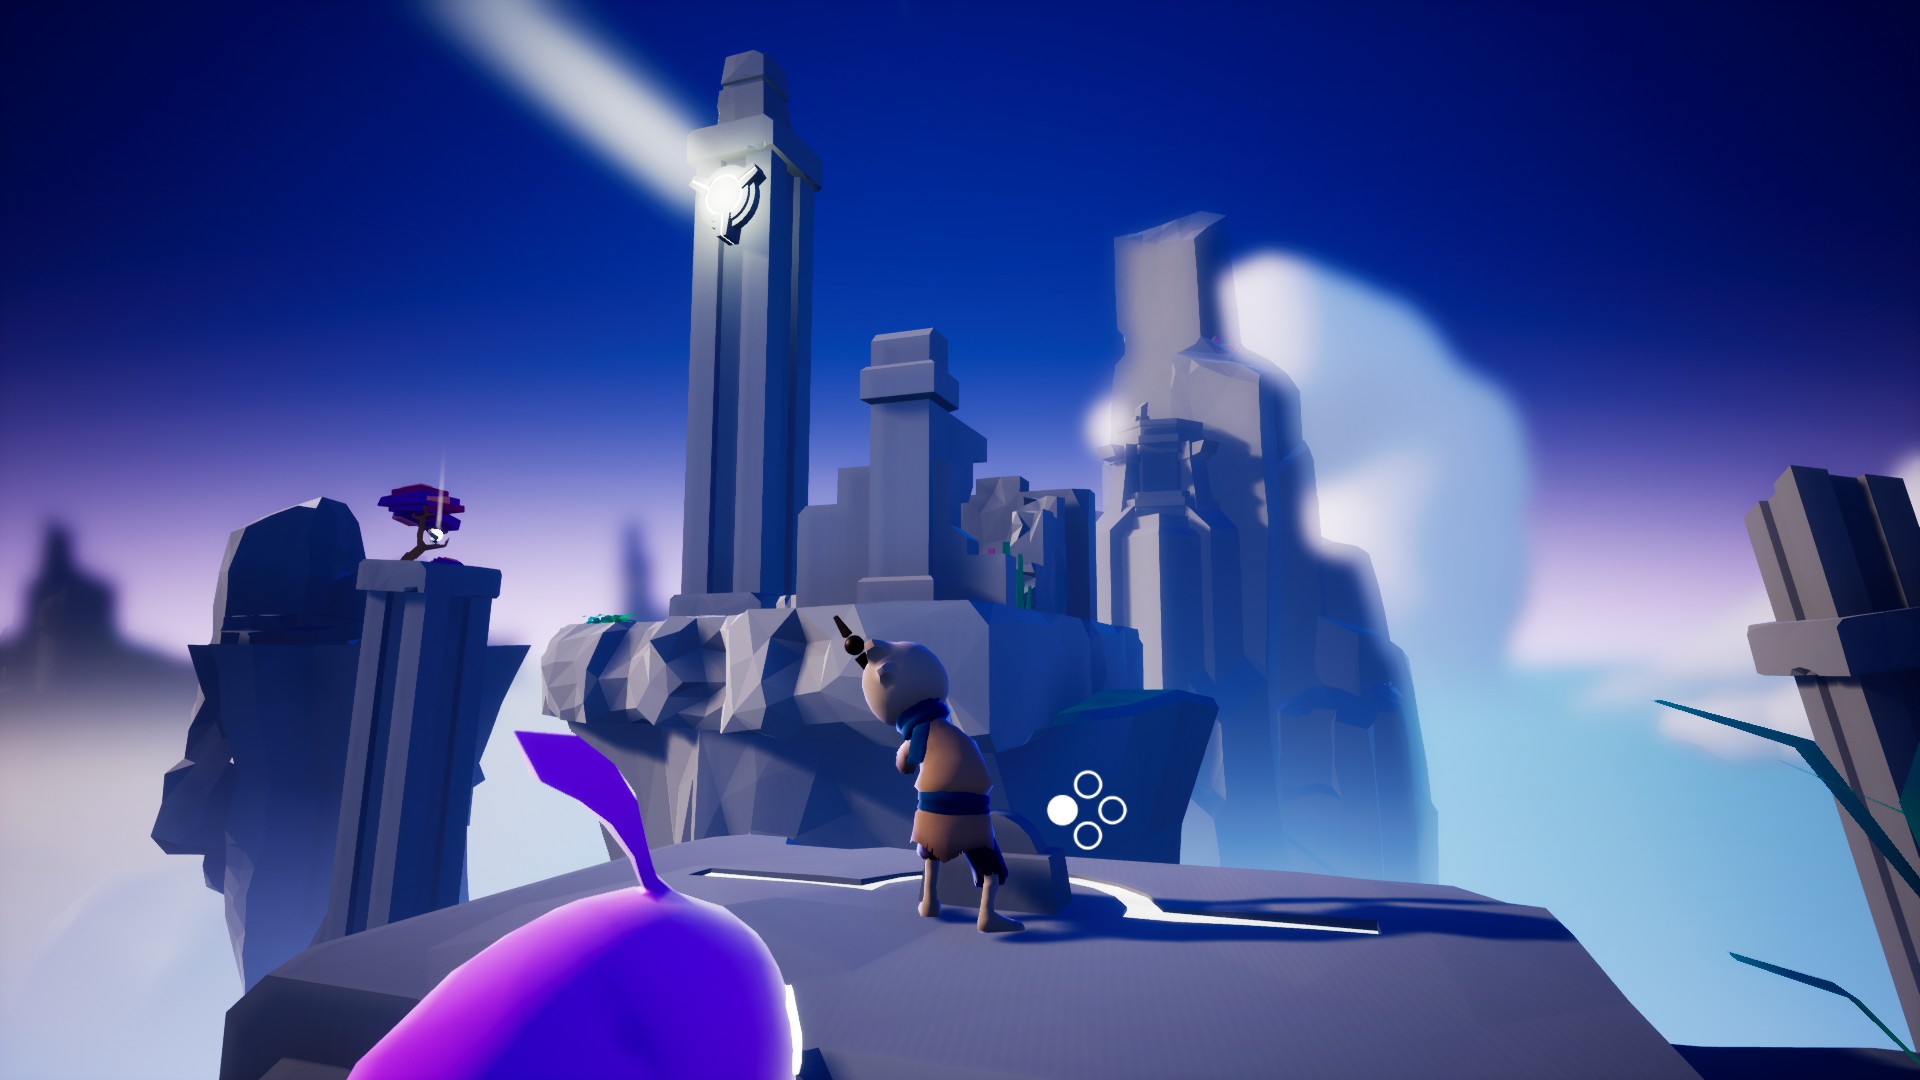
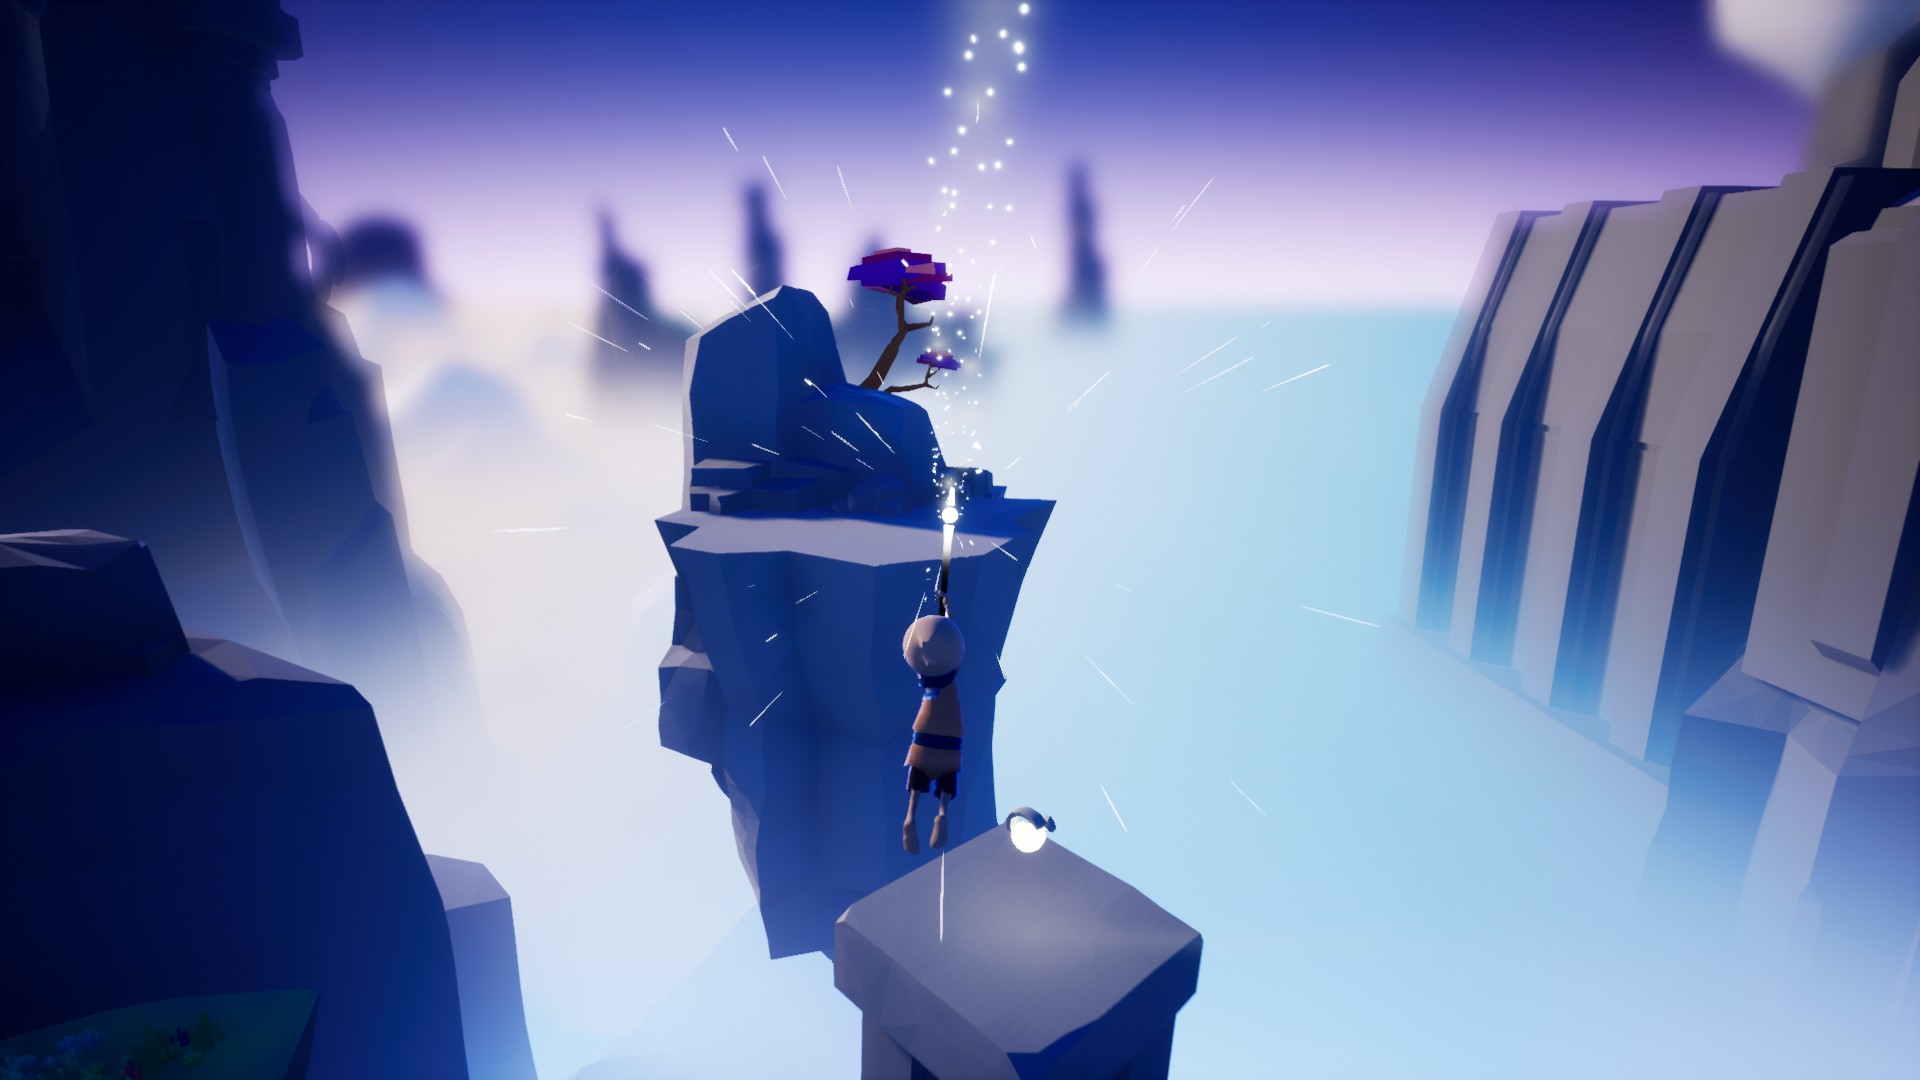
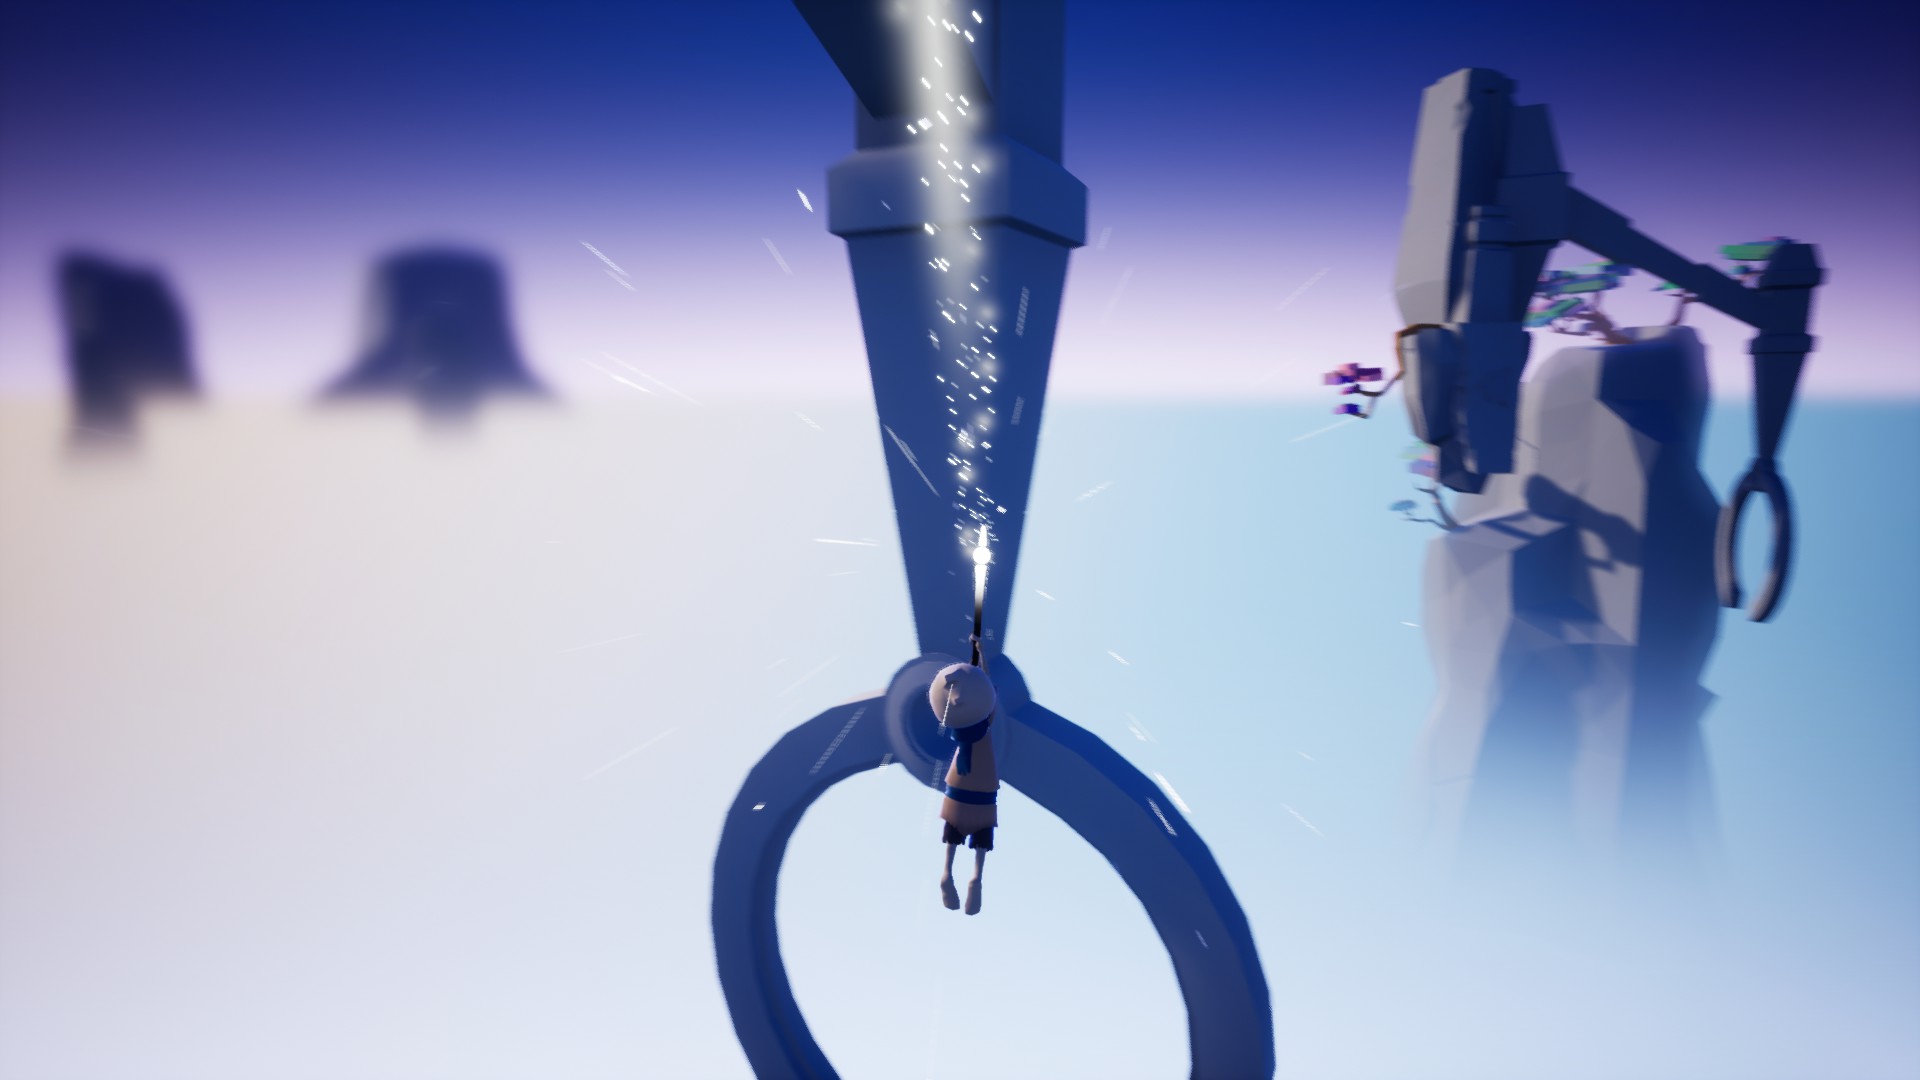
But the orientation/rotation of the puzzle is always changing. Jumping on a platform always changes the orientation/rotation. So, after every jump consult the solution on the wall and rotate your camera to face the active pillar.
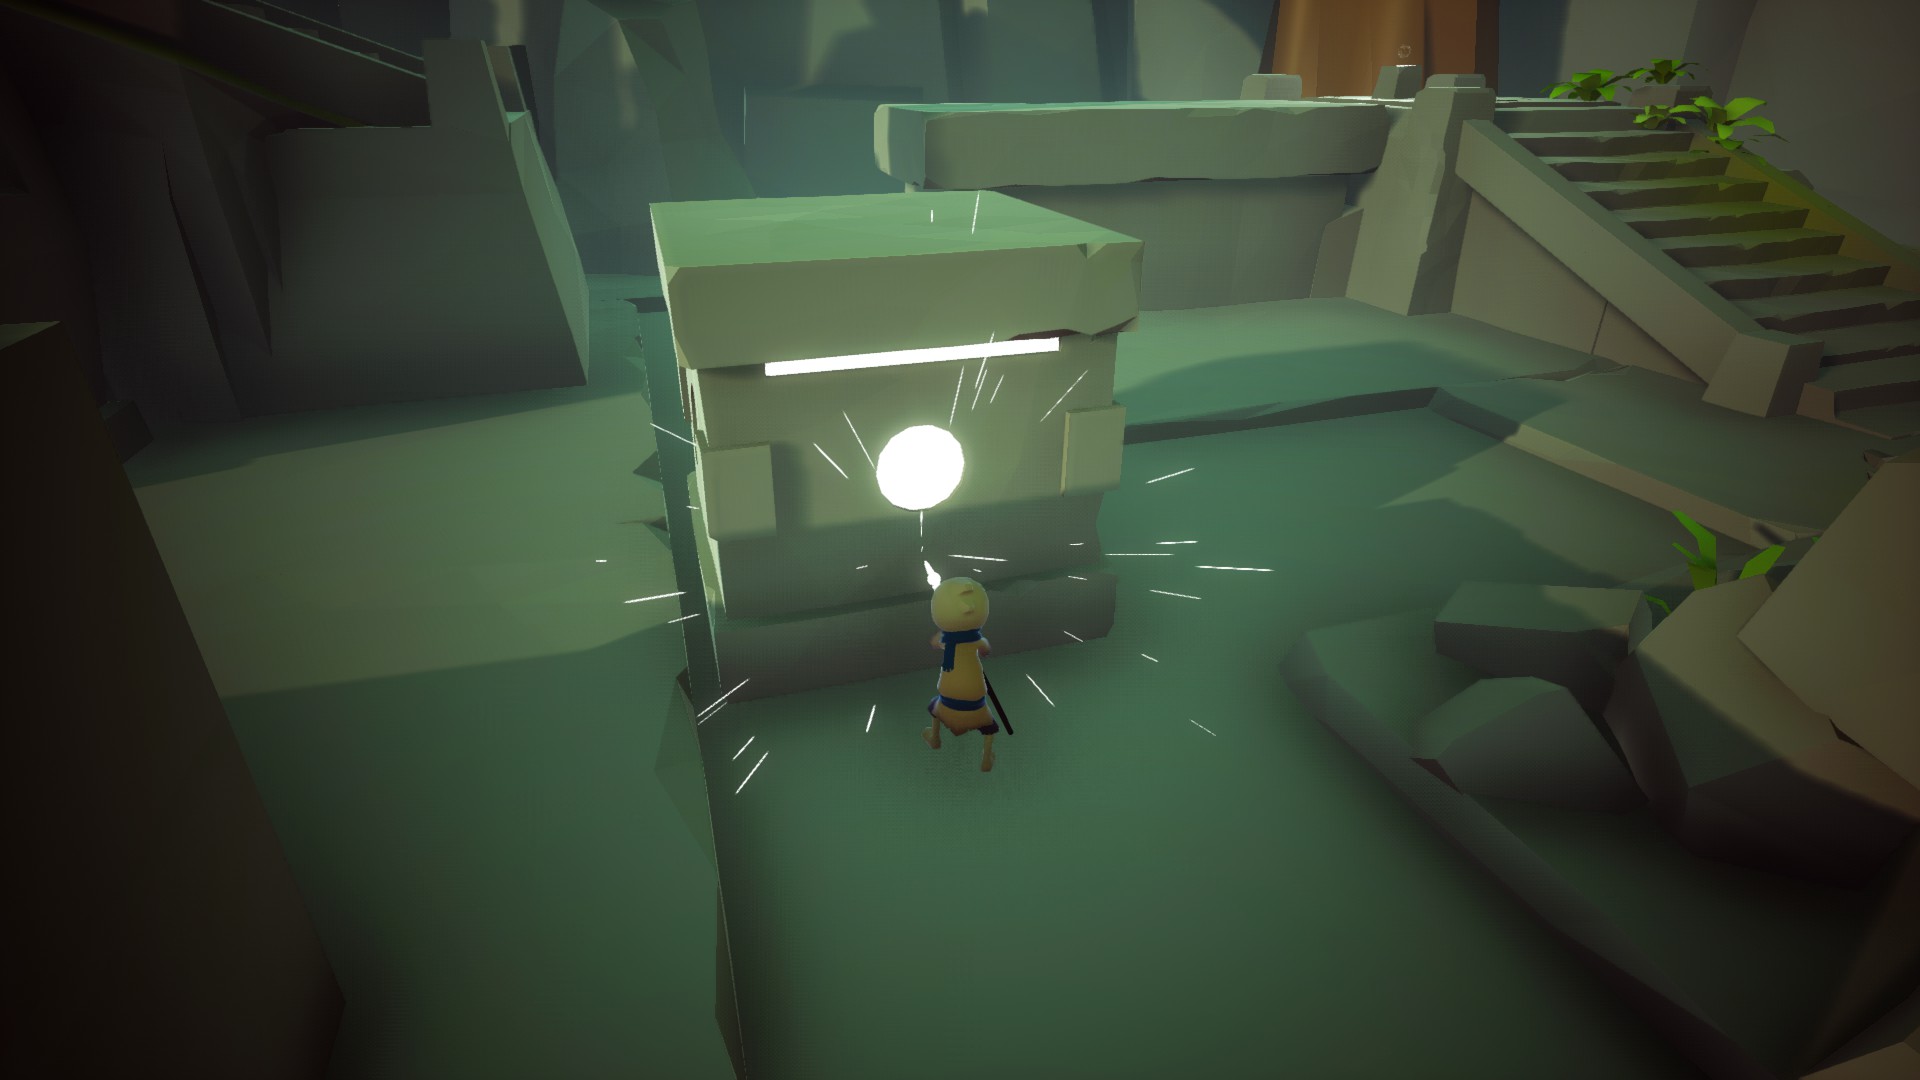
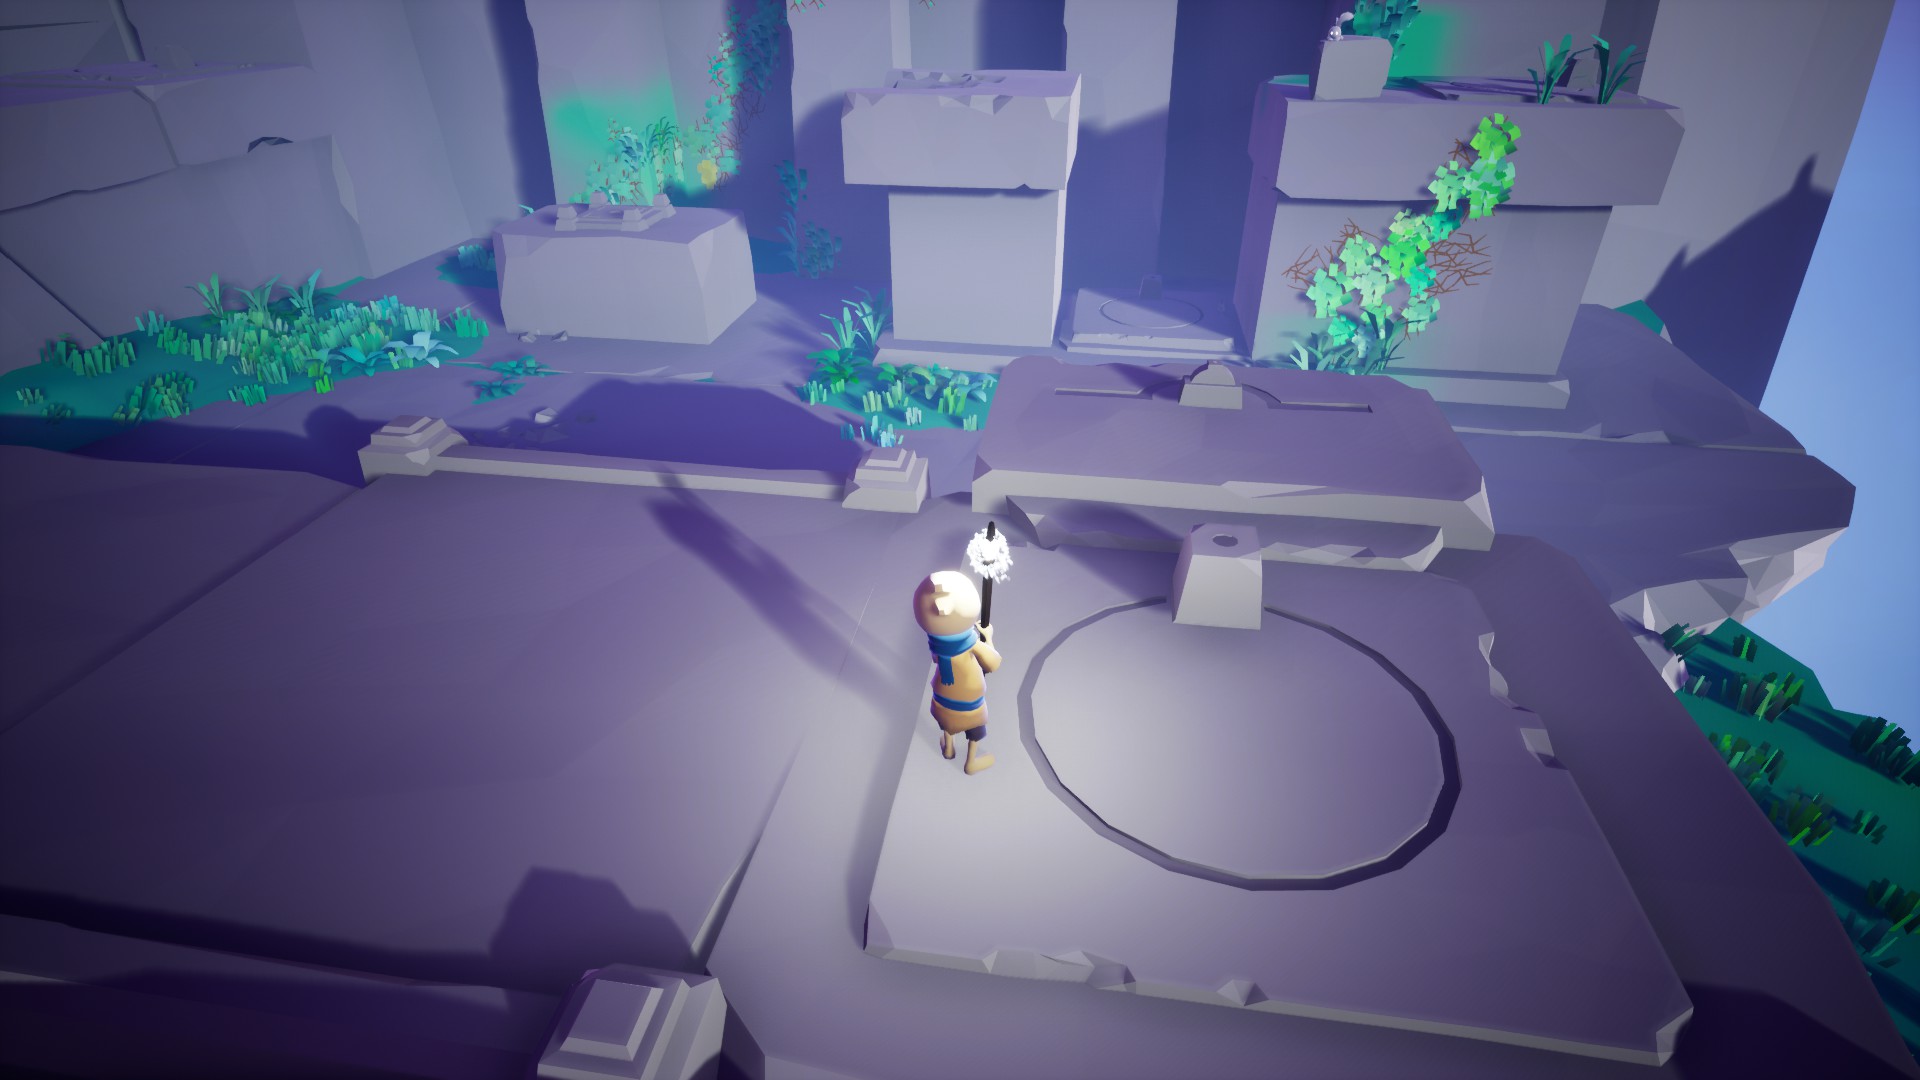
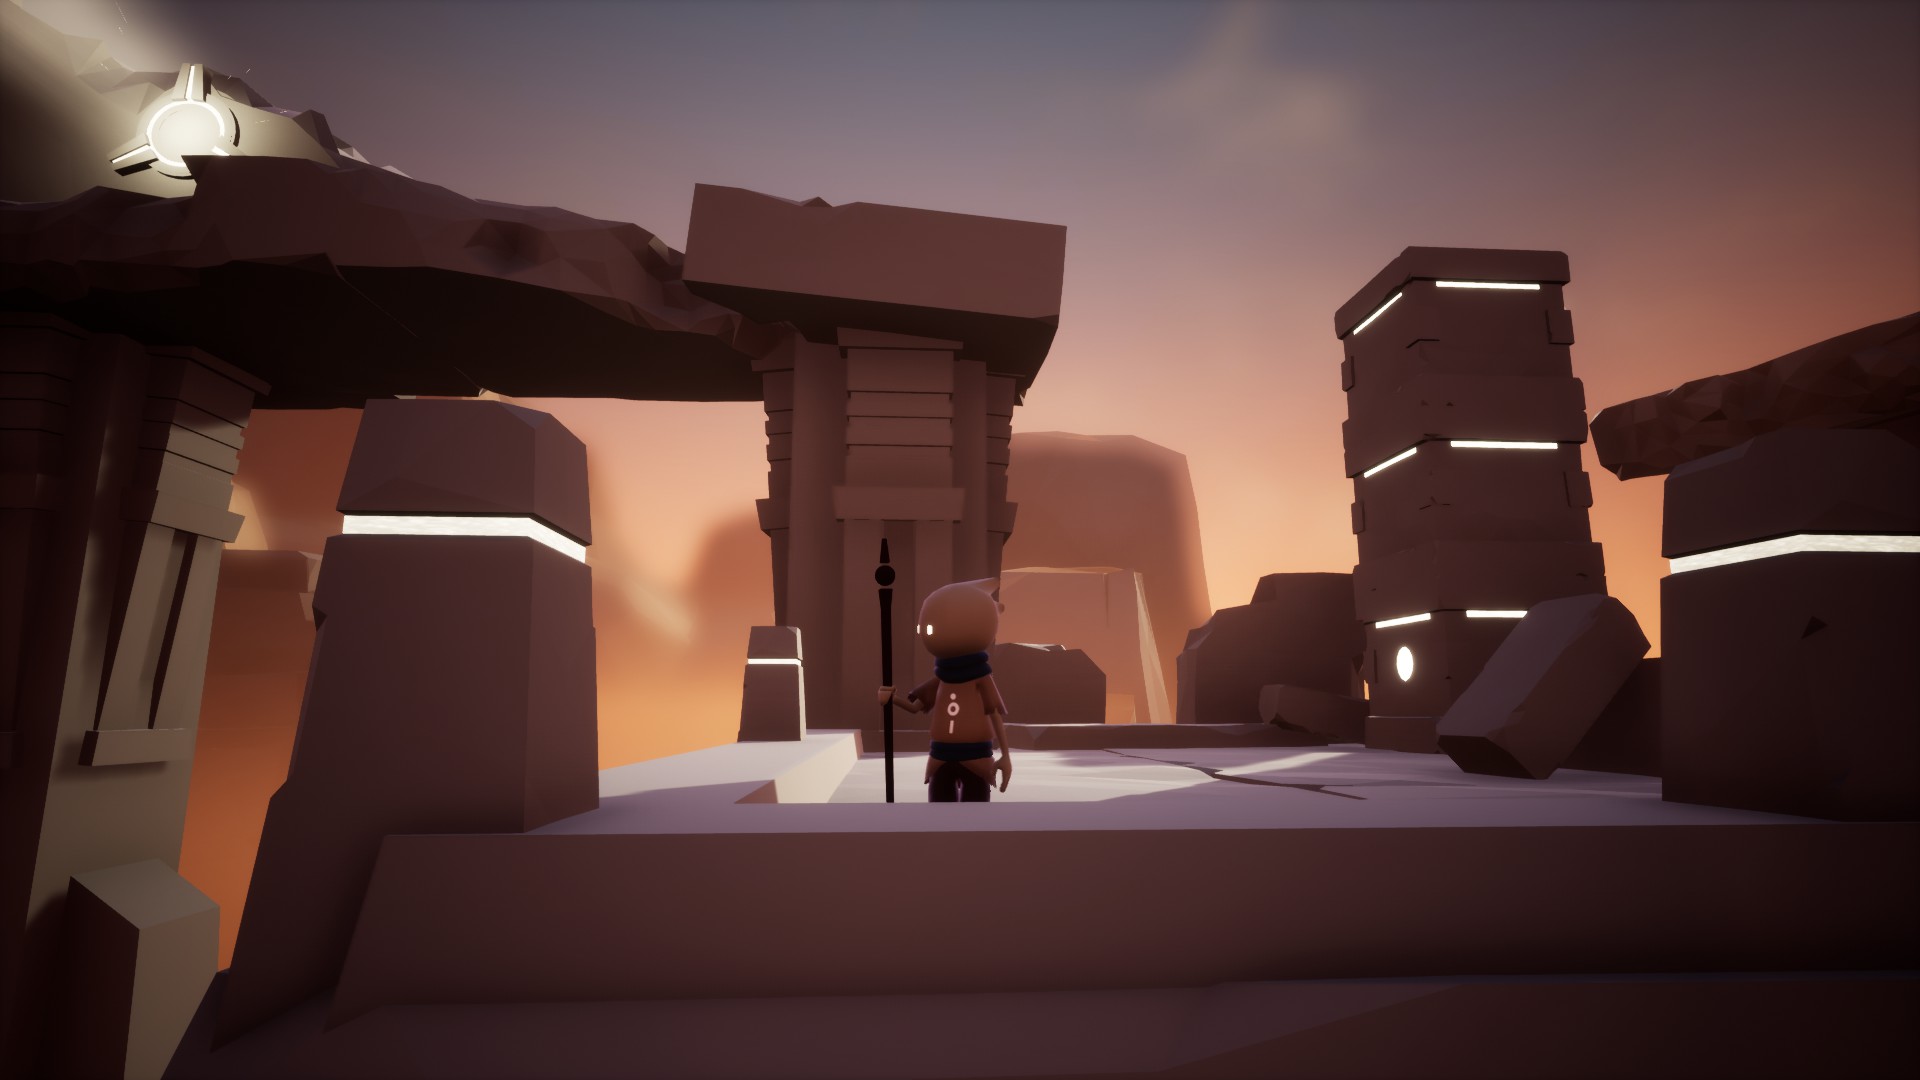
At any time, the pillar that has a glowing white orb above it is is the active one, that is shown UP on the wall display.
The order of the pillars becoming active is fixed. But the order of platforms that you have to jump on is randomized, so after each jump you have to consult the wall diagram and orient yourself to the active pillar (either by rotating the camera or by doing the rotation in your head).
I DID NOT UNDERSTAND ANYTHING!