Peglin
141 ratings
Peglin All Achievements Guide!
By Blinky
In this guide I aim to explain how to get all the achievements in the game, and try to provide different strategies that could help you with the more trickier ones. Up to date as of version 1.1.9! Let's begin!
4
2
4
6
2
   
Award
Favorite
Favorited
Unfavorite
Basic Information
I've separated the achievements in the game into these categories:
  • Boss: Achievements that are directly related to bosses;
  • Character-Unlocking: Achievements that unlock new characters;
  • Cruciball: Achievements directly related to the Cruciball gamemode;
  • Challenge: Achievements awarded by beating the game in challenging ways;
  • Research: Achievements related to the Encirclepedia's Bestiary;
  • Combat: Achievements related to combat scenarios (damage and enemies);
  • Orb & Peg: Achievements directly tied to specific orbs, or the pegboard;
  • Event: Achievements related to event encounters.
Hopefully these categories will make it easier to find the specific achievement you're looking for. You can also use Ctrl + F and search for a specific achievement by name.
Boss achievements
These achievements are directly related to the bosses in the game. There are three possible bosses for each of the three regular acts.

Holey Moley!
Defeat Avogadro, the Mole Boss

Wood you Kindly?
Defeat Avogadro's Tree before entering the Castle

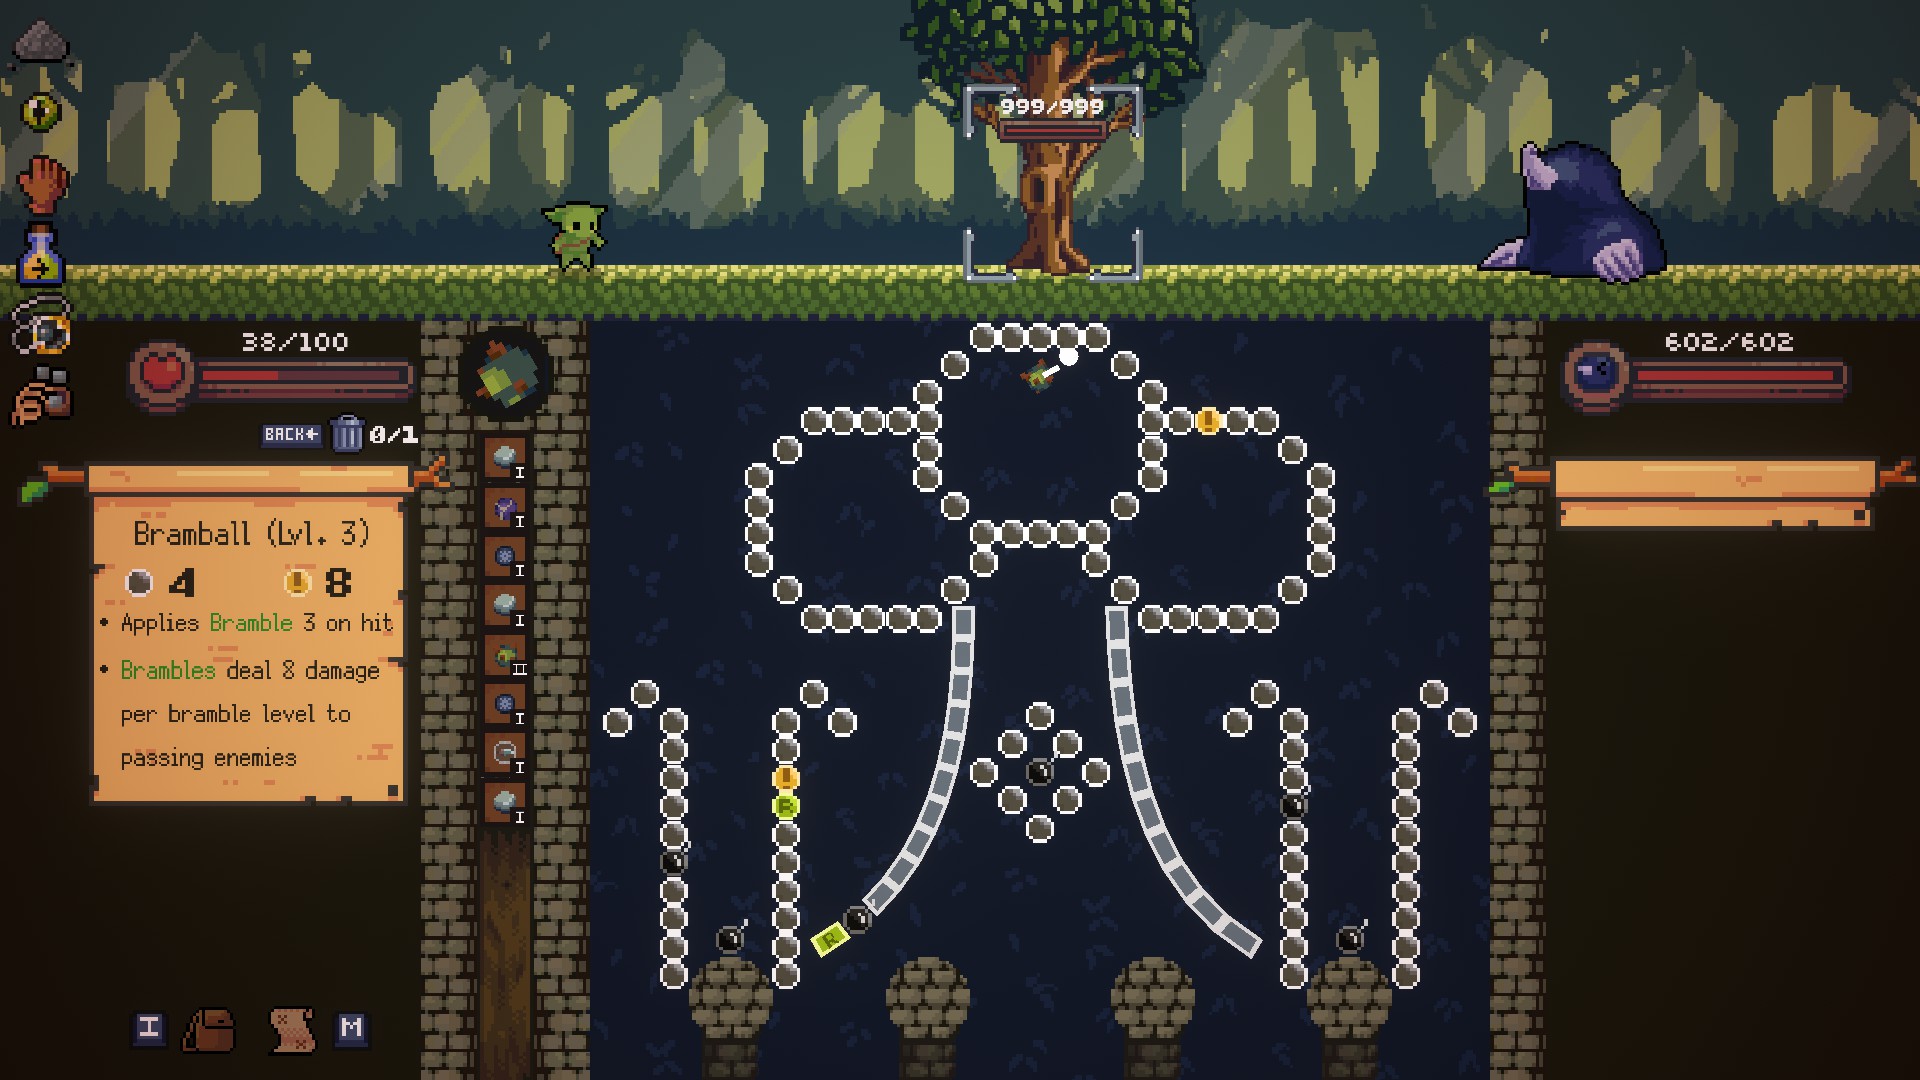
This achievement is reffering to the big tree on the Mole Boss fight. Just kill it before the mole. It's important to get some high damage shots on the first two turns, as afterwards whenever the mole goes back to behind the tree it spawns a peashooter plant that can block shots directed at the tree. This also goes without saying, but try to hit the mole with soft shots whenever it's in front of you.

End Of The Slime
Defeat the Slime Boss

Heartburn
Throw a Rigged Bomb after being eaten by the Slime Boss

There are basically only 2 ways to achieve this: either get lucky enough to find the Collatorball Damage orb before fighting the Slime Boss, or get even luckier to already have that orb in your inventory, finding the "waterfall" event later into the run, and getting a chance to fight the Slime Boss then. There are relics that turn regular bombs into rigged bombs, but those are even rarer than the orb unfortunately. No better way to go about this than to reset until you get the slime boss, visit all shops on act 1, and hope to find the orb.

New Leshy on Life
Defeat Betsy the Leshy

In a Prickle
Get three Bramballs stuck in Leshy's vines at the same time

Fairly simple achievement, all you need is to have a Bramball on your inventory before entering the Betsy fight (Peglin and Spinventor can get Bramball). Wait for the boss to create bramble vines on the board, and then throw 3 Bramballs into the vines, getting them stuck. Beware that any orb you throw into the vines will visually turn into a Bramball, but those don't count. You specifically need to throw Bramballs from your inventory into the vines.
Siege No More
Defeat the Ballista Militia

A Full Sweep
Battle the Ballista Militia Until all its minions have spawned

To get this you'll need a lot of healing, as the ballista will be hitting you for 30 damage per shot, several times, until all minions have spawned. Anything from Popping Corn, Cookie or Well-Done Steak will work so long as you can reliably heal yourself, or take as little as damage as possible for quite a few turns. Infernal Ingot can let you heal all the damage you take from the boss before the next attack, and Round Guard can be used to completely block the attack, if the boss attacks you during a reload.

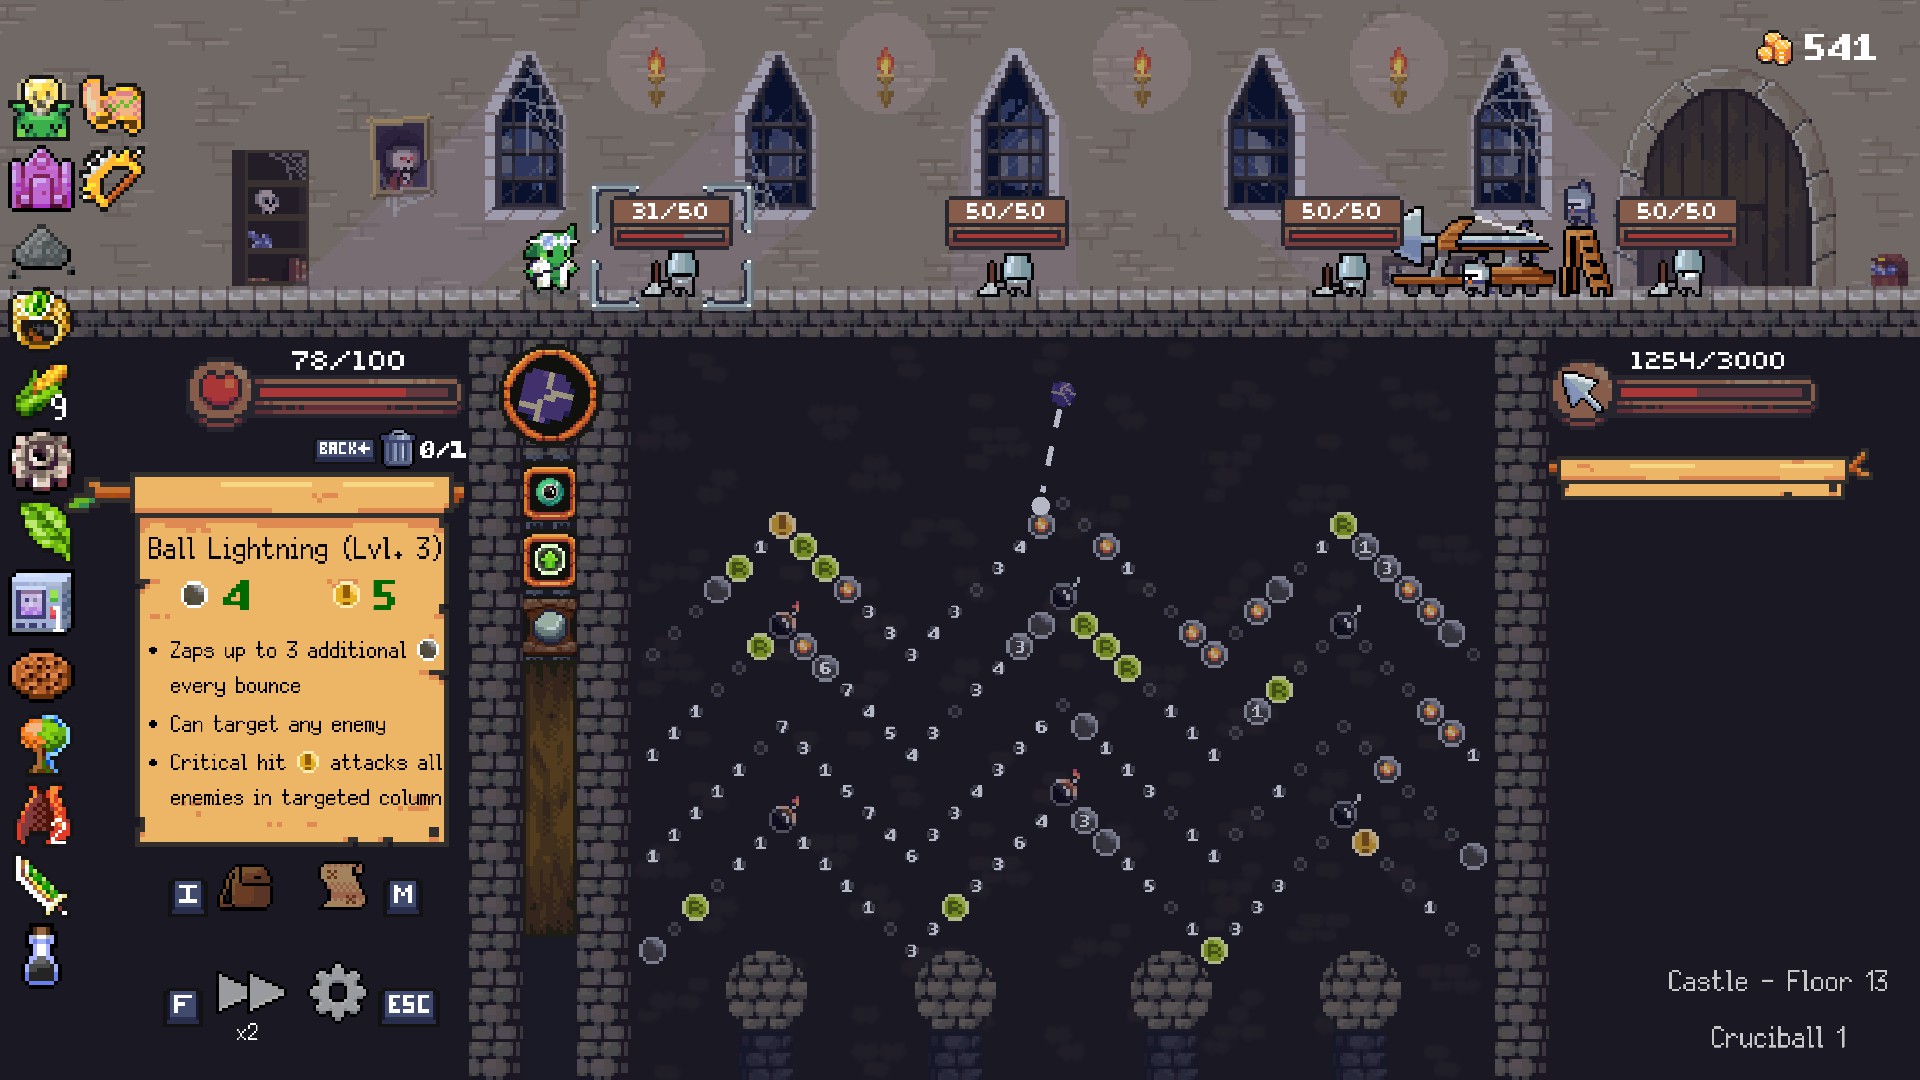
There's around 20 minions that need to spawn, and the ballista will kill them with its shots, so you don't even need to kill them yourself. In fact, keeping them around and avoiding bombs can be ideal to avoid dealing too much damage to the boss. Make sure to reset the fight if it looks like you might end up killing it. You don't need to kill all the minions to get the achievement, they all just need to have spawned. This was my build when I got it:

All In All
Defeat the Demon Wall

Not a Dull Wall at All
Convert or Destroy 3 dull pegs while fighting the Demon Wall

Dull pegs are the greyed out pegs that don't make your orbs bounce. You'll need something like Bob-orb or Ohmygorb! to do this, it should be easy as long as you focus on getting rid of the dull pegs before defeating the boss.

Masterpieces In Pieces
Defeat the Pigment of Imagination

Art Connoisseur
Defeat the Pigment of Imagination without destroying any paintings

Incredibly hard achievement to pull off, as even if you only use single target orbs, the paintings will likely die to the bombs scattered around the board. In fact, playing on Cruciball levels 6 or 12 might be ideal for this, as level 6 increases the health of enemies, and level 12 reduces the damage bombs deal. Be ready to reset the fight many times if you can't kill the boss fast enough, as eventually the paintings start doing damage (14 damage per turn on Cruciball 12).
Won't Get Ruined Again
Defeat the Qaballistic Ruins

Surprised the Ruins
Defeat all 4 Quaballistic Ruins with the same attack

As per the description, all 4 Ruins bosses must die with the exact same attack, be it a shot from an Ohmygorb! or Poltorbgeist that kills all 4. There seems to be some conflicting info if simply killing all 4 on the same turn (with bombs for example) would award the achievement, so I would recommend just going for a single, strong, 'hits all targets' orb build and just win. Alternatively, doing the "Bad Cheese" cheese with 1 orb in the inventory and Round Guard is confirmed to work.

Sapper Sweeper
Defeat the Super Sapper

Minion to Winion
Deal 1000 damage to the Super Sapper in one battle by detonating adjacent Sappers

Having a build centered around single target damage orbs is ideal for this. You'll need to kill the Sappers right next to the boss for them to damage it, and it takes around 10 of them to reach 1000 damage. Beware of accidentally killing the sapppers with the bombs on the board.
The Treasurer Doesn't Measure Up
Vanquish Thesaurosus the Avaricious Dragon

Master Burglar
Defeat Thesaurosus with no coins remaining in the pegboard

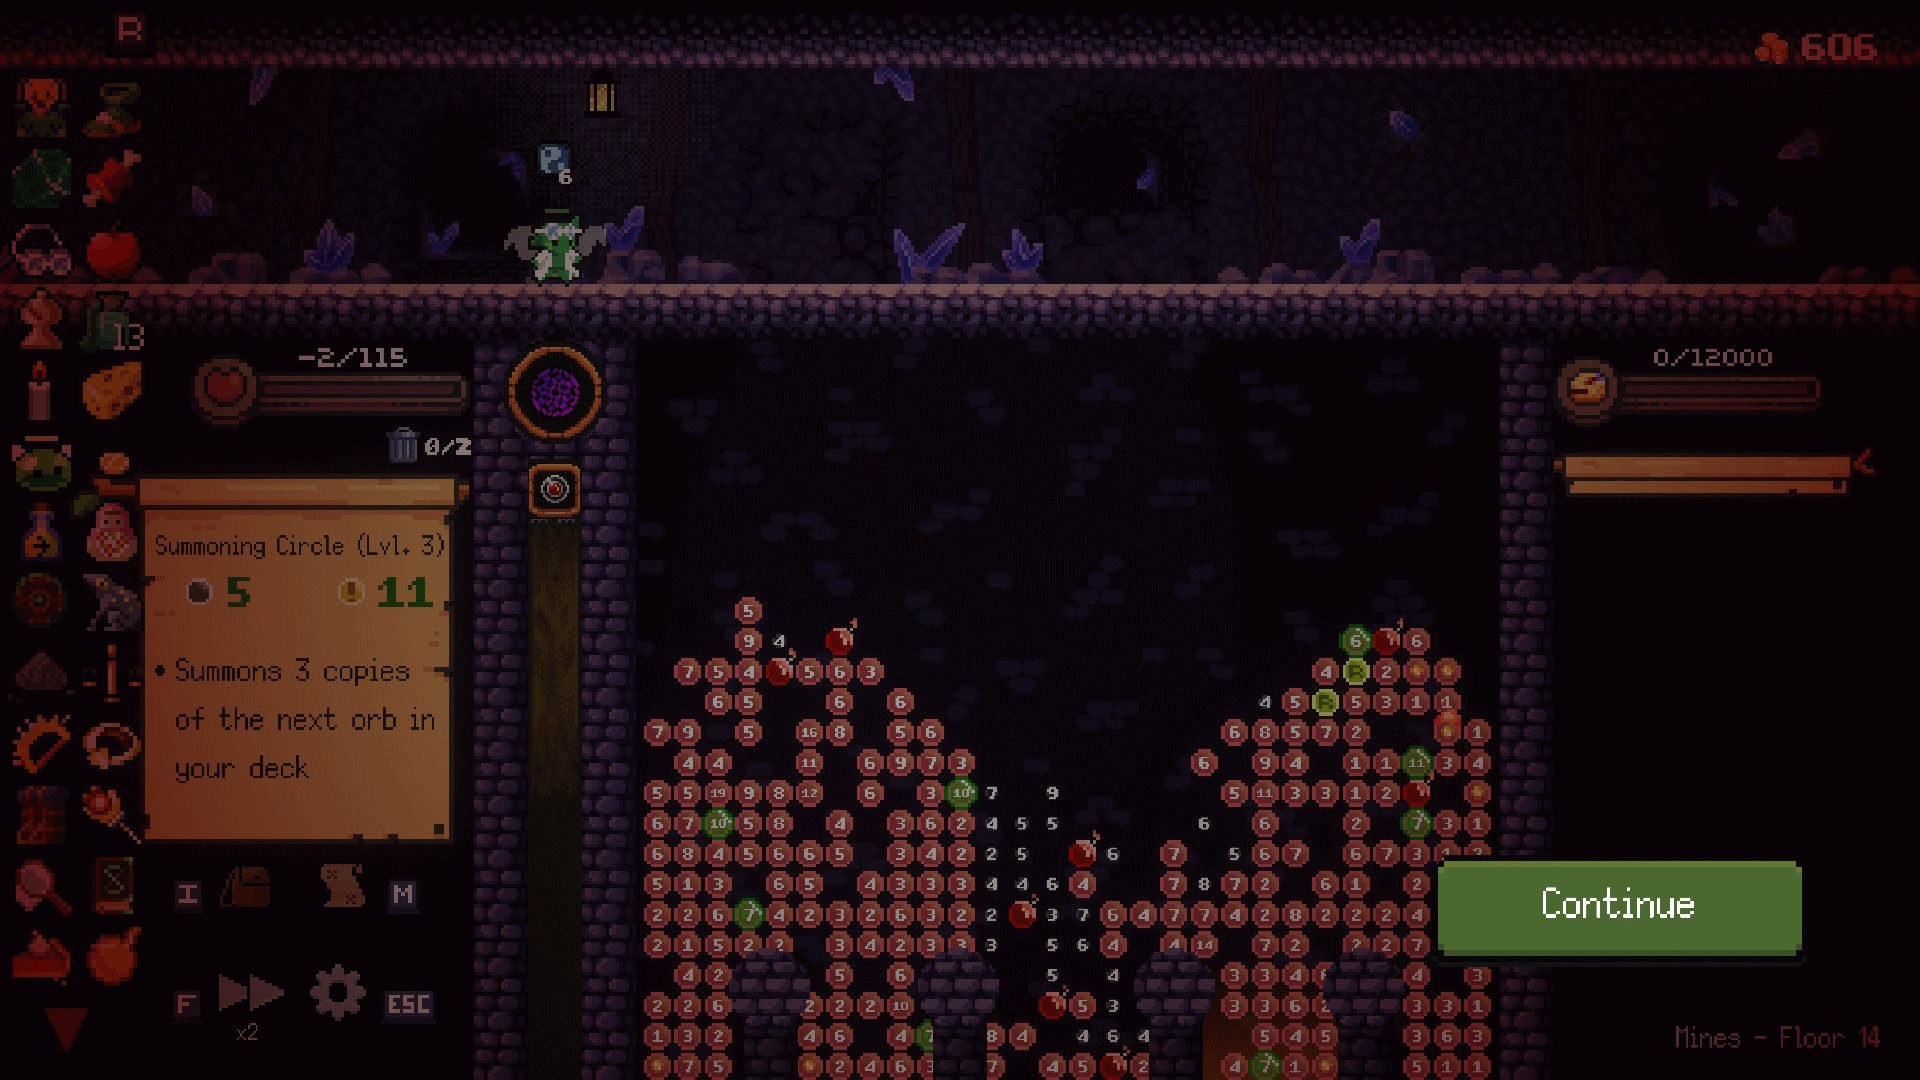
You'll need orbs and relics that help you in hitting many pegs in quick succession to get this achievement. Make sure to kill the boss after getting all coins. Some good choices for builds are:
  • Having many refreshes + Refreshing punch relic;
  • Bob-orbs + Alchemist's Cookbook & Enhanced Gunpowder;
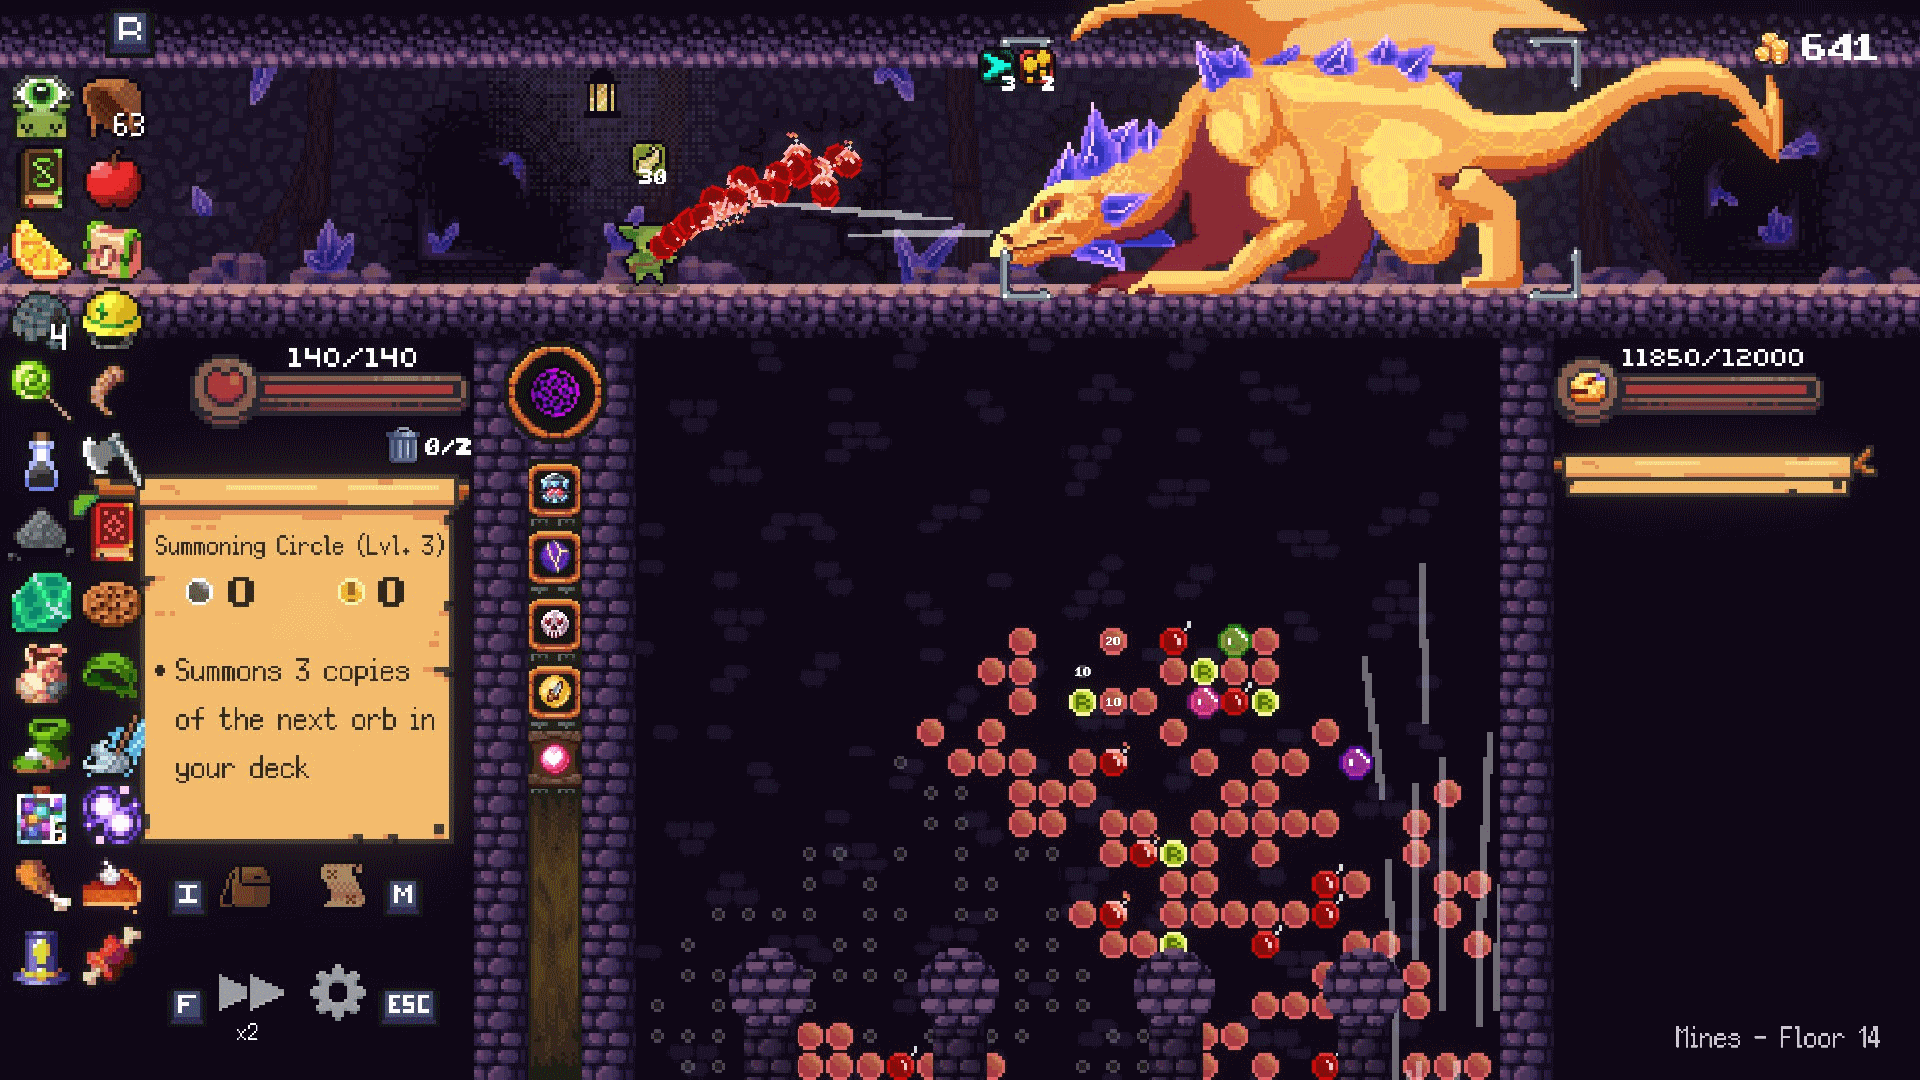
  • Summoning Circle + almost any orb, including the methods mentioned above.
Here's my build when I got it (Summoning Circle + Jupitorb):
Character-Unlocking achievements
The three achievements in this category will unlock new characters for you to play as alongside the standard Peglin. They're all very unique in their own ways, and very useful for unlocking other achievements.

Ballwark in a China Shop
Win a battle with 100+ Ballwark remaining
Unlocks: Balladin

Straightforward on what you need to do, but it does require a bit of preparation. You will need orbs that give you the Ballwark effect, and you'll need to finish the fight with 100 stacks of it, which can be very hard to do against enemies that hit you from afar, or if they get close to you, as you'll constantly be losing your shield. These are the orbs and relics that help with this achievement:
  • Orbs: Bucklorb, Protectorb, Forbification
  • Relics: Ballpeen Hammer, Essential Oil, Fiery Furnace, Mask of Joy
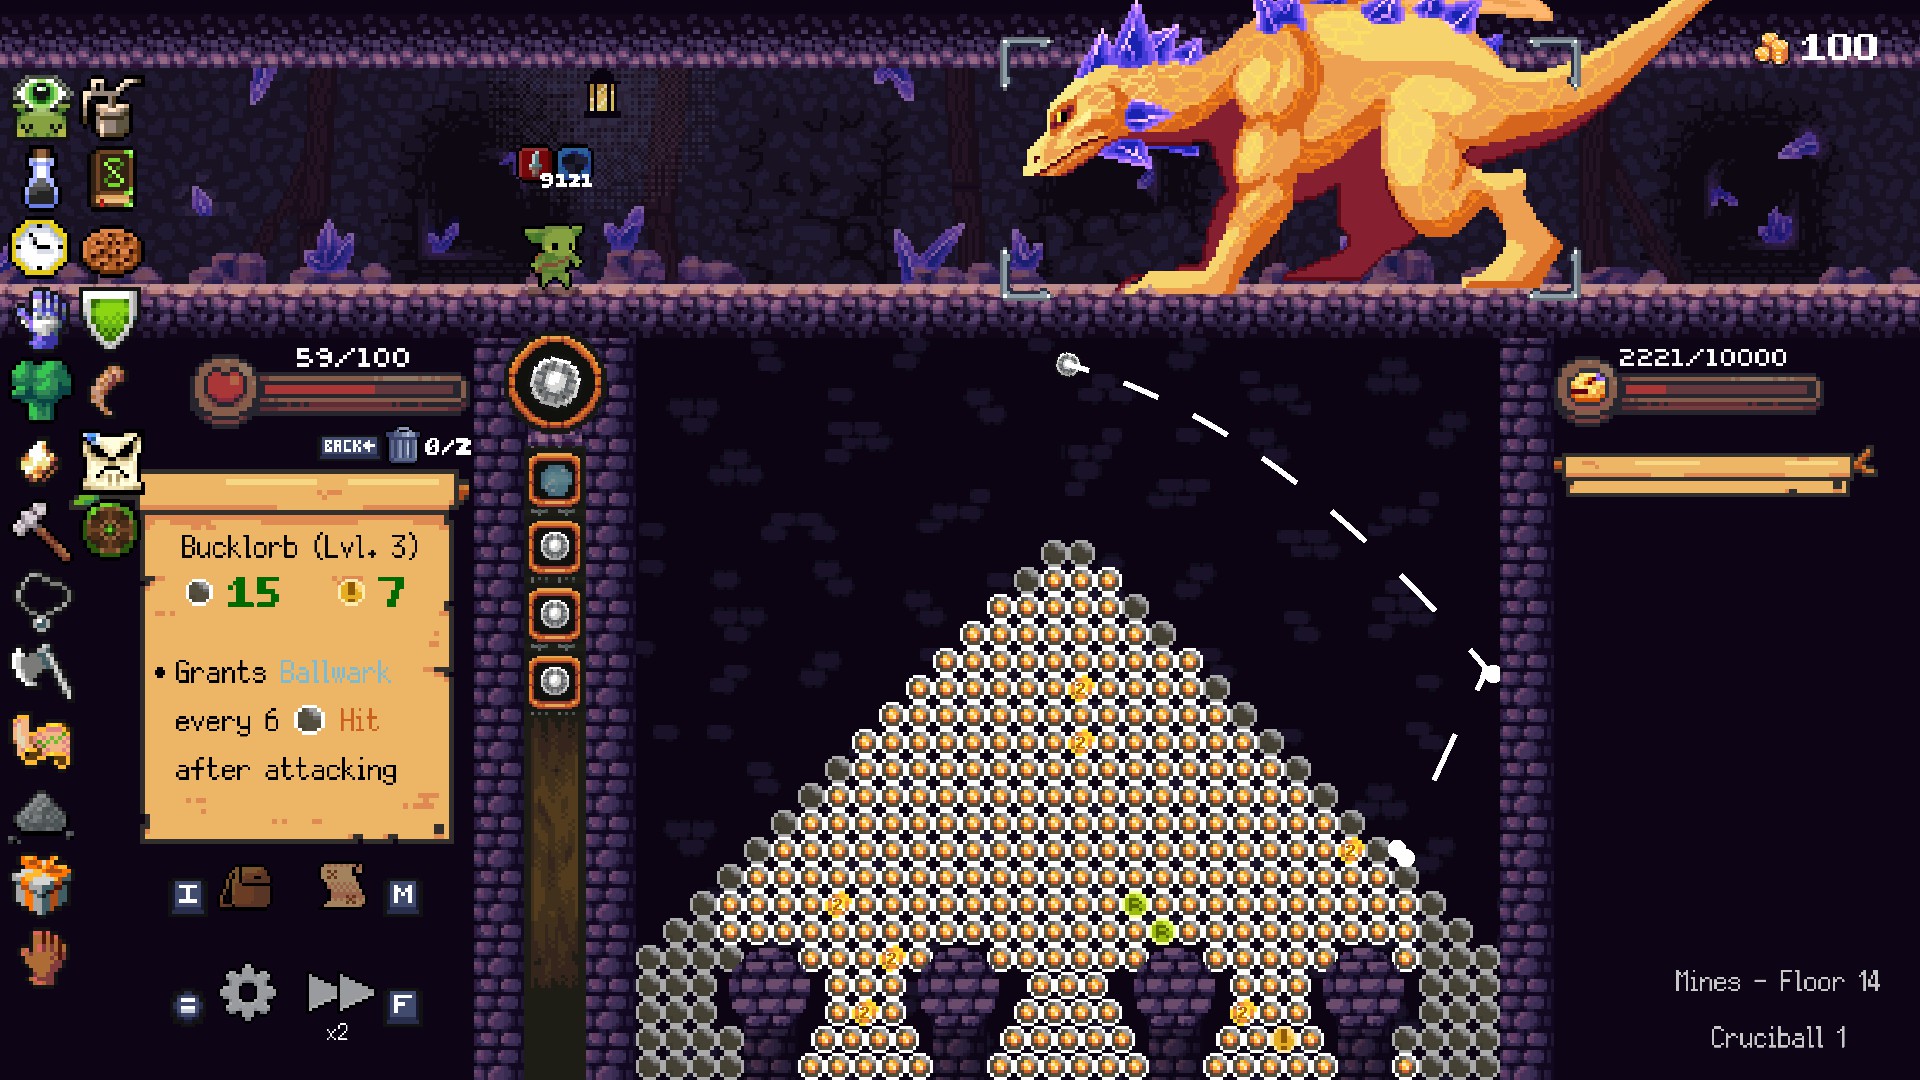
There are basically 2 ways to achieve this: Either get most of the things above, and then get a beefy boss like the Thesaurosus or the Wall to stack those Ballwark levels, or get the Ballpeen Hammer and find the wizard miniboss, which should give you a ton of Ballwark stacks easily. Below I have a screenshot of the run in which I got it.
I had exactly 4 Bucklorbs that I would throw, as well as the relic that gives immunity while reloading. The Thesaurosus' attack takes exactly 5 turns, meaning after throwing 4 orbs he would attack me and I was immune. I could easily build my Ballwark stacks and finished the fight with close to 200.

Poison IV
Inflict 40+ Spinfection onto a single enemy
Unlocks: Roundrel

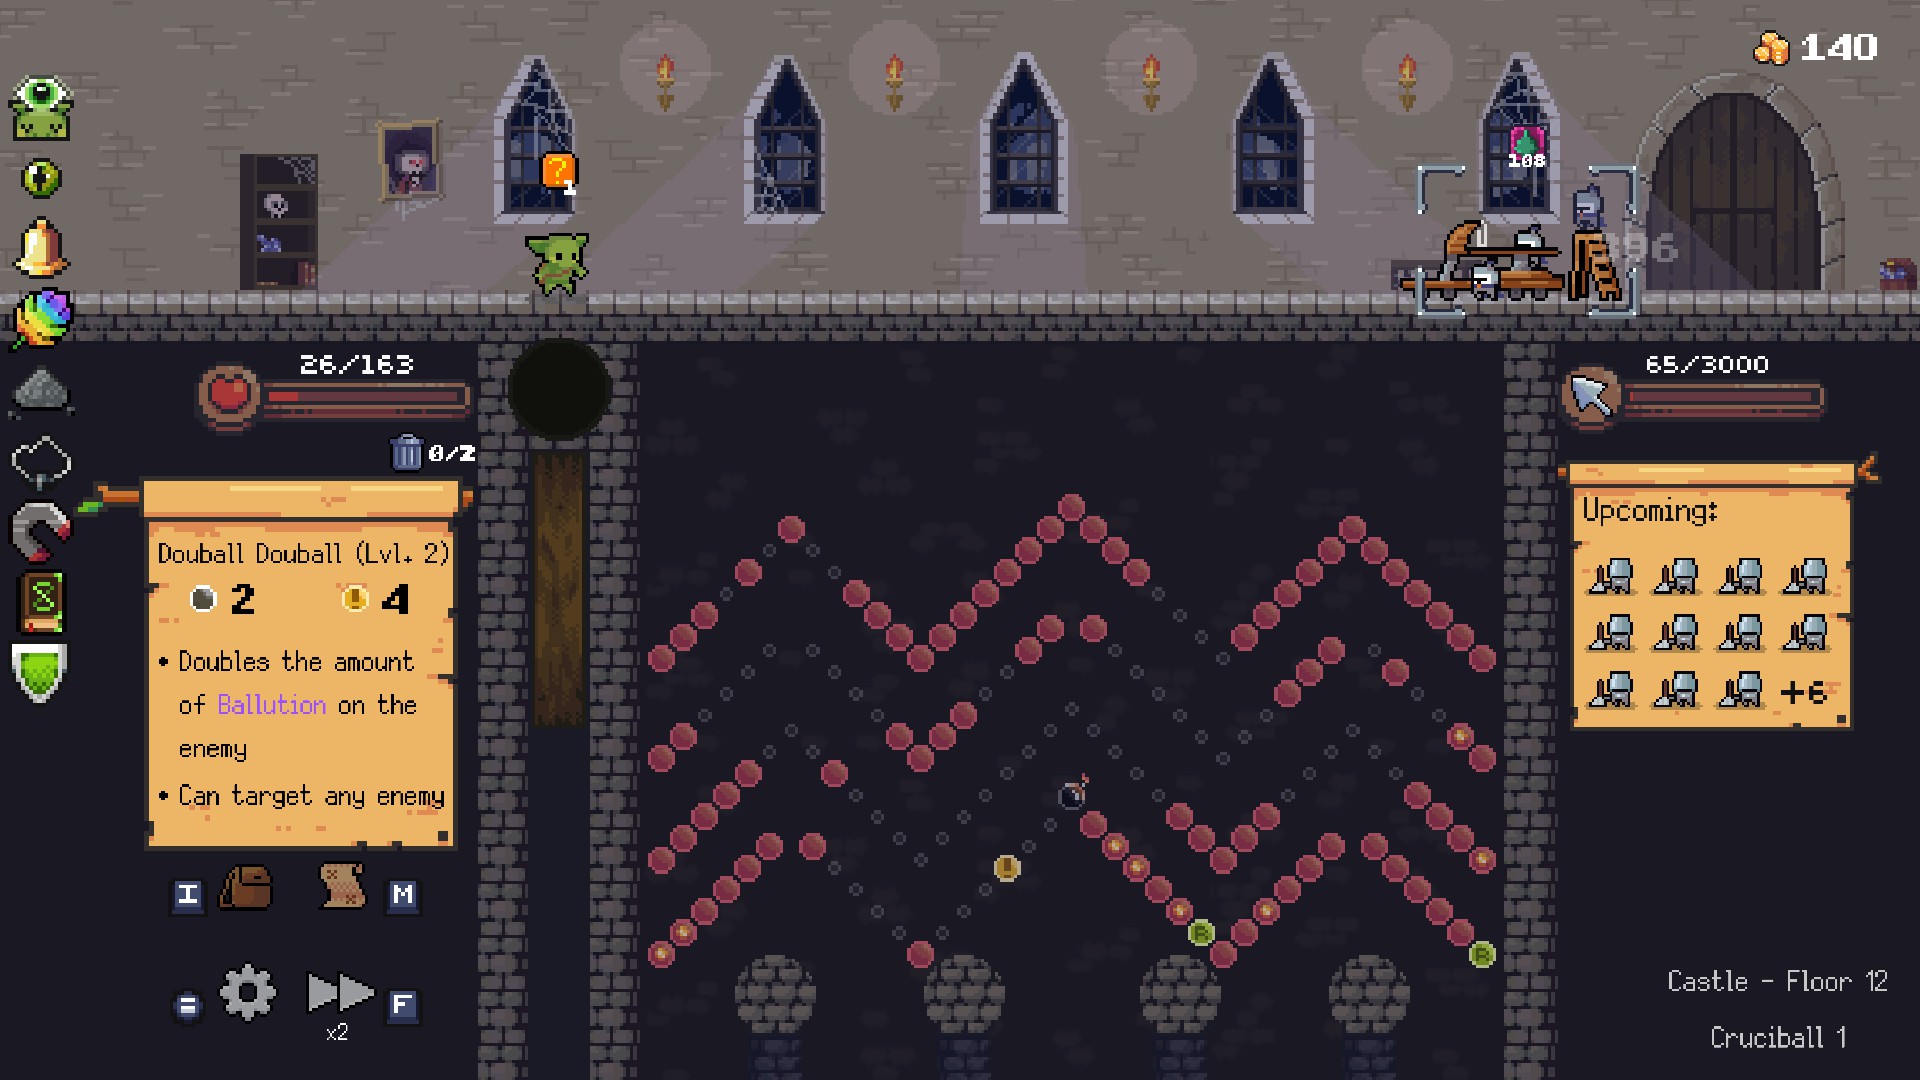
Similar idea to the previous achievement, you'll need a beefy enemy to do this with, as they need to survive those 40 stacks of Spinfection. <--This achievement has been updated, and now I am not sure wether this is still true or not. This achievement is more manageable, just keep applying the Spinfection and you'll get it. These are the orbs and relics that help with this achievement:
  • Orbs: Spinfectious Sting, Toil and Trouball, Douball Douball
  • Relics: Grubby Glove
Douball Douball is the key to this achievement. Get 1 or 2 of them, and with enough luck on the order of your orbs you should be able to get 50 stacks on any boss from acts 2/3. Here's me getting over 100 stacks of Spinfection on Ballista Boss, thanks to 3 Spinfectious Stings and 2 Douball Douballs:
The elite enemy on the third act (blue guy with 3 yellow eyes) is also perfect for this, as they start out taking just 1 damage, allowing you to build up the Spinfection stacks with ease.

Slime After Slime
Have an orb bounce only between slimed pegs 7 times before touching anything else
Unlocks: Spinventor

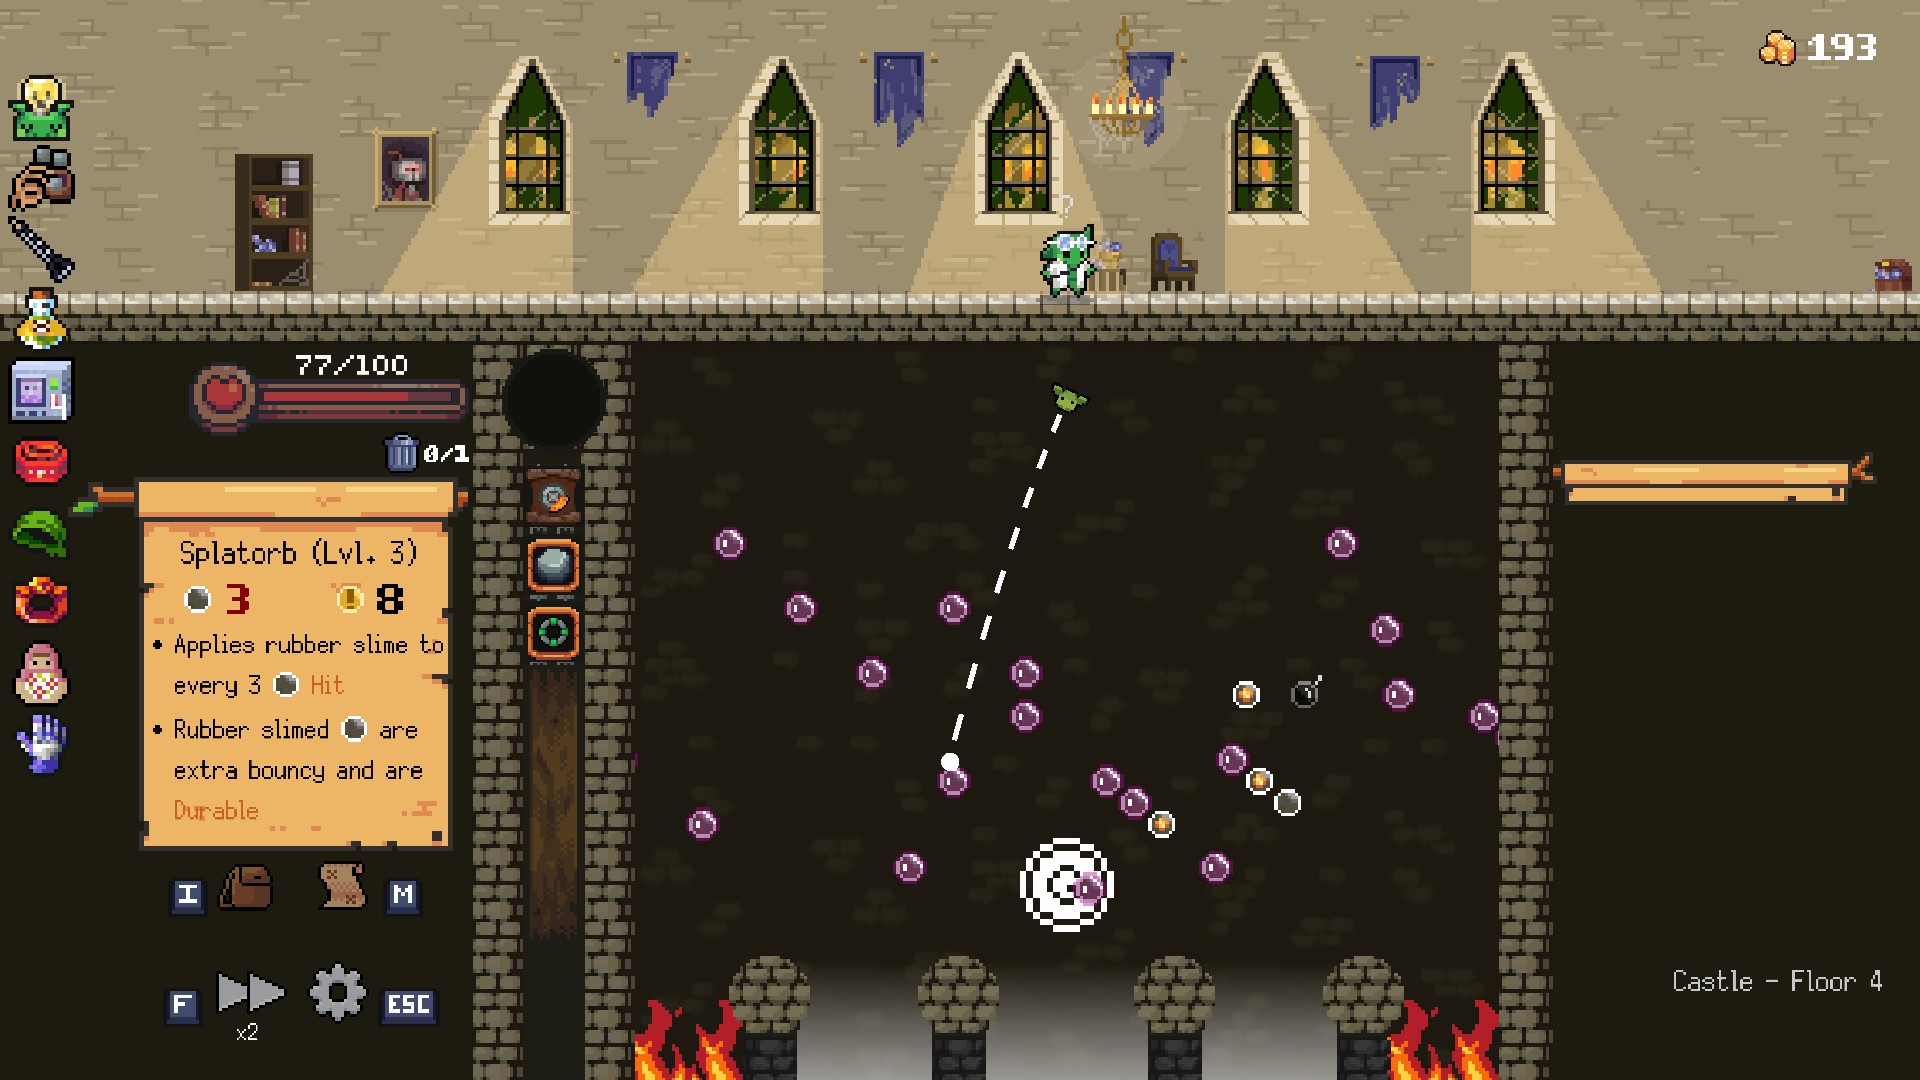
With enough luck in getting the right orbs, this is relatively easy to achieve, and comparably simpler than unlocking both other characters. These are the orbs and relics that help with this achievement:

  • Orbs: Splatorb, Twooze Company, Chemiball Hazard, Generatorb, Ballm; Multiball orbs
  • Relics: Prime Slime, Gift That Keeps On Giving

A major reason why this is easy to achieve is because this achievement can be completed in the Post-battle screen. Also, any orb that applies slime to pegs works for this, not just Splatorb as you might initially assume. So all you need to do is get one or 2 orbs that apply slime to pegs and try to get a refresh on the same turn as the battle ends, as this will bring back a few of the previously slimed pegs and make it easier to get 7 bounces in the Post-battle screen.

As I said, there are many orbs that apply slime, but Splatorb is arguably the best to get as the slime it applies makes the pegs durable. For this same reason, the Gift relic also helps here. The new Prime Slime relic helps tremendously as well, as it makes it so any orb can apply slime. If you get this relic, aim for Matryorbshka or Circcae for maximum slime generation.

Examples of Post-battle screens that could be good for this achievement (though with the Prime Slime relic you should see even more slimed pegs than here):
Cruciball achievements
After getting your first win with any character, you'll unlock the ability to play the Cruciball gamemode, which adds strictly-negative modifiers to your runs for added challenge. The effects are cumulative, so a higher level maintains each previous level's modifier.

Cruciball Courier
Complete Cruciball Level 5

Cruciball Captain
Complete Cruciball Level 10

Cruciball Commander
Complete Cruciball Level 15

Cruciball Conqueror
Complete Cruciball Level 20

These are pretty self explanatory. Win a run with any Cruciball level and you'll unlock the next one, up to level 20. Note that each character has their own Cruciball ladder to climb, so just choose the character you like to play the most with to do this with.

Here's a list of all the Cruciball effects per level:
  • Cruciball 1: Start each run with +1 Pebball, Pebbals have -0/-1
  • Cruciball 2: Miniboss battles can appear in ? scenarios
  • Cruciball 3: Pegboards contain one less crit
  • Cruciball 4: Misnavigation damage is increased to 5
  • Cruciball 5: Pegboards contain one less refresh
  • Cruciball 6: Enemies and minibosses have increased health
  • Cruciball 7: Post-battle healing is reduced to 15%
  • Cruciball 8: You receive no starting gold and battles provide less gold
  • Cruciball 9: Red bomb self damage increased to 5
  • Cruciball 10: Bosses have increased health
  • Cruciball 11: Start each run with a Terriball
  • Cruciball 12: Bombs deal -10 damage and Red bombs deal -50 damage
  • Cruciball 13: You only heal 50% of your Max HP when defeating a boss
  • Cruciball 14: Start with 15% less Max HP
  • Cruciball 15: Enemies take an additional turn while you reload
  • Cruciball 16: Start each run with a Horriball
  • Cruciball 17: Minibosses deal increased damage
  • Cruciball 18: Haglin's shop has higher prices
  • Cruciball 19: Regular battles have a chance to contain additional enemies
  • Cruciball 20: Bosses each become uniquely more difficult
To give you a tip that isn't just "play better", the later Cruciball levels can be quite challenging to beat, so don't hesitate to reset runs for a better starting relic, or retrying fights if it looks like you might die (by going back to the menu and continuing the run.). You'll need all the help you can to beat Cruciball 15 and above, and this could be a "feature" of the game that ends up being patched out, so use it while you can!

Where's my membership card?!
Buy every item and relic, and remove an orb at Haglin's Shop at Cruciball Level 10 or higher

This is a very difficult achievement to get, as even getting that much money on a regular run is already hard, let alone in Cruciball as some of the levels make you earn less money one way or the other. Naturally, there's no reason to do this on any level higher than 10, so once you get there on the Cruciball ladder, use that level.

Recommended loadout:
  • Character: Peglin or Spinventor
  • Relics: Navigationflation, Refillosopher's Stone, Molten Gold, Wand of Skulltimate Greed**
  • Orbs: Ballectrum, Kodanorb, Spinterest Payment
  • AVOID: MOLTEN MANTLE
The best way to achieve this is to find some early relics that can let you accumulate more money, balanced with an appropriate amount of healing/damage relics. The issue is you can't waste too much money on buying relics/orbs, so I recommend resetting until you get a decent starting relic, and hope for many chests on the 1st map, as this way you can get more free relics. Wand of Skulltimate Power might be worth taking in conjunction with Navigationflation, but it could also hinder you as coins may spawn in hard to reach places. Personally, I would avoid it.

Finding the right deck of orbs is also necessary, since you won't have too much money to throw away on upgrades. The Orboros event is probably the best thing you can hope for, as that will leave you with just 1 great orb that only needs 2 upgrades, after which you can accumulate more money. Another great orb is the newly added Ballectrum, which creates a lot of money and is well worth even a large investment to get.

The amount of money you'll need to do this will vary if any of the orbs spawn at Level 2 or 3. You'll need a minimum of 325 coins to buyout a shop with 5 "common" level 1 orbs and 4 relics, plus the cost of a removal as that is required. The cost of each orb varies based on rarity and level, and there'll likely be higher level orbs, so try to get at least 400 coins or so.

You won't get enough money on the 1st floor for this no matter how much you try, so you should aim to get your build ready by the end of the 1st floor and then start hoarding money, waiting for a shop on floors 2 or 3.
Challenge achievements
The following two achievements provide two really interesting and challenging ways to play the game. It goes without saying for both of them that trying them without Cruciball on is easiest.

All for One
Win a run with only your class relic

Straightforward in its goal, all you need to get this achievement is to defeat the mines boss having only your starting relic. This is safe to try since you can't be forced to take a relic, every single relic choice is skippable in the game. Maximizing battles might be a good strategy, as that'll give you more chances of finding good orbs, and money to upgrade them, or heal.

Since you can't get any help from other relics, your choice of character is extremely important: I would recommend either Peglin for his extra choice of orb from battles, or Spinventor since that'll give a base stat boost for all your orbs. Roundrel might also be good with his debuffs.

It's also important to choose your orbs carefully: you'll want either a few really good and synergistic orbs (Summoning Circle and Jupitorb or Matryorbshka), or many copies of a couple good ones. Crucially, don't forget to get some reliable or reusable form of healing, like Doctorb, Restorb or Ballm, especially for the final boss, as they're really tanky, so the fights could be extra long (especially for the dragon!). Orbs that get better over time are also a great option, like Swoltorb or a full Assemball.

One for All
Win a run with only level 1 orbs

Should be more manageable than the previous achievement, but is also more annoying for 1 reason: there are some events in the game that force you to upgrade your orbs. Because of this, try and go down as few event nodes as possible, especially on the third act. Still, the game only checks your inventory for this achievement after the mines' boss., so if you want to use upgraded orbs before then, don't forget to remove them before the end! There are even reports that using the Modest Mallet relic still lets you get the achievement.

It's wise to use orbs that are great from the get go at level 1, like Bob-orb or Collatorball Damage, instead of ones that necessitate upgrades to really be great, like Matryorbshka.

Research achievements
The two achievements in this section are tied to the Encirclepedia's Bestiary section.

Is this a card game?
Collect your first monster trading card

Enemies can drop 3 types of spintel, the most valuable of which is a trading card. While I'm not entirely sure of what determines what spintel is dropped by an enemy, you'll definetely get a couple card drops while going for other achievements, so no effort is required here.

Scholorb
Completely fill one entry section in the Encirclepedia's Bestiary

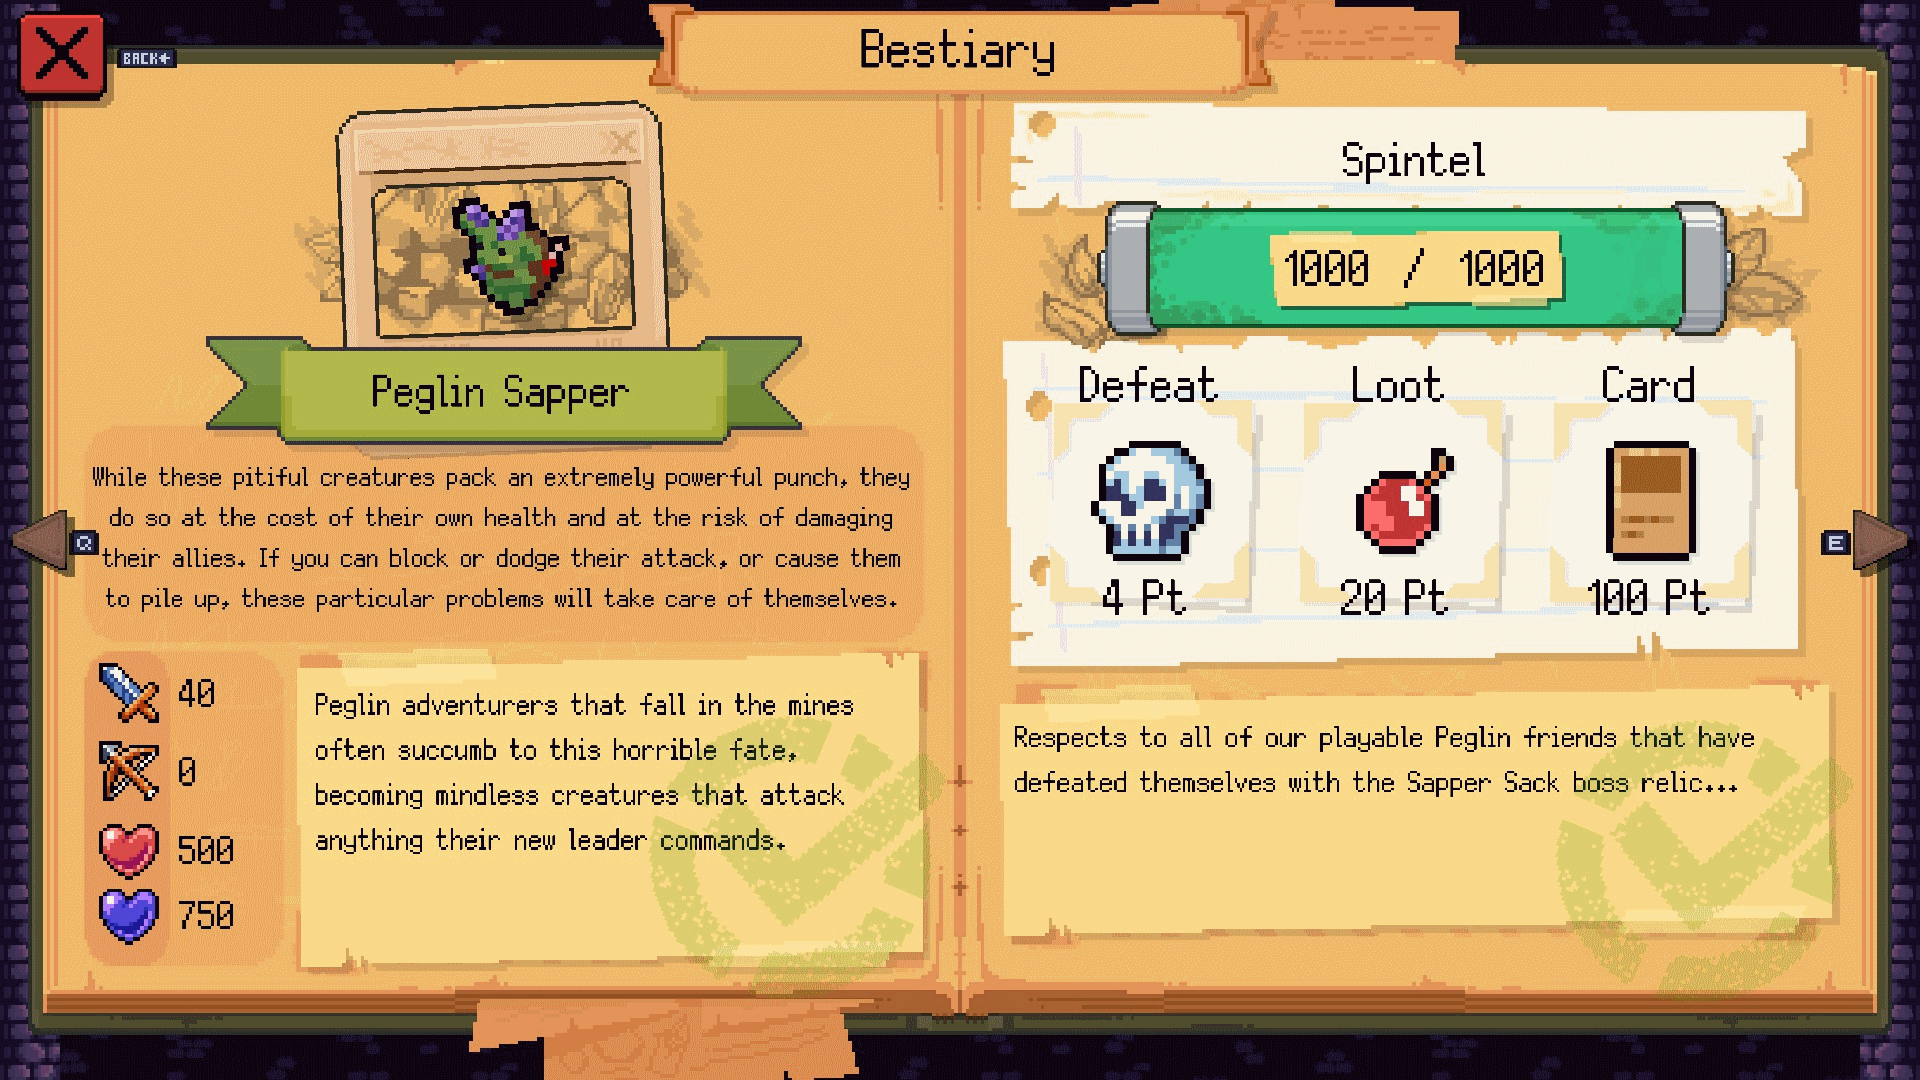
As the description says, simply get lucky enough to fully research a single monster on the bestiary. Every spintel item contributes a different amount to the total 1000 required for any entry, with a trading card giving 100 points by itself. I wouldn't say it's worth it to worry about this achievement, as no doubt as you're working through say the Cruciball levels, you'll complete one or two entries.

This is what a complete entry looks like:
Combat achievements
These achievements are related to various combat scenarios, most of which are easy to get. Some, however, are extremely hard.

Math is My Passion
Deal just enough damage to defeat an enemy

It Was Not Your Time
Leave an enemy with just one health point

I Said Punny, Not Puny
Deal exactly one damage

All three of these achievements are incredibly easy, and I guarantee they'll happen for you randomly and without even trying. You might need to actively try for the 1 damage one, but it's still very trivial to obtain. You probably already have them!

First Come, FIrst Served
Defeat any boss on the first turn

Don't Make Us Say It
Deal more than 9000 damage in one shot

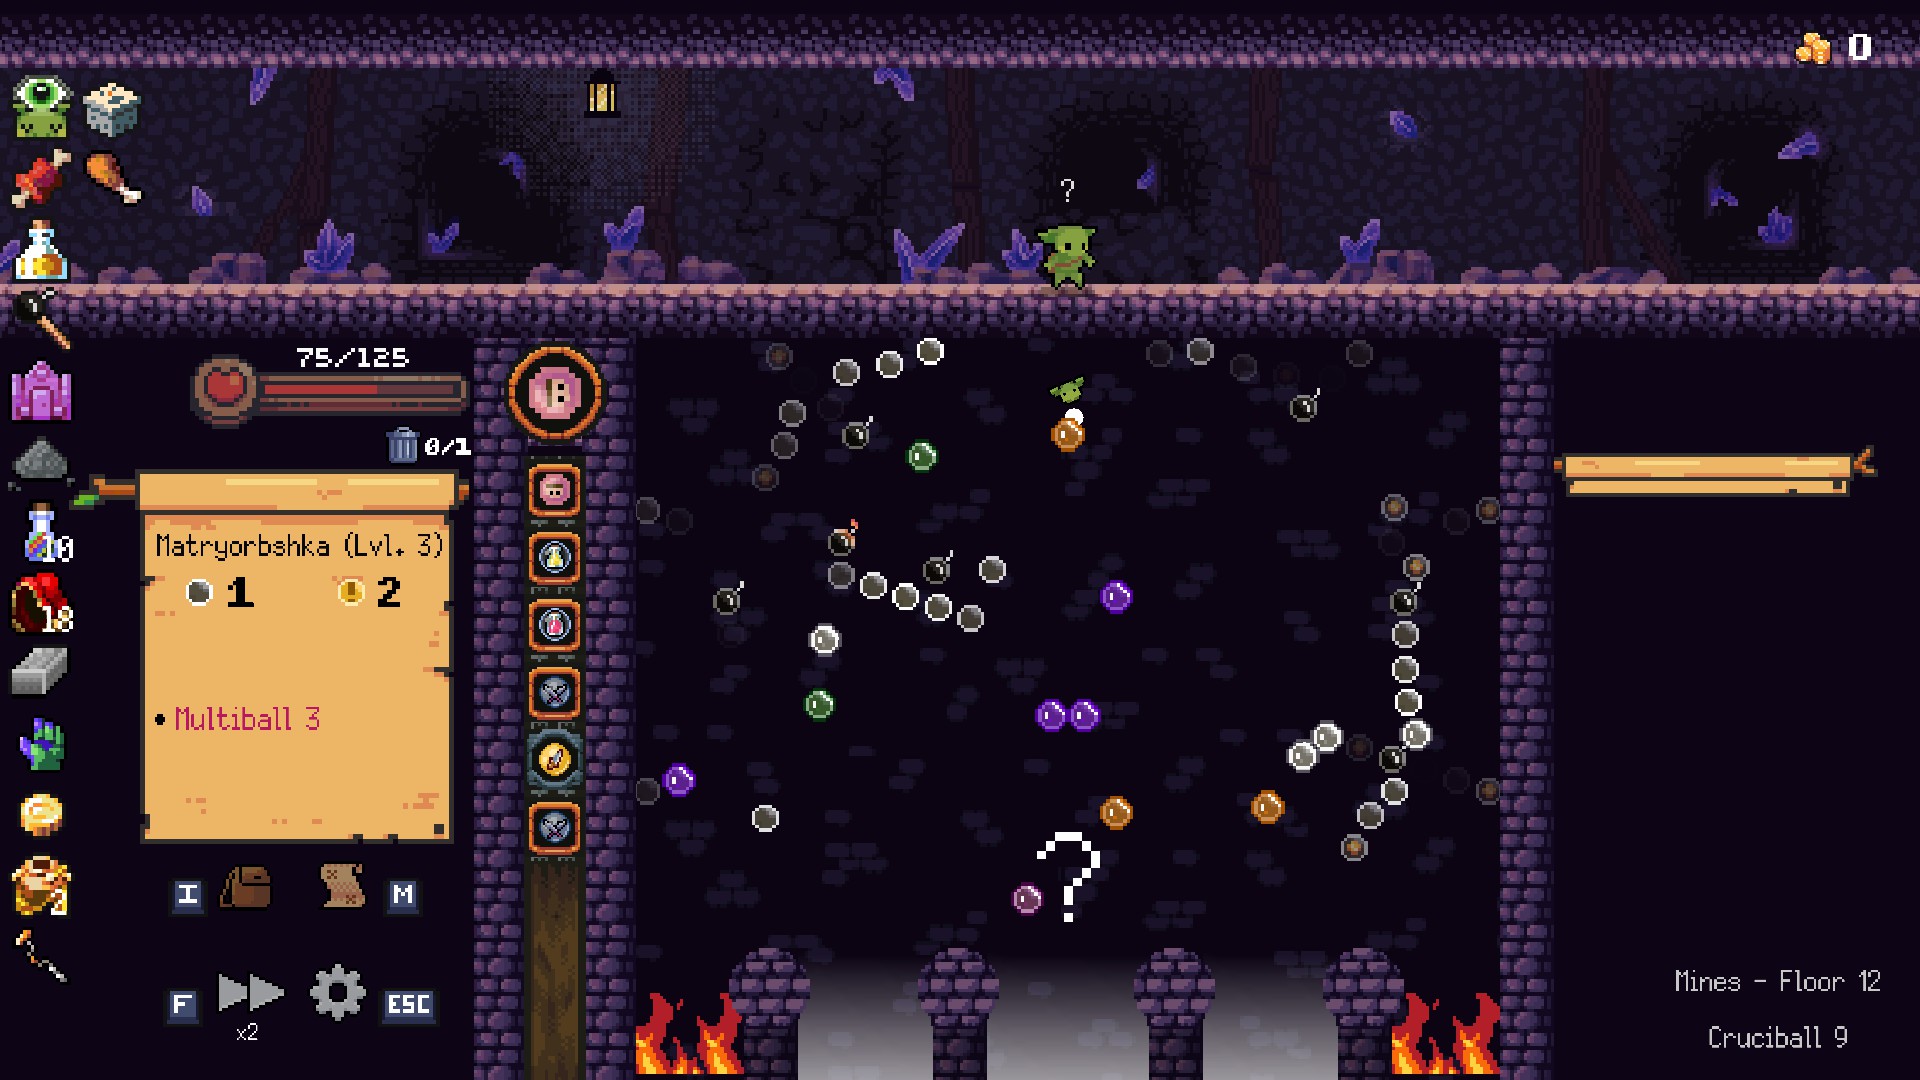
I grouped these 2 together as the method for "Don't Make Us Say It" works perfectly for "First Come, First Save". 9k damage sounds difficult, but can be very easily achieved in many ways. The easiest method is have a lvl. 3 Matryorbshka and the Weighted Chip relic. You can get this relic by passing the coin flip event. With both of those things, just get a shot with the Matryorbshka where no orbs go down either 0.5x hole and you should get way more than 9K damage. Crit heavy builds also work just fine. Do this in a boss encounter on the first turn, and you'll get 2 achievements for the price of 1.

Critical Thinking
Achieve a 5x crit multiplier with the Critsomallos Fleece

This achievement's description is very weirdly worded, as all you need to get this achievement is to "trigger" 5 crits on the same shot while having the Critsomallos Fleece. This is surprisingly easy to do, all you need is either more crits from relics, or orbs that create more crits/trigger them automatically.

Both Peglin and Roundrel can get the Fleece, but given that the Roundrel has far fewer orbs they can find, I would recommend using them for this. Critsoballos or Critiball are basically essential for this, but a level 3 Spinpoint can also be useful. Once you get the fleece and one of these, you'll probably be "completing" this achievement many times until the run ends. The Fleece can only be obtained after Elite fights.

At the End of the Rainbow
Defeat a Rainbow Slime

Rainbow Slimes are rare enemies that can appear as an extra opponent on most battles, except they'll run away from you after a couple of rounds. They're also a guaranteed spawn from the "Slime Tree" battle, if you let the Slime Tree spawn a lot of enemies. They'll usually end up behind other enemies, so using bombs or direct target orbs is often necessary to defeat them. After being defeated, they'll drop many coins on the board for you to collect.

You did it?
Die while defeating the Mines' boss

This is a super specific achievement to setup. Both you and the final boss must die in the exact same turn. The clearest way to set this up is to use a build centered around Rigged Bombs with the "Collatorball Damage" orb. Generate enough of them on a single turn, and both you and the boss should die at the same time. Alternatively, you could try and leave both yourself and the boss on really low health, and shoot a Fireball that kills you both at the same time, though that's even harder to pull off.

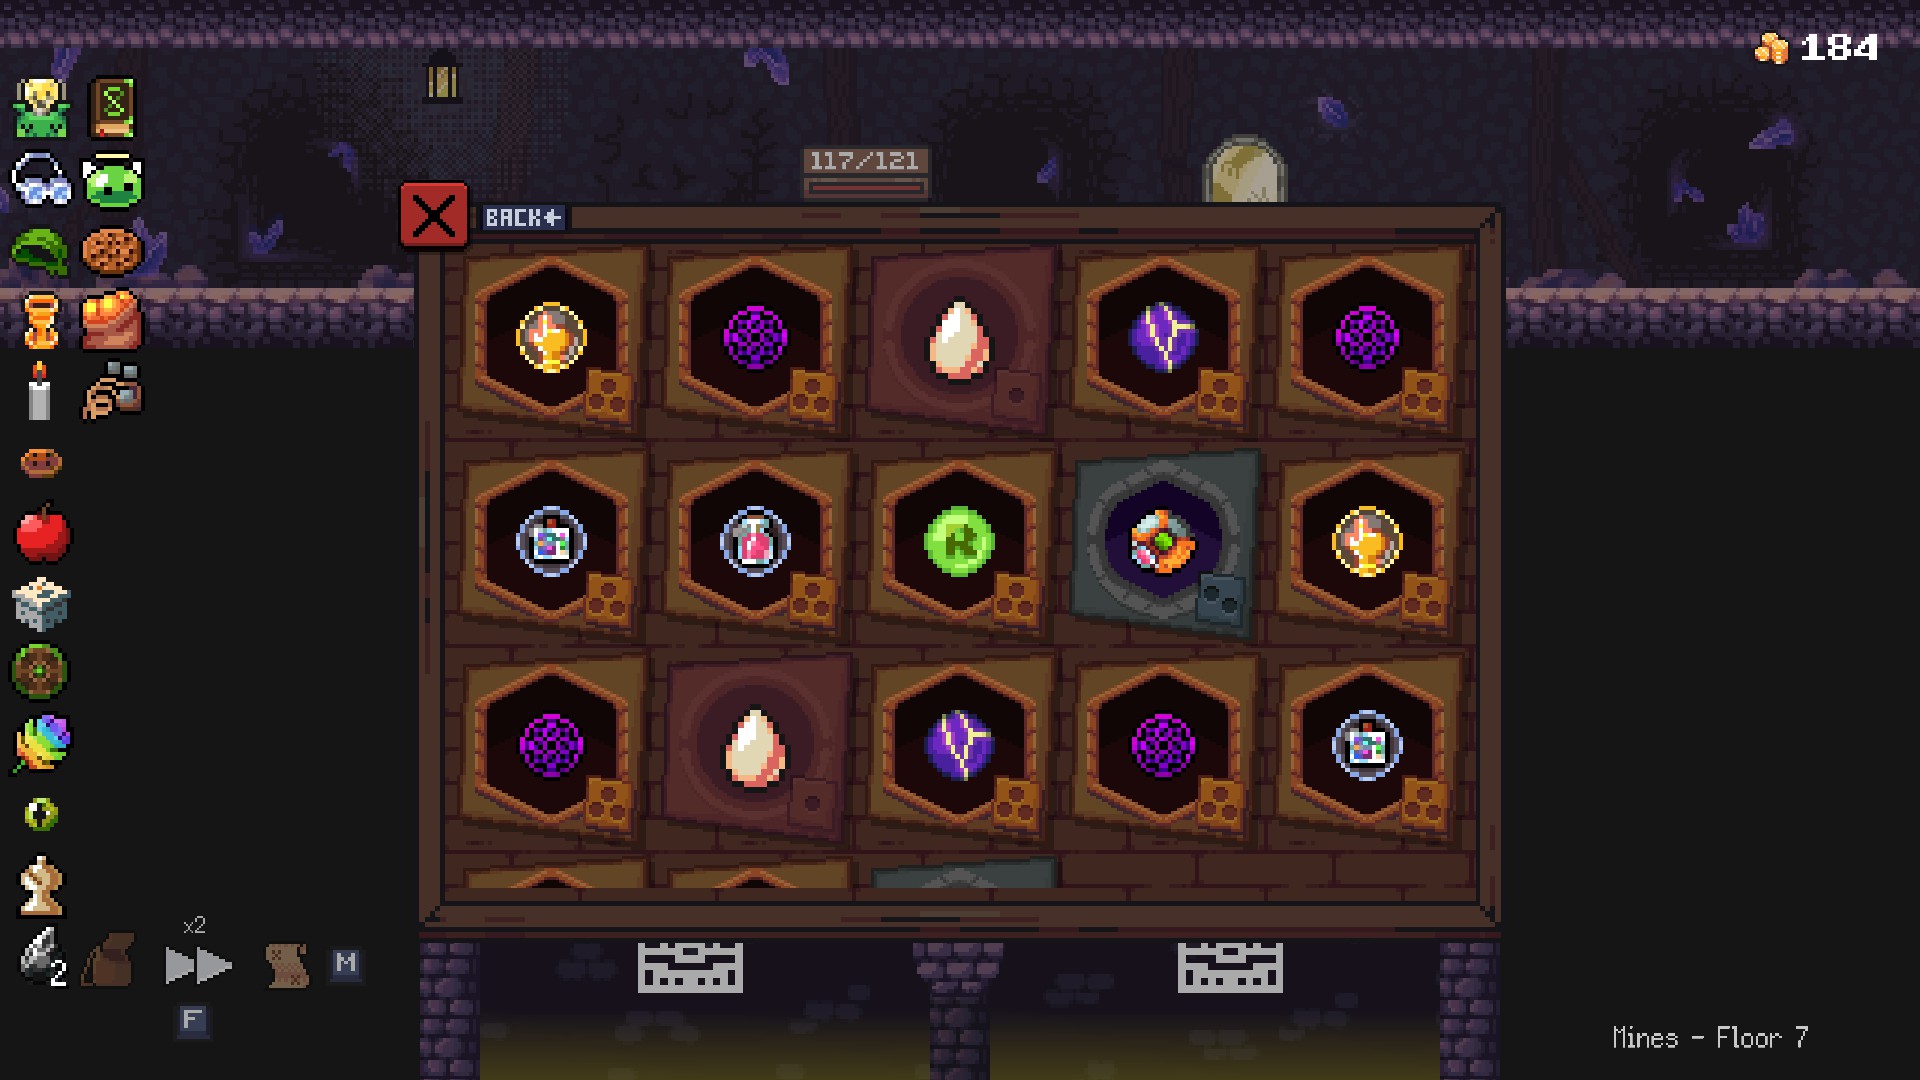
This was my build when I got it, and keep in mind that the achievement might only pop off after you progress to the next screen:
Orb & Peg achievements
The achievements in this section are directly related to specific orbs, or the pegboard itself. A cuple of them are quite challenging to obtain.

Multiballer
Using the Matryorbshka, have 16 multiballs on screen at once

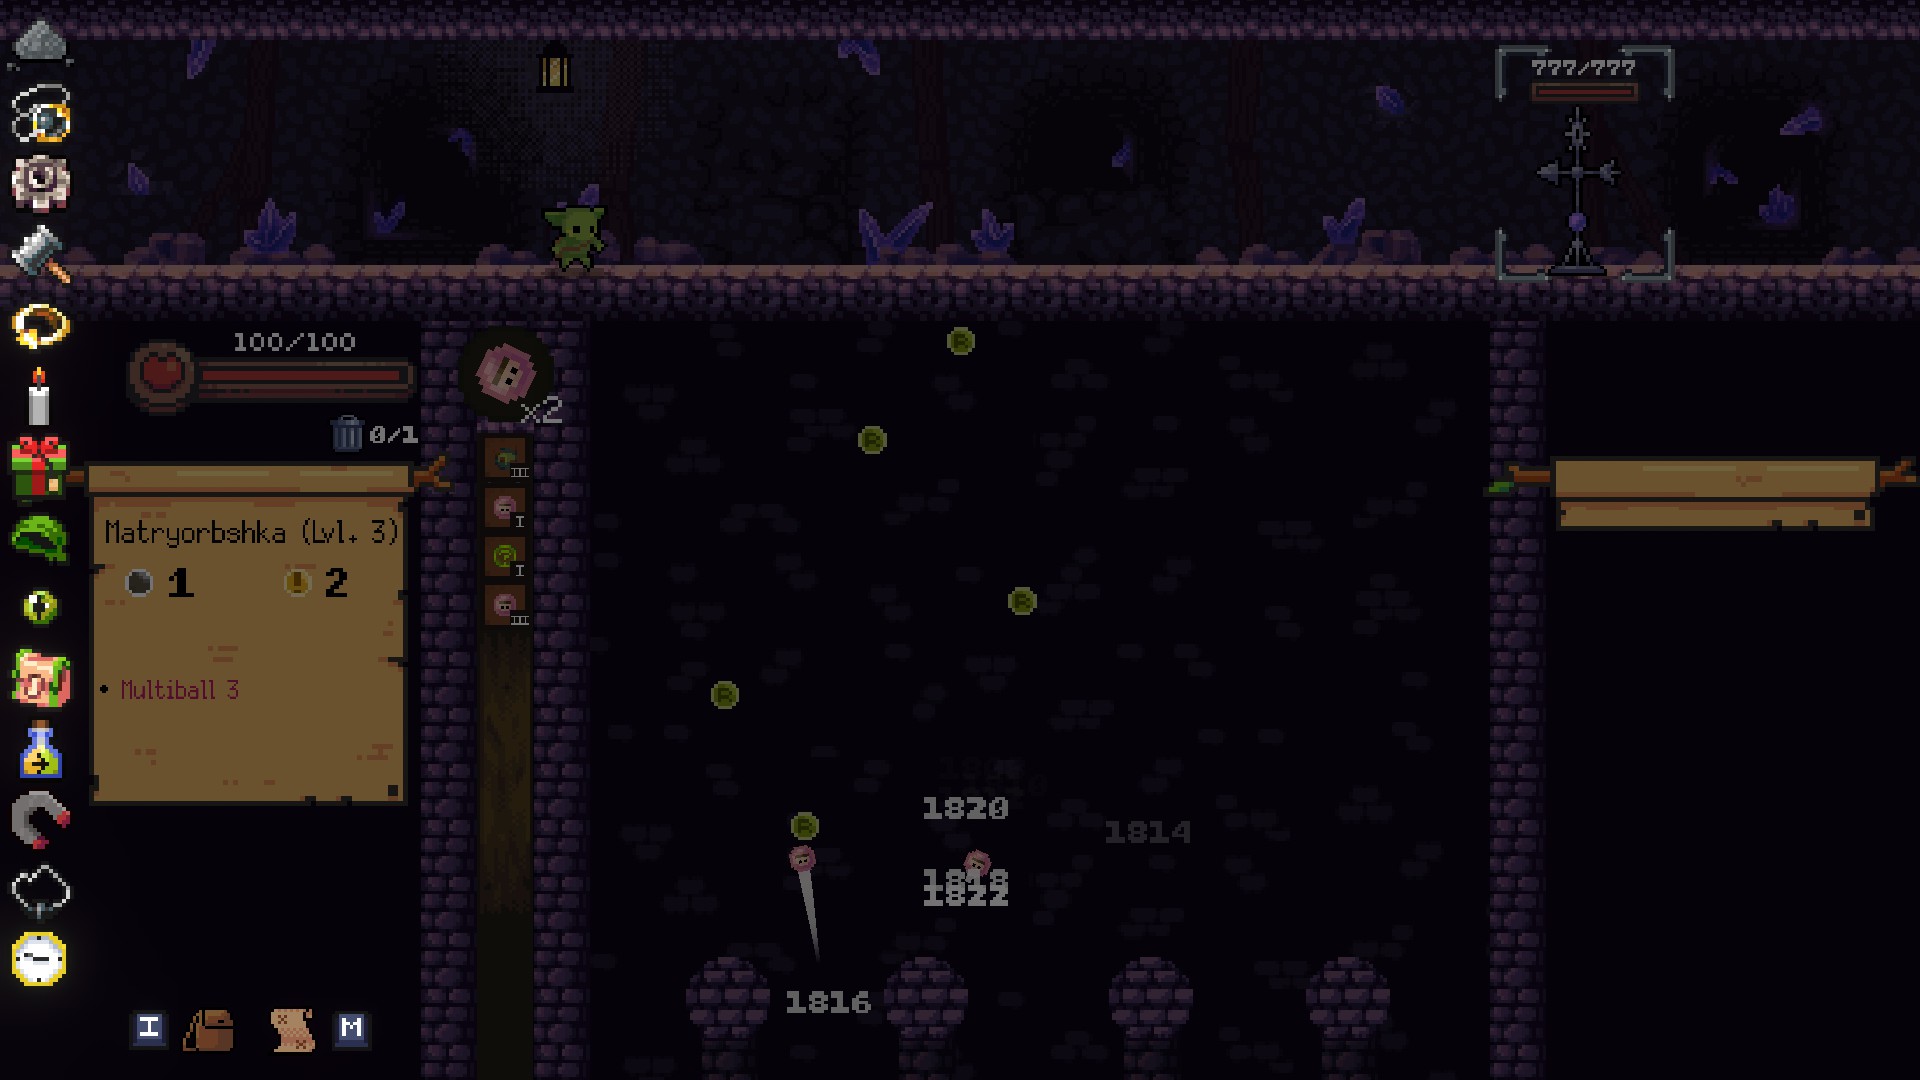
For this all you need is to shoot a Matryorbshka with Multiball 4. You will need a level 3 Matryorbshka as well as either the Matryoshka Shell or Duplication Station Relics. Shooting a Summoning Circle that multiplies a Matryorbshka does not work.

Red Slime Green Slime
Keep an enemy Brambled for 6 turns
  • Best orbs: High level Bramballs
  • Best relics: Ring of Reuse, Ambidextionary
Having lots of Bramballs in your inventory and enough ways to guarantee you can keep shooting them is the key to this achievement. A tanky enemy is preferable for this, to ensure it won't die while setting up.You don't need to reach the point of getting 6 stacks of Bramble on an enemy, and rather 6 consecutive turns where the enemy is brambled must pass for you to get this achievement, so you might want to/need to throw a few balls straight into pits when you reach the point of just waiting.

From Whence You Came
Send a demon squirrel into a black hole

The demon squirrels can only ever be fired if you have a Summoning Circle and shoot it while it is the last orb in your deck, and lack holes are hazards that appear on act 3 boards. The squirrels from the Spheridae's Fate relic don't count, as those are regular squirrels. (don't get them mixed up!)

Eggstravaganza
Win a run with two eggs in your satchel

The difficulty of this achievement resides entirely on the RNG related to it, as you need to encounter many specific things in a run to be able to get it.

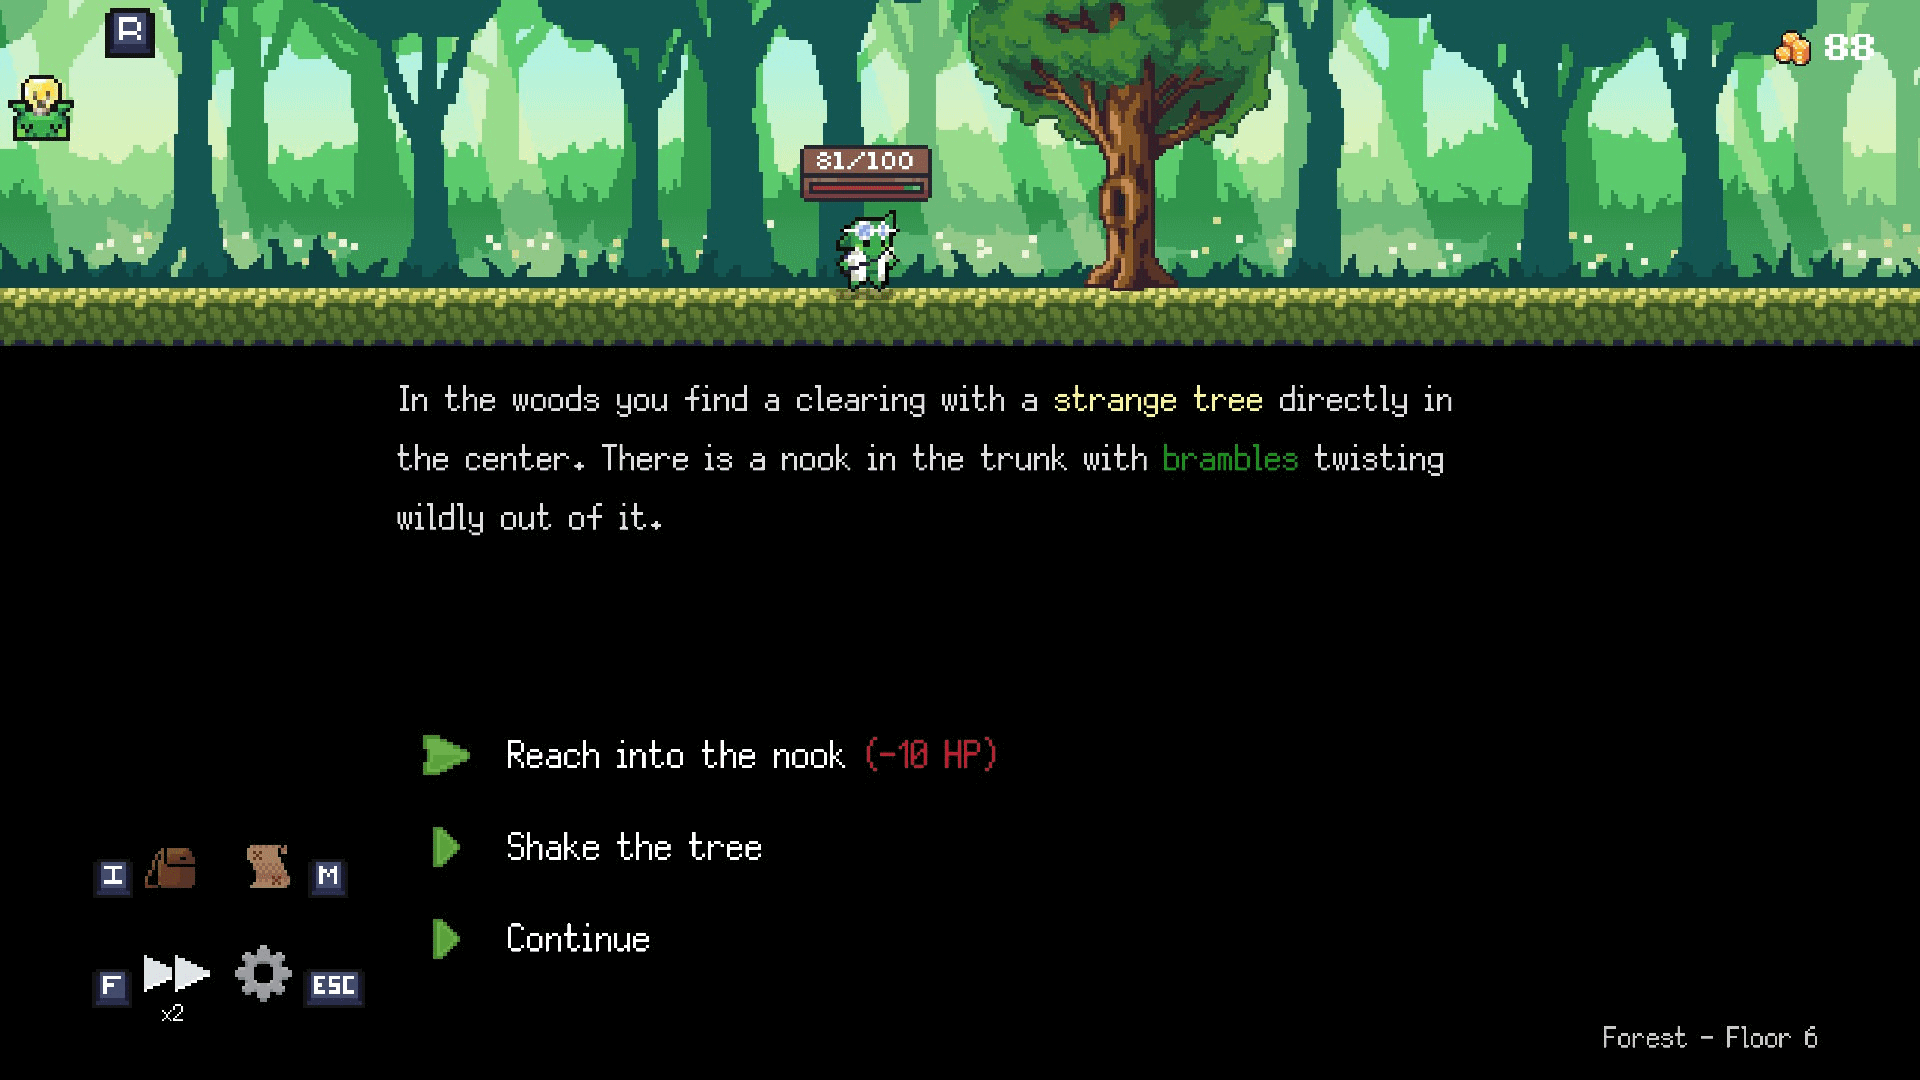
1st. Get the Strange Tree event in act 1. Select "Shake the tree" to get the Egg.
2nd. Duplicate the Egg. The Strange Tree event can only ever appear once in a run, so you'll need to find another event (like the pedestal one, or the strange mirror) to duplicate your Egg, so you have 2 in your inventory.

3rd. Win the run without losing any of the Eggs. The Egg will break if thrown on any solid object (peg or wall), so you can't ever use any of them. Make sure to not remove any of them either.

The Ambidextionary relic is ESSENTIAL for pulling this off. That's because if you get very unlucky, both eggs can be lined up back to back on a fight, meaning you naturally won't be able to discard both. You should also aim to not get any relics that remove discards. Something else you can do is go for a build with many orbs in your inventory, to lower the chances of that lineup occuring, and finally, the Egg will not break if it exits the pegboard without hitting anything. It also doesn't break off of slimed pegs. While harder to work with, that fact could potentially save the achievement for you.

Some Assembly Required
Assemble the Assemball
Required character: Spinventor

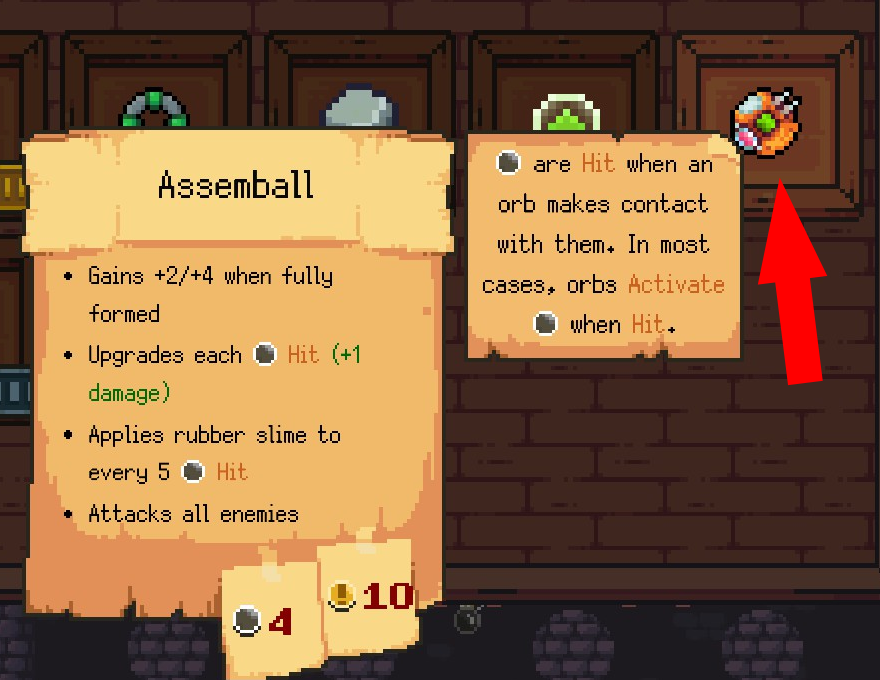
To assemble the Assemball, you need to get all 5 Sectorbs in the same run. The Spinventor character can find each Sectorb as an option of orb choice either after a battle or inside a shop. The sectorbs have a very similar appearence, but are easy to distinguish. They are:
  • Damage Sectorb
  • Crit Sectorb
  • Upgrade Sectorb
  • Slime Sectorb
  • Blast Sectorb
Almost entirely RNG dependant seeing as you can no longer reroll shops, though you can be offered Sectorbs after battles. Still, your best bet is to visit every shop you come across to have the best chance of actually getting all 5 Sectorbs. It's important to note that you need to find every single individual piece of the Assemball, multiple copies of the same Sectorb will simply create more Assemballs. Below is what the fully assembled Assemball looks like:


Spring Cleaning
Fully clear a pegboard

You get this by hitting every peg in any board (including bombs) at least once. You'll know you got it if in the the navigation screen after a battle there are no more pegs left. You can also hit the last few pegs during the navigation screen if you need to. Almost any setup involving Multiball can work for this.

Walking on Pegshells
Hit 1000 pegs or more in one shot

Firstly, you don't have to clear a thousand pegs, just hit them. this means that not only can you use something like Gift That Keeps On Giving for durable pegs, you can also use Refreshing Punch/Gunpowder to hit tons of pegs at the same time.

Anyways, the consistent way to get this achievement involves a build that looks like this:
  • Orbs: Potion Ballt, Matryorbshka, Ballectrum, Summoning Circle
  • Necessary Relics: Gift that Keeps on Giving, Electropegnet or Spheridae's Fate, Extra refresh relics (Fresh Bandana, PegBag)
  • Useful relics: Heavy Shaft Potion, Gunpowder + Short Fuse, Refreshing Punch, Duplication Station
Basically, get a lot or refreshing power together with a lot of Multiball Levels. All you need is a map with tons of pegs in it (ideally where some of them move up, but not necessarily) and a good enough shot. Gift That Keeps On Giving is essential here since it not only makes each peg potentially give 3 hits before clearing, it also helps the orbs reach other pegs.

Electropegnet helps you initially seek the refresh pegs, which will be especially good if you have Refreshing Punch. Having as many refresh pegs as you can is essential to accomplish this. Gunpowder can make the bombs extra useful. Be aware of your orb's damage stats, as that might allow you to follow along as you hit more pegs by taking a look at how much damage you've accumulated.

I got this achievement on the Purple Mirror event in act 3, but this can also easily be done on this invisible event:
Event achievements
These achievements are directly related to events, which are encounters that happen on question mark nodes on the map. It goes without saying that finding the right event from a node takes a lot of luck sometimes.

Sticks and Stones
Die during an event scenario

In theory this is a simple achievement, but can be quite tricky to pull off. Thankfully the setup is not that hard: win the first fight, and then repeatedly throw your orb at the fire until you have less than 10 HP (5 to be extra sure). After that, follow a path going to as many question marks as possible, hoping to get an event that can damage and kill you.

This is the tricky part of the achievement, as doing this is highly dangerous. Running into a fight with spiders or peashooter plants can end any run that attempts to get this achievement. It's at the same time simple and very complicated to get, but if you specifically go for it shouldn't take more than a few tries.

A new, very easy way to get this is with the Anvil event. Have a few orbs on your inventory, and you can repeatedly upgrade them to damage yourself. If you have a Highway Orbbery when finding this event, you're guaranteed to be able to pull it off.

Enthralled
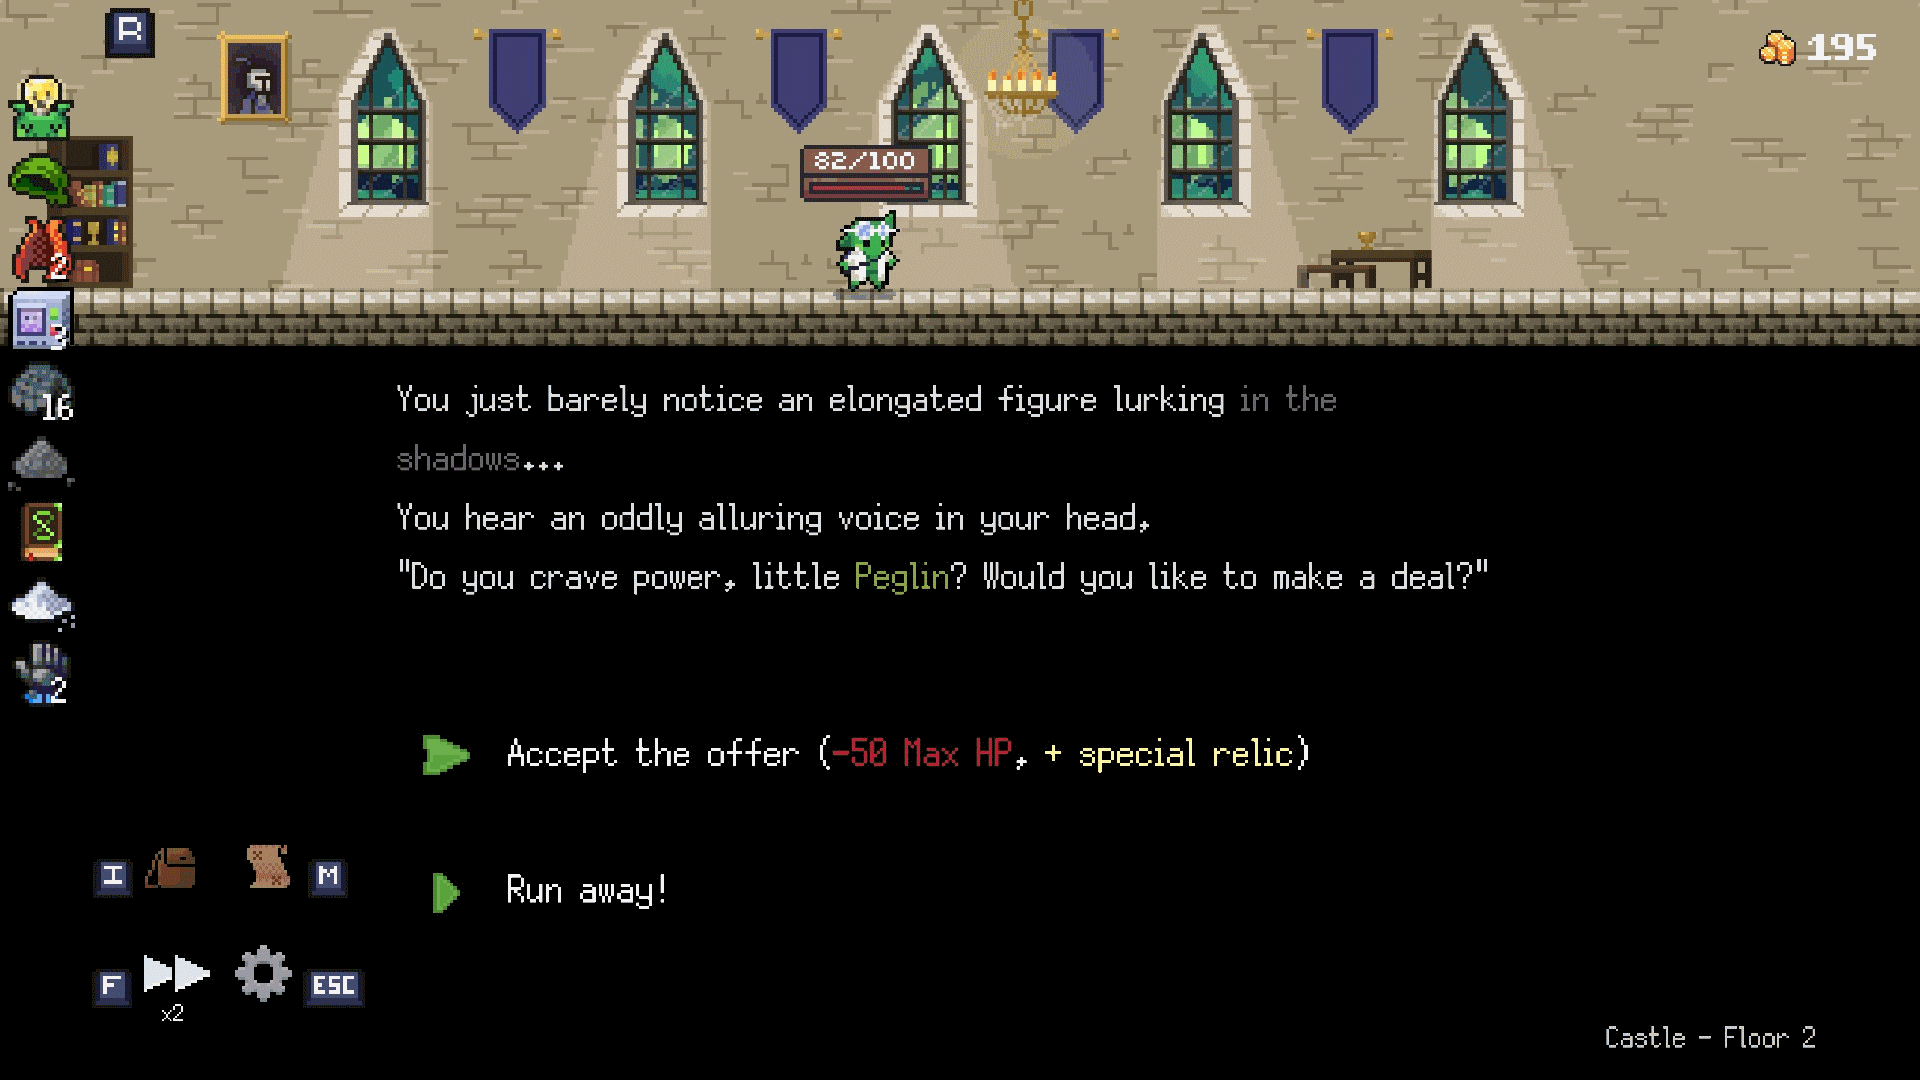
Win a run after accepting the vampire's deal but skipping the infernal ingot.

To get this achievement, you have to come across the Infernal Ingot event where you're asked to exchange half of your HP for a special relic. You then have to accept the offer (which instantly halves your HP), but afterwards skip the relic reward. This will make the run quite a bit harder, as your current HP and any future HP upgrades will be halved. Still, it's not that challenging with a strong enough build. The event can appear on acts 2 and 3.


Fragile Delivery
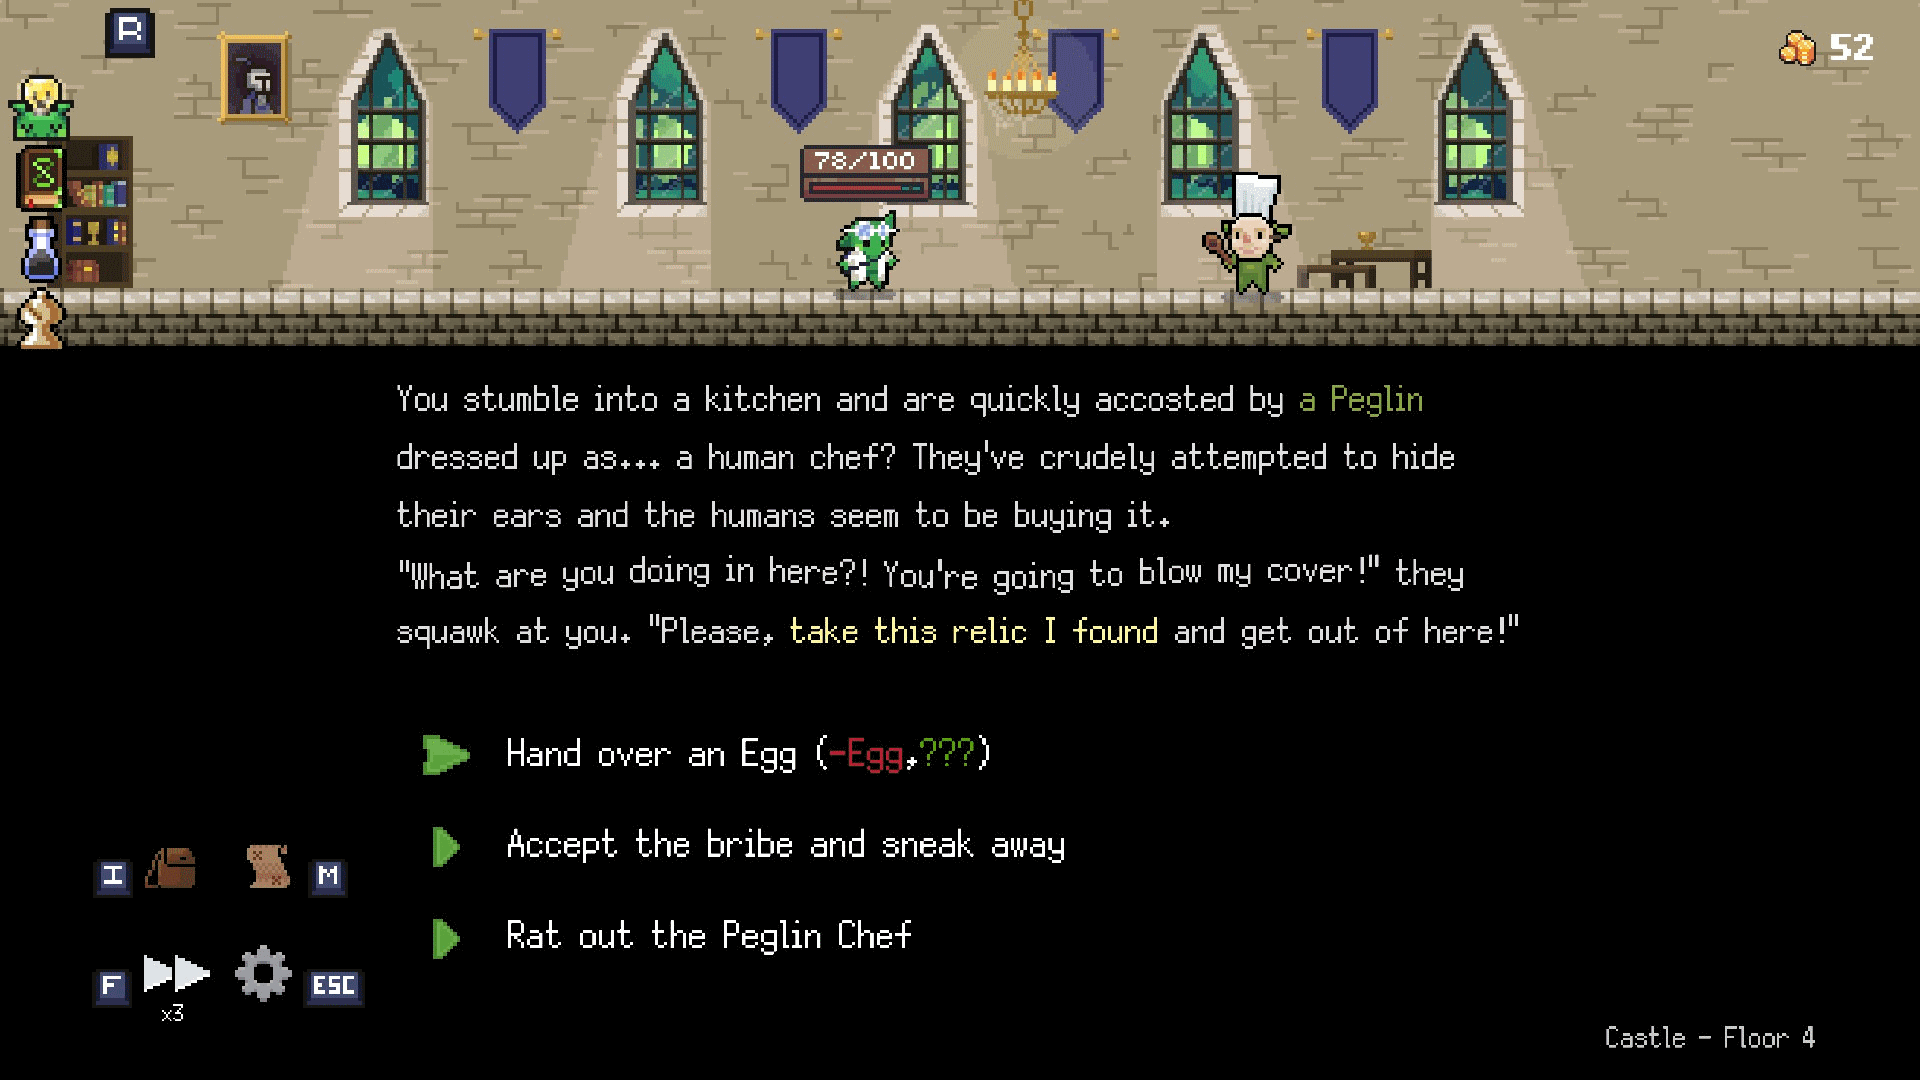
Bring an Egg to the peglin chef

This right here is the single hardest achievement to get in the entire game, and it's all thanks to luck and RNG. You'll need to run into 2 fairly rare events in order to pull this off:

1st. Get the Strange Tree event in act 1. Select "Shake the tree" to get the Egg.


2nd. Run into the Peglin Chef on act 2. Choose the "Hand over the Egg" option to get the achievement and a unique relic!


I can't stress enough how much resetting this achievement might take to obtain. You'll need to play through act 1 over and over again until you get the Strange Tree event, then reach act 2 while having the egg and visit as many event nodes as possible to hopefully run into the Peglin Chef. Be ready to try this one many times!
Final Words
Thanks for reading my guide! If you have anything to add, any corrections to make, or any help with things I got wrong, feel free to let me know in the comments.

Special thanks to everyone on the comments or on the Peglin Discord server who have made countless suggestions of things I could change/improve!!!

Have a wonderful day, and safe pegging everyone!
67 Comments
philbertman42 18 May @ 10:20am 
I just went for "Surprised the Ruins" and managed to take them all out in one turn with a combination of orb, bomb, and spinfection damage, but that doesn't seem to trigger the achievement
Zixye 26 Apr @ 4:55pm 
All for one - I did it with Balladin and a lucky first fight Highway Orbbery. Started working on removing all other orbs and got an Echorb for AOE while also upgrading the Highway Orbbery. Balladin's class relic makes you basically untouchable with way over fifty ballwark at the start of every battle near the end and you can wipe out everything with just 2 shots.
ChilliVanillii 19 Apr @ 8:19am 
For the One For All Achievement I managed to do it with Matryoshka for board clear and money generation, Collatorball for good damage against multiple enemies, Doctorb for healing and Highway Orbbery to spend my money with good damage. I got all orbs duplicated because of an event but that was fine.
Blinky  [author] 17 Apr @ 4:30pm 
yeah, I keep receiving more testimonies from people that that's the case, so I added it to the guide. Thank you!
Kthal 16 Apr @ 11:15pm 
One For All only checks orb inventory after the Mines boss. I completed a run using multiple fully upgraded orbs to get to the mines, before removing them in shops and using the Bad Cheese + Round Guard combo with a single level-1 stone.
Clyde 15 Apr @ 1:30pm 
New achievement hint:
To kill the Ruins with 1 strike you could use cheese (damage enemies on reload) + round reload shield (immune to damage when reload).
Same strategy could help win game with 1-level balls
MrObama 1 Mar @ 12:46am 
Thank you for this, it was very helpful
RazorbladeFlamingo 27 Nov, 2024 @ 2:01pm 
Just a reminder that Sprouting Spinvestment would help with the money related achievements.
Blinky  [author] 17 Sep, 2024 @ 7:16pm 
thank you for letting me know! I updated the guide with that info
Zaddra 17 Sep, 2024 @ 6:58pm 
I just got the Spring Cleaning achievement by hitting the last one left on the navigation screen. So, it looks like that has been fixed now.