
Install Steam
login
|
language
简体中文 (Simplified Chinese)
繁體中文 (Traditional Chinese)
日本語 (Japanese)
한국어 (Korean)
ไทย (Thai)
Български (Bulgarian)
Čeština (Czech)
Dansk (Danish)
Deutsch (German)
Español - España (Spanish - Spain)
Español - Latinoamérica (Spanish - Latin America)
Ελληνικά (Greek)
Français (French)
Italiano (Italian)
Bahasa Indonesia (Indonesian)
Magyar (Hungarian)
Nederlands (Dutch)
Norsk (Norwegian)
Polski (Polish)
Português (Portuguese - Portugal)
Português - Brasil (Portuguese - Brazil)
Română (Romanian)
Русский (Russian)
Suomi (Finnish)
Svenska (Swedish)
Türkçe (Turkish)
Tiếng Việt (Vietnamese)
Українська (Ukrainian)
Report a translation problem


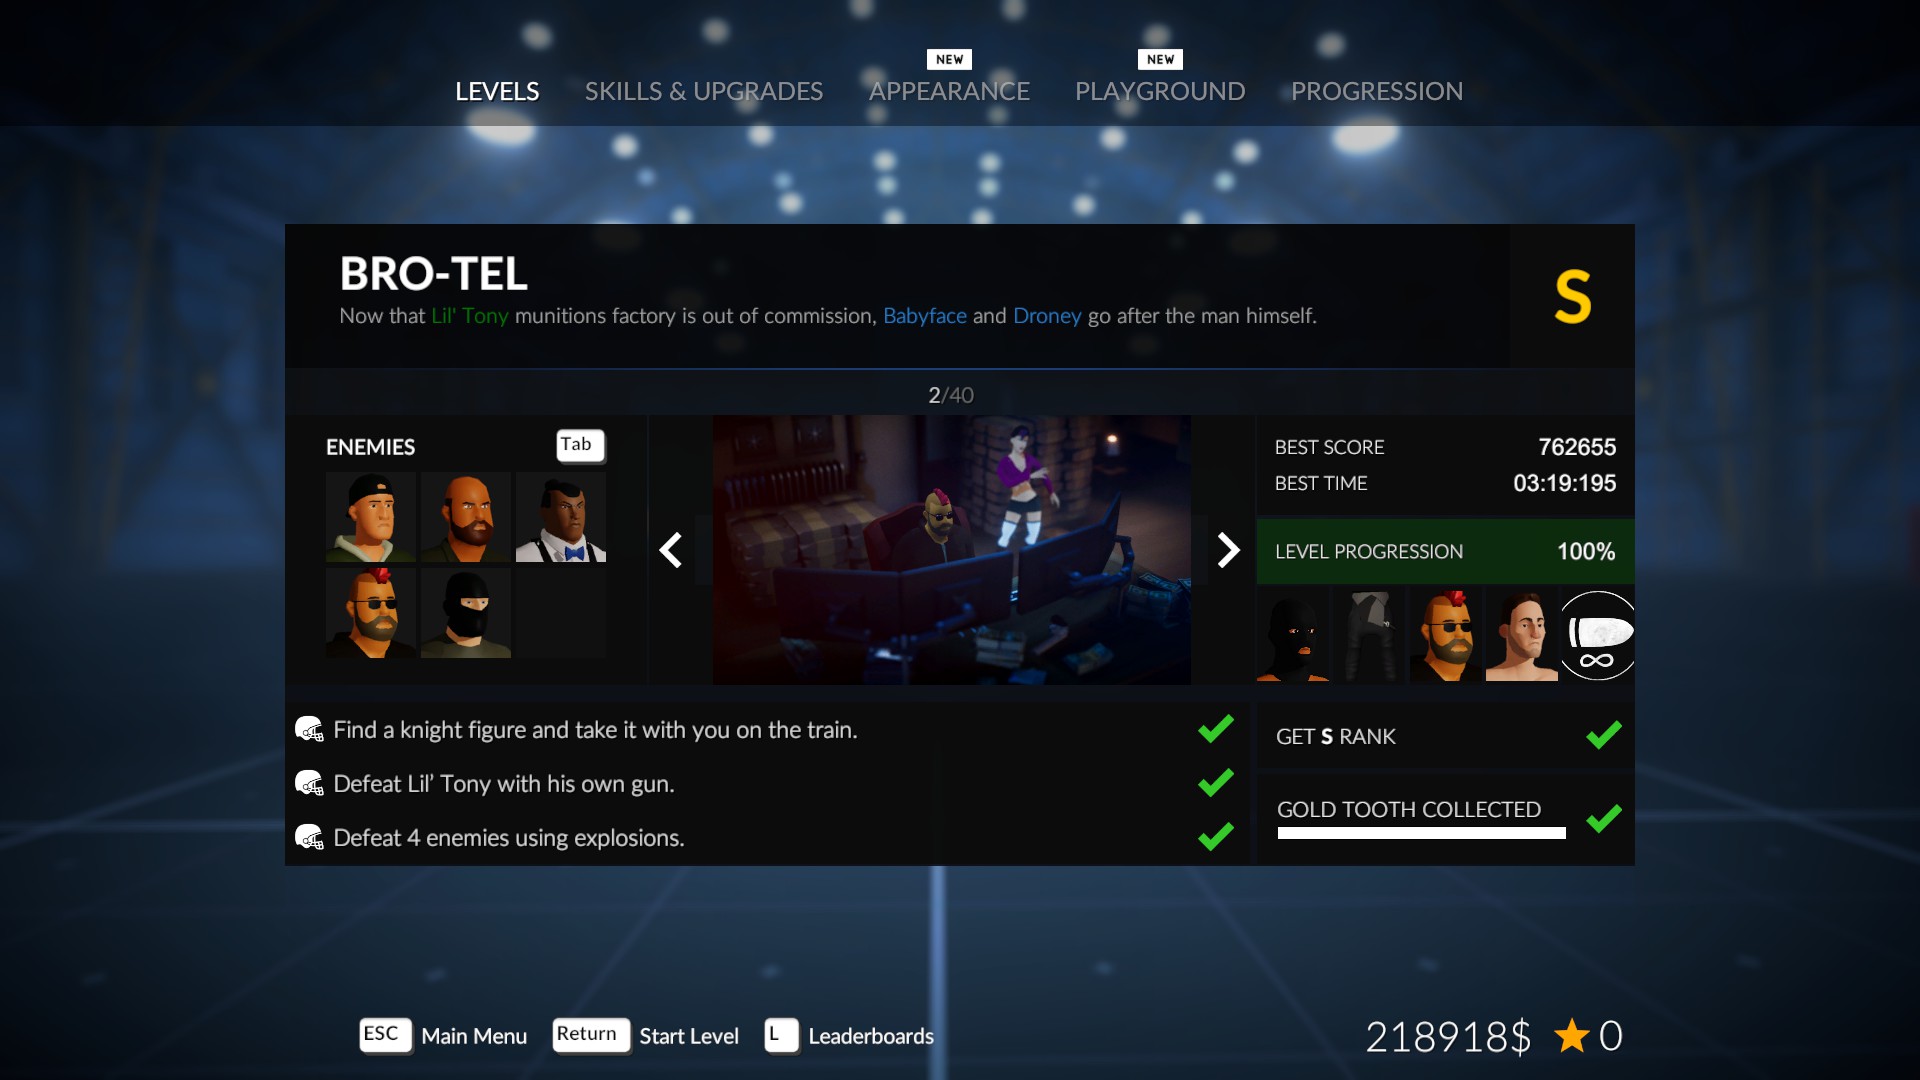
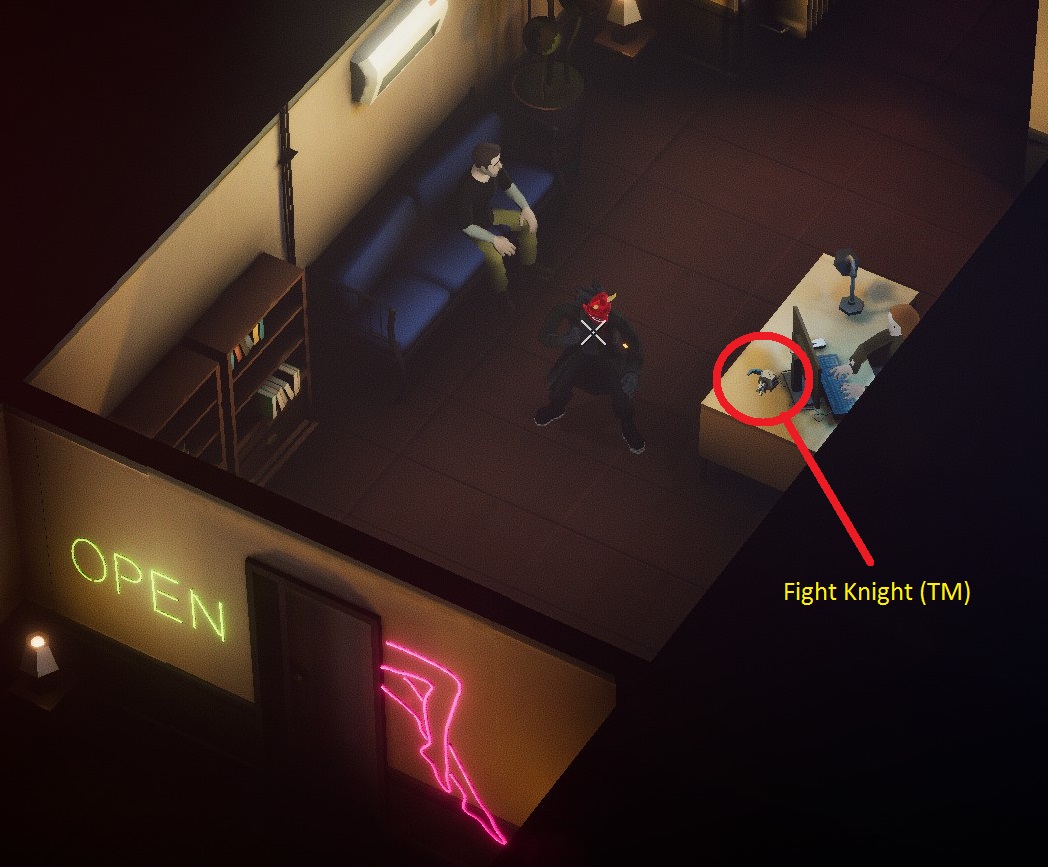


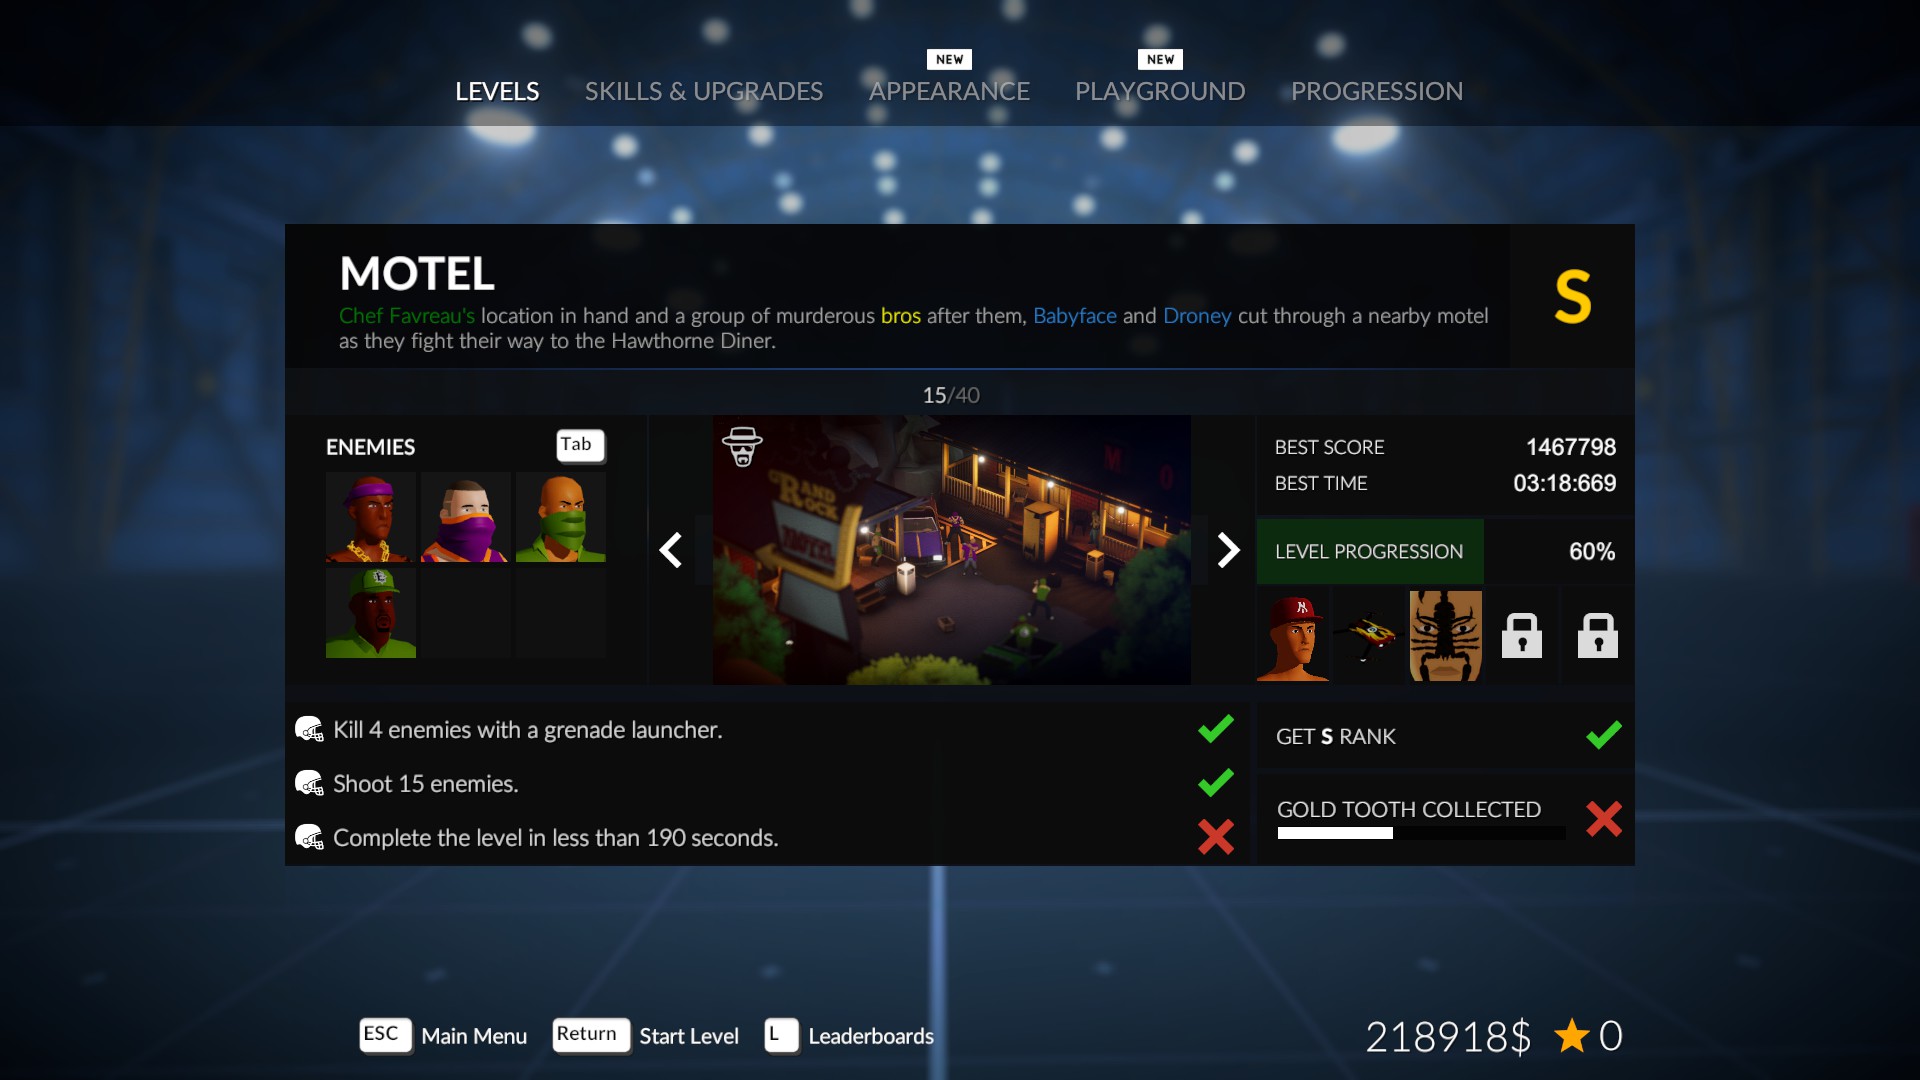


2. Bro-tel
You can use Dark Mines and it will count as defeat enemies using explosives.
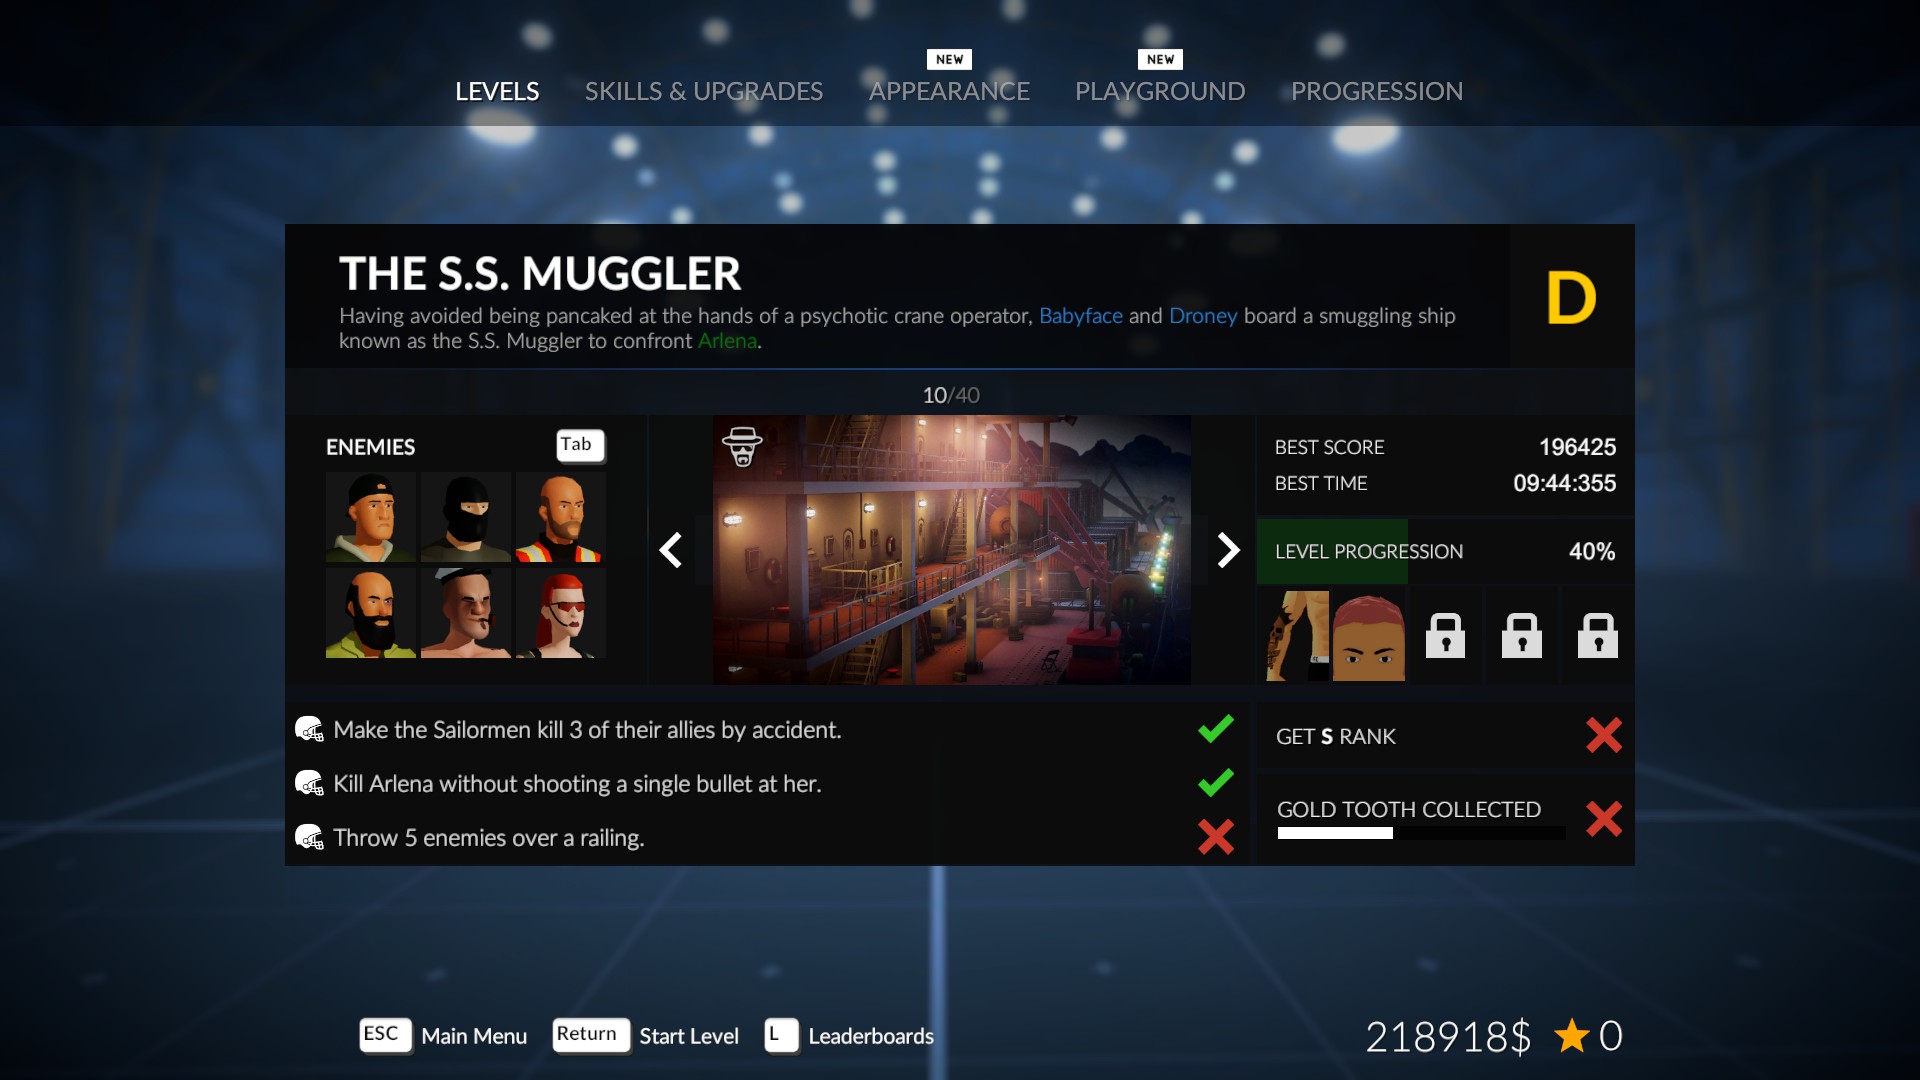
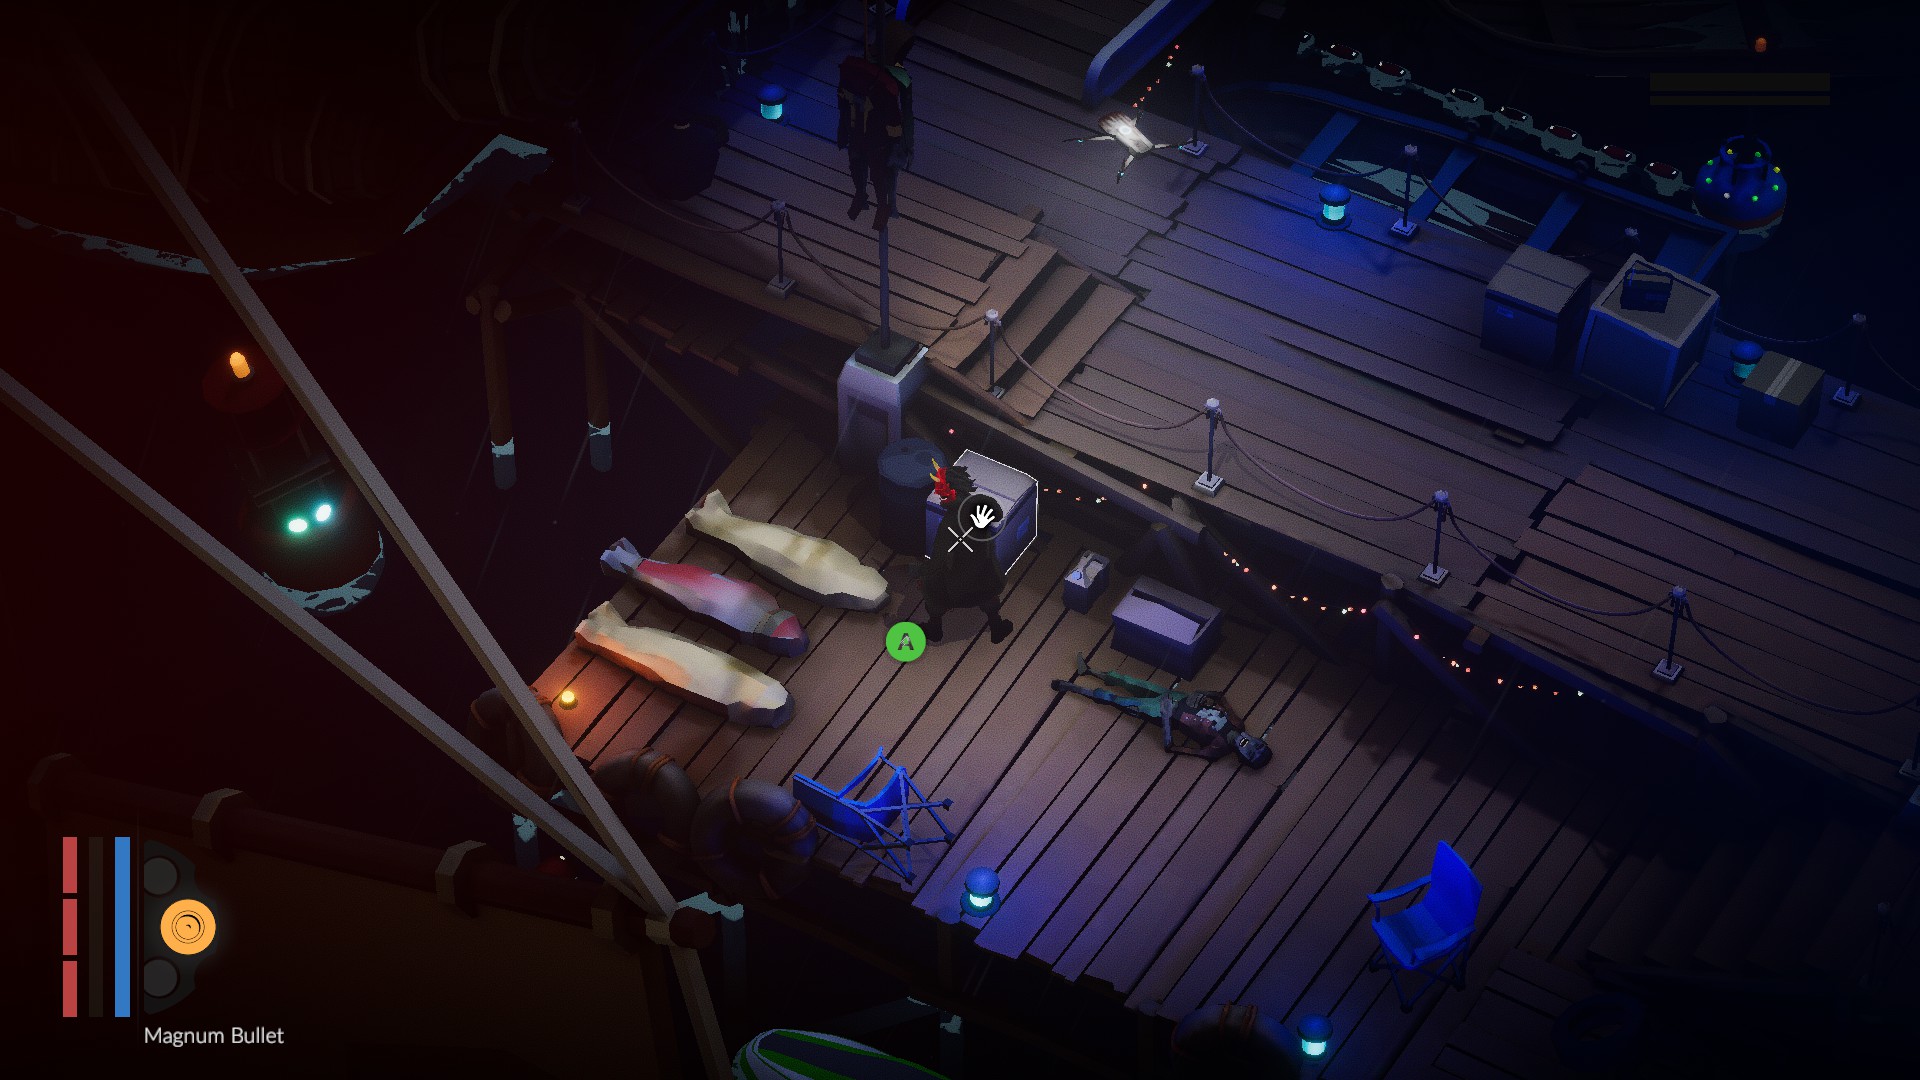
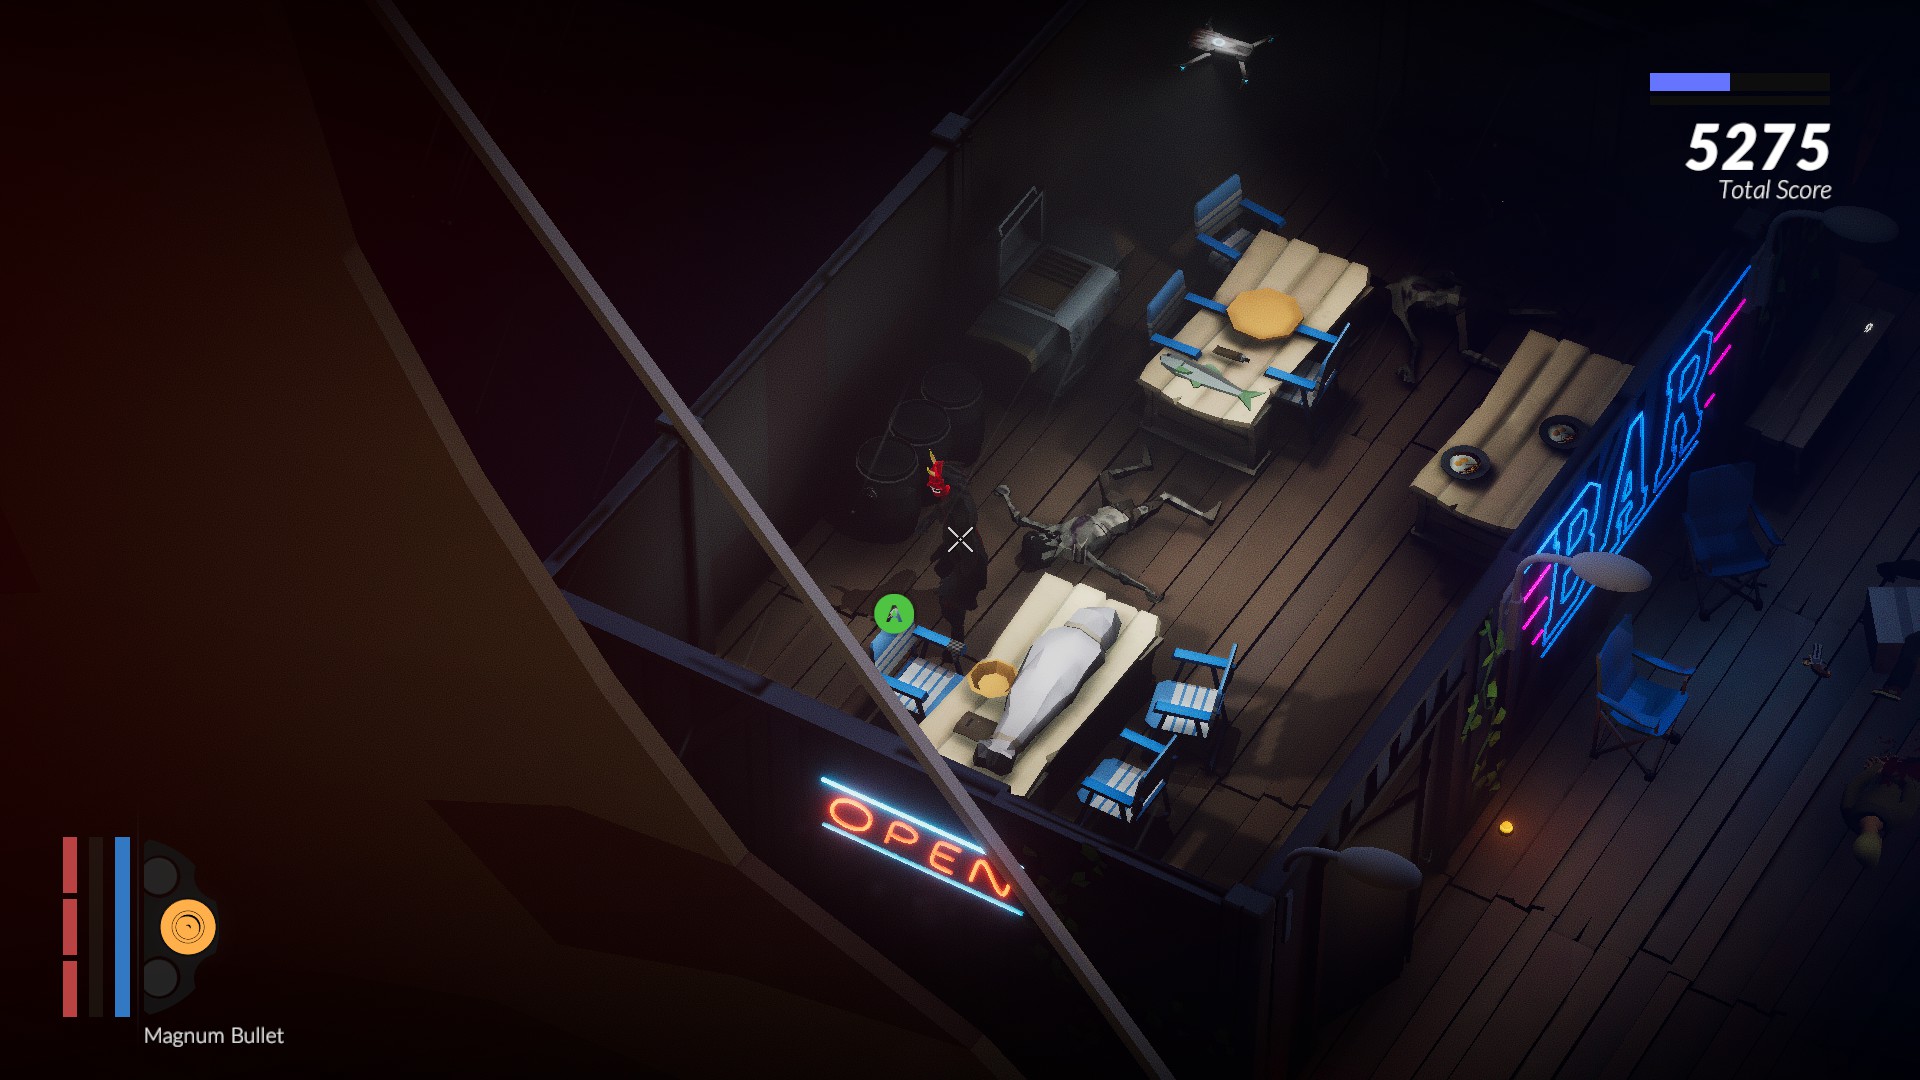
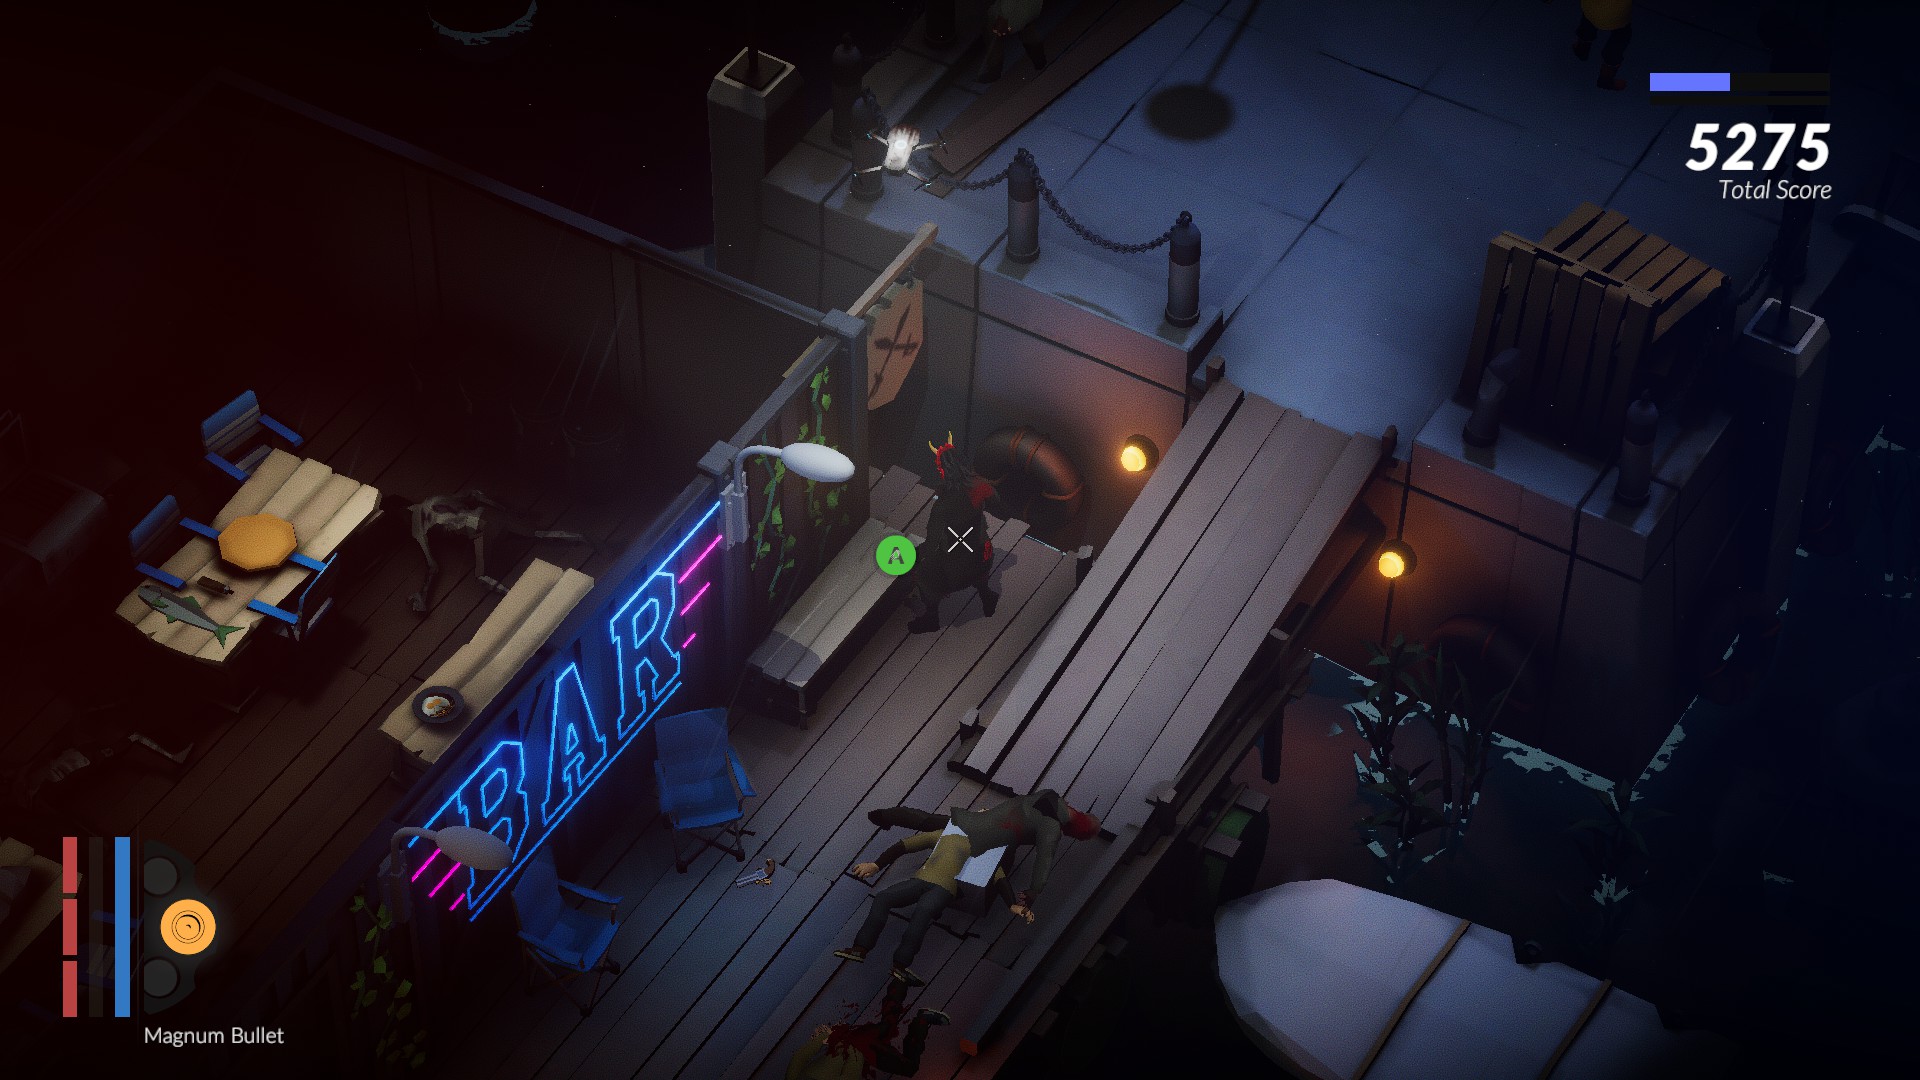
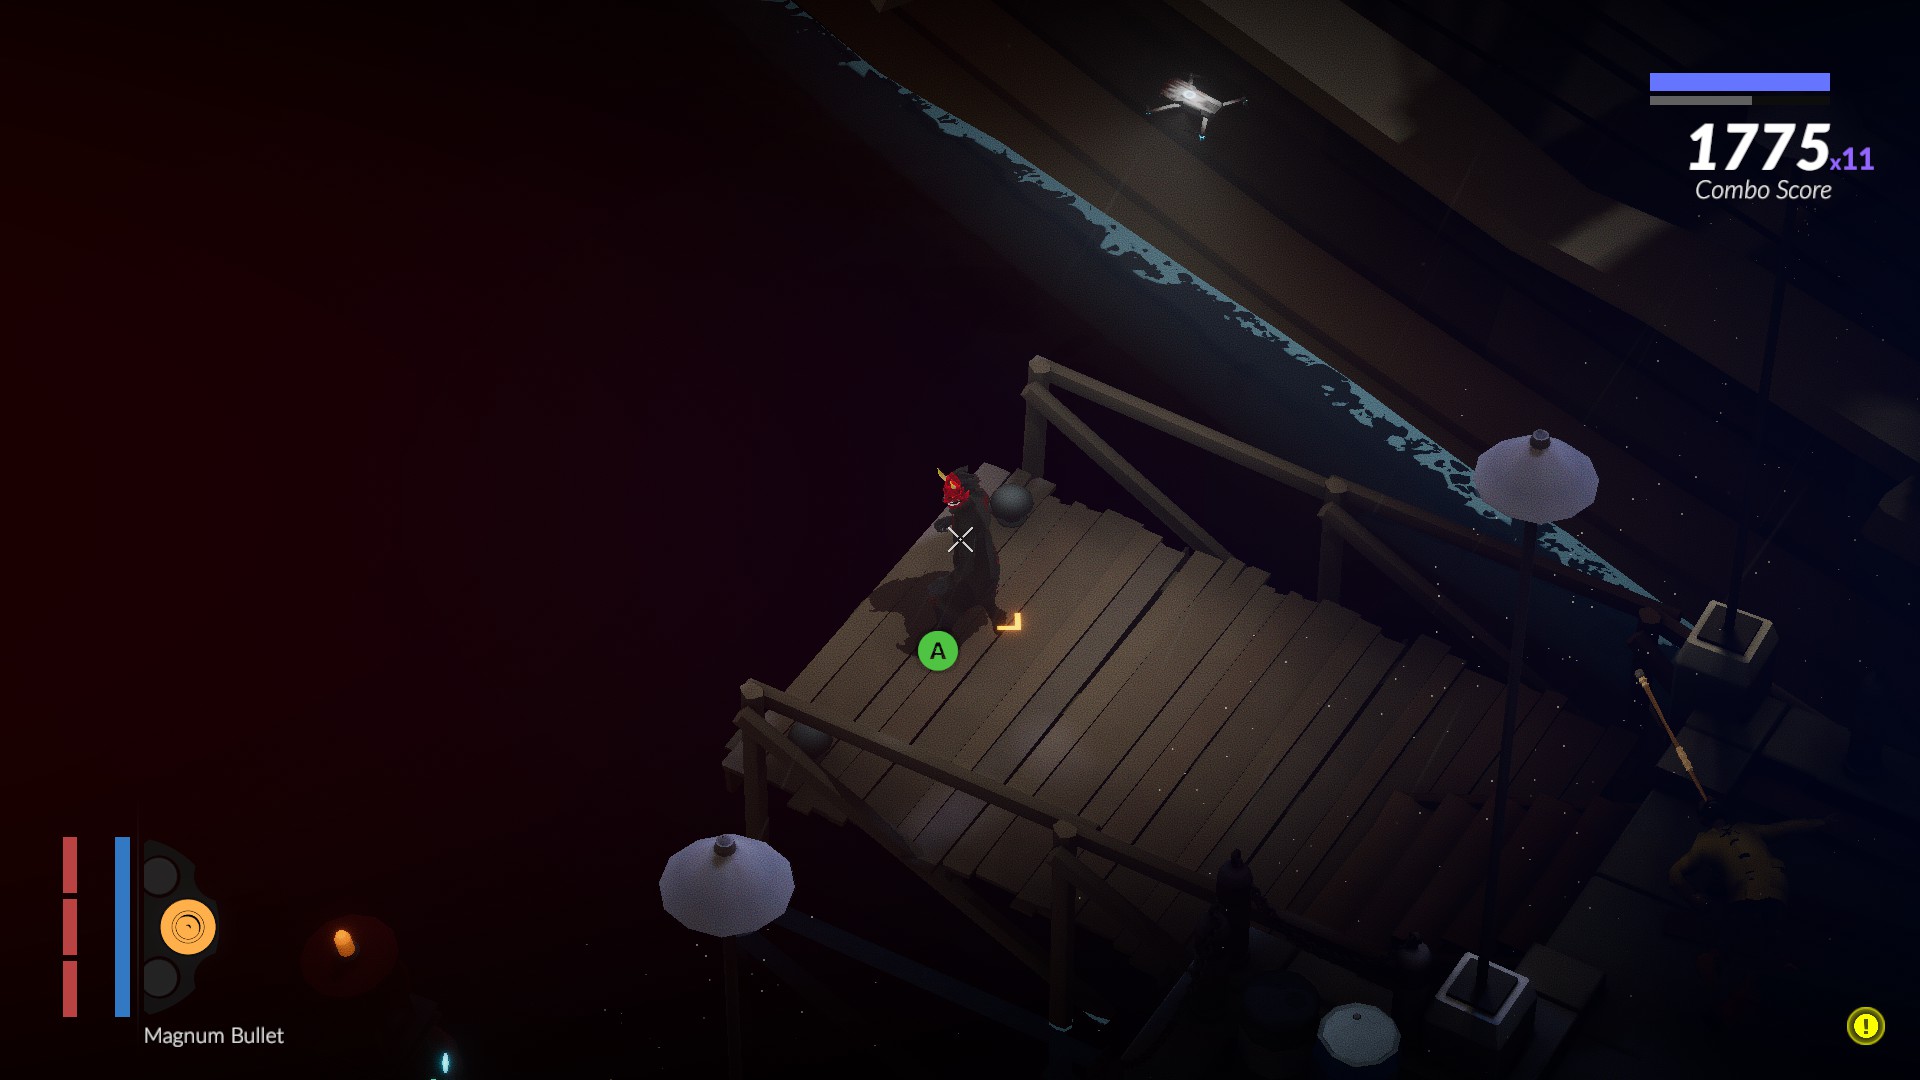
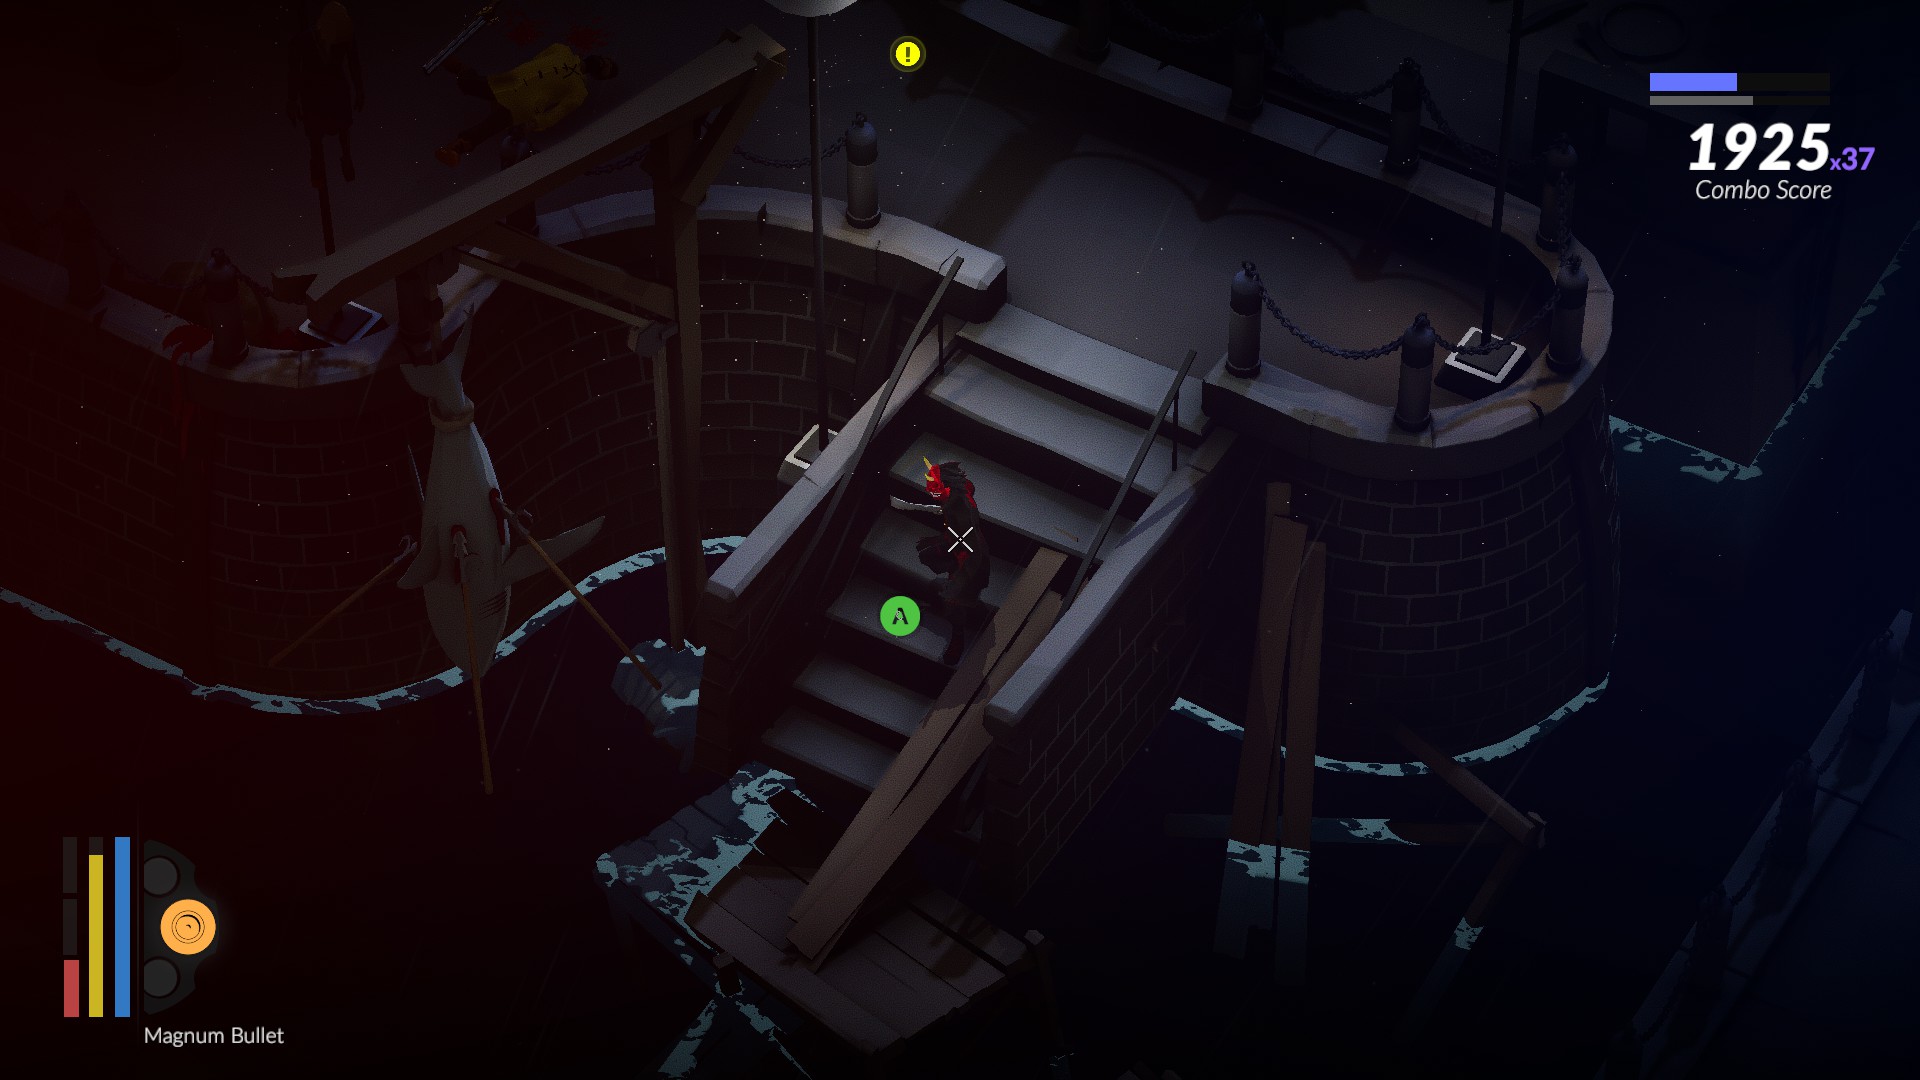
10. The S.S. Muggler
You can make Sailormen kill their allies using hypnobullets.
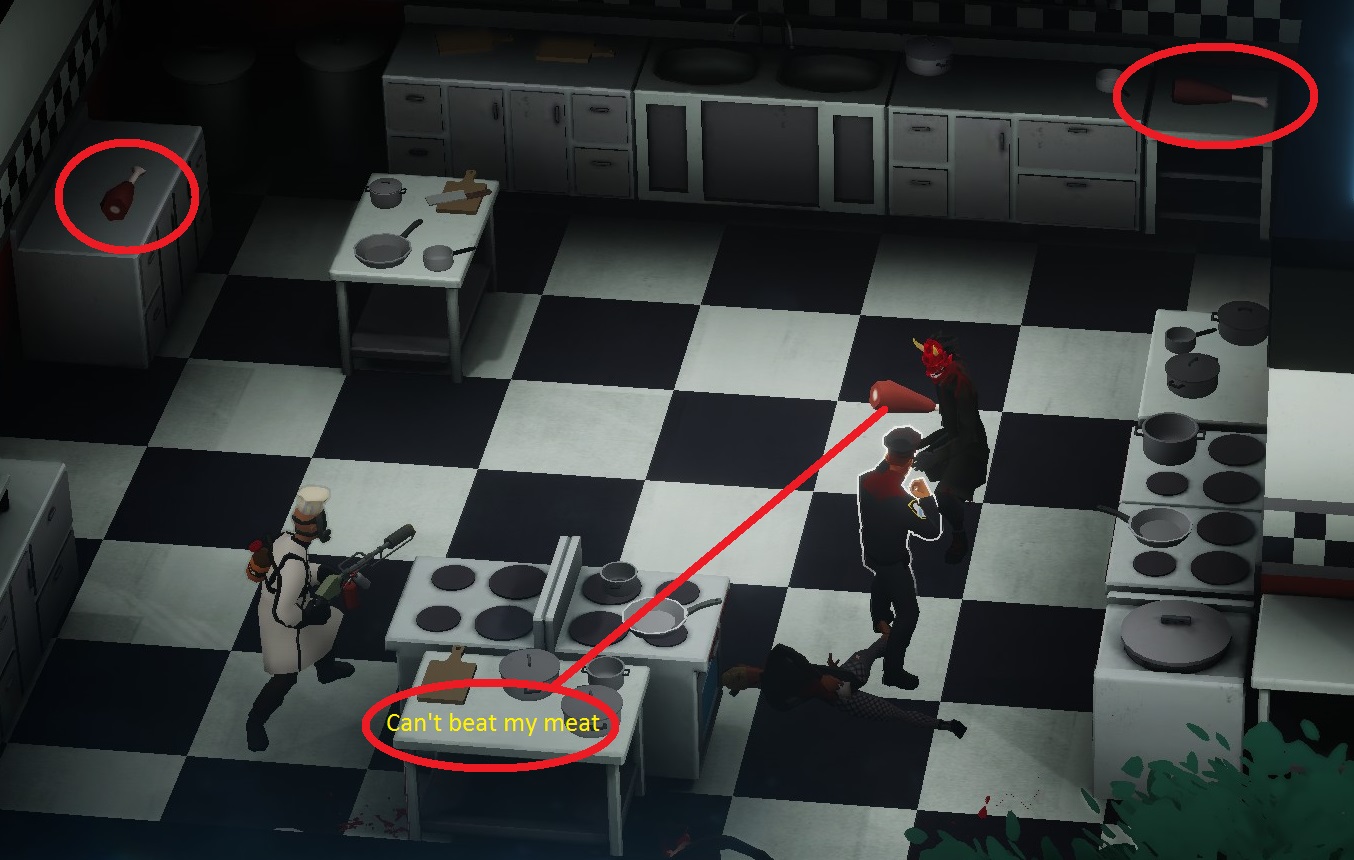
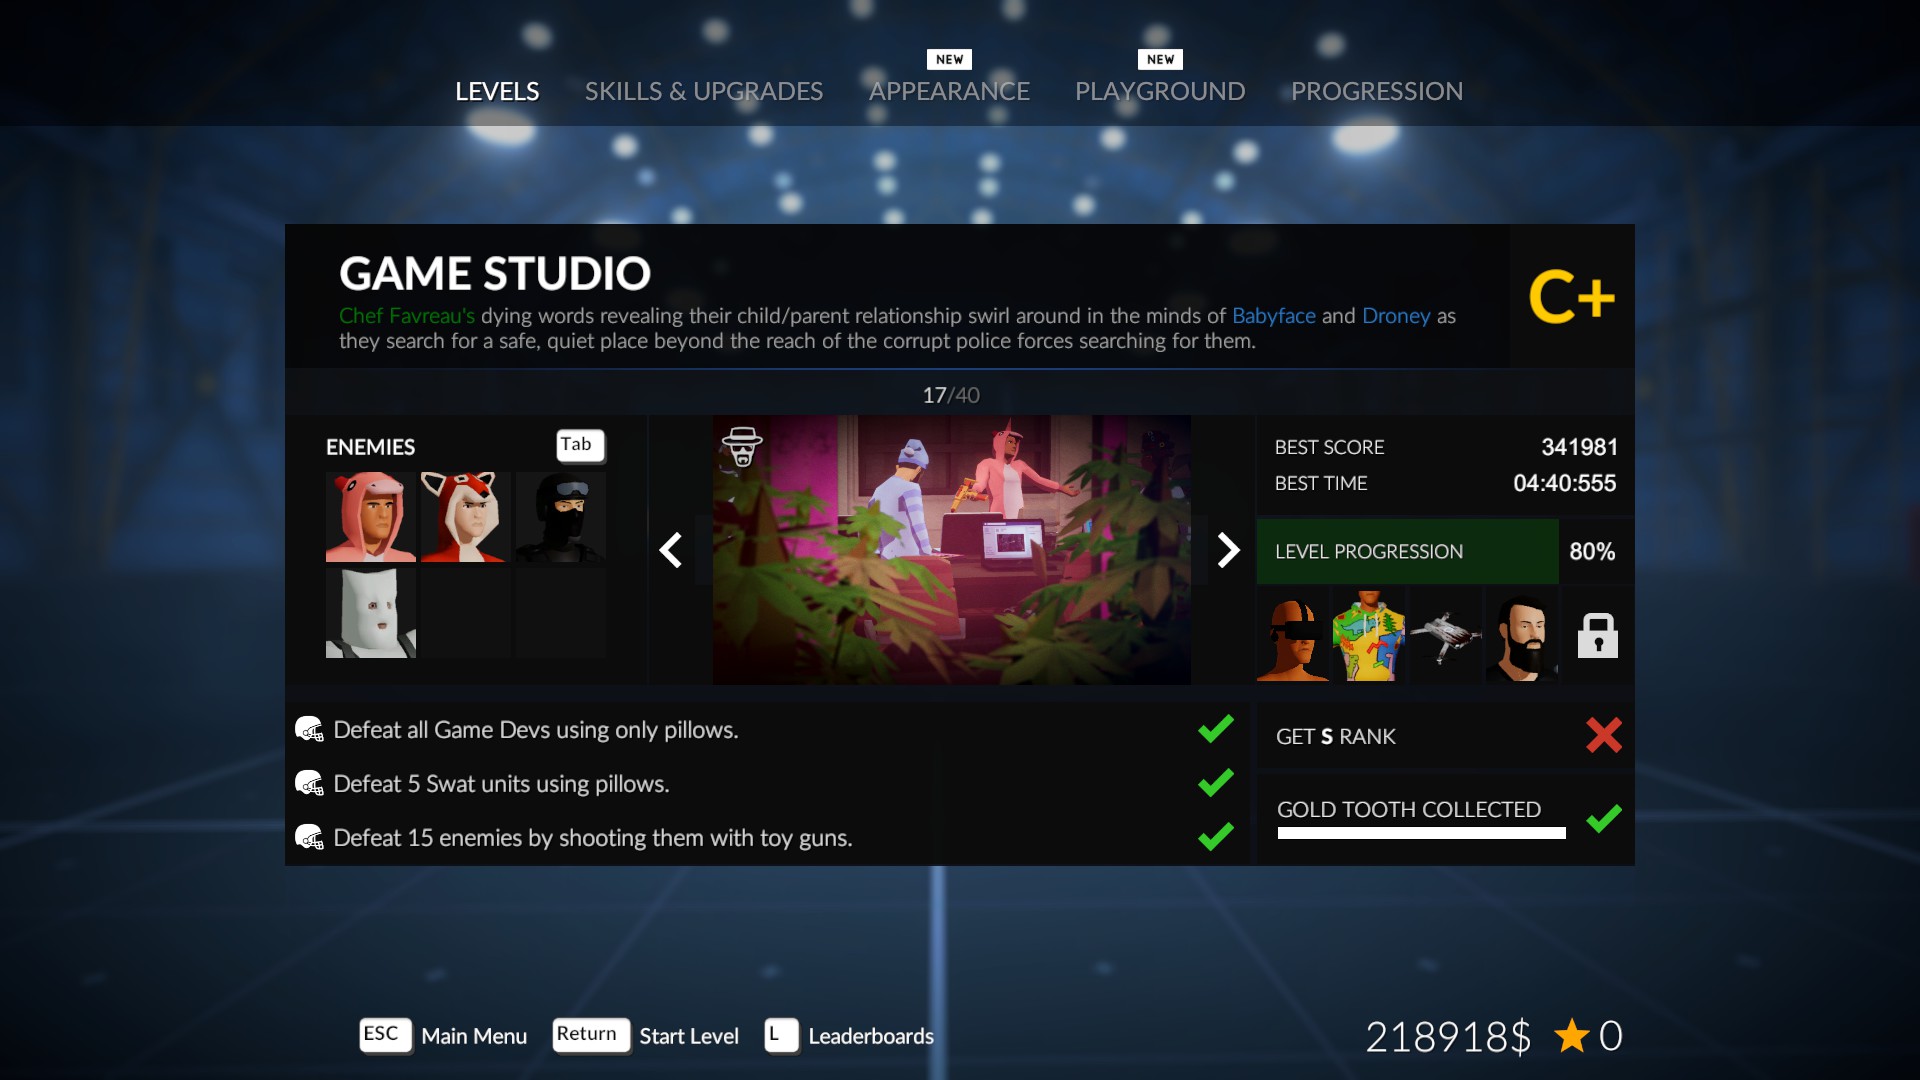
17. Game Studio
Defeat 15 enemies by shooting at them with a toy weapon can be done just by hitting them with it, which is strange.
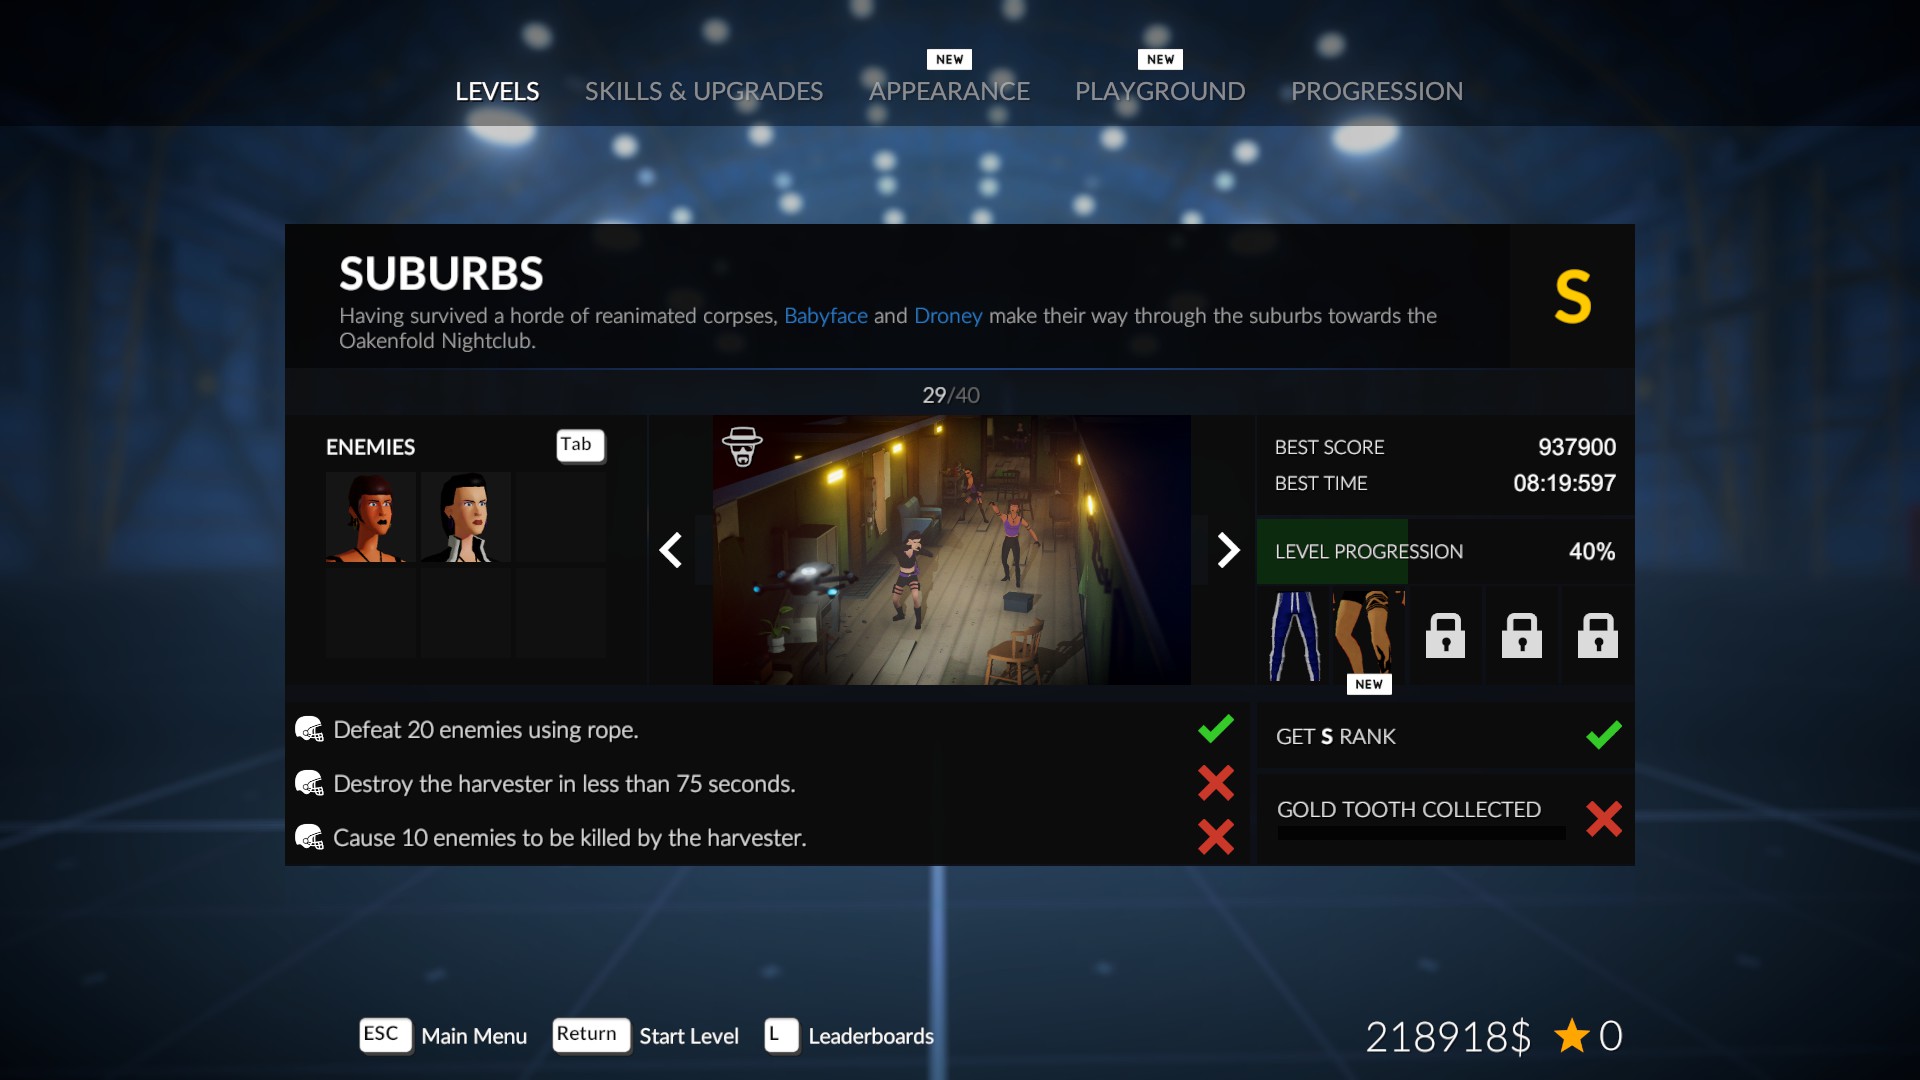
29. Suburbs
You can use Dark Mines to defeat Harvester faster because it deals damage to it.
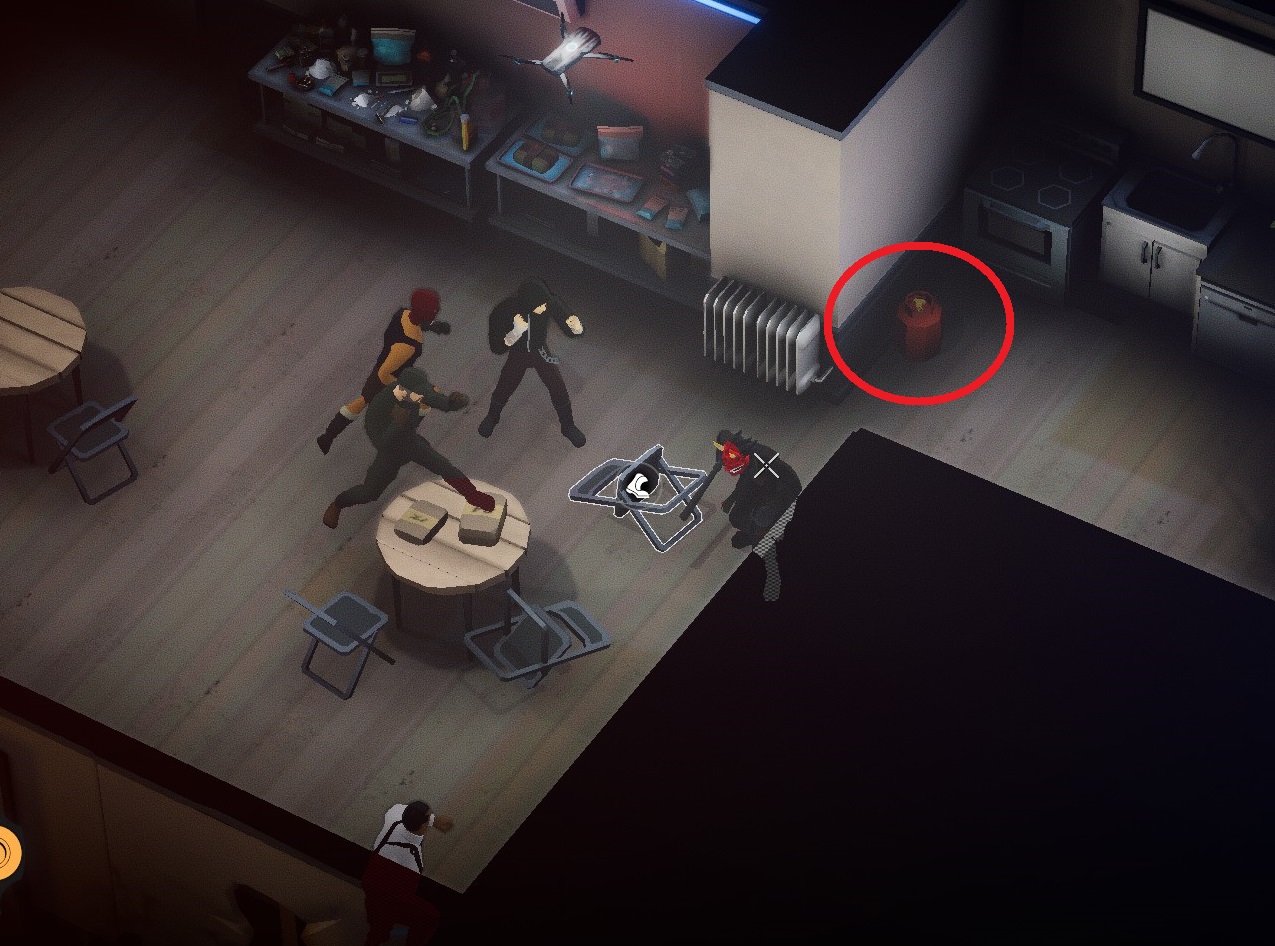
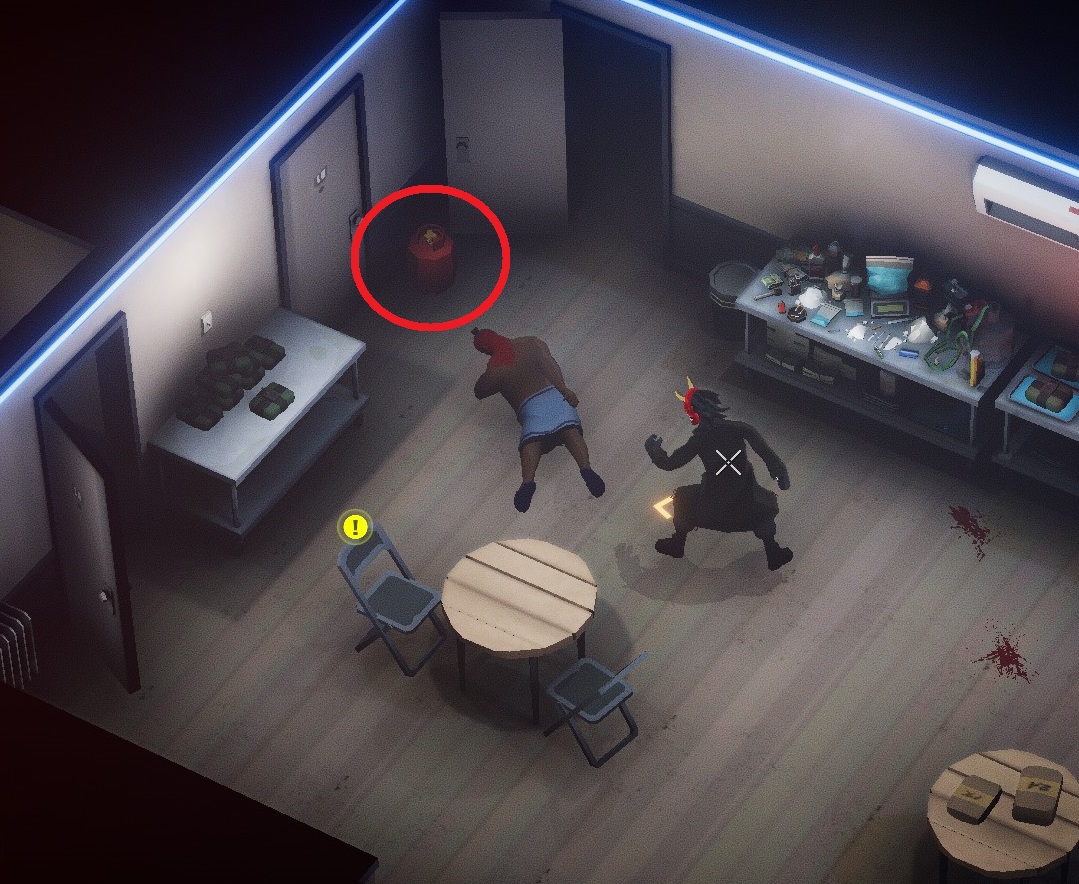
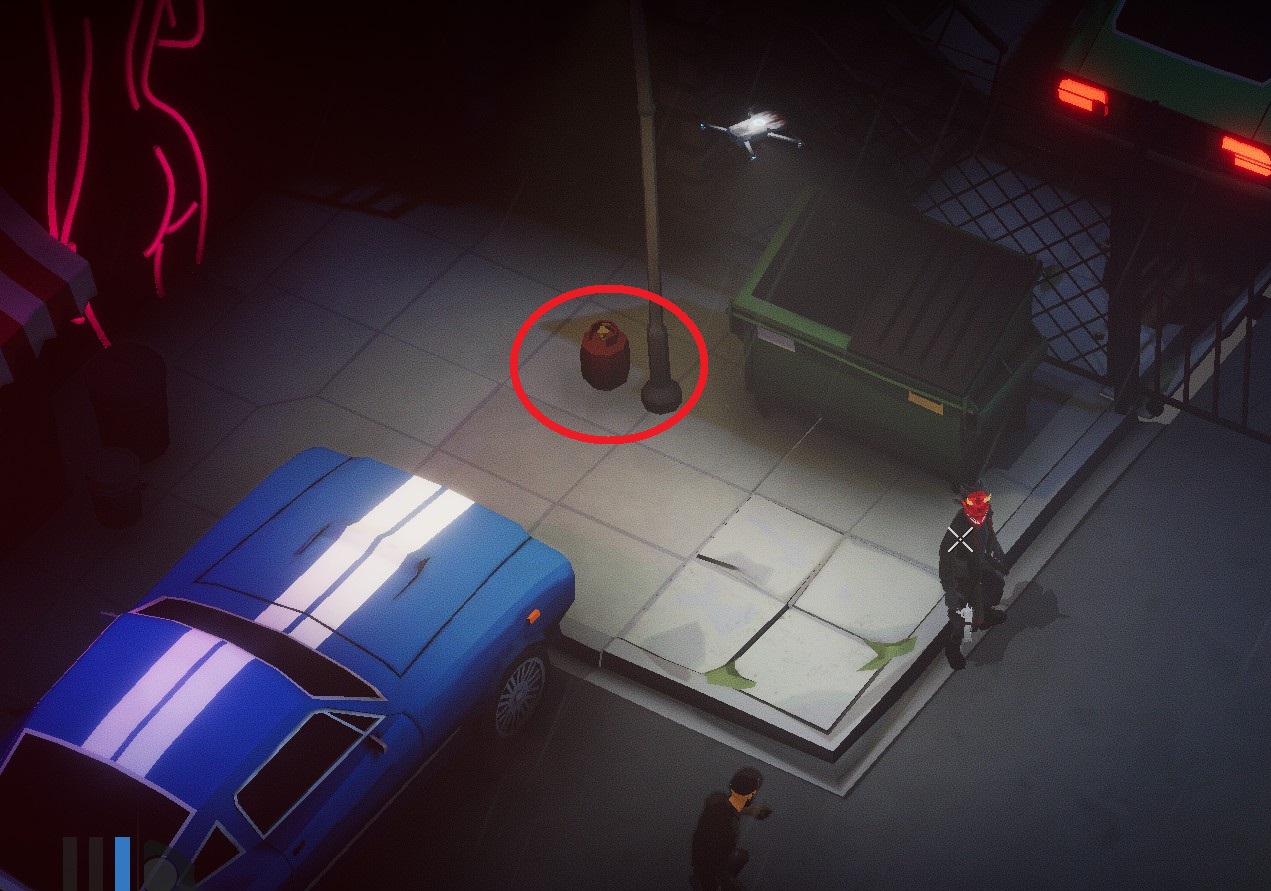
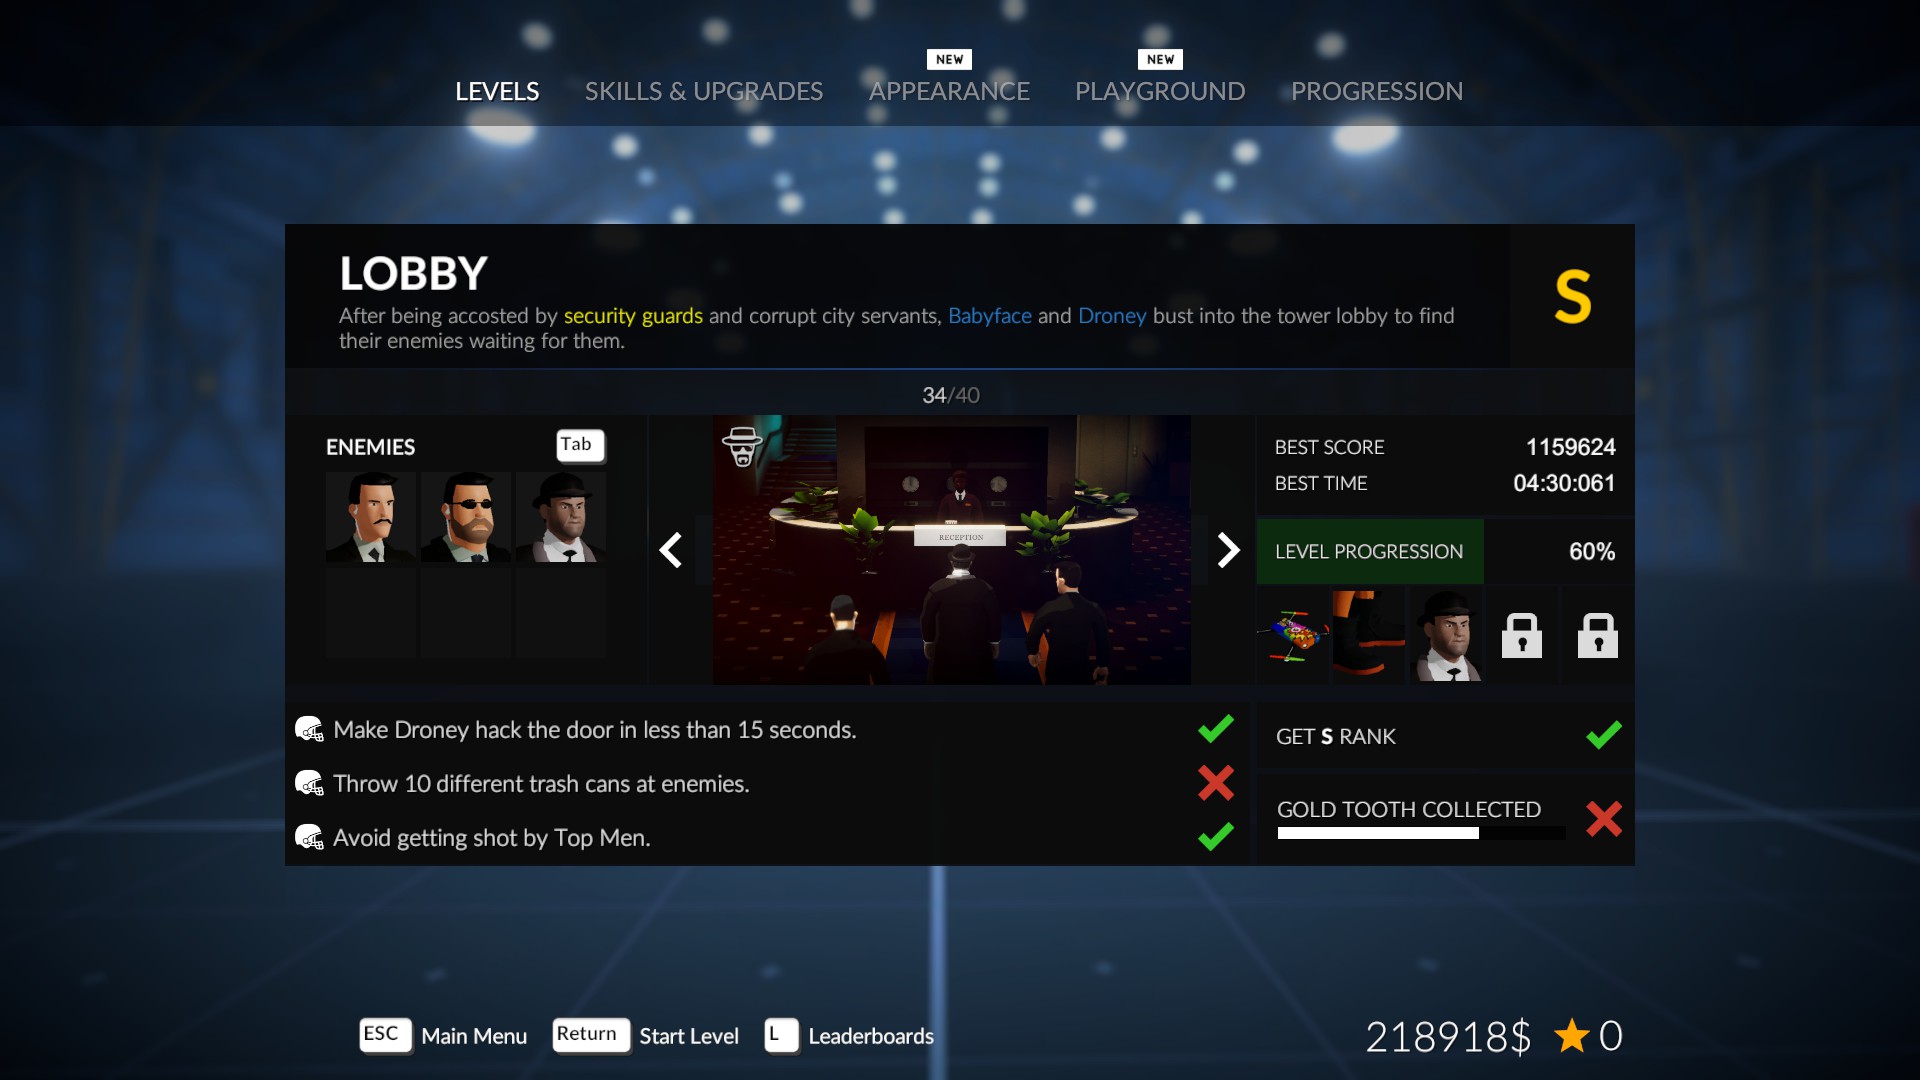
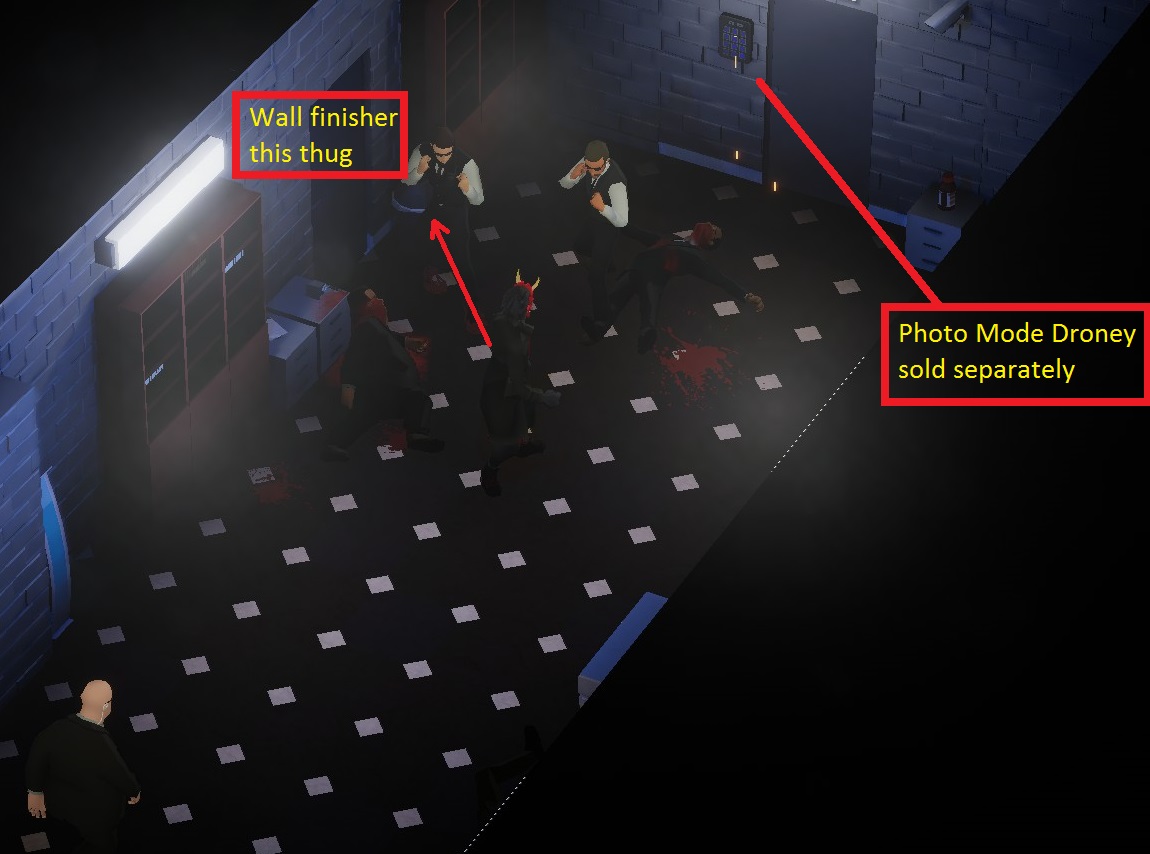
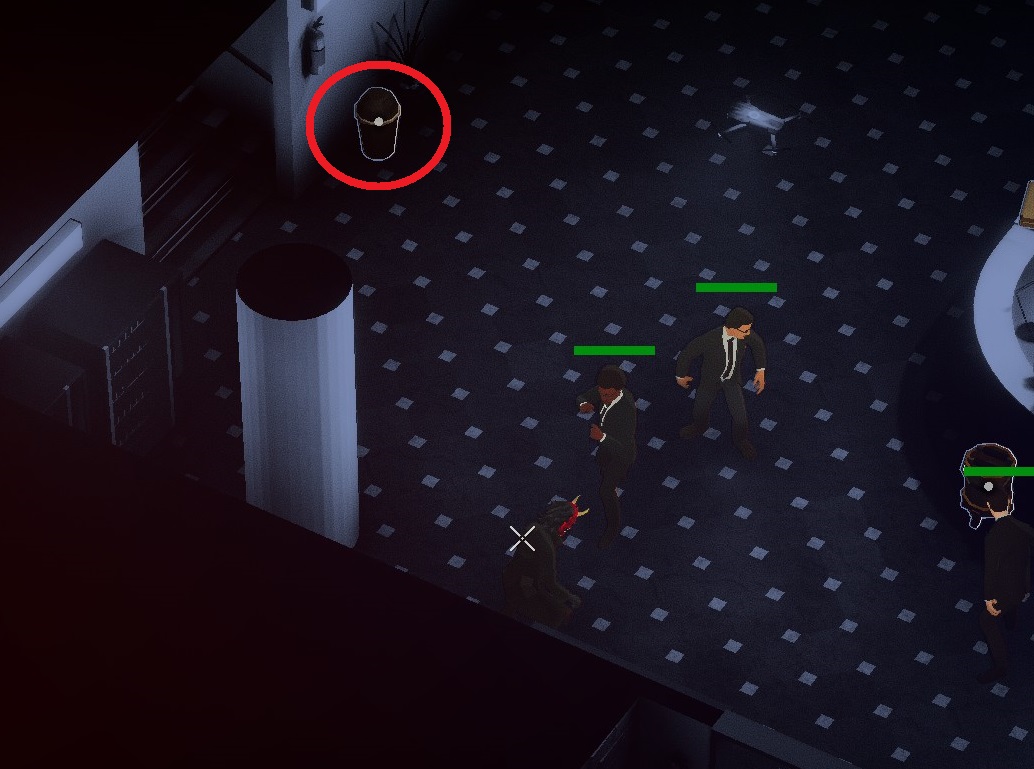
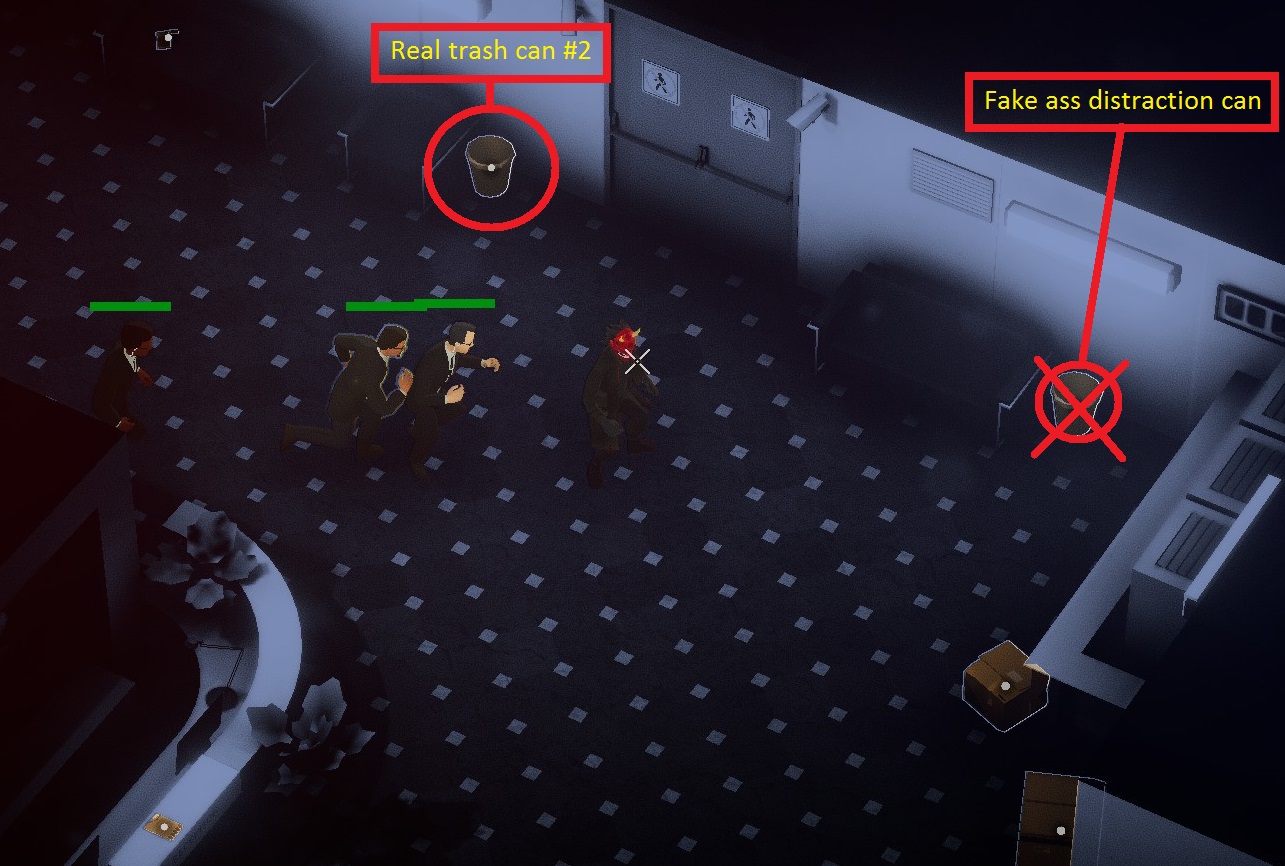
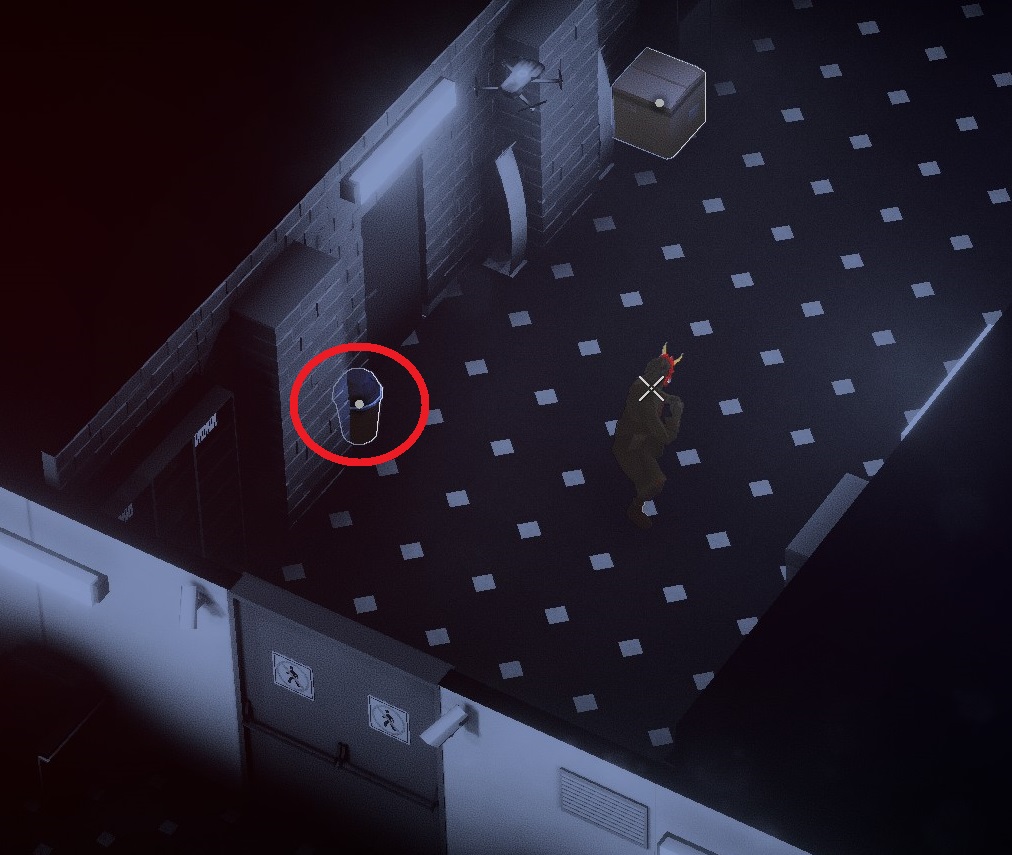
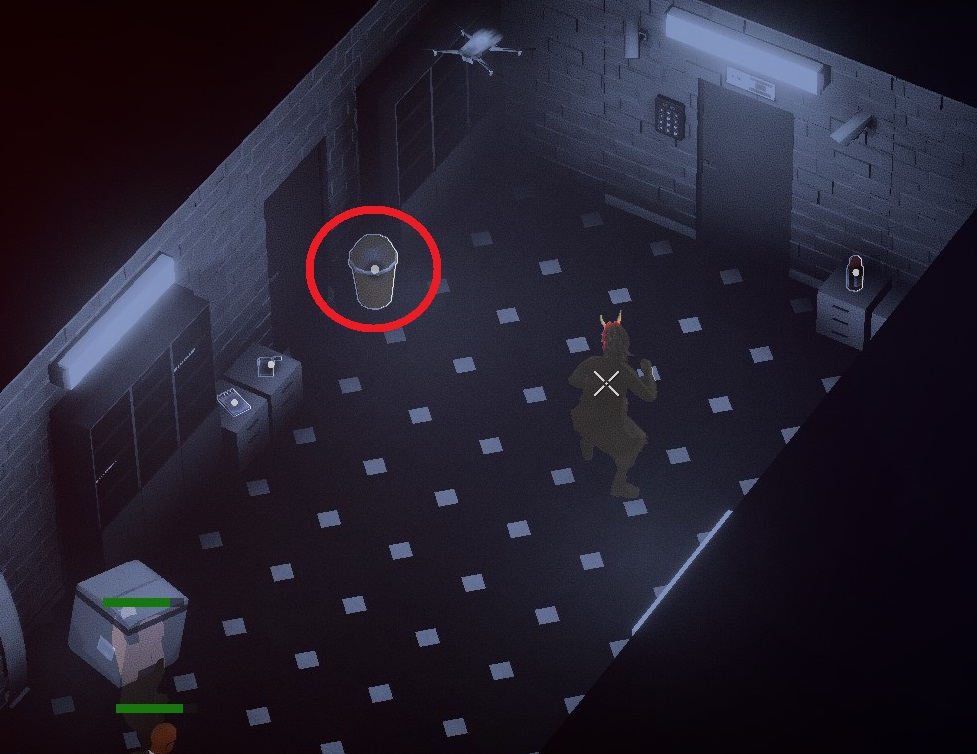
34. Lobby
When I played "Real trash can #5" it was no longer there.
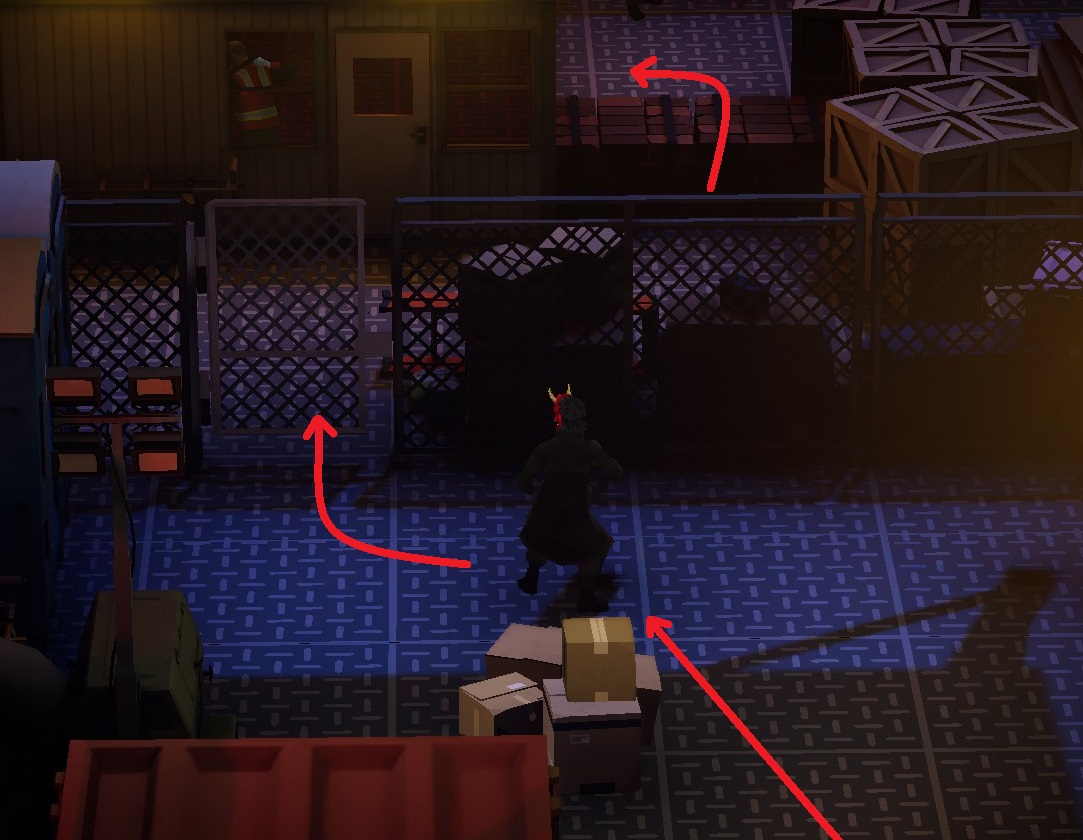
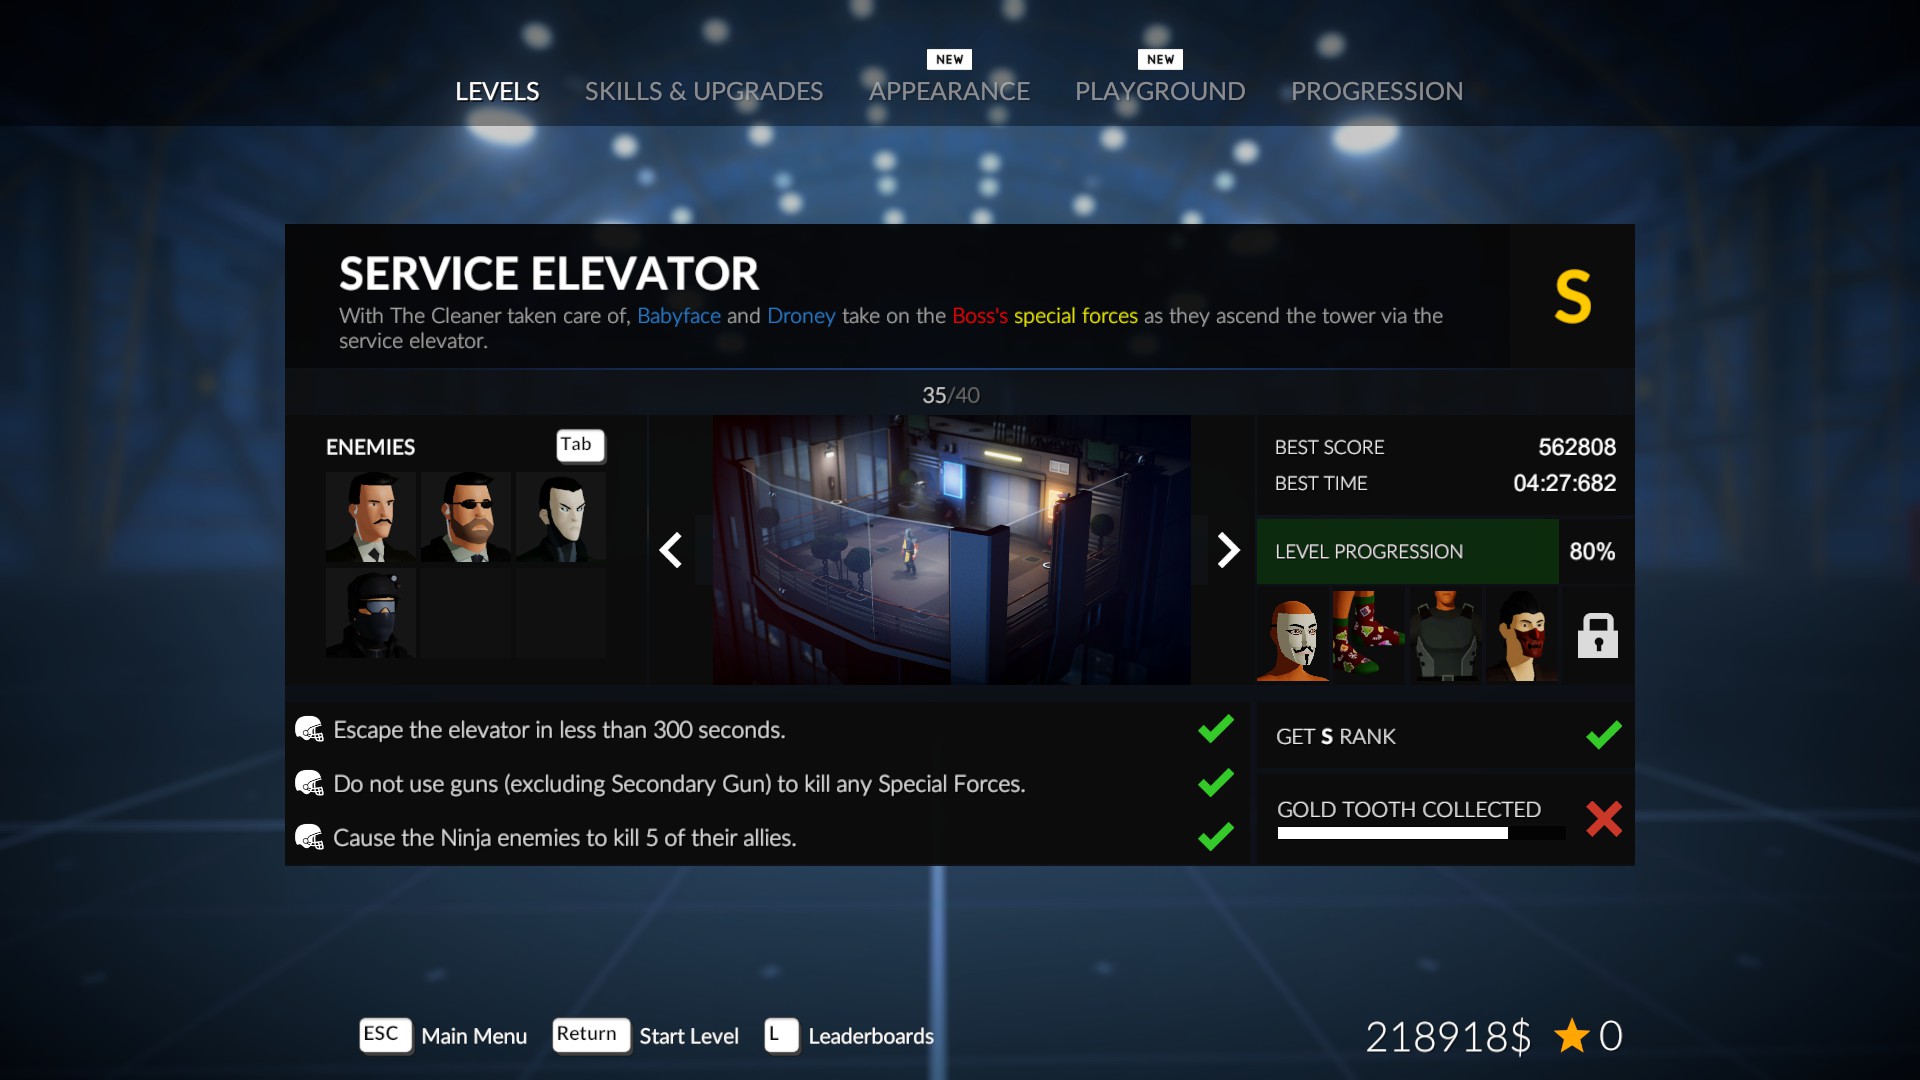
35. Service Elevator
You can make Ninja kill their allies using hypnobullets
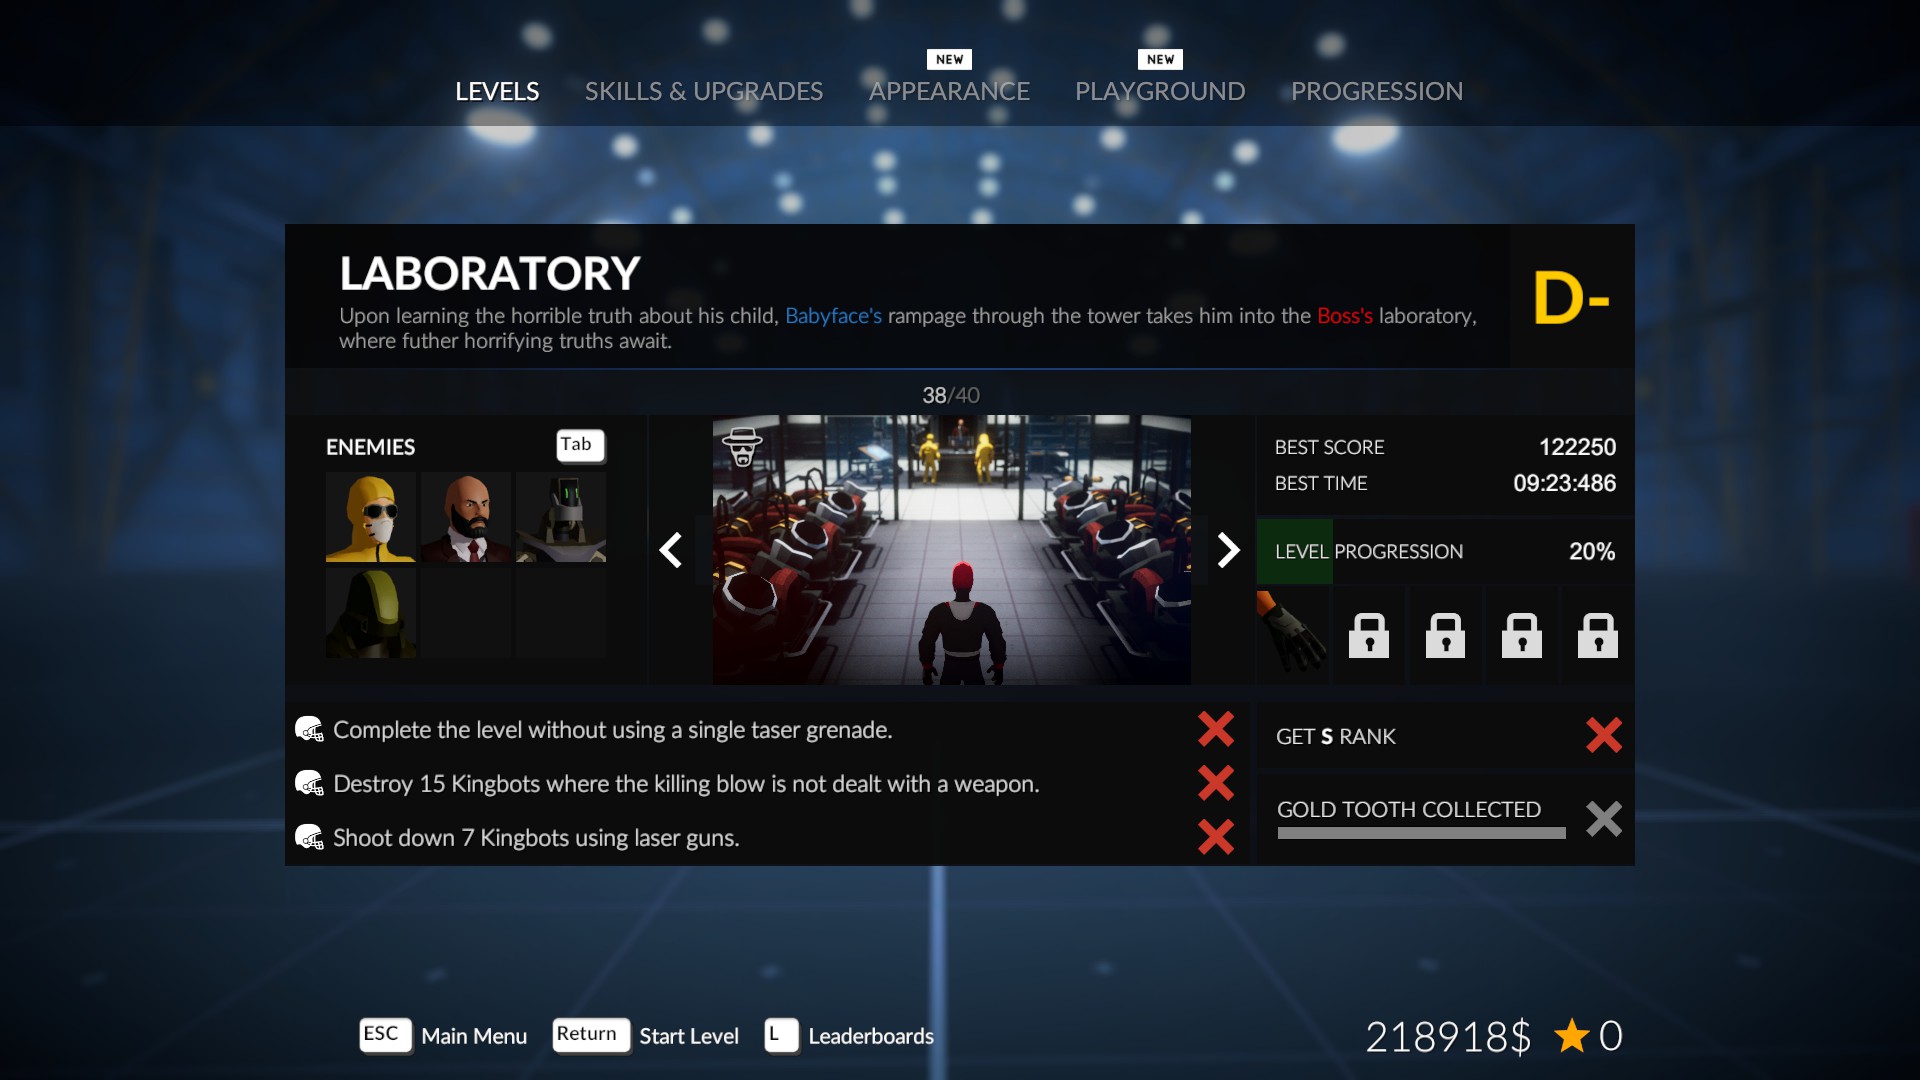
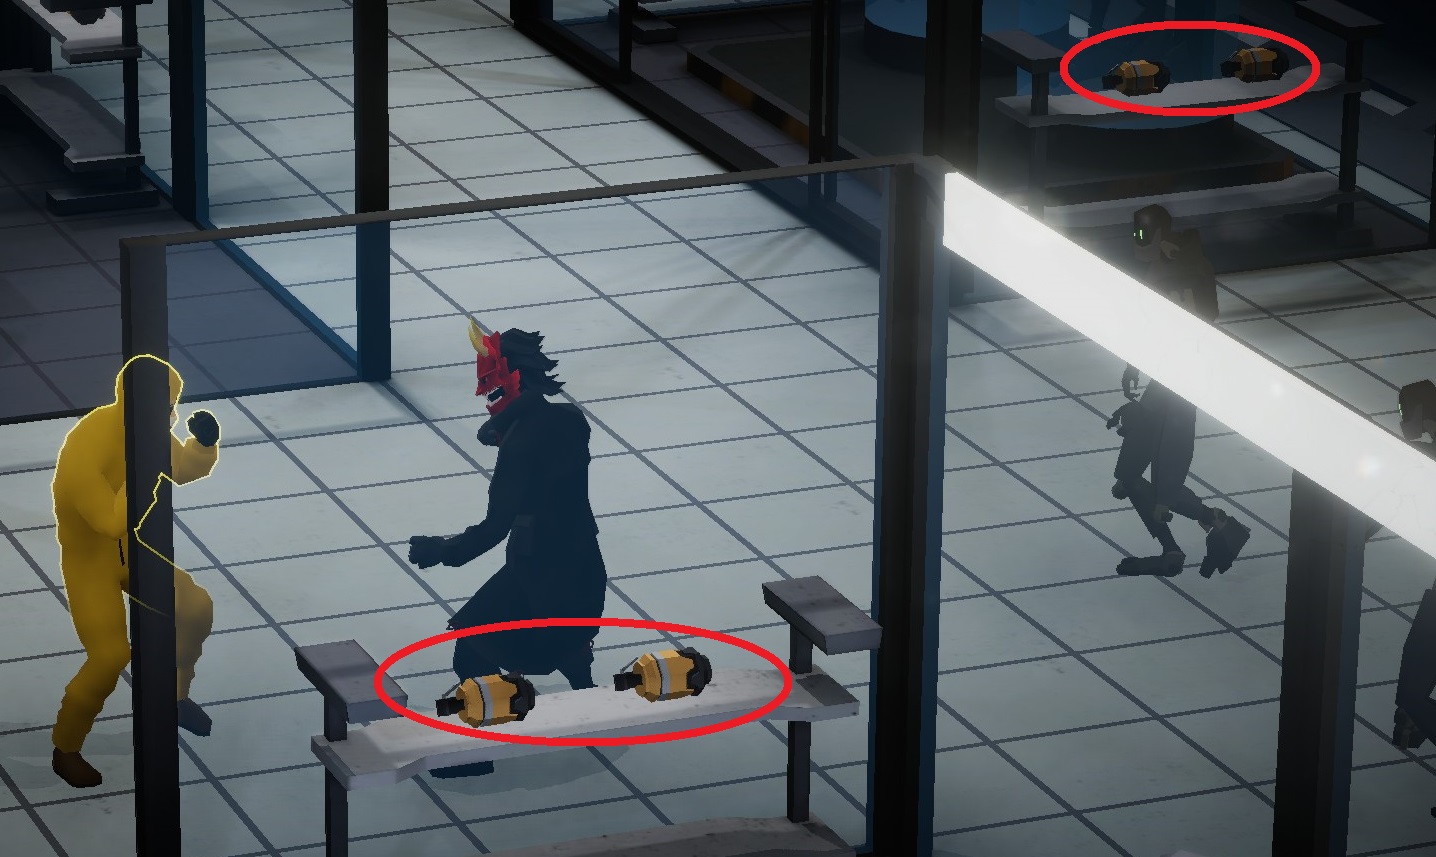
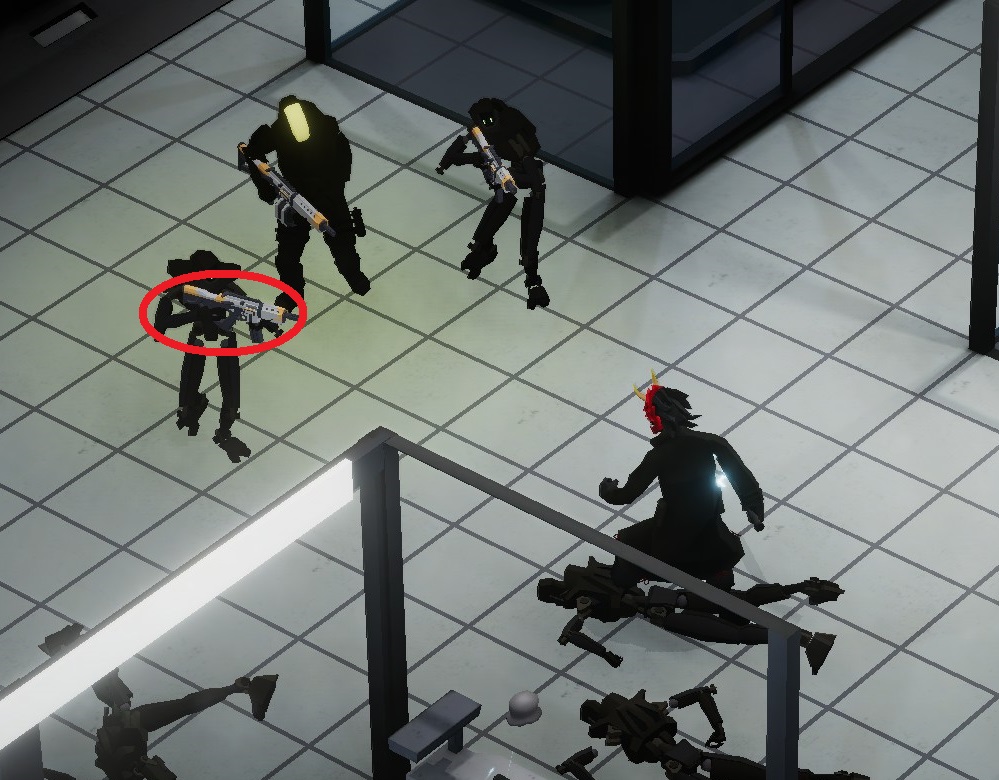
38. Laboratory
The best way to destroy Kingbots that I have found is to use the electro rope.
P.S. If necessary, I can show my video of how I do it.
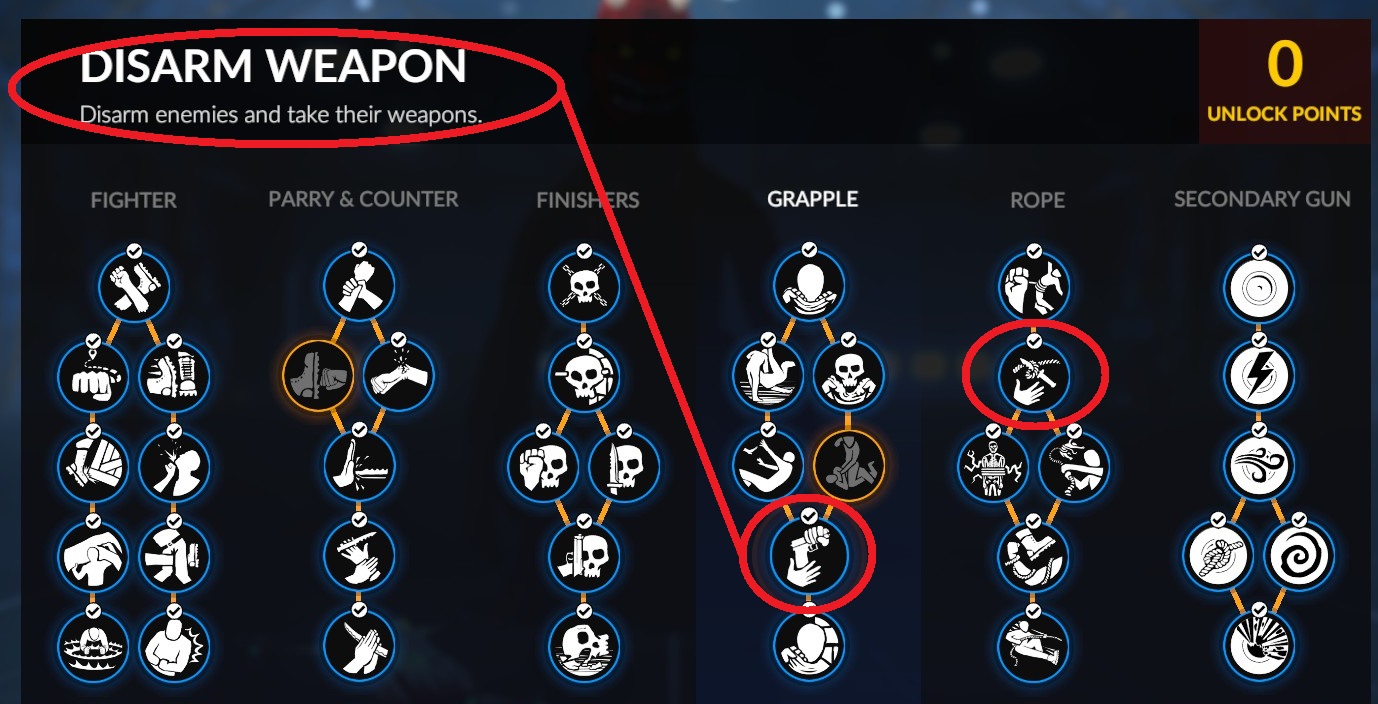
2. Defeat 10 Russians using only counters:
Worked for me only for finishing them with unarmed counter attacks vs armed enemies
no matter how quick i am, it seems this dude will only give 3 ammo. I found out melee kills with the launcher count. be sure not to break it.
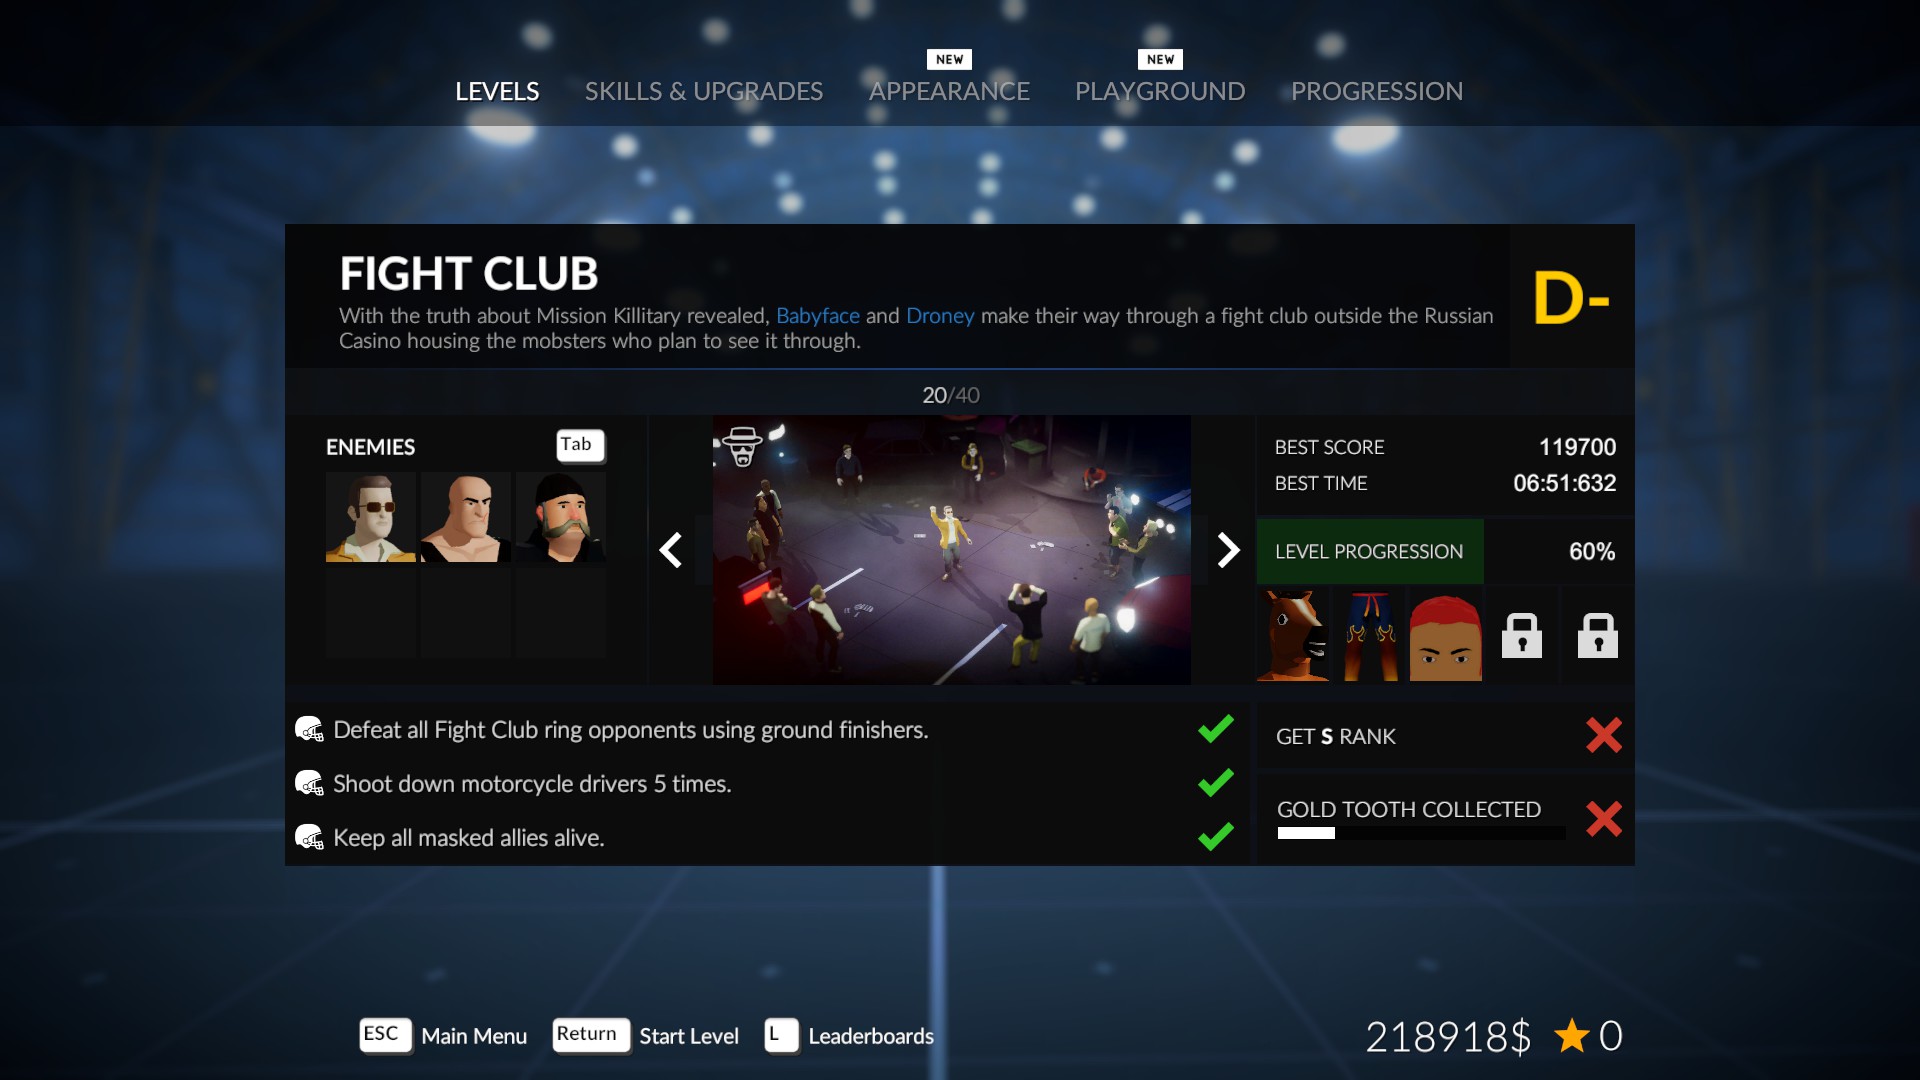
20. Fight Club 1. Defeat all Fight Club opponents using ground finishers:
the first guy is easy to get on the ground, but the second guy cannot be 'leg swept'. get him to ~1/4 life, then he can be grabbed and thrown down (RT).
It took me too many attempts trying to "sweep da leg" to realize it wasnt going to work.
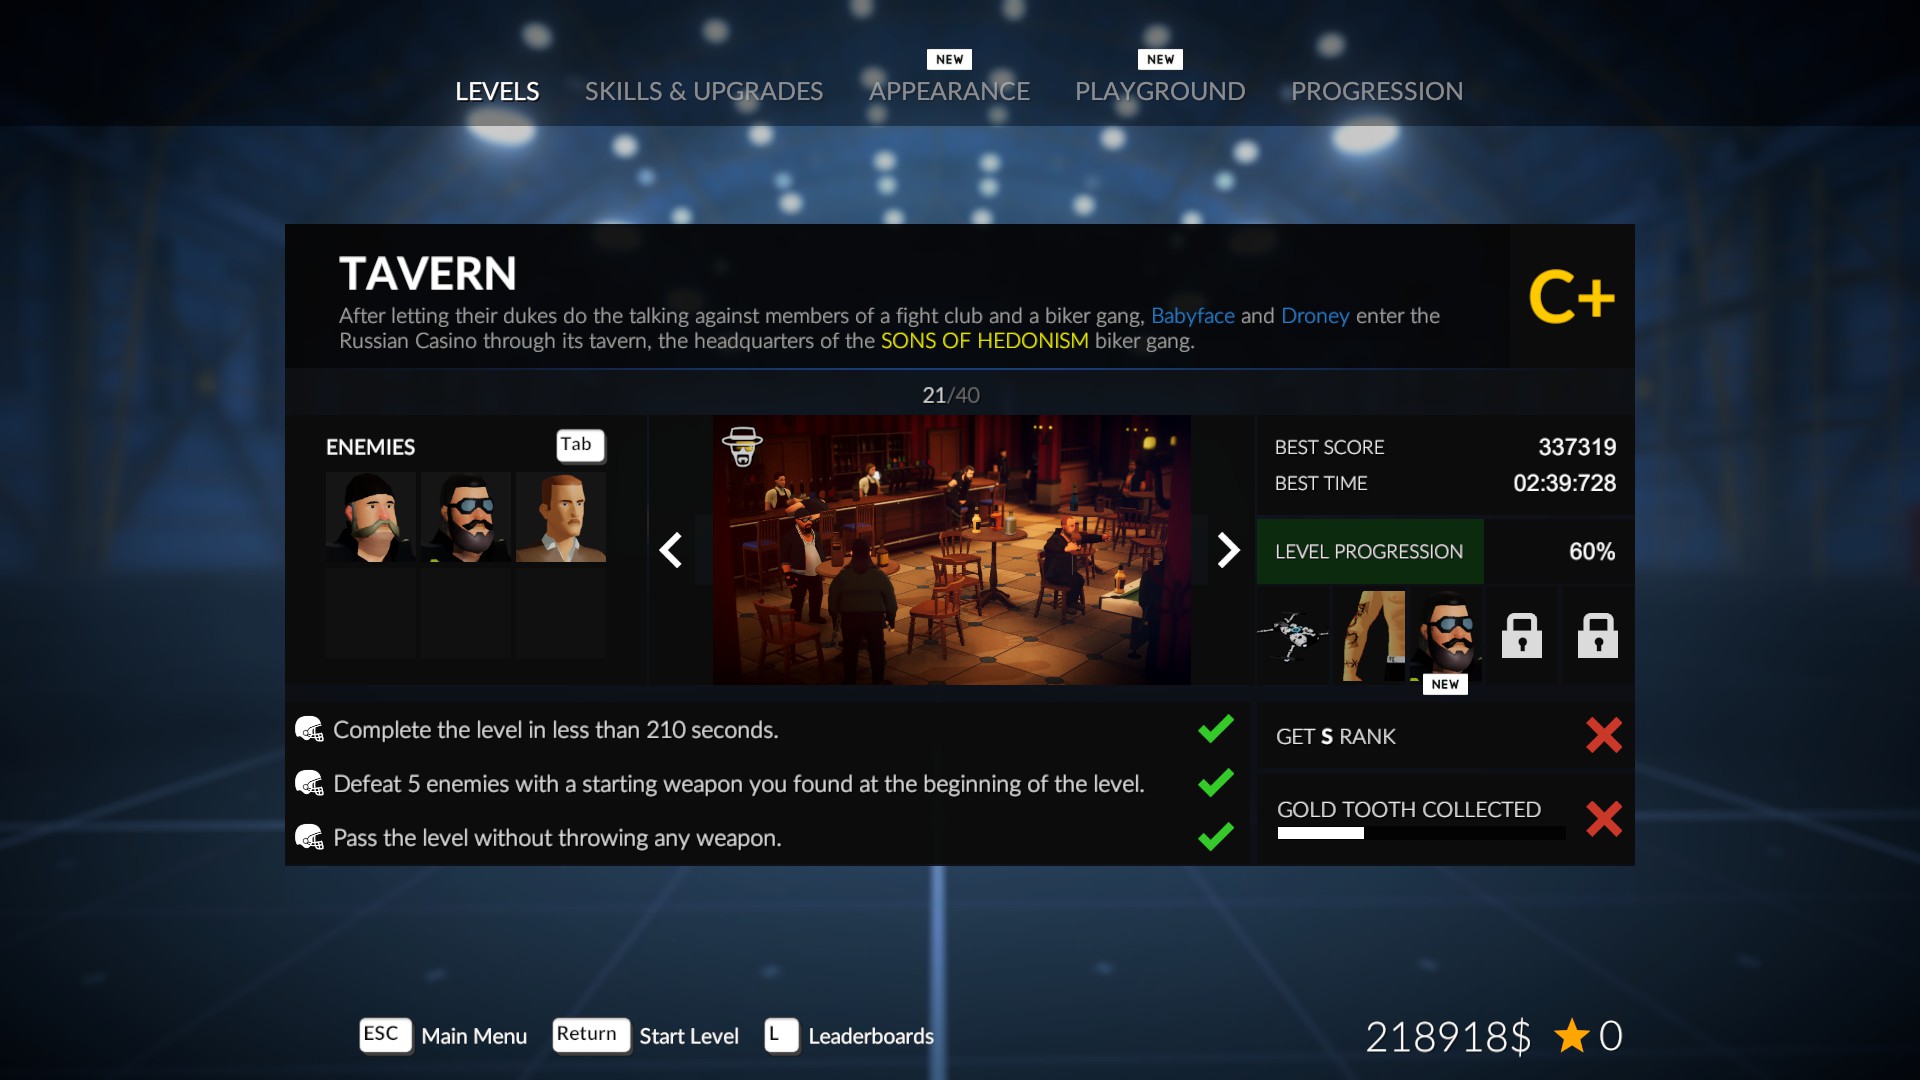
21. Tavern 3. Pass the level without throwing any weapon:
throwing chairs and returning thrown chairs was voiding this for me. kicking stuff was not. jsyk
a tip for the "no weapon" or "rope kill" challenges is just spam the rope electrocute on mobs until they die.
Thank you all for the support and kind words, I appreciate the love for the guide!
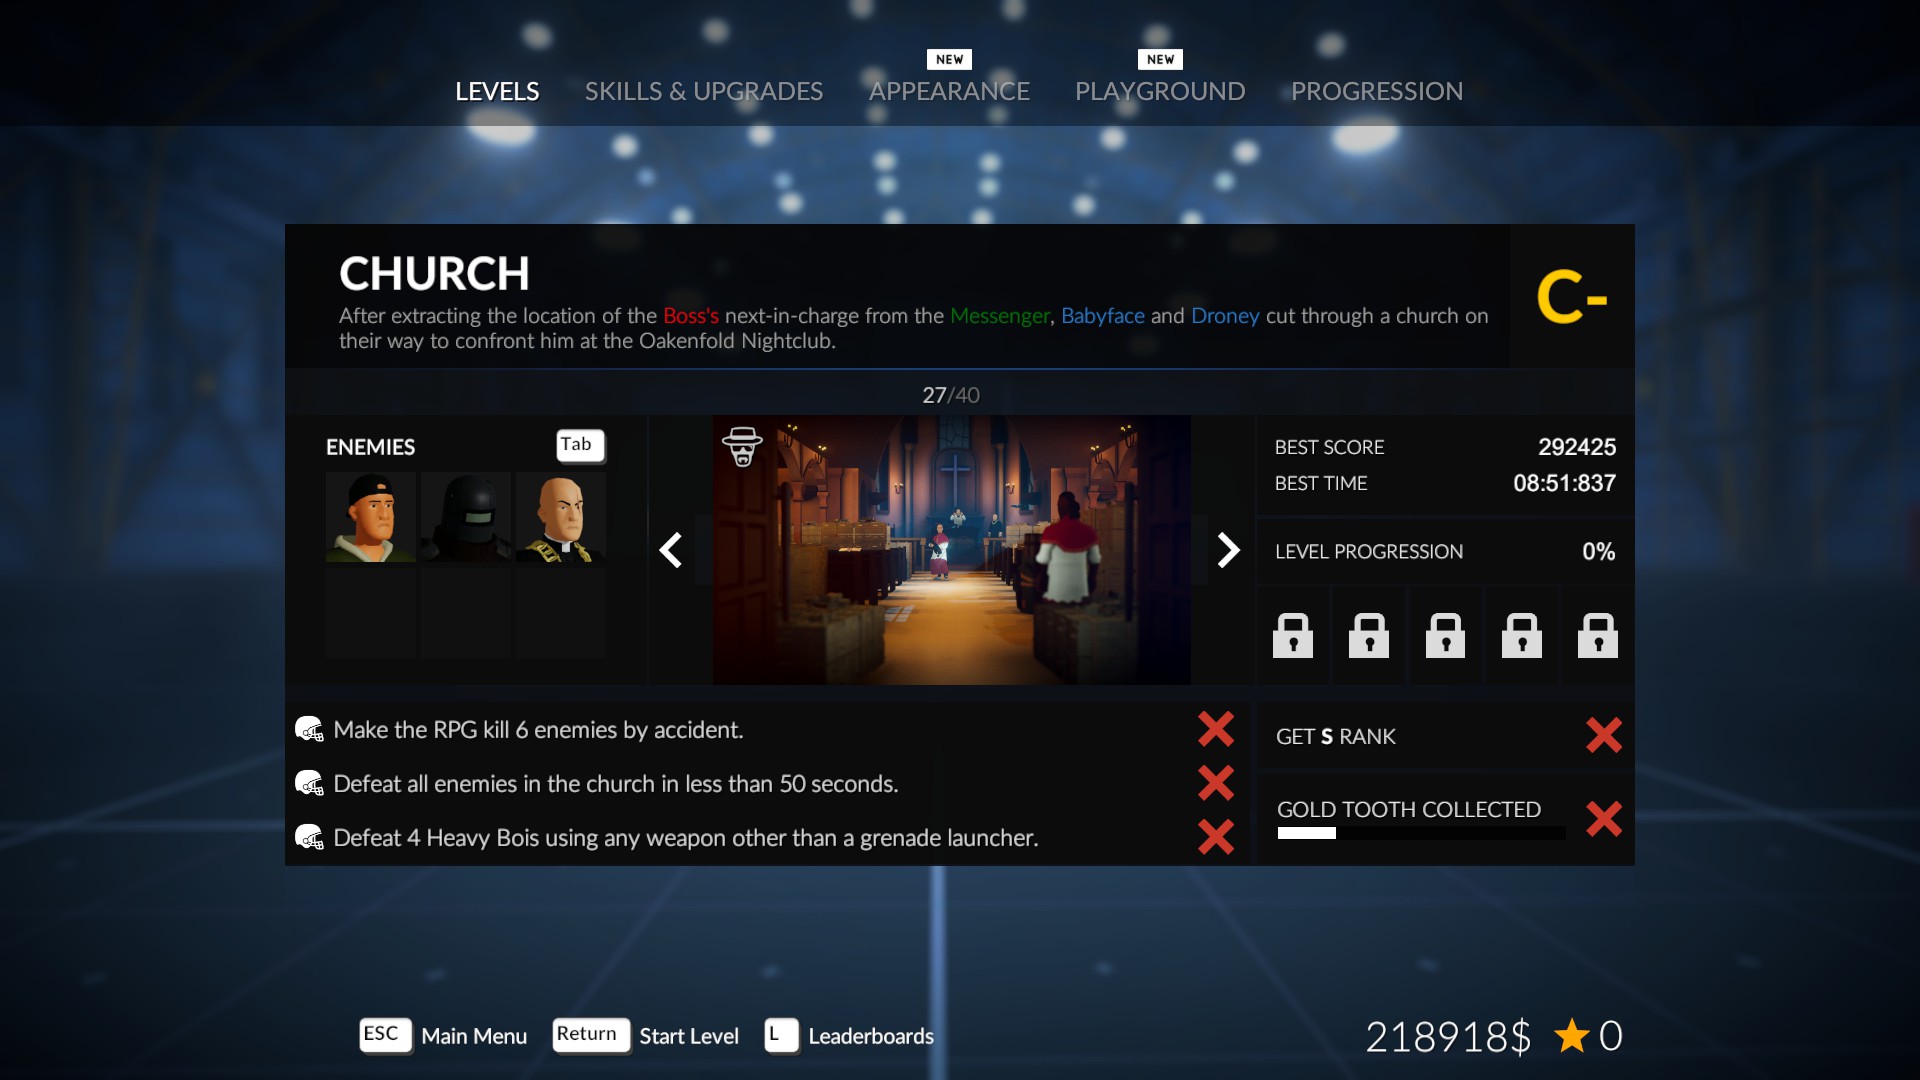
A few things. In the Church level allowing the big boys to get killed by the RPG from the tower doesn't count towards the total. Found that out the hard way.
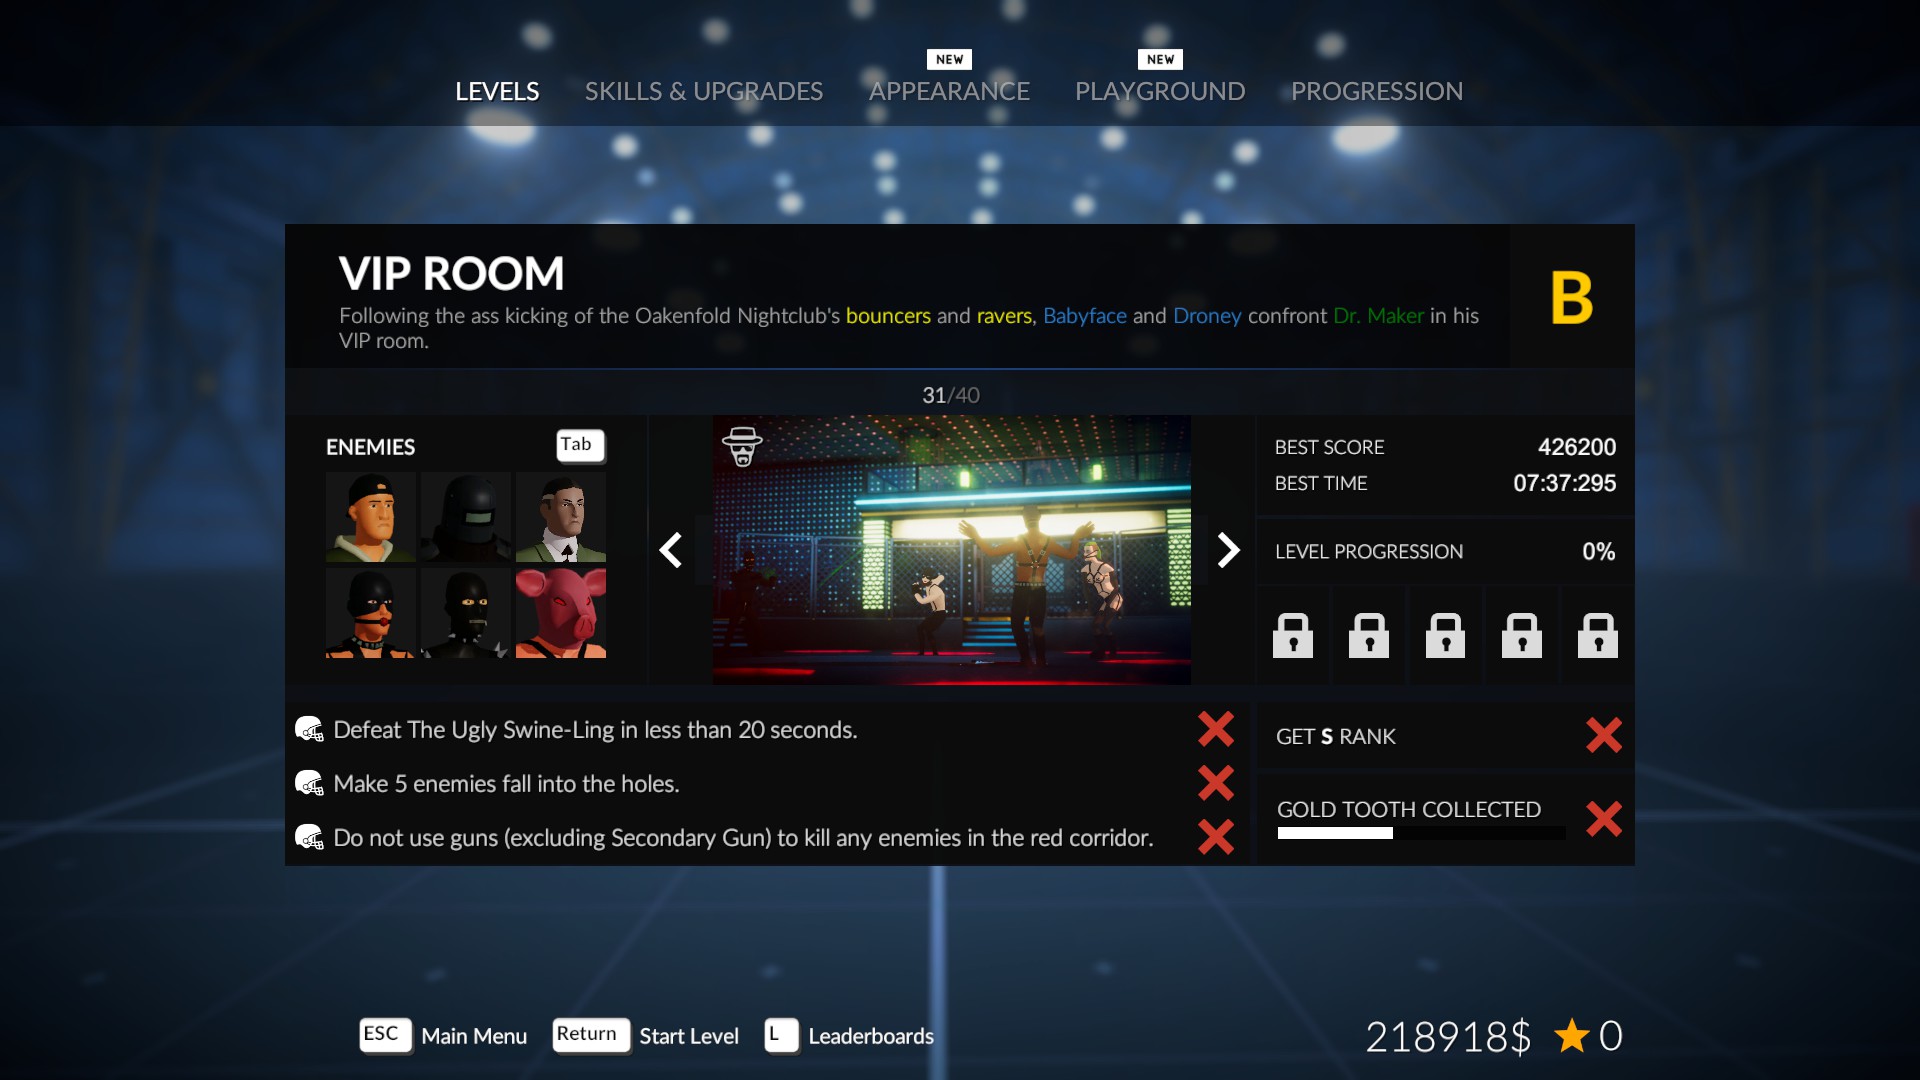
Also in the red corridor, even using guns as melee fails the challenge. I know you've said 'do not use guns' but may be worth adding that detail.
can you be more specific? I'd like to help.