Abiotic Factor

Abiotic Factor

61 ratings
Skill Leveling Guide
By Yaridovich
A guide on the best methods of leveling up each skill.
3
2
2
   
Award
Favorite
Favorited
Unfavorite
Introduction
The purpose of this guide is to provide the more effective ways of leveling up each skill, including some passive methods for certain skills.

This guide was created combining ideas of my own and other ideas shared by other players in the game's Discord server.

If you have any suggestionf of other methods to level up skills, leave them below.

SPOILER WARNING: Some sections of this guide might contain spoilers of some of the later sections of the game.
The Basics
Here is what you'll need to better farm XP for your skills:
  • Human Brain - Acquired by salvaging Human Skills, which can be obtained by chopping up corpses from any human enemy (including zombies). Consuming a Human Brain will grant you a temporary bonus of 15% XP, at the cost of making your character Sick, causing your character to throw up a random number of times. Make sure that you can recover the hunger and thirst lost from throwing up, but the 15% XP bonus is worth it, more so considering that it applies to all skills.
  • Soups - Certain soups can grant XP bonuses to certain skills, so it's highly recommended to make these soups and consume them before training these skills. A list of soups, along with their effects, can be found here[abioticfactor.wiki.gg].
  • Pet Rock - This is a trinket that increases XP gain for all skills.
  • Optional: Kylie - Kylie is a trinket that grants a XP bonus to your lowest skill, making it easier to level up that skill. However, Kylie is only acquired later in the game, during the Hydroplant sector, so it's up to you whether you want to wait until you get Kylie or not.
  • Optional: Wrinkly Brainmeat - This is a trait that I'd recommend always taking, as it gives +20% XP to all skills, making it a lot easier to level up skills.
  • Optional: other XP increasing traits - Other traits such as Decathlon Competitor, Hobbyist Chef and Gardener also grant XP bonuses to certain skills, which can also help in leveling up these skills.
Important: The Leyak
If you're passively training skills after having reached the point in the game where the Leyak starts to show up, this might be a problem, as it's possible the Leyak will show up while you're training and kill your character.

The easiest way to prevent this is to equip the Sensory Companion trinket, as this trinket's effect makes it so the Leyak acts as if it's always being stared at, even from behind. Alternatively, any time you're training skills passively, make sure to bring a X-Ray Turret and a Battery (Industrial), then keep the Tower close. This way, if the Leyak shows up, the Tower will keep it from killing your character (and you may also farm some Leyak Essence in the process, but I'd suggest also bringing a container to store the essence far from your character's position).
Sprinting
XP tick conditions: sprinting

Recommended soup: Bland Pea Soup
Recommended bonuses: Copacetic/Well Fed, Sugar High (obtained from Sugary Slop or Rootbear Float)

Best perks: Red Shift

Training Sprinting just requires you to, well, sprint. There is really no other way around it.

Because of this, the best way to train Sprinting is to just train it passively while playing the game. Consuming Bland Pea Soup before going out helps, in addition to also keeping your hunger and thirst meters topped up in order to keep the Copacetic or Well Fed bonuses, which reduces your Stamina consumption rate (allowing you to sprint more often). The Sugar High bonus (from consuming Rootbear Float or Sugary Slop) also helps in reducing the Stamina consumption rate.

If you want to actively train it, the best place to do it would be the World in the Mirror, since it's a large empty space with nothing in it. Bind a key to Auto Move in the game's keybindings and, in the game's Accessibility settings, turn on Toggle Sprint, then press the Auto Move key and toggle sprint on. When your character reaches the limit of the World in the Mirror, they'll "teleport" and turn around, allowing your character to continue moving. Just make sure they're not moving towards the hole in the center.

Additionally, remember that if your Stamina is low, you can lay down somewhere (long couches, Military Cots, beds, etc.) to quickly recover it.

Strength
XP tick conditions: moving while wearing very heavy armor; moving while carrying some weight (yellow bar - less XP) or heavy weight (light red bar - more XP), but not while fully overencumbered

Recommended soup: A&L Mega-Stew

Best perks: Step Aside, Heavy Weapons, Heavy Armor Specialization

In order to train Strength, your character needs to be moving while having their weight status to be either Heavy Load (yellow weight bar) or Encumbered (light red weight bar) - the latter is better, as it grants more XP per tick. To achieve this, just fill your character's inventory with items to increase the weight bar, either by carrying large stacks or by carrying really heavy items. Just don't let your status be Overencumbered (bright red weight bar), as this grants no Strength XP.

While training Strength, pay attention to when the skill levels up - this increases your character's max carry weight, which will then decrease the weight meter, which can make you go from Encumbered to Heavy Lord or from Heavy Load to nothing. When you level up Strength and your weight status changes, make sure to add more items to your inventory in order to keep yourself Encumbered.

There are 3 different methods to training Strength, 2 of which are passive.


Method 1: World in the Mirror

The World in the Mirror is a giant empty space, making it perfect to train Strength passively. Assign a key to Auto Move, go to the World in the Mirror and press that key, then leave your character moving perpetually, as your character will "teleport" and turn around when they reach the edge of his area. Just make sure that when this happens, they're not moving towards the hole in the center.


Method 2: Ramp Training

This method is less effective than the World in the Mirror because it's a bit more finnicky, but it can also be used much earlier in the game and can also be done passively.

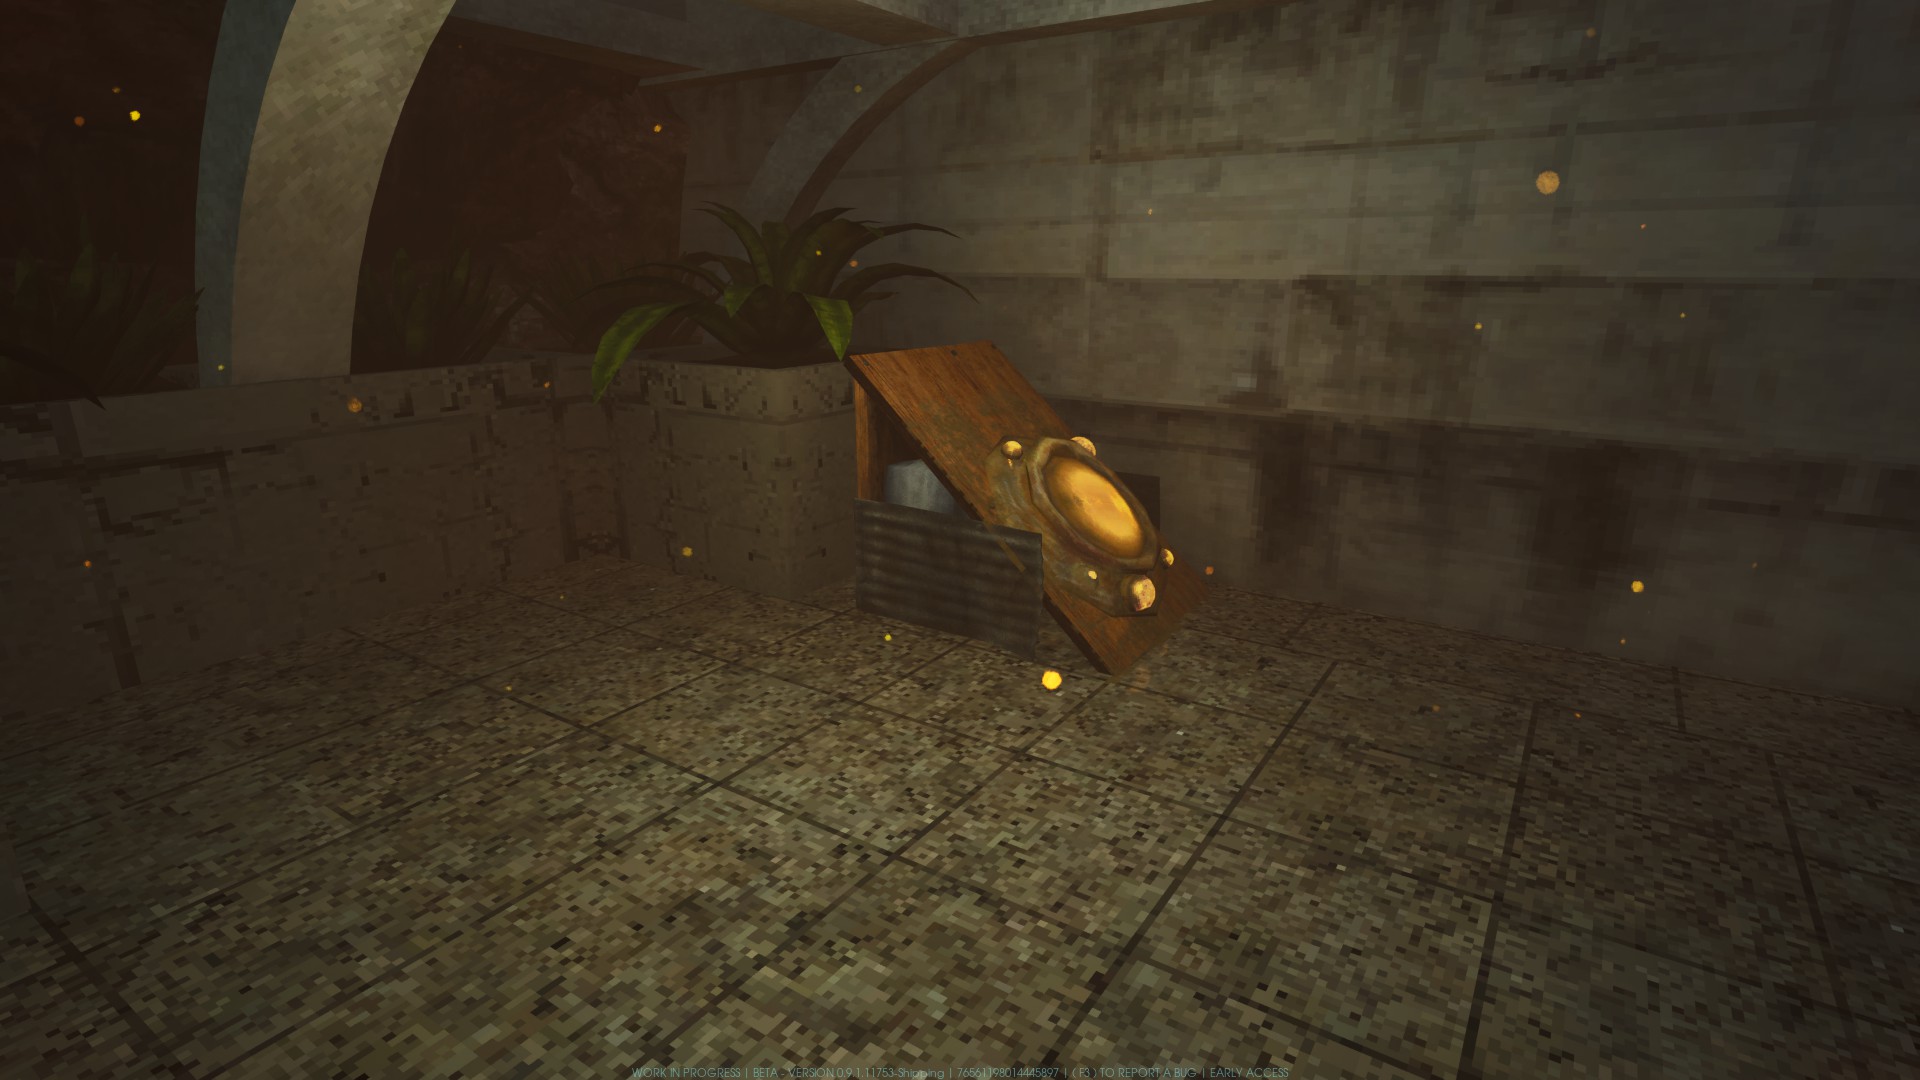
Basically, place a Ramp somewhere with a low ceiling (the screenshot above is from the Tram Station in Manufacturing West) and place a Gaseous Nest on it, then use the Auto Move key to keep your character moving towards the ramp while Encumbered. The Nest will send your character back, so they'll then move towards the Ramp again, constantly generating XP in the process.

However, as mentioned, this method can be finnicky, so make sure that Strength XP is ticking before you leave your character training.

Additionally, you'll want your character to stay as much time in the ground as possible - this is why it's recommended to do this somewhere with a low ceiling, so your character spends as little time airborne as possible, since your character won't earn XP while airborne. For this purpose, it's recommended to also wear a Suit (which slows down your character) and heavy armor, making your character move slower while on the ground. XP ticks based on time moving, not distance, so your character moving slower will not affect how often XP ticks.


Method 3: Vending Machines

This method provides more XP, but cannot be done passively. It also requires Strength 5 in order to have the ability to shake Vending Machines.

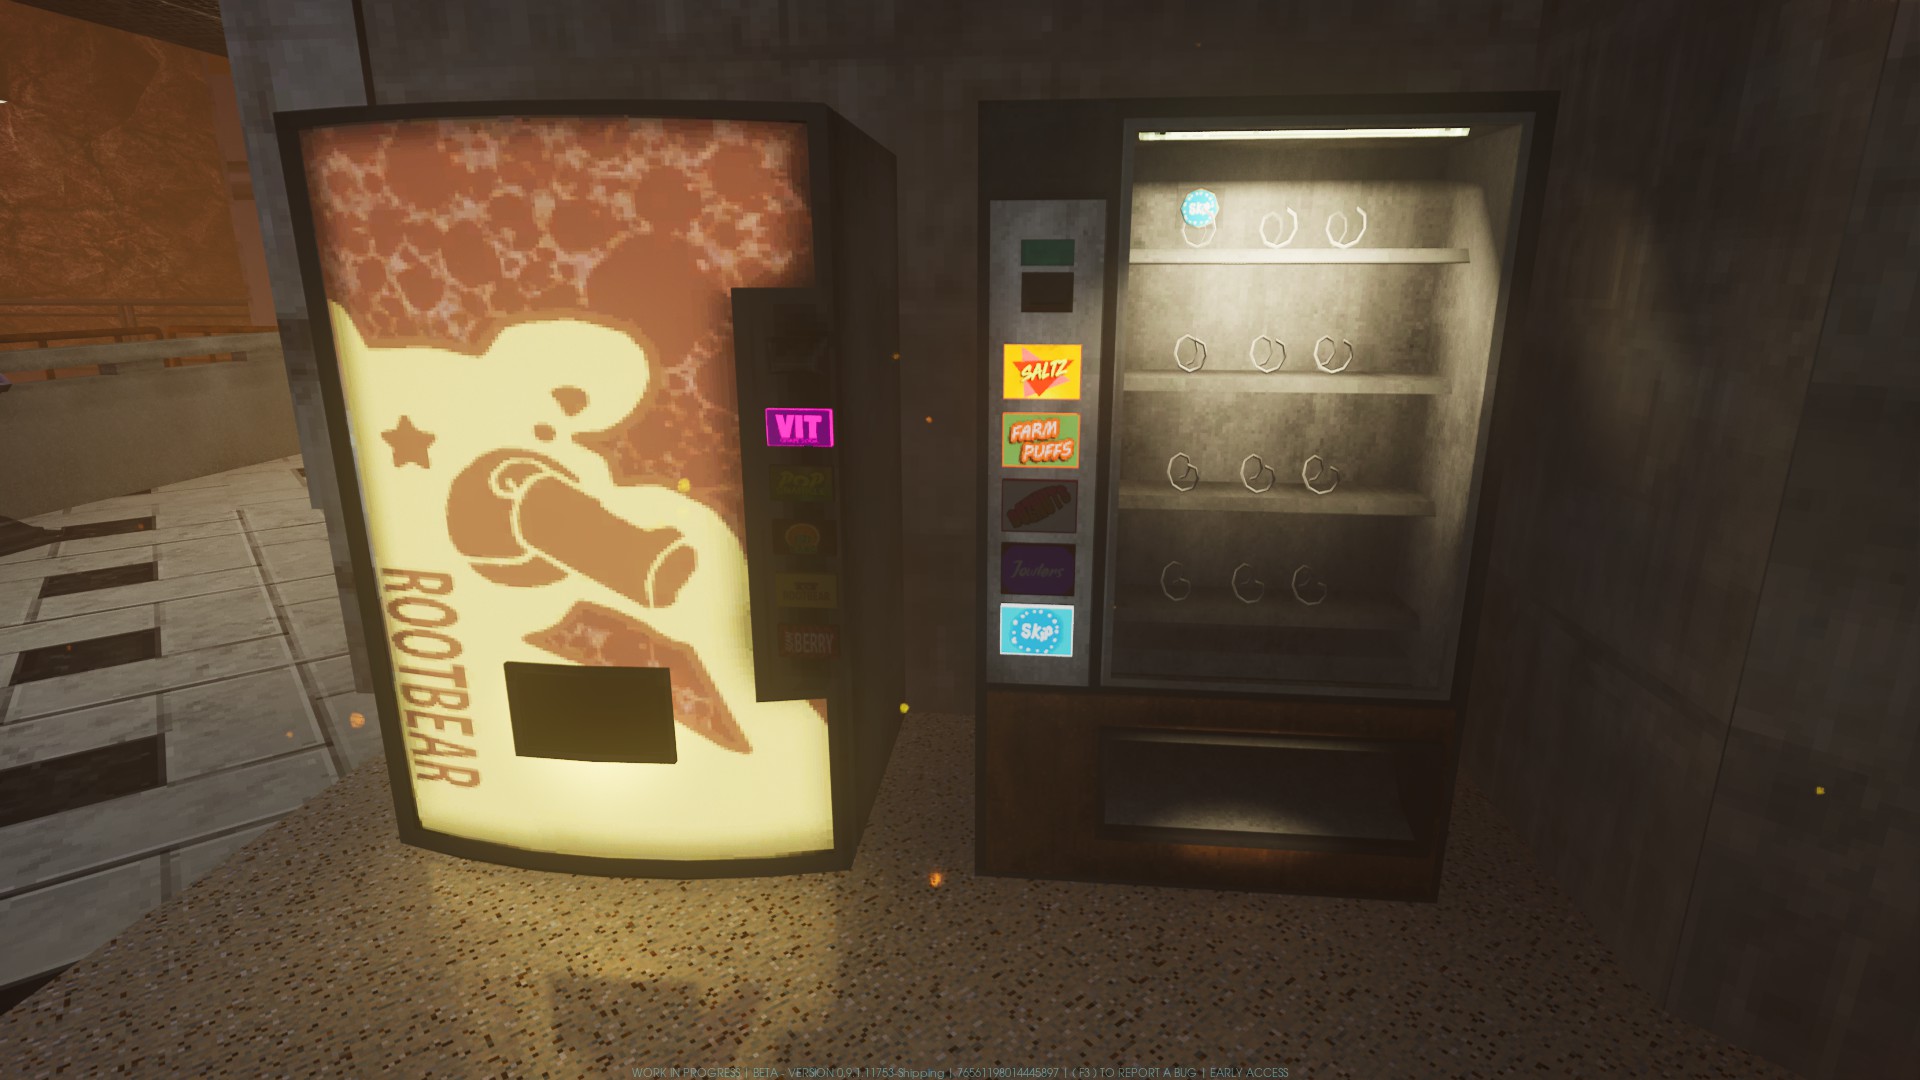
For this method, you'll still want to have your character to be Encumbered. What you'll want to do is go to any place with two Vending Machines, shake one of them, shake the other one, then move around a bit until you can shake the machines again. You'll gain XP for each time you shake the machines, plus some more while moving around.
Throwing


XP tick conditions: throw any throwable weapon or object or pick up a Rubber Band Ball

Recommended soup: None

Best perks: Projectile Pickup, Tinkerer, Terminal Velocity

December 8th update: as per recent Christmas update, leveling up Throwing is now considerably easier, due to the inclusion of Throwing weapons and the game now calculating damage and XP according to the object being thrown and thrown distance, so now there is a way to level it up while fighting enemies.

Unfortunately, the method of setting Fire & Alt Fire to the same keybinding and using this to throw nets very quickly no longer works, as of a recent update. However, the old method of slot swapping still works:


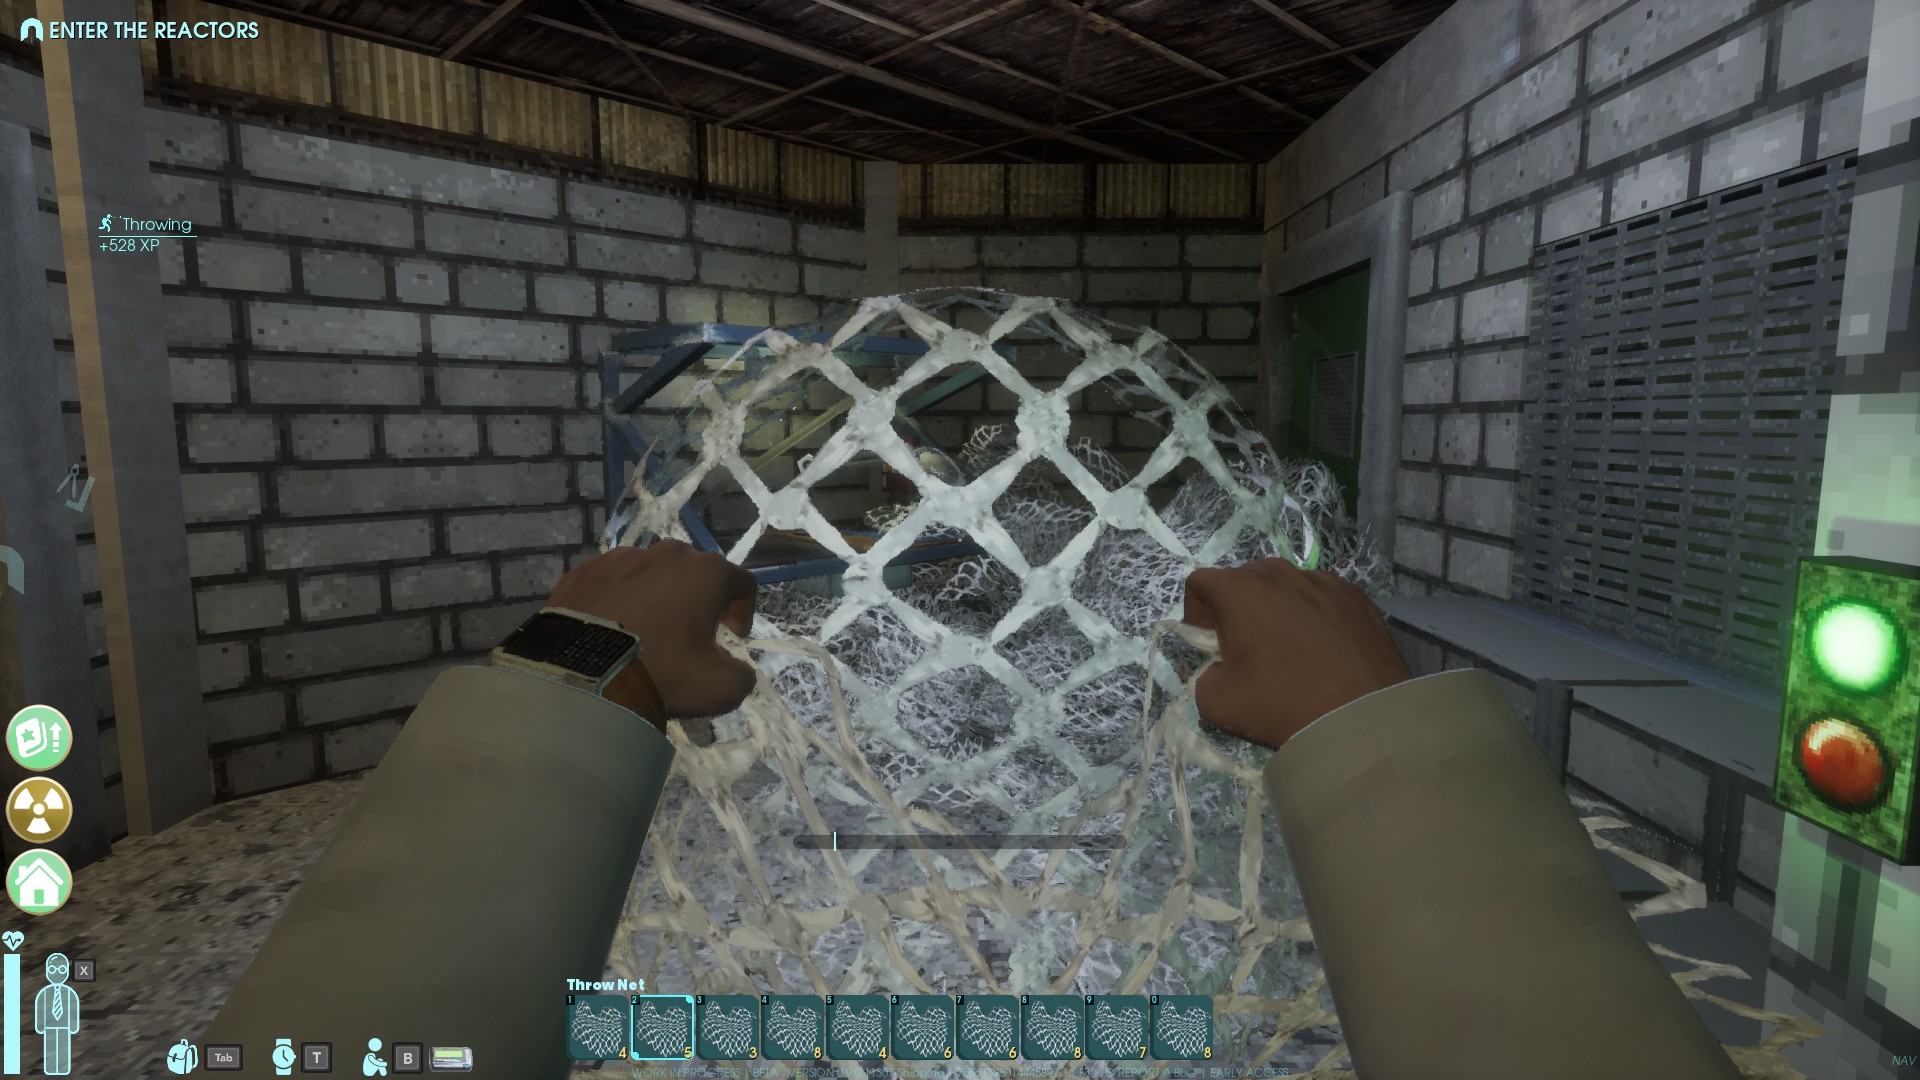
What this method involves is setting full stacks of nets on every hotbar slot and then throwing a net, then immediately switching out to a different item slot, which then cancels the throwing animation, so you can throw another net without waiting for the delay.

After you've thrown all nets, use the Vacuum to recollect all of them, then place it on the Charging Station and restart the process. (or, once you have Projectile Pickup, you can just walk into them to automatically pick them up)

Note that it's possible that a few nets might be lost during the process, I'm unsure why - even as I was doing this in a closed room, I've found that some nets either ended up out of the room somehow or I just couldn't find them.

Also, once you're done training Throwing, if you don't want to keep the nets, you can use them to train Crafting and salvage them all into Paper Scrap.
Sneaking


XP tick conditions: staying crouched near an enemy that has not detected you - more XP is granted if the enemy is moving

Recommended soup: Bland Pea Soup

Best perks: Biotic Shadow, Nimble, Night Worker, Office Assassin

There is actually a great and passive way to train Sneaking XP - stay crouched exactly in the location from the screenshot above, just besides the big sign that's close to the bank's entrance in Flathill. The Composers that walk around give a lot of Sneaking XP if you sneak around them (the ones that stand still give considerably less). If you stand crouching close to the Composer from the screenshot above, as it walks around, it'll give you a lot of Sneaking XP. Just don't get any closer or you'll aggro it.

You can also set up a small station inside the bank to sleep, eat more soup and use the toilet when needed.
Blunt Melee & Sharp Melee
XP tick conditions: strike any enemy or breakable object - XP is based on hit, not damage

Recommended soup: Meaty Stew

Best perks (Blunt Melee): Power Attack, Power Hungry
Best perks (Sharp Melee): Clean Cutter, Slice N' Dice

There are two ways of leveling up Blunt Melee and Sharp Melee. The first, as one would expect, is just fighting enemies. The second is by destroying breakables.

When striking breakables like boxes and computers, you'll earn Blunt/Sharp XP. And if there are multiple breakables close to each other, you'll earn XP for each of them that you strike.

Based on this, what I'd do is always carry a Hammer and a Knife on me, then use those on breakables around. There are two reasons why I used those - the first is that both swing in an arch, allowing them to hit multiple objects (rather than something like the Shiv, which only has a stab attack so it can only hit one breakable at a time). The second is that they have low damage, so they take multiple hits to break objects. (However, note that as your Blunt Melee and Sharp Melee skills level up, you'll be causing more damage, so even the Hammer and the Knife will take less hits to break objects)

The only issue with this method is that they break often, so you'll either need to repair them often, carry Duct Tape with you (to repair them without the need of a Repair and Salvage Station) or carry multiple Hammers/Knives.

Besides this method, the only other recommendation is to just fight enemies. Use a low damage weapon so it takes more hits to kill them (and you get XP for each hit).

Important: Do not use broken Hammers or Knives to break objects, as they do not generate XP on hit.
Accuracy
XP tick conditions: hit any enemy - XP is based on hit, not damage

Recommended soup: Sustenance Soup
Recommended gear: Order Helmet

Best perks: Straight as an Arrow, Mil-Spec / Bio-Metric Armwraps, Bio-Mimic Armwraps Recipe

Unlike Blunt Melee and Sharp Melee, unfortunately Accuracy cannot be trained by shooting breakables, so your only method of training it is to shoot enemies.

Fortunately, there is something that you can do to earn more XP. You'll need a gun with a lot of ammo for it - the Pistol is an option if you have a lot of 9mm ammo saved up, but you can also use the Grinder since Grinder Discs are easy to make (and you can recover some of them too). While shotguns can also be used, they deal considerably more damage and don't earn any extra XP compared to other guns.

The idea is that, again, you earn XP per hit and not based on damage caused, so go up to enemies and shoot them anywhere except for the head. The idea being that you want to get the most XP from each enemy so you have to rely less on enemies respawning to continue training. (Alternatively, you can go into the sandbox settings and increase the enemy spawn rate)

You can also use a SMG instead of the Pistol if you're using 9mm ammo, since the high fire rate means you'll tick XP a lot more often. However, I recommend running up to enemies and shooting them at point blank range, to minimize ammo wasted. Otherwise, you might miss some shots due to enemies moving and the gun's recoil.

Finally, while training Accuracy, if you're using the Pistol, SMG or a shotgun, you can equip the Sigil of the Hearth in order to mitigate some of the ammo you spend.
Reloading
XP tick conditions: reload any weapon

Recommended soup: Sustenance Soup
Recommended gear: Order Helmet

Best perks: Basic Geometry, Speedloader

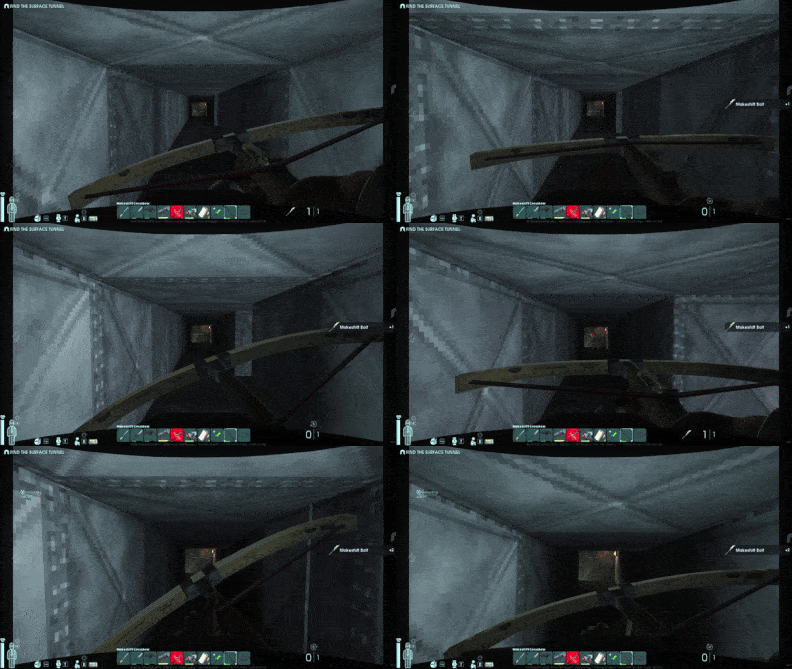
Reloading guns give a lot of Reloading XP on each reload, so the process is simple: go to your inventory, empty the gun's magazine, then immediately reload the weapon. When the weapon reloading animation is about to finish, hold R, then release it once the weapon is done reloading, so it'll instantly reload again (just make sure to not move the mouse over any ammo types). You can also do this as soon as you have access to the Makeshift Crossbow.

This is unfortunately a pretty boring and tiresome process since all you're doing is unloading magazine and then reloading, but due to the high XP earned per reload and the amount of bonuses you can accumulate (Human Brain + Sustenance Soup + Order Helmet), you can level it up pretty quickly.

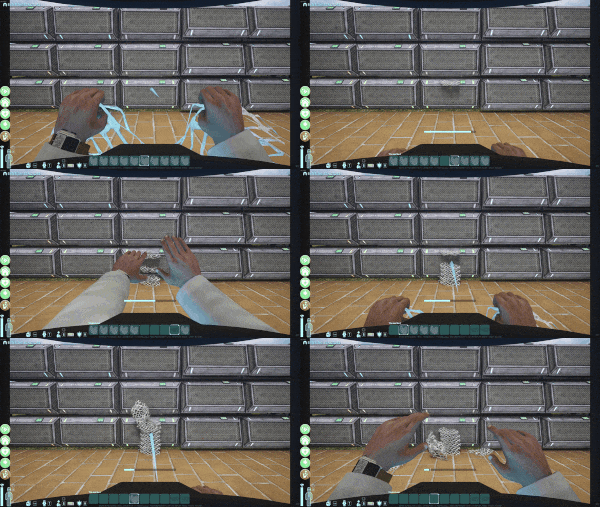
One recommendation is to train this skill passively while exploring the facility - just hold R to reload your weapon, even if the magazine is full. This way, you'll generate Reloading XP constantly without having to actively train it.

The gif below shows this recommendation in practice, training Reloading while exploring around.

Fortitude

XP tick conditions: receive any damage - the more damage taken, the more XP received

Recommended soup: None

Best perks: Habituation, Reflective Mantle

The best method to train Fortitude is... Dying a lot. Although it has to be death from damage, so dying from falling into pits won't work.

The most effective way to do this is to set up a bed right close to the electrified water at level 3 of the Offices Sector in such a way that, when you respawn on that bed, you can move forward and immediately fall into the electrified water.

What you'll do then is sleep on that bed to set it as a respawn point, go into the water, let it kill you, then respawn and repeat the process. While this is extremely repetitive, it's also a very fast way of leveling up Fortitude, as you gain XP based on how much damage you take - the electrified water cause a lot of damage and ticks often. Note that the last tick won't give you any XP, since you don't get XP on death, but all other ticks will.

Alternatively, there is a similar method that is slower but doesn't require moving, which is to place your bed directly underneath a cable with electric sparks (there is one at level 2 of the Office Sector), sleep on the bed to set it as a respawn, then when your character respawns, they'll be taking damage from the cable and all you need to do is click the respawn button.

Important notes:
  • Do not wear any gear with durability when doing this, as it'll take damage when dying. (Alternatively, you can turn off durability damage on death in the sandbox options)
  • Do not use any temporary bonuses like consuming Human Brains, as bonuses are lost on death.
Crafting
XP tick conditions: craft, repair or salvage any item

Recommended soup: Balanced Stew

Best perks: More Bench, Mega Bench, Eye For Detail, Super Bench

There are two good ways of earning Crafting XP: crafting items and salvaging items (in a Repair & Salvage Station, not the Auto-Salvager). And as you accumulate resources, you'll end up with plenty of options to craft and salvage.

So the best you can do is eat a Human Brain, have some Balanced Stew, then go on a crafting/salvaging spree. Here are some recommendations:
  • Salvage Cracked Flashlights into Military Electronics, then salvage Military Electronics into Tech Scrap
  • Use Cloth Scrap to craft Throwing Nets, then salvage Throwing Nets into Paper Scrap, then craft Paper Scrap into Cloth Scrap (there will be some loss of Cloth Scrap in the process but it's a great way of recycling items and gain Crafting XP)
  • Salvage Rotten Food
  • Use Wood to craft Paper Scrap
  • Use Paper Scrap to craft Cloth Scrap
  • Craft multiple Water Bottles, then salvage them - each bottle requires 1 Plastic Scrap and then also salvages into 1 Plastic Scrap, so they spend no resources (you can also position your character in front of an Auto Salvager and craft Water Bottles until they fill up your inventory so that any extra Water Bottles you craft fall into the Auto Salvager, so you can then easily collect all the Plastic Scrap generated by the Auto Salvager and then continue to craft more Water Bottles)
  • Use Wood & Glass Scrap to craft Test Tubes (also see tip below)
  • Craft Glowsticks - better if you have Throwing 12 so you craft 2 Glowsticks at once - and then scrap them. However, note that Glowsticks require Test Tube and Bio Scrap to craft. The conversion of Test Tube > 2 Glowsticks > 2 Glass Scrap means that you'll end up with more Glass Scrap, at the cost of Wood (if you're crafting Test Tubes) and Bio Scrap
Construction
XP tick conditions: Build, dismantle or repair any furniture - dismantling gives more XP and grants XP even if the furniture is destroyed

Recommended soup: Balanced Stew
Recommended gear: Hard Hat

Best perks: Razer With Care, Castle Doctrine

The best way to earn Construction XP isn't to build, but to package items, so going on a packaging spree is a great way of earning Construction XP.

Places like the Data Farms at level 2 of the Office Sector are great for going on a packaging spree - just go to one of these places and package absolutely everything you see.

What I would recommend is waiting until you get to the Furniture Store, as it's the place with the most items you can package and, as long as you don't press any of the buttons, no enemies will bother you while you're doing so. Then go to the Furniture Store (you can set up a Crafting Bench right close to the portal so you can teleport there), package everything and wait until portal worlds reset. Each time they reset, go back to the store and package everything again. This will allow you to max Construction easily.

Since many of these items won't break when you package them (specially with higher Construction levels), If you want to obtain some resources during these trips, you can bring an Auto-Salvager with you, connect it to a battery and then drop everything that doesn't break in there. Don't bother with deploying these items and then building them, as the XP you earn by doing so isn't worth it - packaging earns you a lot more XP.
First Aid
XP tick conditions: use any healing item

Recommended soup: None

Best perks: Rad Remover, Aftercare, Combat Doctor

Unfortunately, there is no good way of leveling up First Aid other than just using healing items.

If you have a large stock of Bio Scrap and Anteverse Wheat, you can make a lot of Healing Syringes and use them constantly while standing in a source of small damage (like in front of a laser), but even then, it isn't very effective.

You can also make lots of Splints, break your bones on purpose from fall damage and then use Splints, but this ends up falling in the same situation as Healing Syringes. Although Splints are slightly easier to make - they require Duct Tape, which then require Enethiol to make and Enethiol isn't too easy to find, but each time Duct Tape is crafted, you get 5 of them, making it easier to craft a lot of Splints (and Splints can also stack up to 8, while Healing Syringes only stack up to 3). If you want to try this method, I'd recommend setting it up close to your Crafting Bench so you receive the benefits of your Bench's healing area (granted that you have the corresponding Bench upgrade), so that you'll heal some of the damage taken by fall damage. Setting up a Ramp with Bridges can be useful to get high enough to fall and break bones while staying inside the Bench's healing zone.

It's also worth mentioning that, when playing multiplayer, healing other players earns a LOT more XP than healing yourself, so this may be a viable way to train First Aid, if the group wants to have a dedicated doctor in the group. One player can purposedly take fall damage (which also generates Fortitude XP) while getting healed with Splints and Healing Syringes.

Alternatively, another way of leveling up First Aid is to stand close to a source of radiation and constantly use Iodine Tablets or Pentetic Acid Syringes. (also better in multiplayer since the Syringes can be used in other players and generate a lot more XP than using it on yourself)

If eventually there is a better way of leveling up First Aid, I'll update this section.
Cooking
XP tick conditions: fully prepare any food item

Recommended soup: None

Best perks: Soupsmith, Hearty & Oven Recipes, Serving Seconds

Cooking can be leveled up while playing the game normally - keep your fridge stocked up on meats and/or fish filets. If there are any meats or filets that are about to spoil, cook them - don't let anything go bad. If the fridge is getting too full, then cook some excess meat. This will level up Cooking pretty quickly while you're playing the game.

If you want to actively train Cooking, then fill up a fridge with meats and/or fish filets and set up multiple stoves (I used 4), then eat a Human Brain and cook them all. Goes without saying, but don't let anything burn, as you get less XP for doing so.

While soups and other food recipes are better sources of sustenance, they're less effective for earning Cooking XP - cooking lots of meat and fish is the best way of earning it.

Finally, if you don't want to craft Makeshift Stoves, the kitchen in the Waterfall Apartment has 4 stoves with a total of 16 stove burners, in addition to a Refrigerator and a power socket, making it an ideal alternative to set up a cooking station to level up Cooking.
Agriculture
XP tick conditions: grow (not harvest) any plant, water a plot or pick up any Agriculture-related items (such as Anteverse Wheat)

Recommended Soup: Veggie Stew

Best perks: Prudent Plucking

Agriculture is pretty easy to level up, both because it levels up passively as your crops grow and also because you gain Agriculture XP from collecting plants and seeds around the world.

You can level it up passively as you play the game (just remember to keep your crops watered), but if you want to actively train it, then there are two places you can do so: the Wildlife Pens in the Cascade Laboratories area and the Mycofields. In these locations, there are lots of Anteverse Wheat to collect (in addition to Rope Plant Seeds in the Mycofields). In the Mycofields, these items respawn every portal world reset, while in the Wildlife Pens, they regrow over time. Some can also be collected from the Far Garden, but considerably less.
Fishing
XP tick conditions: obtain any fish

Recommended food: Roasted Nori Snack
Recommended gear: Lucky Fishing Hat

Best perks: Fish Sense, Tacklebox, Lucky Fishing Hat, Bait and Switch

Fishing is pretty easy to level up, but requires patience, as there is no other way to earn Fishing XP besides accumulating bonuses and catching fish.

The best that I can recommend is to choose locations where you have less chance of obtaining trash items (as they give less Fishing XP) and is less likely to be bothered by enemies. Far Garden and the pool of Anteverse Juice in the mines in Manufacturing West are two good locations.

Using bait also helps, since it increases the chances of catching the fish for the bait used. You can also use Bait 98 and Portal Fish Bait to help catch rare fish, since those give considerably more Fishing XP, but these baits are hard to make due to the materials necessary to make them.

Fishing training can also be paired with Cooking training: collect fish, bring them back to base, prep the fish, store the filets in a fridge, then cook them once the fridge is full or if they're about to go bad.
Credits
In addition to the Discord community, here's a shoutout to everyone who's reached out to provide additional advice for the guide:
  • Wavuvi
  • Goobius
  • Timboy
  • Torquin
  • Sly-Scale
  • WhiteFang784
  • Aku
Changelog
  • October 5th, 2024: rewrote the Throwing section with a much faster method and made adjustments to other sections according to some suggestions provided by other players.

  • December 1st, 2024: updated the Crafting and First Aid sections with some tips by Sly-Scale.

  • December 8th, 2024: updated the Throwing section according to the new updates to the skill and the inclusion of Throwing weapons; updated Reloading according to a tip from WhiteFang784 to hold R to reload on a full mag (instead of having to access the inventory); updated the Basics section to include the Pet Rock and a tip about using the Sensory Companion against the Leyak.

  • December 23rd, 2024: updated the Crafting section with a tip from Aku regarding the use of the Auto Salvager while crafting Water Bottles.

  • January 18th, 2025: Included a gif showing the method of training Reloading while exploring (based on WhiteFang784's suggestion from before).

  • January 26th, 2025: Included the XP tick conditions for each skill.

  • February 13th, 2025: Updated the Throwing section, as the method of using Fire + Alt Fire no longer works. Also included a list of best perks for each skill.
46 Comments
Rage-filled Ani 18 Jul @ 5:49am 
slap a bed under a chopinator, setup a autoclicker and just afk fortitude train
iamc24 10 Jul @ 10:48am 
The effects of the pet rock and Kylie trinkets got swapped in the Dark Energy update. Now the pet rock has the bonus to the lowest skill and Kylie has the bonus to all skills. Also, Kylie's bonus is a 10% increase if you want to include that.
cubedotzip 3 Jun @ 7:59am 
maybe i am stupid, but i gain 15 xp per death in electrified water and over 70 when dying from laser. maybe there was a patch that fixed it idk
cubedotzip 3 Jun @ 7:26am 
i was talking about afk farming

"Alternatively, there is a similar method that is slower but doesn't require moving, which is to place your bed directly underneath a cable with electric sparks"

sparks deal more damage but give same xp, so laser is more prefferable
no 3 Jun @ 6:53am 
Also, depending on your sandbox settings you might naturally max out Strength with Trans-Kinematic Researcher around mid-to-late Manufacturing. A very convenient job to have.
no 3 Jun @ 6:51am 
I'm pretty sure dying to electrified water takes at least an hour to get to max Fortitude. Ever since they added XP multipliers to jobs, I've almost always taken Trans-Kinematic Researcher over Summer Intern as it gives a +75% Fortitude XP multiplier (almost double) and +50% Strength XP. Saves quite a lot of time, whenever I do decide to commence the lengthy task of farming Fortitude.

Also, if you have a ramp, you can place your bed on it facing towards the water then take the ramp back to lower the bed back down to somewhat ground level. You can then place a Jump Pad on the bed, which may require a few configurations to be able to sleep and wake up on the pad, which will automatically launch you into the water everytime you wake up, eliminating the need to walk forwards.
Yaridovich  [author] 3 Jun @ 6:02am 
@cubedotzip - You get Fortitude XP based on how much damage you take. The method with the electrified water is much faster.
cubedotzip 3 Jun @ 5:50am 
and fortitude, electric sparks are destroying you. there is a laser in office sector that deals literally one damage. same method but feels easier in my opinion
cubedotzip 3 Jun @ 5:13am 
for throwing, just take one single net, set some autocliker to LMB and E at the same time (i personally use x-mouse button control), and then just look at the ground. if you dont have any other nets in your inventory you can pick it up and throw it almost instantly, roughly 5 nets per second equals 30-35 exp per second. took me like 20 minutes to get lvl15
Yaridovich  [author] 29 May @ 6:32am 
@Doha - Happy to help!