
Install Steam
login
|
language
简体中文 (Simplified Chinese)
繁體中文 (Traditional Chinese)
日本語 (Japanese)
한국어 (Korean)
ไทย (Thai)
Български (Bulgarian)
Čeština (Czech)
Dansk (Danish)
Deutsch (German)
Español - España (Spanish - Spain)
Español - Latinoamérica (Spanish - Latin America)
Ελληνικά (Greek)
Français (French)
Italiano (Italian)
Bahasa Indonesia (Indonesian)
Magyar (Hungarian)
Nederlands (Dutch)
Norsk (Norwegian)
Polski (Polish)
Português (Portuguese - Portugal)
Português - Brasil (Portuguese - Brazil)
Română (Romanian)
Русский (Russian)
Suomi (Finnish)
Svenska (Swedish)
Türkçe (Turkish)
Tiếng Việt (Vietnamese)
Українська (Ukrainian)
Report a translation problem


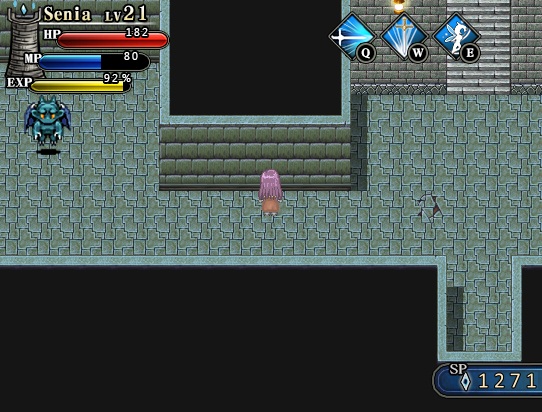
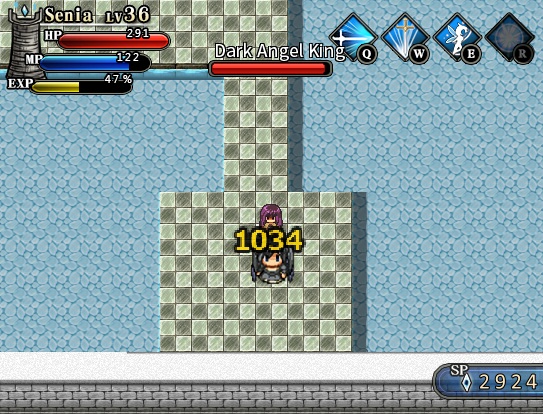


this is no longer true but most of them are still restricted to an smallish area that they can't leave so similar strats can be used
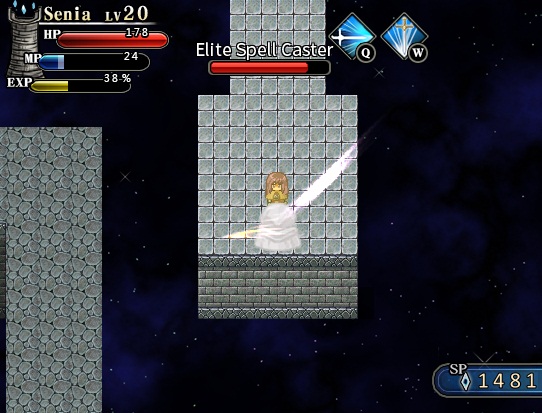
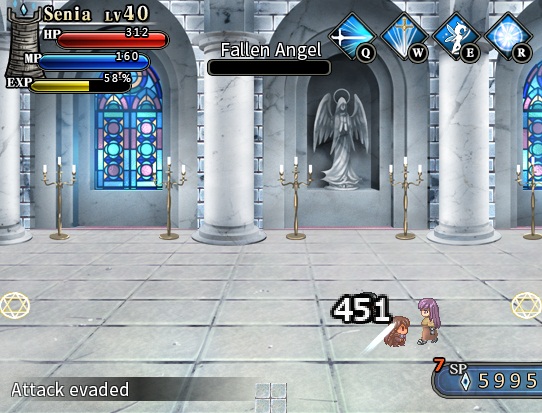
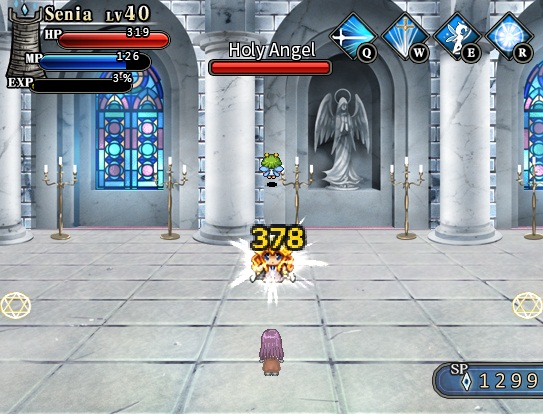
The final boss is still impossible on Hard mode. (Apparently she is beatable. You just need to pray the nuns don't ever hit you into her lasers. ¬_¬)
final boss is really not that hard on hard mode is is more the sharp contrast from the rest f the game outside floor bosses being on about normal difficulty maybe a little lower than
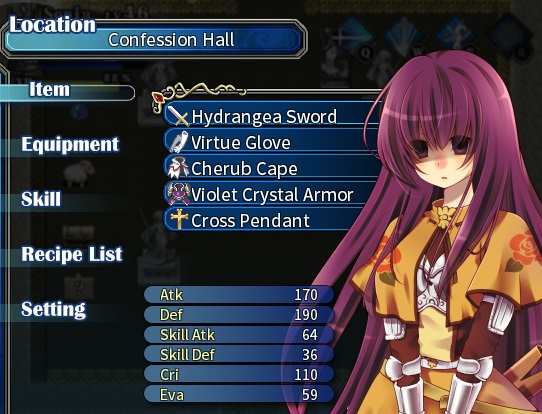
and i forgot you can change off of the cross pendent during the eternal fight
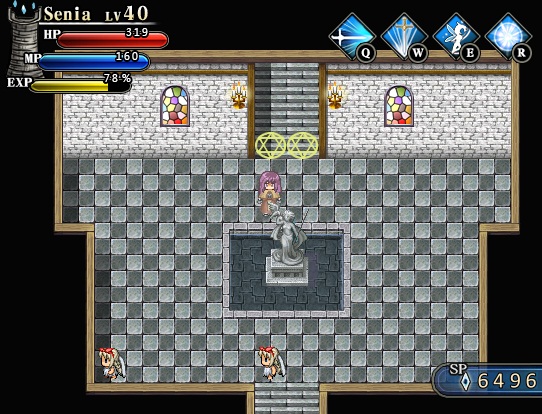
the biggest issue i had was the nuns having a hit box from when they start spawning