Train Simulator Classic 2024

Train Simulator Classic 2024

275 ratings
The Simple guide to - Scenario Creation
By simonmd
This guide is to help those get to grips with the basics of scenario creation. After spending many, many hours being frustrated over the simplest things while I taught myself to do it, I thought I'd share some of the things I have learnt to hopefully encourage more people to get creative with their Train Simulator.
3
5
2
   
Award
Favorite
Favorited
Unfavorite
Getting Started
So where do you start? Well, right in the middle of the main page, you'll see the 'Build' button,

Then you'll be at the main editor page, click the tab marked 'Scenario' and then select the route you want to write a scenario for. Here, i'll be using the GEML route and once the route is selected, you can click the 'New Scenario' button at the bottom of the page. This will open a window where you can name your scenario (you can change this later if you wish) and also options to select what type and where to start. For todays tutorial, i'll be using a 'standard' scenario as they are the simplest to use and have selected my starting point as Felixstowe.
Oh, er, er, what's all this??!!
If you've never used the scenario editor before, this can be a very daunting page and even those that have used it before will no doubt not understand alot of the items and features on here. However, don't be put off, alot, if not most of it you won't need to use at all, in this guide I'll try to keep it simple and just tell you what you need to know.

I have highlighted the features that are most important in red, I'll start from the bottom left and go around it clockwise, pointing out a few of the features.

Consist select- In the grey box in the bottom left is a rather odd looking thing but is a VERY useful thing to know when placing or removing rolling stock onto your line. If the radio button is clicked, you will select an entire consist (ie, the entire train) instead of just each engine of wagon / carriage.

Engine / Wagon / Consist select buttons- These buttons allow you to change the list below them to sort by type of unit you wish to place.

Driver and Timetable select- These are probable THE most used, the first, a small picture of a driver's head, is used whenever you want to give a train a driver, whether it be an AI train or your own player train and the small clock icon is the Timetable select, this is what you'll need in a following section to setup the itinerary for your train and any AI trains you might want to add.

2d Map select- At the top in the center, you'll see a compass and next to it, a white square with an arrow on it. This button brings you to the 2d map, the same button returns you to the 3d view once there.

Main Route Properties- This entire box in the top right, only really needs to be filled out once, although you may want to change something later on. It will appear whenever you open the editor or if you click on the scenario icon (the large yellow panel with the train symbol on it in the center of the view). Most of it is self explanatory and labels will pop up if you put your pointer over each symbol to the left of each item but i'll briefly run through them.

Scenario Title- Self explanatory.
Description- This is the text that will appear in the game's scenario lists before you select it to play.
Briefing- This will be a summery of the scenario itself and is what you can read when calling up the summery page in game (the one with your list of stops, etc. on it).
Author- That's YOU!
Location- Where the scenario takes place.
Date- The date of the scenario, can be anything you like, even sometime in the past for a classic scenario for example.
Rating- put a number from 1 to 4 to show how easy or hard the scenario is. This shows up in game as the green, yellow, red bars next to the scenario in the lists.
Scenario length- Doesn't have to be to the second, just helpful to show in the scenario lists roughly how long / short the actual scenario is.
Scenario Start Time- VERY important. This is the master time for the whole thing and defines what time of day you start.
Weather & Season- Self explanatory.
Rolling stock type- Will show what kind of scenario it is, ie, Freight, Passenger, etc. but you can leave it set to 'ALL', makes no difference.
Under this there are some tick boxes to select various modes, the only one I have ever bothered with is the far right icon of the train on it's own which means 'start scenario inside the cab', the default view being outside the train of course.

Finally, on the bottom are the play and what I call 'autorun' buttons, these allow you to run a test of the scenario in fast forward mode to see if timings of various things work ok, etc. More of those below.


Here's how I have filled mine out for you to compare and see what i've changed.
The 3d world, placing the Player's train and looking around
Ok, now you've set up the basics of the start time and scenario descriptions, etc. Lets have a look round in the 3d environment. I HIGHLY recommend using a 360 style gamepad for this as it's alot easier to 'fly' around the environment rather than have to use the rather fiddly keyboard controls.

Anyway, here we are at our starting station, time to place our first train. You don't just select a train from a list, then select a specific place for it to appear, you physically place the train, whether it be a full consist or the engine and rolling stock separately. You can of course, make up whatever train you have in your library but by default, ONLY the rolling stock that comes with the chosen route will be shown initially, you will need to activate rolling stock from other routes or DLC's manualy as follows.

In the above pic, you can see the icons I mentioned in the last section for Engine / Wagon / Consist and I have clicked the Consist icon (looks like a train head on and is highlighted). A full list of available consists will apear in the window below. If you are just using the stock that came with the route, then simply select the one you want to use and skip the next part. However, I want to use the Class 150 DMU which is published by Thompson so I'll need to 'activate' it so it shows in the list. In the pic, I have highlighted the smaller of the two blue cubes shown in the left menu. Clicking that will open a new window on the right that allows you to select rolling stock from various publishers. For example, if you wanted to select stock from the European Loco and Assets pack, you would click 'Kuju - Rail Simulator'. In this case, I've selected 'Thompson' and it is selected as shown. Make sure the boxes are ticked as shown, you can see that a list of Class 150 consist has been added to the route's default Desiro 360 units. Click on the consist you want in the list on the left hand side, I will select 'Class 150 Anglian Railways'.


Using the mouse, the consist can be placed on any section of track in view and won't be placed until you click again to place it.

The next job is to assign this train a 'driver'. Click the Driver Icon and then click on the FRONT of the train, don't just click anywhere as it may appear on the other end and then you'll start your scenario facing the wrong way!
Creating the Player's Driver and using the 2d map and Timetable view
Just under and to the left of the 'Driver' icon, is the 'Timetable' icon, click this and the entire view will change to something like this,


The screen is split into two, the left side being the 2d view that can be zoomed and moved around using the mouse and the right hand side showing whatever train has been selected's full itinerary. Right now, it has none, so select it by clicking on the driver icon on the right hand side of the screen and a new window will open. By default, you will see it listed as 'Service 1', here I have already changed the name to 'Player 150'. There are two other things to note, the start time will usually be left as it is, but the next box is VERY IMPORTANT. See the green tick next to the little consist icon? That MUST be ticked as this makes this a 'playable' train. If you don't tick this, you won't be able to drive it. Then there is 'service type', select whatever is appropriate from the options.

Now close that popup window and look at the icons running along the top of the screen,


The highlighted icons are the most frequent used and will be the only ones we need today.

1. Destination- Sets the final destination of the train.
2. Notes- To add notes to the scenario to popup at specific times.
3. Pickup/drop passengers instruction- Used for each stop along the line.
Note: If you want to do a freight scenario and have a couple of stops, simply use the icon next to No.3, in the shape of a hand pointing. This simply is a 'stop at..' instruction.

Note here I have already set my final destination, you MUST do this FIRST or the program can get very confused. This doesn't have to be a station, it can be anywhere you want the scenario to finish, a siding or a shed for example. Once this is done, the entire route can be seen in red on the map view on the left. Show it by clicking the lower of the two red icons in the top right of the map view. The upper icon centers the map on the train itself.

Most scenarios will open with some sort of message on the screen giving you instructions or just introducing you to the scenario, click the Note icon (No.2) and a window will open, simply type something appropriate, there is no need to alter it's time at the start of a scenario so it will open immediately.

Now it's just a case of adding the stops you want to use, use the passenger icon (highlighted No.2) to add each one and they will be added above the final destination in the list. Here you can see i've added our first stop, Felixstowe Town itself, alot of people forget you usually pick up passengers at the start and just go on to the next stop down the line! Select your stop from the drop down menu, then look further down and you'll see a tickbox next to a clock icon (here ticked with a green tick), this needs to be ticked if you want the train to arrive and depart at a certain time. TS will work out what time the train will get there automatically and by default, allows 35 secs for loading. You can change this manually by simply inputting the desired time in the boxes above. If you simply want the train to stop and not worry about timing, don't tick the box and it won't matter what time you arrive.


Once you've finished adding stops, you should have a list similar to this. Word of advice, if you don't know the route very well, don't forget to check each station as it's easy to get the wrong platform from a dropdown list. This is where the 2d map on the left is invaluable as with each stop added, you can use it to double check you have the correct platform and also scroll along the line to find the name of the next station.


You may also want to add some extra instructions along the route, this can be done by again using the note icon just as you did to start the list off, click it and then tick the box next to it. You can then use the arrows at the top (highlighted 'move up') to move this new instruction up to the relavent place. Here, I decided to put in an announcement shortly before we get to our final destinaton. Once it's in place, open the note and then put the time after the last instruction that you want it to appear, eg. you leave the last stop at 15:00 and want the instruction to appear 5 mins later. You put 05:00 in the time, NOT 15:05. This is purely minutes and seconds after the last event. Once that's done, type the actual instruction into the box and close.

Once you're done, click the large 'OK' box and your train will now look like this, each extra icon on the train referring to each individual instruction you've just given it.
Adding AI traffic and testing
A scenario isn't very interesting without AI trains and even on a quiet little branchline like this, the use of AI can make things much more interesting and realistic.

The great thing about AI trains is that you don't have to be as fussy with the stops or timings, so long as they match up with what you want them to do when you actually see them, the rest of the route doesnt matter so you dont have to program AI to stop everywhere or even o the whole route. In fact, the less instructions you give them, the better as it's less for the game engine and CPU to worry about.

Start by thinking about where and when you'd like to see AI and what you'd like it to do. Most AI will just be passing you in the opposite direction so all you'll need are three things, start and stop locations and what time to set them off.

You place your AI and set them up exactly the same way as you did with your player train, the only difference being you will not have ticked the 'player consist' box in the AI's driver screen.

Here I am placing another Class 150 to pass us on a double section of track in the northern section of the line. You can guess your timings for the most part as you know from your own itinerary what time you will be at certain points but once you have one or more AI setup, you can do a more accurate test by using the 'autorun' feature. At the bottom of the screen are two 'play' buttons, the large one is to simply save and drive the scenario yourself, the smaller one will prompt you to save the scenario and then play the entire thing totally autonomously, with even your train being driven automatically. You can select the speed of this simulation using the x4, x8, etc. buttons and this is invaluable for checking AI timings. You can watch it play though in the 3d world or on the 2d map, which personally, I find easier as each train will be labeled and the entire route is alot easier to zoom and move around in on the 2d map.

When you have finished watching an autorun, you MUST press the 'jump back' button (looks like a rewind button next to play) or you may inadvertently end up saving your scenario at the time you stopped at, effectively wiping out everything up until that point!

WARNING: This is NOT foolproof and certain errors will NOT show up on this feature that in the 'live' scenario will break it completely. The autorun feature should not be taken as very reliable and the only way to ensure a scenario is 100% ok is to drive it live in real time.

You can in theory place as much AI as you want but be warned, too many can make the entire thing VERY unstable and you will end up with tons of errors that make no sense. My best advice is that if you are making a more complicated scenario, save often as the game can easily crash with no warning once memory gets stretched. It's also worth making a full duplicate copy of a complicated scenario (simply select 'clone scenario' in the scenario editors opening page) as sometimes, one error can lead to another, and another and the entire thing literally falls apart. Keep it simple and you should be fine though.

Once you're happy with the AI you've placed, don't forget to 'dress the route' as I call it. Train Simulator looks simply awful if sidings, engine sheds, etc. are left empty and I've played plenty that had some great AI and instructions, only yo be spoiled by the empty feel to everything else. So, if there are any large shunting yards or carriage sidings en route, for heavens sake put something in them! Of course, they don't need 'drivers' like the AI trains, just select whatever consists or individual items you want from the list on the left and place just as you did with the player and AI trains.
Final Notes
I have tried to keep this as simple as I can as I know from personal experience, that while the editor can be a powerful tool, it can also be very confusing and isn't very intuitive. Even so, after finishing this guide, I was surprised at how complicated it still looks and there is TONS I have left out!

Still, if you just take your time and play around with it, once you get to grips the general principles of the thing and start to put a couple of scenarios together, you'll find that the only difference between a bog standard one like this and a huge setup involving loads of AI, shunting, reversing, etc. is time and patience, lots and lots of patience!

I have now uploaded the scenario created here to the workshop,

http://cs2bus.com/sharedfiles/filedetails/?id=562068655

Feel free to download it and by selecting 'Edit' in the first page of the scenario editor, you can open it up and study what I posted above in detail. Play around with it, change a few things, if you muck it up, you can just get it again!

Anyway, I hope this is useful, if you have any comments or questions, i'd love to hear them, good luck!
96 Comments
bnuuy. 31 Jan @ 7:37am 
it tells me something with fatal error when editing a scenario
nila 18 Dec, 2022 @ 11:06am 
how do you save a freeroam scenario

do you just play it and then save?
mwdmaestro 3 Dec, 2022 @ 10:39am 
Wow. You have NO idea how many times I've Googled this, looked at Your Tube vids, read documentation but NOTHING has come even CLOSE to explaining all of this as your tutorial has. This is SUPERB! THANK YOU!
FenderBender 26 Nov, 2022 @ 5:34am 
This is a great guide, thanks!

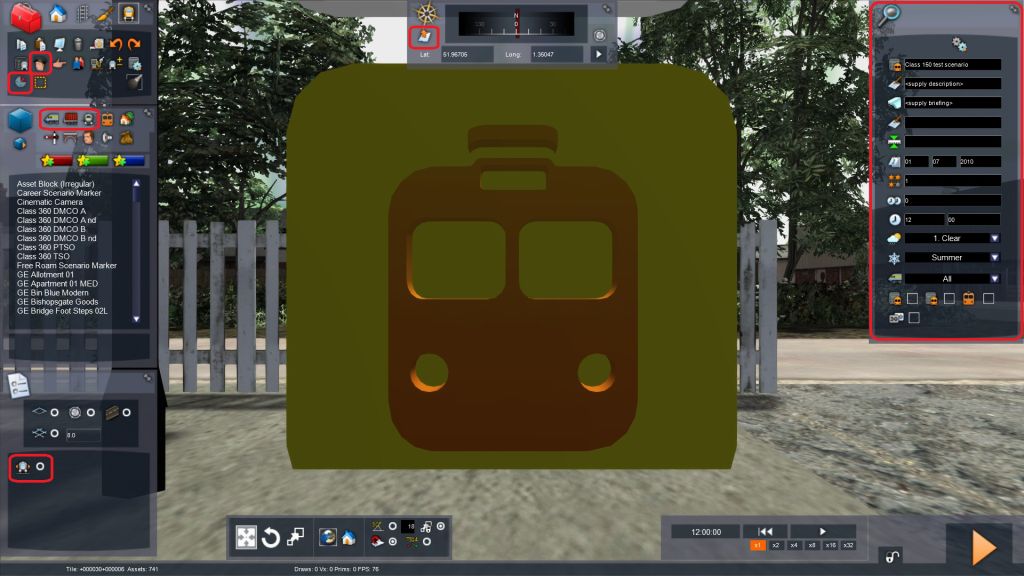
My top tip is never make changes to your scenario after fast forwarding. If you save, the starting point of your scenario will be wherever the fast forward stopped.

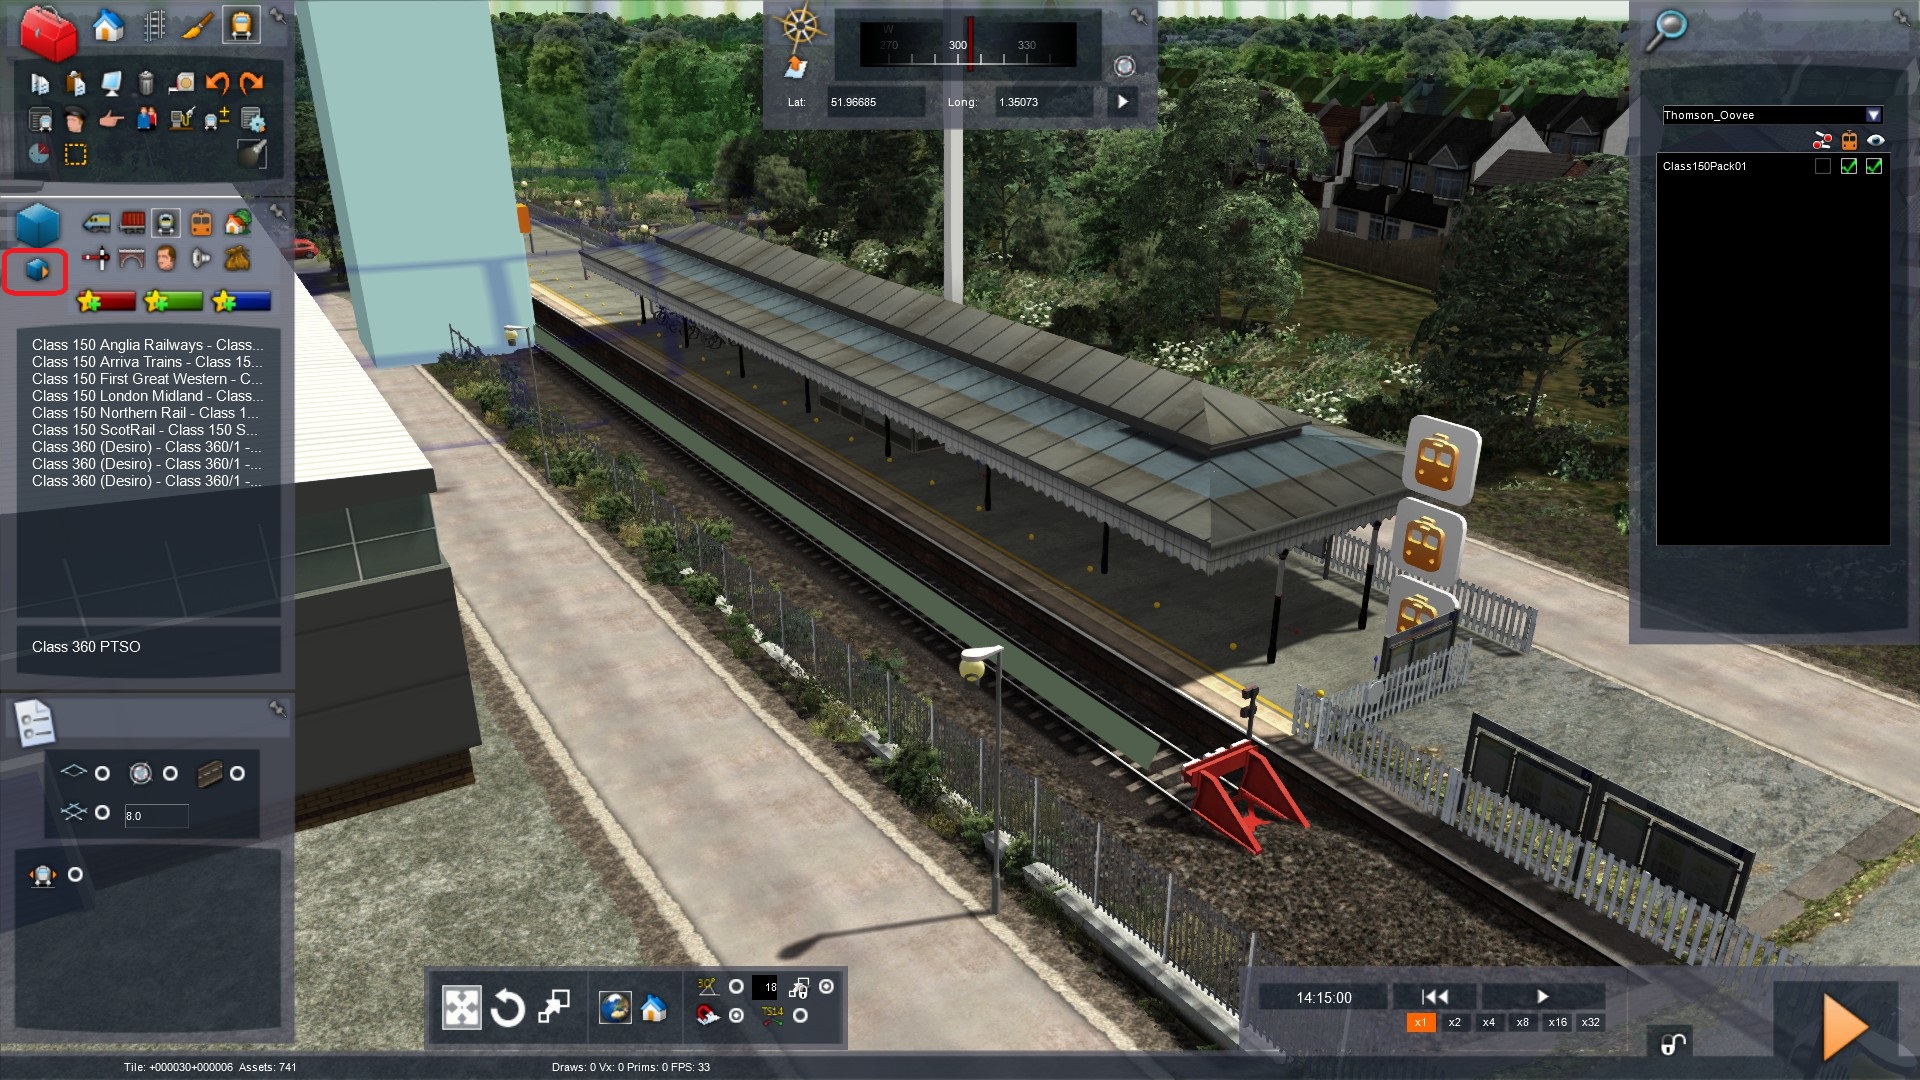
To fix errors of trains travelling on unexpected tracks or reversing, make sure you path the route properly and check the red path linres on the map to see where the train will go.
mdrinkle1 21 Feb, 2021 @ 6:07am 
Is there a way to change the amount of points awarded when an objective is completed?
enfield250 19 Feb, 2021 @ 7:48am 
Subscribed to the scenario, however just to see how it worked. Unfortunately Cl 150/2 AR has been retired. Used TS tools and swapped the 1#Cl 150/2 AR for standard 150/1. Then got unable to load due to a clash between the Cl360 to Norwich and the cl 360 to Ipswich. Bsack into tools and deleted the Norwich train. Re-load the scenario says game over train ran out of fuel. So I thought I'll try and build the same scenario from scratch, the latest GEML does not have any CL150's only shows 360's. Tried to use the 360 and everything ground to a halt, is the Felixstowe line electrified? So far unimpressed!
david-jacob.winter 20 Jun, 2020 @ 8:42am 
Can you maybe also make a guide on how to fix certain errors. Pretty much every time I make a sceario there is some error were the train will for example go backwards out of the station and then use a track to the left to go the direction I want to go anyway (or also a error were it says that the player train is blocking itself somehow) and I cant find anything online were it says how to fix that stuff
traceymcghee5493 16 Jan, 2020 @ 12:55pm 
csx
Justin Ford 2 Jan, 2020 @ 9:23am 
Hiya, is it possible to somehow Print this guide off please?
Mikimoo 1 Jan, 2020 @ 9:51am 
Awsome guide thanks, DoveTail should be paying you for it :)