20XX
316 ratings
Weapon & Boss Weakness Guide
By Doctor Cool
This is a guide to the eight special weapons, including which boss is weak to which weapon.
6
   
Award
Favorite
Favorited
Unfavorite
Introduction
This guide is accurate as of version 0.85b of the game.
This guide is accurate as of version 0.86b of the game.
This guide is accurate as of version 0.91b of the game.
This guide is accurate as of version 0.95b of the game.
This guide is accurate as of version 0.952b of the game.
This guide is accurate as of version 0.958 of the game.
Updated for version 1.01.00 (also, the owlhawk section has been improved)

The bosses for levels 9 and 10 do not have definite weaknesses.

Each of the first eight bosses has exactly one weakness, and each weapon has exactly one boss who is weak to it. Each weapon is organized in the table that follows in a loop. Each weapon in a loop is effective on the boss that gives the next weapon in the loop. When the end of the loop is reached, the first boss is weak to the last weapon.
Boss Weapons (Powers)
Name
Description
Acquired from
Use on
Vera
Shoots mostly straight, and super fast.
Perforator
Kur
Quint Laser
The bullet is enormous. There is no escaping.
Kur
Shatterbeak
Splinterfrost
Launch a jagged ice shard that fans out on contact.
Shatterbeak
Twin Astrals
Flameshield
Flames encircle you, blocking shots and slaying foes.
Twin Astrals
Rollster
Boomerang Blade
Throws an 8-directional blade!
Rollster
Death Lotus
Mortar
Fires an arching blast that explodes on contact.
Death Lotus
Vile Visage
Force Nova
Release a shockwave, crushing foes and blocking shots!
Vile Visage
Eternal Star
Shadespur
A jagged crystal inherits your momentum to smash foes.
Eternal Star
Perforator


Main Weapons
Charging an attack usually doubles the damage. All of Nina's main weapons can be charged, and when charged the attacks pierce on kill. Most of Ace's main weapons can be charged. With the Core Aug Dracopent's Claw, an Ultracharge can be performed, which usually triples the damage.

For Ace, attacking with most weapons on the ground will perform a combination attack, with varying damage and range on each hit. When multiple damage values appear in the table below, they indicate the damage of each hit in a combo. Combos are either 2 or 3 hits long, depending on the weapon.

For Ace, damage against bosses from all hits in a combo aside from the first is reduced slightly.
(This does not affect Plasma Blender.)

For Nina, using either Star Beam or Forkalator and hitting any target with multiple shots from the same press of the button, will reduce the damage of the excess shots to 25% of their normal value.
For instance, if you were to use Forkalator and all 3 shots hit the same target, one of them will do 8 damage, and the other two will do 2 damage each, for a total of 12 damage.

Name
Description
Damage
NINA
N-Buster
Basic buster.
10
The Forkalator
Triangle shot! Forkalicious.
8
Shoots 3 shots at once.
Star Beam
Nina shoots in all four cardinal directions!
8
Shoots 4 shots at once.
Scatterblast
Hyperparticles devastate targets up close!
4
Can only have one attack on screen at a time.
Ultracharge makes Scatterblast shoot 10 bullets at once. Ordinary charge and uncharged shoot 6 bullets at once.
Wave Beam
Megaparticles pierce foes and walls! Also, wavy.
10
When charged can pierce without needing to kill the target.
ACE
A-Saber
Basic blade.
12/12/20
Plasma Blender
Shreds enemies up-close!
10-17
Damage and range increase as you damage enemies, and decrease when you do not. Has extremely fast attack speed. Charges by attacking; cannot be charged in the normal way.
Sharp Sharp Spear
Grants additional reach and damage!
15/18
Charge attack does 22 damage and increases range.
Rippling Axe
Swings slowly for MASSIVE damage!
25/37
Cannot be charged. Cannot move while attacking on the ground. Air attack does 37 damage and surges downward, and is treated as a charge attack. Ace can cancel the air attack.
Spinning Glaive
Circle slash while airborne!
14/14
Deals 16/21 damage with a ground combo after landing from a circle slash.
Special Effects of Powers
Each power has a special effect when used against the boss who is weak to it.

Additionally, each power has a unique special ability when used in stages.
The following chart shows information on the special abilities of each weapon.

Name
Effect on Level
Effect on Boss
‎   Vera
Can also be aimed up or down. If you aim downwards, you can fly, rising higher and higher. You will stop flying when you release the button or run out of ammo.

Vera bullets also push enemies backwards.
If you hit Kur's squares with Vera, it will reflect them back to him, dealing high damage without triggering "invincibility frames". However, the direct damage is actually less effective on Kur than the other bosses.
  Quint Laser
The Quint Laser can be charged one or two levels (for increased size per level, increased movement rate for the projectile per level, and 50% extra damage per level). Charging also increases the energy cost of the attack by +1 for each level.

If you use a fully charged Quint Laser on a Vending Machine, it will be knocked over and you can get the items for free.
Attacking Shatterbeak with any Quint Laser shot will cancel him out of any ranged attack or ranged attack sequence that he is preparing to perform. It will not cancel him out of his melee dashes.
 Splinterfrost
Hitting any of the wall, floor, or ceiling Flame Turrets found in Agnisort and Frostor with this weapon will permanently freeze them, so that they won't attack. It doesn't matter if it is a direct hit, or a hit from one of the shards.

Shots can be fired diagonally but not up or down.
Attacking the orange "Sun" Astral during the boss fight against both Twin Astrals will freeze it. The silver "Moon" Astral cannot be frozen. Hitting either Astral will deal increased damage.

Although the Astrals themselves are weak to Splinterfrost, their flameshields are actually immune to it, and will not disappear no matter how many times you hit them with it.
 Flame Shield
Any icicles created by the counterattack of elite Sentry Bots, or by any Ice Turrets, will not consume any of your Flame Shield flames. However, this does not work on the icicles created by Shatterbeak.
When any of the Rollster or mini-Rollster bosses perform their special "ricochet" attack, contact with Flame Shield will stun them and cancel them out of it.
Boomerang Blade
If the boomerang comes in contact with any resource, you can collect it remotely.

If the boomerang collects one or more resources, exactly 1 energy point will be refunded. If you used the boomerang with Owlhawk's Focus and it didn't charge you, you will still gain your energy point. The boomerang cannot collect Soul Chips or Augs, but it will collect health, armor, energy, nuts, and tokens.
Attacking Death Lotus with this weapon will slightly delay his attacking and disappearing actions, if he hasn't already started them, by making him growl at you. Once you've caused this, you can't do so again until he changes his position.

Attacking any of Death Lotus' summons with this weapon will do massive damage and instantly destroy them.
     Mortar
Can damage any shielded enemy and will not trigger counter attacks. Deals slightly more damage with a direct hit than with an indirect one.

Deals massive damage and instantly kills when used against the Bomb Hive enemies in Frostor; also has homing when used near a Bomb Hive. When homing is activated, Mortar can go through walls.
If you attack Vile Visage with a Mortar when he is shielded, you will break his horn and he will not be able to use his shield anymore for the rest of the battle, but if you attack him with Mortar when he is not shielded, you will not break his horn; either way will deal bonus damage.
 Force Nova
When used against either end of a laser generator in Eridu, the Skytemple, the targeted laser generator will go permanently offline and can no longer harm you with lasers.
Attacks with this weapon against Eternal Star's bat minions will result in a chain reaction of Nova explosions for each bat killed.
 Shadespur
When used on the disappearing and reappearing "yoku" blocks most commonly found in Vaculab, they will change color and become permanent. Even blocks which are not active at the time will become solid.
Hitting the Perforator with Shadespur will cancel it out of its four directional spinning attack.
Owlhawk (UPDATED)
{updated on 11/18/2017}

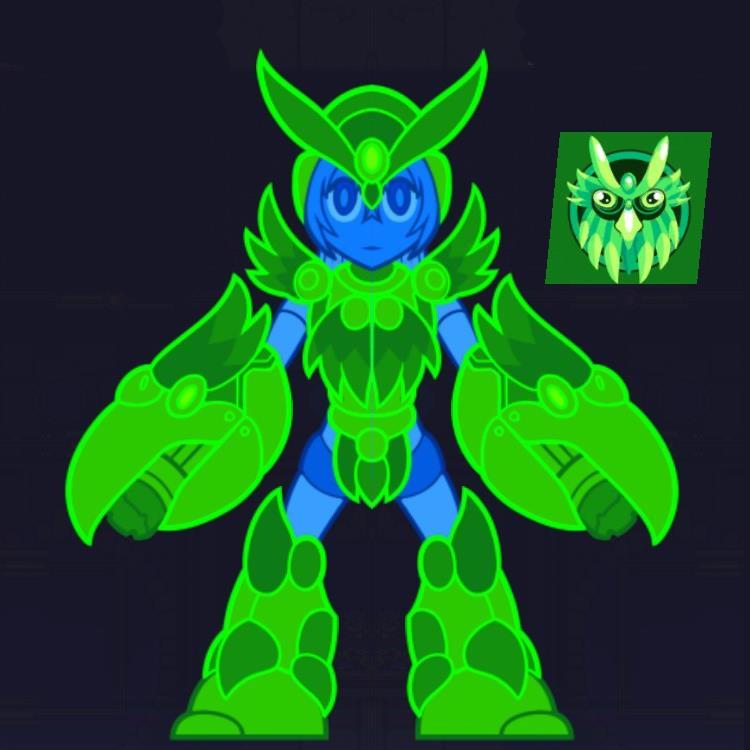
Collecting the entire set of Owlhawk Armor will result in "juiced" powers.
This affects each of the eight powers differently.

Here is a link to a thread that discusses the Owlhawk the Wise set bonus.


Effects:
Quintlaser: Initial charge level +2, can be charged to +3 and +4
Splinterfrost: Icicle breaks into a full circle on impact (up to 24 individual shards)
Forcenova: Creates an additional nova at the enemy's location whenever any nova kills an enemy
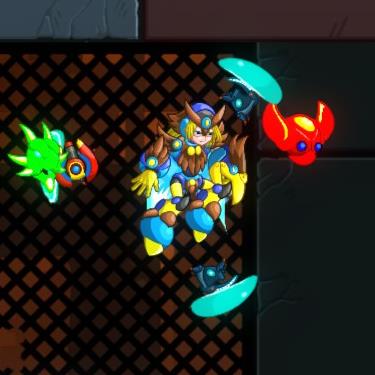
Flameshield: Made of 8 flames instead of 4
Vera: Twice the rate of fire
Boomerang: Two extra boomerangs for each use of the weapon
Shadespur: Two extra shadespurs at right angles with the same speed as the original
Mortar: Bursts into a cluster of 5 smaller mortars when it hits something

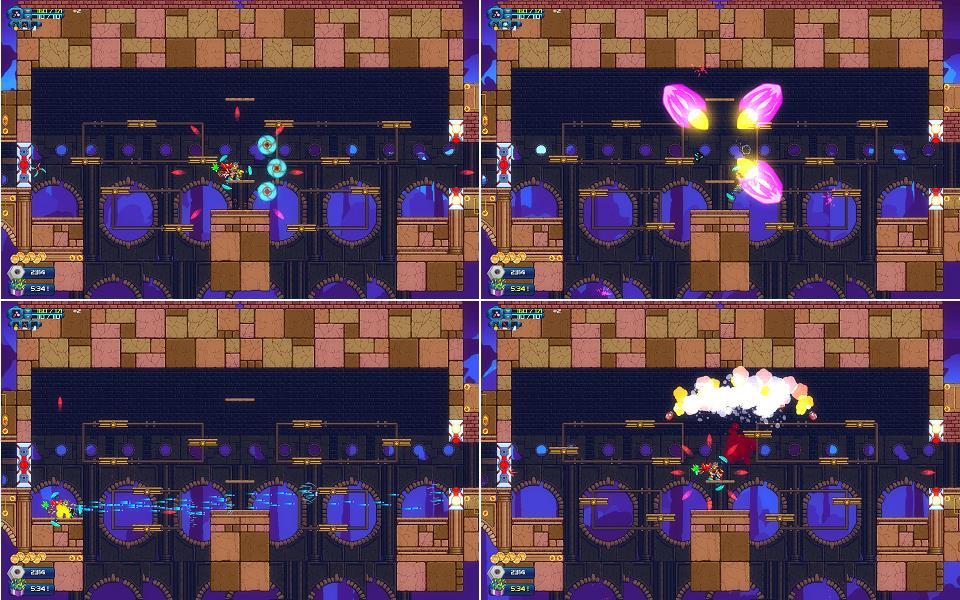
Screenshots:
Level 9 Boss (spoilers)
Level 9 Boss: Doctor Brighton Sharp

Doctor Sharp has 7 different abilities, but will start the battle with only 4 of them.

Every time you take off a quarter of his maximum hitpoints, he will learn a new attack.
The order in which he learns new attacks is random, but he will have all of them by the end of the battle.

All of Doctor Sharp's abilities are based on the abilities of the bosses you have already defeated.
(except perforator's)

Doctor Sharp has these actions available from the start:
Attacks using Splinterfrost
Attacks using Mortar
Attacks using Shadespur
Summons a shield projecting Maintcore

Doctor Sharp learns these actions:
Summons several walls of Quint Lasers from one side of the room
Summons a wheel which bounces around the room
Summons an orb of fire and a leash

Both the wheel and the orb will only be summoned once each, but cannot be destroyed.
If you touch the leash connecting the orb of fire to Sharp, it will injure you.

Countering his abilities with your own:
1. Mortar can be used when Sharp summons the shield scarab. You can use it on either of them.
2. Flameshield can block all his splinterfrost attacks.
3. Flameshield can also stun his boomering blade wheel.
4. Vera does the same thing to Sharp's lasers that it does to Kur's.
5. Splinterfrost will freeze Sharp's Orb, preventing it from moving and disabling the line it forms.
Level 10 Boss (spoilers)
Level 10 Boss: Doctor Arlan Flat

This is it, the final boss!

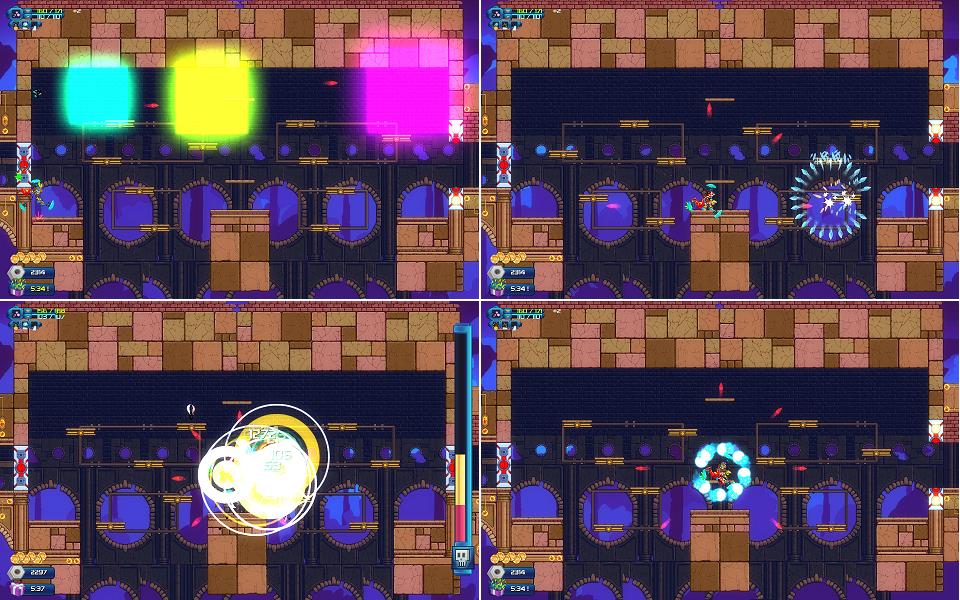
During this battle, in addition to the boss, you will also be attacked by copies of Nina and Ace, and must deal with environmental hazards and tricky platforming.

To damage this boss, you are meant to attack him from behind his shield.
But first you must get past the spider. To cross under the spider, attack its legs.

Each time you deal enough damage to Arlan or enough time passes, he will move to the other
side of the room and you will have to make it through new hazards and new platforming. These are randomized every time he does this.

Regarding hazards, any laser generators that you disable will stay offline even when the room changes, and can be disabled in advance if you use a Force Nova where they may appear later.
However, fire turrets and disappearing blocks will be reset when the room changes and so can only be frozen temporarily.

Tip: If you have armor pieces that grant life or energy on kill, you can regain those resources
when you destroy the copies of Nina and Ace that show up during the battle. New ones will always
show up in the middle part of the room after each cycle. This means you can regain an infinite amount during this battle.
53 Comments
Eduardo Alves 22 Jun @ 9:38am 
thanks bro
月夜の花 4 Jun, 2020 @ 7:17pm 
帮了大忙啦,终于知道boss克制关系了,thank you!!:lunar2019grinningpig:
Saitama 2 Sep, 2019 @ 1:34am 
i never completed an armor, have some trick?
Shamgar 23 Feb, 2019 @ 10:09pm 
I know the boss weaknesses now but a year or two ago I referenced your guide constantly to get better at the game and go further. I've come now to say thank you for your hard work!
kanimiso 29 Jan, 2018 @ 2:19am 
It was very helpful. I could clear it even though I was not good at playing games. I am a Japanese gamer, but this guide is truly amazing! With love! !
Centuon 16 Jan, 2018 @ 12:41pm 
ahh thank you so much :)
Doctor Cool  [author] 13 Jan, 2018 @ 5:18pm 
the green ultra attack is only for powers (the weapons you get from bosses)
the purple ultra attack is used for main weapons such as the Plasma Blender

to use the purple ultra attack, you must equip the purple arm parts
having the purple arm parts will change the damage range of Plasma Blender to 14-34
without them, the damage range is 10-17
austinthehotty 13 Jan, 2018 @ 8:27am 
It's not the ultra attack. learn to read
Centuon 13 Jan, 2018 @ 4:42am 
Is 17 dmg the green ultra attack then? is there any point in the green ultra attack? thanks
Doctor Cool  [author] 10 Jan, 2018 @ 5:52pm 
It does not take into account any kind of ultra attack.

It's successive hitboxes that deal 10-17.

The first attack you perform will do 10 damage, successive attacks
will do slightly more, up to 17 damage. Once you reach 17 damage,
every attack will do 17 until you stop attacking for a while.

NOTE:
I mistakenly had Plasma Blender listed for 12-19, the correct numbers are 10-17.