UFO 50
63 ratings
Mini & Max Ultimate Guide - Maps, Items, and More!
By Llamakazi
A classic throwback guide for Mini & Max! All of my assembled maps, quest notes, upgrades & powerups, walkthrough suggestions, and easter eggs! I love taking pixel perfect images & notes for huge games like this, so I wanted upload them at the same time to help other folks out. I hope you enjoy it!
2
3
   
Award
Favorite
Favorited
Unfavorite
Introduction


1P, Adventure, Platform
"Mini and her dog Max are locked in the storage room. Harness the magic of shrinking to escape!"

If you're looking for maps, a walkthrough, locations of items & upgrades, secrets, or just a hint at how to complete a quest for Mini and Max, then you've come to the right place! I've been having a ton of fun playing this (and taking copious notes and images), so I thought I'd chronicle my journey in a guide friendly package to help fellow players (like you!)

Spoilers will be labeled appropriately like so in case you just want a little bit of information and to enjoy the experience of discovery on your own! Bookmark this page by favoriting it, and come on back later to check out the secrets, tips & tricks you might've missed, or even information on how to beat the game & get the Cherry cart!

Walkthrough note: most things will also try to be organized in *mostly* chronological order, in case you get a little stuck and just want a small hint without getting spoiled. Given that Mini & Max is a pretty open-ended game, it's a little mite (hah) difficult, but I'll try my best!

Current Guide Progress: about 85% complete (still some TODO items left and things to organize appropriately) There's a good chance you might stumble upon an unmarked spoiler here and there, so be careful.

Spoiler Free Tips & Tricks
About Saves
The game saves after doing pretty much anything: getting more Shinies, getting Item Upgrades, progressing a Quest, losing all your health points, and growing to normal size.

Speaking of growing and shrinking...

Growing, Shrinking, & Fast Travel
If you're not sure about what Item Upgrades you currently have, simply grow to normal size, then hit UP once more to view your acquired "Items" list.

Growing to full size to "Fast Travel" between zones increments the Clock counter by 1 minute. It's mainly there to show you how many times you've grown to normal size or had your HP drop down to 0 (and forcing you to grow back to normal size)

There's definitely room for a Challenge Run where you limit the # of times you Fast Travel or kick the bucket from running out of HP! Otherwise, don't worry about the time on the clock at all.

Quests
There's no such thing as a Quest Log in this game, but ample supplies of them! If you want to keep track of who wants what, you'll have to bust out some notes (or consult this guide)

Max
Max will give you a lot of extremely useful tips throughout the game, so be sure to consult with him every now and again. Also, he's a talking dog with his name in the title too, so it feels like we should be making the most of that!

Upgrades
Most of the non-quest only upgrades can be found in many, many, many locations, so if you just explore, then you're extremely likely to fill out your item upgrades list handily.

If the guide calls out a guaranteed location for an upgrade, but you already have the maximum level for that upgrade item, then it'll be replaced with a single Shiny instead!


Now, without further ado, let's get started!
Room - Full Map - 7:16 (Game Start)
Room - Normal Sized


Room - Small Sized - Clean version

Open image in a new tab and zoom in for best resolution
Room - Bottom of the Door

Open image in a new tab and zoom in for best resolution

Map Markers
  1. Leads to Eleanor's House
  2. A Hexan that gives you a hint where the town of Yarn is located. Also a guaranteed 1/2 Life Upgrade and a Time Block in the corner!
  3. Leads to the town of Yarn
  4. Leads to the Evil Hexan Town
  5. Leads to Between the Walls - Next to the Floor
  6. Micro spot with the Hexan Inventor
  7. Micro spot with a guaranteed Boots upgrade item
  8. Leads to Between the Walls - Power Outlets - Termite City

Eleanor's House
Eleanor asks you for 20 Shinies for more info. Once you give it to her: she gives you a Glove upgrade item in return!

After talking to William at his house in the Western Pot, Max will be visibly itchy. Jump on his head, shrink, and clear out the fleas to free up Max to help you out! He can easily sniff out important Micro spots containing upgrades and key locations.

Micro Town - Yarn

Open image in a new tab and zoom in for best resolution

Shop:
  • Life Block (Costs 1 Shiny)
  • Strong Chitin Block (Costs 3 Shinies)
  • Magic Potion II (Costs 25 Shinies): Allows you to shrink even smaller!
Quests:
  • A Hexan in town would like to know about other cultures. To fulfill his request: give them a scroll from Lamptopia for them to read it and convert the next time you visit. They'll give you 15 Shinies for your trouble
  • You'll get a warning about "Evil Hexan Cousins" just on the other side of the dust balls. If you traverse the Evil Hexan Town you'll find the artifact at the very end. Return it to the Hexan in front of the locked door in Yarn, and inside you'll get 10 Shinies and a Hexan Book upgrade item!
  • In the house near the back, there's a Hexan looking for lost Hexan babies. There's 2 in town, and others spread out around the world. You'll get 15 Shinies for every baby you bring back (Current highest recorded count: 6)
  • In the easternmost house, a Hexan mulls over the Virus they've captured to learn about their roots. To fulfill their request: bring them a different variety of the enemy Virus in the cage, they'll reward you with 15 Shinies (look for one in dangerous Micro caves)
  • If you've freed a Hexan from Doorknob City, they'll end up here and give you 30 Shinies for having rescued them from captivity.
Items:
  • In the corner of the first house is a guaranteed 1/2 Life Upgrade and a Spiral Shell in the corner!

Evil Hexan Town


Items:
  • 20 Shinies
  • A Heart pickup (full heal)
  • Hexan Artifact
Room - Western Potted Plant

Open image in a new tab and zoom in for best resolution

Map Markers
  1. William's House
  2. The town of Protis
  3. An Algean that hints at the location of Protis & a guaranteed 1/2 Life Upgrade item!
  4. A dead Algean town, destroyed by a "Water Bear".
  5. A lost friendly Bee, asking for help
  6. A Micro spot with 70 Shinies the Lamptopian Shinies dumping grounds (see edge of the shelf above here)
  7. The Western Flyport
  8. A dead Fly, with the lost shipment from Beldor to Protis in a Micro spot on their head
  9. The western entrance to Behind the Wall - Power Outlet
  10. Leads to Behind the Wall - Big C Path
  11. Bottom entrance to Inside the Western Pot
  12. A Micro spot with a Sentient Shiny
  13. Top entrance to Inside the Western Pot
  14. The last known location of the deadly "Water Bear"

William's House
William will give you a quest to get him the Tea Kettle from Eleanor's House. If you fulfill his request: he'll give you a Magic Potion I upgrade item in return!

He'll also give you a hint that you should explore the Micro levels with your new upgrade to get other permanent upgrades. You'll also get a warning that the caves on the Micro level are extremely dangerous, especially for a newbie explorer! (but they do indeed contain great riches)


Micro Town - Protis

Open image in a new tab and zoom in for best resolution

Shop:
  • Life Block (Costs 1 Shiny)
  • Earthquake Block (Costs 3 Shinies)
  • Protein I (Costs 25 Shinies): An upgrade item that allows you jump higher (Level I only, not here if you already have it)
Quests:
  • After talking to the Algean Mayor for the first time, he asks you to check out "an outpost on the very top of the nearest plant stalk. Visit there and report back to me what you find." After reporting back, you'll get a request to get rid of the "Water Bear" to the west, and if you do so, you'll receive 50 Shinies for your trouble. Afterwards, you can find random Algeans trapped inside bubbles, which will reward you with 5 Shinies for rescuing them
  • The Algean in the back wants more Sticky Blocks to finish building their house. If you fulfill their request: you'll get 10 Shinies per Sticky Block
  • An Algean is "smitten with a handsome Algean" from Beldor in the Western Pot. You can continue the quest there.

Behind the Wall - Bee & Bee Hive
  • There's a lone Bee asking for honey just behind them, but they're too weak to get it themselves. To help them out: get a Glass Jar from the Dust Bunny Village Shop and bring it back to the Bee Hive to catch the honey. When you give it to them, they'll reward you with 25 Shinies for your trouble

Small Landmark - Inside the Western Pot
Room - Eastern Potted Plant

Open image in a new tab and zoom in for best resolution

Map Markers
  1. Town - Dust Bunny Warren
  2. A Hexan lives here that gives you a hint about where the town of Yarn is located. Also a free Boomerang Block! (Extremely useful weapon, especially if your energy levels are high)
  3. Leads to Inside the Eastern Pot
  4. Leads to Behind the Walls - Next to the Floor
  5. The Eastern Flyport
  6. The town of Beldor
  7. A Micro spot with a guaranteed Protein upgrade item
  8. An old Algean Historian who gives copius amounts of world building
  9. A friendly, but Sad Spider who can't spin thread anymore. To help them: bring them the blue thread from the top of the bookshelf. They'll give you 15 Shinies for your trouble, and they'll become a Happy Spider again, hooray!
  10. A lost dehydrated Beldor Soldier who needs water. To help them: buy a glass pot from Dust Bunny Village, fill it with water from the leaky roof on the wall shelf, give it to them, and meet them in Beldor later for 50 Shinies
  11. A Dangerous Cave with 2 Big Shinies (100 total) & a Hexan Book upgrade item
  12. A Micro spot with a guaranteed Protein upgrade item

Town - Dust Bunny Warren

Open image in a new tab and zoom in for best resolution

Shop:
  • Dynamite (Costs 2 Shinies)
  • Glass Jar (Costs 3 Shinies): Allows you to gather liquids and take them with you.
  • Backpack I (Costs 25 Shinies): Allows you to store 1 object for later (Level I only, not here if you already have it)
Quests:
  • A Dust Bunny named Alfie on the eastern side has doesn't feel well! To help them with their problem: shrink on their head and eliminate ALL the Dust Mites to solve it. Afterwards, all the Dust Bunnies will favor you, and you'll get a quest reward of 20 Shinies from Lopsa
  • After solving Alfie's problem, a Dust Bunny named Fluffin on the northwestern side wants Blue Dust, to make more Dust Bunnies. You can find it on top of the War Boardgame on the Bookshelf. Afterwards, they'll create a new Dust Bunny, which will give you 15 Shinies the next time you visit

Micro Town - Beldor

Open image in a new tab and zoom in for best resolution


Open image in a new tab and zoom in for best resolution

Shop:
  • Life Block (Costs 1 Shiny)
  • Mol Dok Tablet (Costs 10 Shinies): Used as a quest item for the Mol Dok Town on top of the Bookshelf
  • Special Anklet (Costs 25 Shinies): Allows you to drop down through platforms (double tap down)
Quests:
  • After talking to the Algeans, including the Chief, you'll get a quest to locate the lost shipment that was meant for the town of Protis. The location of the shipment is: the fly carrying it crash landed on the power outlet just between the two pots. If you shrink on the head of the dead fly, you'll find the clearly marked shipment. Bringing it back will reward you with 50 Shinies
  • If you ferrying the love letters between the 2 smitten Algeans in Beldor and Protis back and forth, then you'll be rewarded with 30 Shinies
  • Outside the town of Beldor, there's a small platform just below the dirt on the pot proper. If you find a way to get there and shrink to micro size, there's a dehydrated soldier who desperately needs water. To fulfill their request: buy a Glass Jar from the Dust Bunny Village and capture a water drop from the leaky roof just above the hanging shelf. You can meet them later in Beldor and you'll get 50 Shinies for your trouble

Small Landmark - Inside the Eastern Flower Pot

Open image in new tab and zoom in for best resolution

Map Markers
  1. A Dangerous Cave with 2 Big Shinies (100 total), an Energy Egg, and a +1/2 Max HP upgrade
  2. A Dangerous Cave with 2 Big Shinies (100 total), a Boots upgrade item, and a +1 Max HP upgrade
Room - Bottom of the Bookshelf

Open image in a new tab and zoom in for best resolution

Map Markers
  1. A Micro spot with a guaranteed Pheromone upgrade item
  2. A small spot Behind the Wall with no special characteristics whatsoever check the Terminal while you're inside
  3. 2 Mol Doks arguing about a rare 5-eyed Mol Dok
  4. Leads to Inside the Train
  5. A Micro spot with a guaranteed Spin Bauble upgrade item
  6. A Bookworm that wants you to eliminate all the Silverfish in the books. They'll reward you with 20 Shinies for your trouble.
  7. Leads to Inside the Books - Bottom Shelf
  8. A Mol Dok with 5 eyes
  9. A Mol Dok chef that would like some "Pink Slime".
  10. A Plasknight that hints how to get to The Doorknob Throne & King Mittens. They also comment that they're building an outpost on that book (that'll show up later)
  11. A Micro spot on the Piggybank's nose with a guaranteed Whistle upgrade item
  12. Leads to Inside the Piggybank

Inside the Piggybank


There's a friendly Spider Engineer in here wants a Gear. To fulfill their request: you can easily get one from the Micro spot where the Eastern Power Outlet got blown out by the Hexan Inventor. You'll get 15 Shinies in return, and he promises to give you tips about King Mittens' Robot if you encounter him

Inside the Train


There's a friendly Spider Cowboy in the lower left side of the train that wants a "strong drink". To fulfill their request: bring them the Mushroom Drink from the friendly mouse mixologist with a cauldron (see Between the Walls - Next to the Floor) to receive a hint at where lots of Shinies are stored
Room - Top of the Bookshelf

Open image in a new tab and zoom in for best resolution

Map Markers
  1. 70 Shinies guarded by Plasknights AND a guaranteed 1/2 Life Upgrade item.
  2. Leads to Inside the War Boardgame
  3. A few Mol Doks that hint at a Mol Dok to the east that lost the Mol Dok Tablet
  4. A Mol Dok that regrets selling the Mol Dok Tablet and gives you 20 Shinies and a hint to where it's located
  5. Some Blue Dust. Bring it to: the Dust Bunny Fluffin after saving Alfie in the Dust Bunny Village
  6. A Micro spot with a guaranteed Coffee Ground upgrade item & 4 Explosive Blocks.
  7. The Micro Town of Mol Dok
  8. Leads to Inside the Books - Top Shelf (doesn't open until later)
  9. A left side of a face that's lost it's other half. If you re-unite them: they'll leave behind an individual 20 Shinies that you need to pick up, what a mess!
  10. A Mol Dok that hints at the location of the other half of the face
  11. The right side of half of a face
  12. Leads to the Between the Walls - Bookshelf to Clock path
  13. Leads to the Between the Walls - Big "C" path
  14. A Micro spot with a guaranteed Mold Plant & a dangerous Micro cave with a Big Shiny worth 50 Shinies inside
  15. A Micro spot with a guaranteed Gravity Charm upgrade item
  16. A Micro spot with a rare blue Mol Dok eye. Bring it to the blue Mol Dok with 2 eyes in the Mol Dok Town. They're inside the house on the westernmost side.
  17. A Micro spot with a guaranteed Hexan Book upgrade item

Town - Mol Dok

Open image in a new tab and zoom in for best resolution
  • The denizens are looking for a lost "stone book". You'll find hints here and there where the last known location was: it's right in front of the War boardgame, specifically under the tank star. After which, you'll find out the Mol Dok "trade Stone Book to small green man for bright stars. Waup." Head over to the Beldor Shop, buy it for 10 Shinies, then return it to town. You'll then get a hint to "Come see me in the place where time is born. Zerp." for your reward, which can be found: inside the digital wall clock
  • The two-eyed Mol Dok in the westernmost house is looking for their lost eye. To fulfill their request: wander out of town to the left or right micro sized and eventually you should find a rare blue eye. Bring it back for a 1/2 Life Upgrade item
  • The Mol Dok in the house on the easternmost side of town says "Best cook I know lives on bronze coin. Voip." The quest continues on the rightmost side of the lowest bronze coin just below the Piggybank
  • The Mol Dok on the east side of town wants a seed to grow. The seed can be found in a mold plant with 3 "fruits" growing out of it. There's one in a Micro spot just before the tip of the pencil. You can break these for the seed! They'll give you an Energy Egg OR an 1/2 Life Upgrade item (whatever you have that isn't full), and the plant will grow additional fruits and seeds

Small Landmark - Inside the War Boardgame

Open image in new tab and zoom in for best resolution
Room - Hanging Shelf & Clock

Open image in a new tab and zoom in for best resolution

Map Markers
  1. The Lampian Switchkeeper
  2. The town of Lamptopia
  3. A Lampian that will offers to take your Shinies to throw away over the side of the shelf
  4. The Lampian Flyport (leads to "The Father" hanging lamp)
  5. Leads to Behind the Walls - Big "C" Path
  6. Micro spot with an exiled Lampian that gives you 15 Shinies
  7. Micro spot with a poisoned/tripping Lampian that gives you a hint to an quest only upgrade item. "When the ground shakes, the angel awakes..." Bring a Quake Block to the snowglobe Angel on the bottom of the Bookshelf to get the Sacred Wings upgrade item for Max
  8. Micro spot with guaranteed Boots upgrade item.
  9. Leads to the Behind the Walls - Bookshelf to Clock path
  10. Entrance to Inside the Clock
  11. A friendly Spider that wants something "green, flying, and totally new". To fulfill their request: bring them a green flying virus enemy (micro size only), then they'll give you 30 Shinies

Micro Town - Lamptopia

Open image in a new tab and zoom in for best resolution
  • In one of the residences, you'll find out that Lampians make a pilgrimage to visit "The Father" (the Hanging Lamp) when they reach adulthood. They'll also tell you that the easternmost edge of the top of the lamp shade is the Flyport that'll take you there (P.S. shrink to Micro size while you're on the fly to find out how they're controlling it!)
  • You'll be able to grab the Lampian philosophy written on a scroll, which they'd like you to share with curious creatures. You can take it to a Hexan in Yarn for 15 Shinies
  • After taking the Lamptopian Pilgrimage and becoming an honorary Lamptopian, you can visit the Lampian Switchkeepr and turn the lamp off. After you do that, you'll immediately encounter the Din just around the lamp. You'll get a hint that "Pongo is the true power behind the throne", and one of the Din asks you to retrieve a dangerous weapon from the bookshelf and return it to them. Retrieve the Nuke from the end of the War boardgame, and bring it back to the Din for 80 Shinies

Inside the Clock


If you've returned the Mol Dok Tablet to the Mol Dok Town, look for a small green dot near the entrance for a surprise and a 50 Shinies reward
Room - Between the Walls
Between the Walls - Power Outlets - Termite City

Open image in new tab and zoom in for best resolution

The guard for the Termite Queen would like for you to rescue a lost Termite Egg from the Red Ants in the Western Flower Pot. If you bring it back you'll be allowed access to the locked door beneath the Eastern Power Outlet, and you'll now be welcomed and treated as a friend by the Termites! The Termite Historian will also carve a new panel on the wall in your honor (check the wall after your next visit)

After making friends with the Termites, you'll also gain access to their Shop and some Quests!

Shop:
  • Glass Jar (Costs 3 Shinies)
  • Throwing Axe (Costs 5 Shinies)
  • Gravity Charm (Costs 25 Shinies): Take no fall damage (not here if you already have it)
Quests:
  • One of them would like some "fresh green wood right about now!" To fulfill their request: look on the eastern side of the eastern plant for 3 pieces of Green Wood stacked on each other. They'll give you 15 Shinies for your efforts.

Between the Walls - Next to the Floor

Open image in new tab and zoom in for best resolution

The friendly Mouse Mixologist chilling in front of a cauldron would like a Mushroom Spore. If you give them one they'll share their concoction with you (a Mushroom Drink) You can come back as many times as you want for another one. A Mushroom Spore can be found just west of Protis in the "Water Bear" territory

After making friends with the Termites behind the Power Outlets, you can go into the door underneath the Eastern Power Outlet. There's a giant Roach inside that you can defeat for a powerful upgrade: the Chitin Armor upgrade item that reduces damage by 1/2!

Recommended Strategies for fighting the Roach:
  • Get the Pheromone upgrade item (bugs can't hurt you) and bring the Blue Beetle (invincible) from the Eastern Flower Pot OR Max with the Dog Armor upgrade item (also invincible) and toss it at the Roach repeatedly until it's defeated. You can do this early even with no Energy Egg upgrades! (it'll take a while though)
  • Throw the Mushroom Drink (from the Mouse Mixologist quest) at the Roach, then wait somewhere safe for the poison to take them from all the way from 100% health to 0%!

Between the Walls - Bookshelf to Clock

Open image in new tab and zoom in for best resolution

Between the Walls - Big "C" Path

Open image in new tab and zoom in for best resolution

There's a friendly Mouse in the middle of the "C" after a long drop, that threw themselves down here looking for help. If you shrink on their head, you'll encounter a Plasmage who says that they were trying to control this Mouse for King Mittens! Eliminate them for 5 Shinies, then talk to the relieved mouse afterwards for 20 Shinies

To get the 15 Shinies at the bottom of the big "C", you can shrink to get past the blocking bug, or if you have the Pheromone upgrade item you can just walk past it.
Room - Hanging Lamp

Open image in a new tab and zoom in for best resolution

Map Markers
  1. Leads to the Lampian Pilgrimage Site (note, you can just grow and run straight to it, but there's quite a few upgrades on the way if you walk)
  2. A guaranteed Spin Bauble upgrade item
  3. A guaranteed 1/2 Life Upgrade item, 5 Quake Rocks, & a Pink Slime (Acid) source
  4. A guaranteed Energy Egg upgrade item & a Pink Slime (Acid) source
  5. A guaranteed Backpack upgrade item
  6. A Lampian and 5 Shinies
  7. A Bed Lovin' Bed Bug & a Blood Cell (Micro spot in the corner)
  8. A Lampian that warns about the edge of the Lamp (and a hint to the Broken Lampian below)
  9. A Micro spot with 20 Shinies

Micro Landmark - Lampian Pilgrimage Site

Open image in a new tab and zoom in for best resolution
Room - Top of the Door

Open image in a new tab and zoom in for best resolution

Map Markers
  1. A Plasmoid that gives you a hint about the location of the Micro Town of Doorknob City
  2. The Micro Town of Doorknob City
  3. A Broken Lampian that fell from the ceiling lamp
  4. Leads to Inside the Doorknob Throne

Micro Town - Doorknob City

Open image in a new tab and zoom in for best resolution


Open image in a new tab and zoom in for best resolution

  • You can pay 50 Shinies to the high ranking Plasmage to have them open the door to the throne room.
  • You can find a Hexan locked up with a Plasknight asking for the key. If you help the Plasknight you'll get 10 Shinies. If you help the Hexan instead, you can meet them later in Yarn for 30 Shinies.
  • There's a Plasmid asking for something to win the favor of Mittens. If you bring them Cat Food from Eleanor's House, you'll get 15 Shinies. Later if you visit them, Mittens will have shrunk him because the Cat Food was "expired and probably years old" Whoops!

Small Landmark - Inside the Doorknob Throne


We finally meet King Mittens! He has the authority to open "the great door", but he wants us to pay for the privilege. If you cough up the 500 Shinies he asks for, he'll try to extort more Shinies out of you AND show that he's kidnapped (dognapped?) Max!

He'll then order the giant robot "Gearhead" to "teach you a lesson", and you'll have to fight it off to save Max and get the door open! Before we try to fight it though, we should make sure we ask the Spider Engineer in the Piggybank for advice.

With the code in hand (or head) from the Spider Engineer, we're finally ready to defeat Gearhead, save Max, and escape the room! When he does his head throwing move, jump on his shoulders and shrink as fast as you can. Get ready for a little gauntlet!

Required upgrades to defeat Gearhead:
Magic Potion II

Recommended upgrades to defeat Gearhead:
Coffee Ground, Protein II, Spin Bauble II, Gravity Charm, Chitin Armor

Micro Landmark - Gearhead - Part 1


Micro Landmark - Gearhead - Part 2
Full Video Walkthrough
Still having trouble? Check out this full walkthrough of Mini & Max with the requirements met for the Cherry Cart!

Hopefully there is a technique or two not explicitly covered in the guide above that will help you accomplish your goals!

***Work In Progress Note***:
When I get a moment, I'll also try to add contextual subtitles to the complete video walkthrough.

Important World Events & Triggers
Certain events trigger throughout the world when you reach certain breakpoints (most notably with # of Shinies accumulated) Here are the most important ones to be aware of:
  • After getting about 333 Shinies OR you've met King Mittens: Red Army Ant enemies will start showing up throughout the world! If you've got the Pheromone upgrade item, they're less of a problem, but their guns definitely still hurt!
  • After getting about 667 Shinies: Enemy Plasknights & Plasmages will start showing up throughout the world! A lot of the "friendly" Plasknights you could speak to will be completely gone as well. These enemies will directly fight both you AND the Red Army Ant enemies (i.e. the all-out war that several other characters had alluded to)
  • After speaking with King Mittens and giving him 500 Shinies, you'll lose access to Max for a while until you beat Gearhead. Be careful if you've been depending on him thus far, or if you've gotten him lots of upgrades!
Permanent Upgrade Items (Powerups)
Note: given how many possible locations contain powerups, I've only elected to display guaranteed & distinct spots to help you get any missing ones for your adventure (or a badly needed upgrade!)


Life Upgrade: Increases max HP! You can level this up to 10 full hearts. Comes in 1/2 and full varieties.


Energy Egg: Thrown objects do more damage. You can level this up to 8 times.

Glove I & II: Can pick up enemies & can pick up everything faster (stand on top & press down & primary button)
To find one guaranteed: pay Eleanor 20 Shinies, and she'll fill you in on how to get out + give you this upgrade!

Magic Potion I & II: Shrink 2/3 levels down (hold down)
To find one guaranteed: find William and bring him the Tea from Eleanor's House


Special Anklet: Drop down through platforms (press down twice)
To find one guaranteed: buy it from the Beldor item shop.


Backpack I & II: Store up to 1/2 objects for later. (hold down and press secondary button)
To find one guaranteed: buy it from the Dust Bunny Warren item shop.


Protein I & II: Jump (even) higher (hold up while jumping)
To find one guaranteed: buy it from the Protis item shop.


Gravity Charm: Take no fall damage.
To find one guaranteed: shrink and search on top of the pencil on top of the Bookshelf


Boots I & II: Kick objects and enemies. Enemies take damage when you kick them with the upgrade (hold up & press primary key)
To find one guaranteed: search on top of the pencil on top of the Bookshelf


Pheromone: Gain immunity to Bugs & Insects (this includes the Red Army Ants, but not their weapons)
To find one guaranteed: shrink on the uppermost platform of the portrait on the hanging shelf


Hexan Book I & II: Give commands to enemy bugs. With the upgrade you can also command viruses & bacteria (stand on top & hold up & press primary key)
To find one guaranteed: help the Hexans of Yarn get their artifact back from their evil cousins


Coffee Ground: Move extra fast (double tap left or right)
To find one guaranteed: look on top of the dice on top of the War Boardgame


Spin Bauble I & II: Jump into projectiles & hopping enemies to repel them. With the upgrade, enemies now take damage when you flip & repel them.
To find one guaranteed: shrink further on the smokestack/chimney of the outside of the train on the bottom of the Bookshelf.


Whistle: Call Max to where you are (double tap up)
To find one guaranteed: you can find one by shrinking further on the nose of the Piggybank on the Bookshelf.


Chitin Armor: Take half damage.
Quest only! To find it: help the Termites behind the Power Outlet find their missing egg. Then they'll open a door beneath the Eastern Power Outlet where you can find and defeat a Roach for the armor.


Mol Dok Food: Gain immunity to poison, slime, and acid.
Quest only! To find it: there's a Mol Dok chef on one of the coins under the Piggybank. Bring them Pink Slime (Acid) in a Glass Jar to receive this as a reward.


Dog Armor: Makes Max invincible.
Quest only! To find it: give a Strong Chitin Block to the Beldor Blacksmith. You can buy one from the Yarn Shop.


Sacred Wings: Allows Max to fly. Can be thrown just like the returning block. Can fly in a horizontal line & be given orders just like with the Hexan Book.
Quest only! To find it: throw a Quake Rock at the Angel on the Bookshelf to receive the Sacred Wings.

Want even more powerups & upgrade item sources? Check out Lasagevev0's guide here!
https://cs2bus.com/sharedfiles/filedetails/?id=3343009452
Notable Carriable Objects & Enemies
There are a LOT of carriable items, enemies, and objects in this game; but some are significantly more useful than others. I've put together a list here of the most notable objects, where you can find them, and what they do for you.

Notable Carriable Objects, Blocks, & Items List
  • Life Rock: Break it and grab the heart inside for a full heal. Can buy it from shops.
  • Time Block: Throw it to freeze all enemies & blocks for a short time (also great for taking screenshots, coincidentally) Breaks after a few uses.
  • Sticky Block: You can use it for the Algean in Protis trying to build a house
  • Strong Chitin: You can use it for the Beldor Blacksmith, who'll make the Dog Armor upgrade item for you
  • Mushroom Spore: Throw it to cause a mushroom the sprout that you can use to jump a great distance. You can find a few guaranteed just west of Protis (as small sized Mini)
  • Poison Block/Mushroom Drink: Throw it to poison enemies. Can poison yourself, so be careful! You can find it guaranteed from the Mouse Mixologist after giving them a Mushroom Spore, as many as you want!
  • Spiral Shell: Throw it to mow through enemies with momentum!
  • Quake Rock: Throw it to cause an earthquake and damage all ground enemies. Breaks after a while. You can find it randomly found throughout the world, or you can buy it from the Protis Shop
  • Returning Block/Throwing Axe: Returns back to you after throwing it (boomerang effect) You can find one guaranteed from a Micro Hexan house just to the right of the entrance to the Dust Bunny Village OR from the Termite City Shop
  • Glass Jar: Can carry Water, Honey, and Acid. You can find it by buying it from the Dust Bunny Village
  • Explosive Block/Dynamite: Blows up enemies and blocks wherever you throw it. You can find it by buying it from the Dust Bunny Village, getting them from the Train on the Bottom of the Bookshelf, or just randomly throughout the world
  • Nuke: Blows up enemies and small blocks on the entire screen! Also does about 2 hearts worth of damage to yourself. You can find it at the end of the War Boardgame past all the tanks and planes! It'll respawn there after you use it. Also used as a quest item for the Din after you turn off the lamp.
  • Item Block: Smash it to get the goodies inside! Contains a Permanent Upgrade Item.

Notable Carriable Enemies List
  • Moth: Can be ordered around to fly upwards with the Hexan Book I Upgrade.
  • Fly: Flies straight ahead horizontally. Can be ordered to fly faster with the Hexan Book I Upgrade.
  • Plane: Flies straight ahead like the Fly, but also constantly drops bombs on your enemies!
  • "Fireball Spitter": Very useful for a ranged attack that can also break blocks. You can also give them orders to shoot faster with the Hexan Book II Upgrade.
  • "Wall Climber": Extremely useful for vertical movement, if you ride on top of them near a wall.
Gift, Gold, & Cherry Requirements
For the Garden gift:
COLLECT AT LEAST 100 SHINIES

For the Gold cart:
ESCAPE THE STORAGE ROOM

For the Cherry cart:
FIND PONGO AND RESTORE BALANCE
Hint 1: Become an honorary Lamptopian, turn off the lamp, & speak with the Din.
Hint 2: You must have escaped the room already after having King Mittens open the door for you.
Hint 3: Shrink to micro size behind King Mittens' throne (the Din were being literal when they said they are the "true power behind the throne") and speak with Pongo for your next steps!
Pay the Spider Clockkeeper 1000 Shinies to restore the balance before Mini broke the mirror & the Shinies fell. Escape the room and enjoy your Cherry!
Terminal Codes
  • INFI - The shortcode for Mini & Max. Combine with commands like HELP to make and enter HELP-INFI (lists a bunch of additional possible commands)
  • TINY-BUFF - Play the game with all items from the beginning, including Max HP and Max Energy. The clock also starts at 5:12 instead.
Easter Eggs
Spoilers here up to (and including) the ending, so be careful!

About some bonus dialogue: You can shrink on the Flyport flies between the Algeans and the Lamptopians for some extra world building and dialogue (they're both controlled in different ways) You can also pick up the Flies, relocate or redirect them, then shrink down on top of them again for some bonus (and funny) dialogue!

About the Train on Bookshelf: It's a clear homage to the 1987 classic Rail Heist (and probably a little Grimstone, given the release chronology)

About the ending: The house at the end of the Gold ending (King Mittens opens the door for you) is the same house from Party House! Also implying that Mini's sister Amy is the host of Party House.

About the ending 2: If you load your game after beating it, King Mittens will have different dialogue, heavily implying that Amy threw another House Party and locked Mini in the Storage Room once again.

About the final room: If you try to bring explosives into the Doorknob Throne Room, it will be confiscated (nice try, though)

About the Red Ants: The Red Army Ants are the same ants from Combatants, everyone's favorite game!

About some meta secrets: The small room in between the angel and the train on the bookshelf has a secret metagame hint for you if you open the Terminal while standing in it.

About some meta secrets 2: A Mol Dok can be found along the top of the Big "C" Path between the walls under a wood block (to the right of the 2 nail platforms) that says: "BRING ME THING THAT RARE. ZAUP."

If you feed a Red Army Ant to a the Pink Blob enemy (the one that eats things) it'll spit out a Red Ant from another game: Combatants. Bring it to the Mol Dok, then they'll say "GO VISIT SMALL ROOM NEAR GLOBE WITH SIGN OF GRASS HOP LEG."

If you visit the small room in between the Angel and the Train on the bottom of the Bookshelf, you'll find a grasshopper that says: "WHEN THE HIGHER INTELLIGENCE ARRIVES, ONLY PLAY WILL STILL HAVE VALUE."


Soundtrack
  1. Mini & Max - Storage Room[phlogiston.bandcamp.com]
  2. Mini & Max - Small World[phlogiston.bandcamp.com]
  3. Mini & Max - Small House[phlogiston.bandcamp.com]
  4. Mini & Max - In The Wall[phlogiston.bandcamp.com]
  5. Mini & Max - Ant Base[phlogiston.bandcamp.com]
  6. Mini & Max - Book[phlogiston.bandcamp.com]
  7. Mini & Max - Dust Bunny Warren[phlogiston.bandcamp.com]
  8. Mini & Max - Clock[phlogiston.bandcamp.com]
  9. Mini & Max - Doorknob Palace[phlogiston.bandcamp.com]
  10. Mini & Max - Piggybank[phlogiston.bandcamp.com]
  11. Mini & Max - Train[phlogiston.bandcamp.com]
  12. Mini & Max - Wargame[phlogiston.bandcamp.com]
  13. Mini & Max - Upgrade[phlogiston.bandcamp.com]
  14. Mini & Max - Micro World A[phlogiston.bandcamp.com]
  15. Mini & Max - Micro World B[phlogiston.bandcamp.com]
  16. Mini & Max - Micro World C[phlogiston.bandcamp.com]
  17. Mini & Max - Micro World D[phlogiston.bandcamp.com]
  18. Mini & Max - Micro World E[phlogiston.bandcamp.com]
  19. Mini & Max - Micro Town[phlogiston.bandcamp.com]
  20. Mini & Max - Micro Outpost[phlogiston.bandcamp.com]
  21. Mini & Max - Micro Cave[phlogiston.bandcamp.com]
  22. Mini & Max - Boss[phlogiston.bandcamp.com]
  23. Mini & Max - Gearface[phlogiston.bandcamp.com]
  24. Mini & Max - Party[phlogiston.bandcamp.com]
  25. Mini & Max - Ending[phlogiston.bandcamp.com]
Outro
Supreme thanks to the developers of this game! Y'all rock!

Spot anything I missed or found something you would like to add? Add a comment and I'll look into it when I get the chance!

Want more? Then please check out my other:

Please do not copy without my permission! If you'd like to support my work by buying me a coffee I'd greatly appreciate it! https://ko-fi.com/llamakazi

Also if you can, please help out with this guide's overall visibility by clicking the real versions of these buttons up top - many thanks y'all!
14 Comments
P4wn4g3 24 Jan @ 9:18pm 
I can confirm you can get at least 8 hexan babies
FireBasedAnomoly 19 Jan @ 3:30pm 
Hey, if suggestions for additions are allowed, I found a REALLY weird thing that doesn't seem to be documented in this guide (unless i missed it, which is unlikely but plausible). Underneath the cord of the lamp, there's an extremely fast brown version of the virus enemies that kills you instantly on contact, no matter how much health you have. It's also, as far as I can tell, the only such brown virus in the entire game, making it entirely unique. I also wouldn't discount that it straight-up doesn't respawn if you kill it because it's that weird and I haven't been brave enough to test it. My current idea is that it's some kind of weird easter egg but I fail to see,,,,,,,,, basically everything about what the idea behind it is supposed to be.
Lasagevev0 27 Oct, 2024 @ 2:30pm 
@Llamakazi thanks for letting me know, I have implemented it into the guide.
Llamakazi  [author] 22 Oct, 2024 @ 7:33pm 
@samfizz
Ayup, that's exactly the case! If you've already got upgrades maxed out then they're replaced with Shinies :steamthumbsup:
samfizz 22 Oct, 2024 @ 1:58pm 
Ah I think that's it, I must've been too far to the right. Although that brings up another thing, I don't see a 1/2 life upgrade in the right tile. Is it because I already have 10 hearts, assuming that's the max?
Llamakazi  [author] 22 Oct, 2024 @ 10:35am 
@samfizz
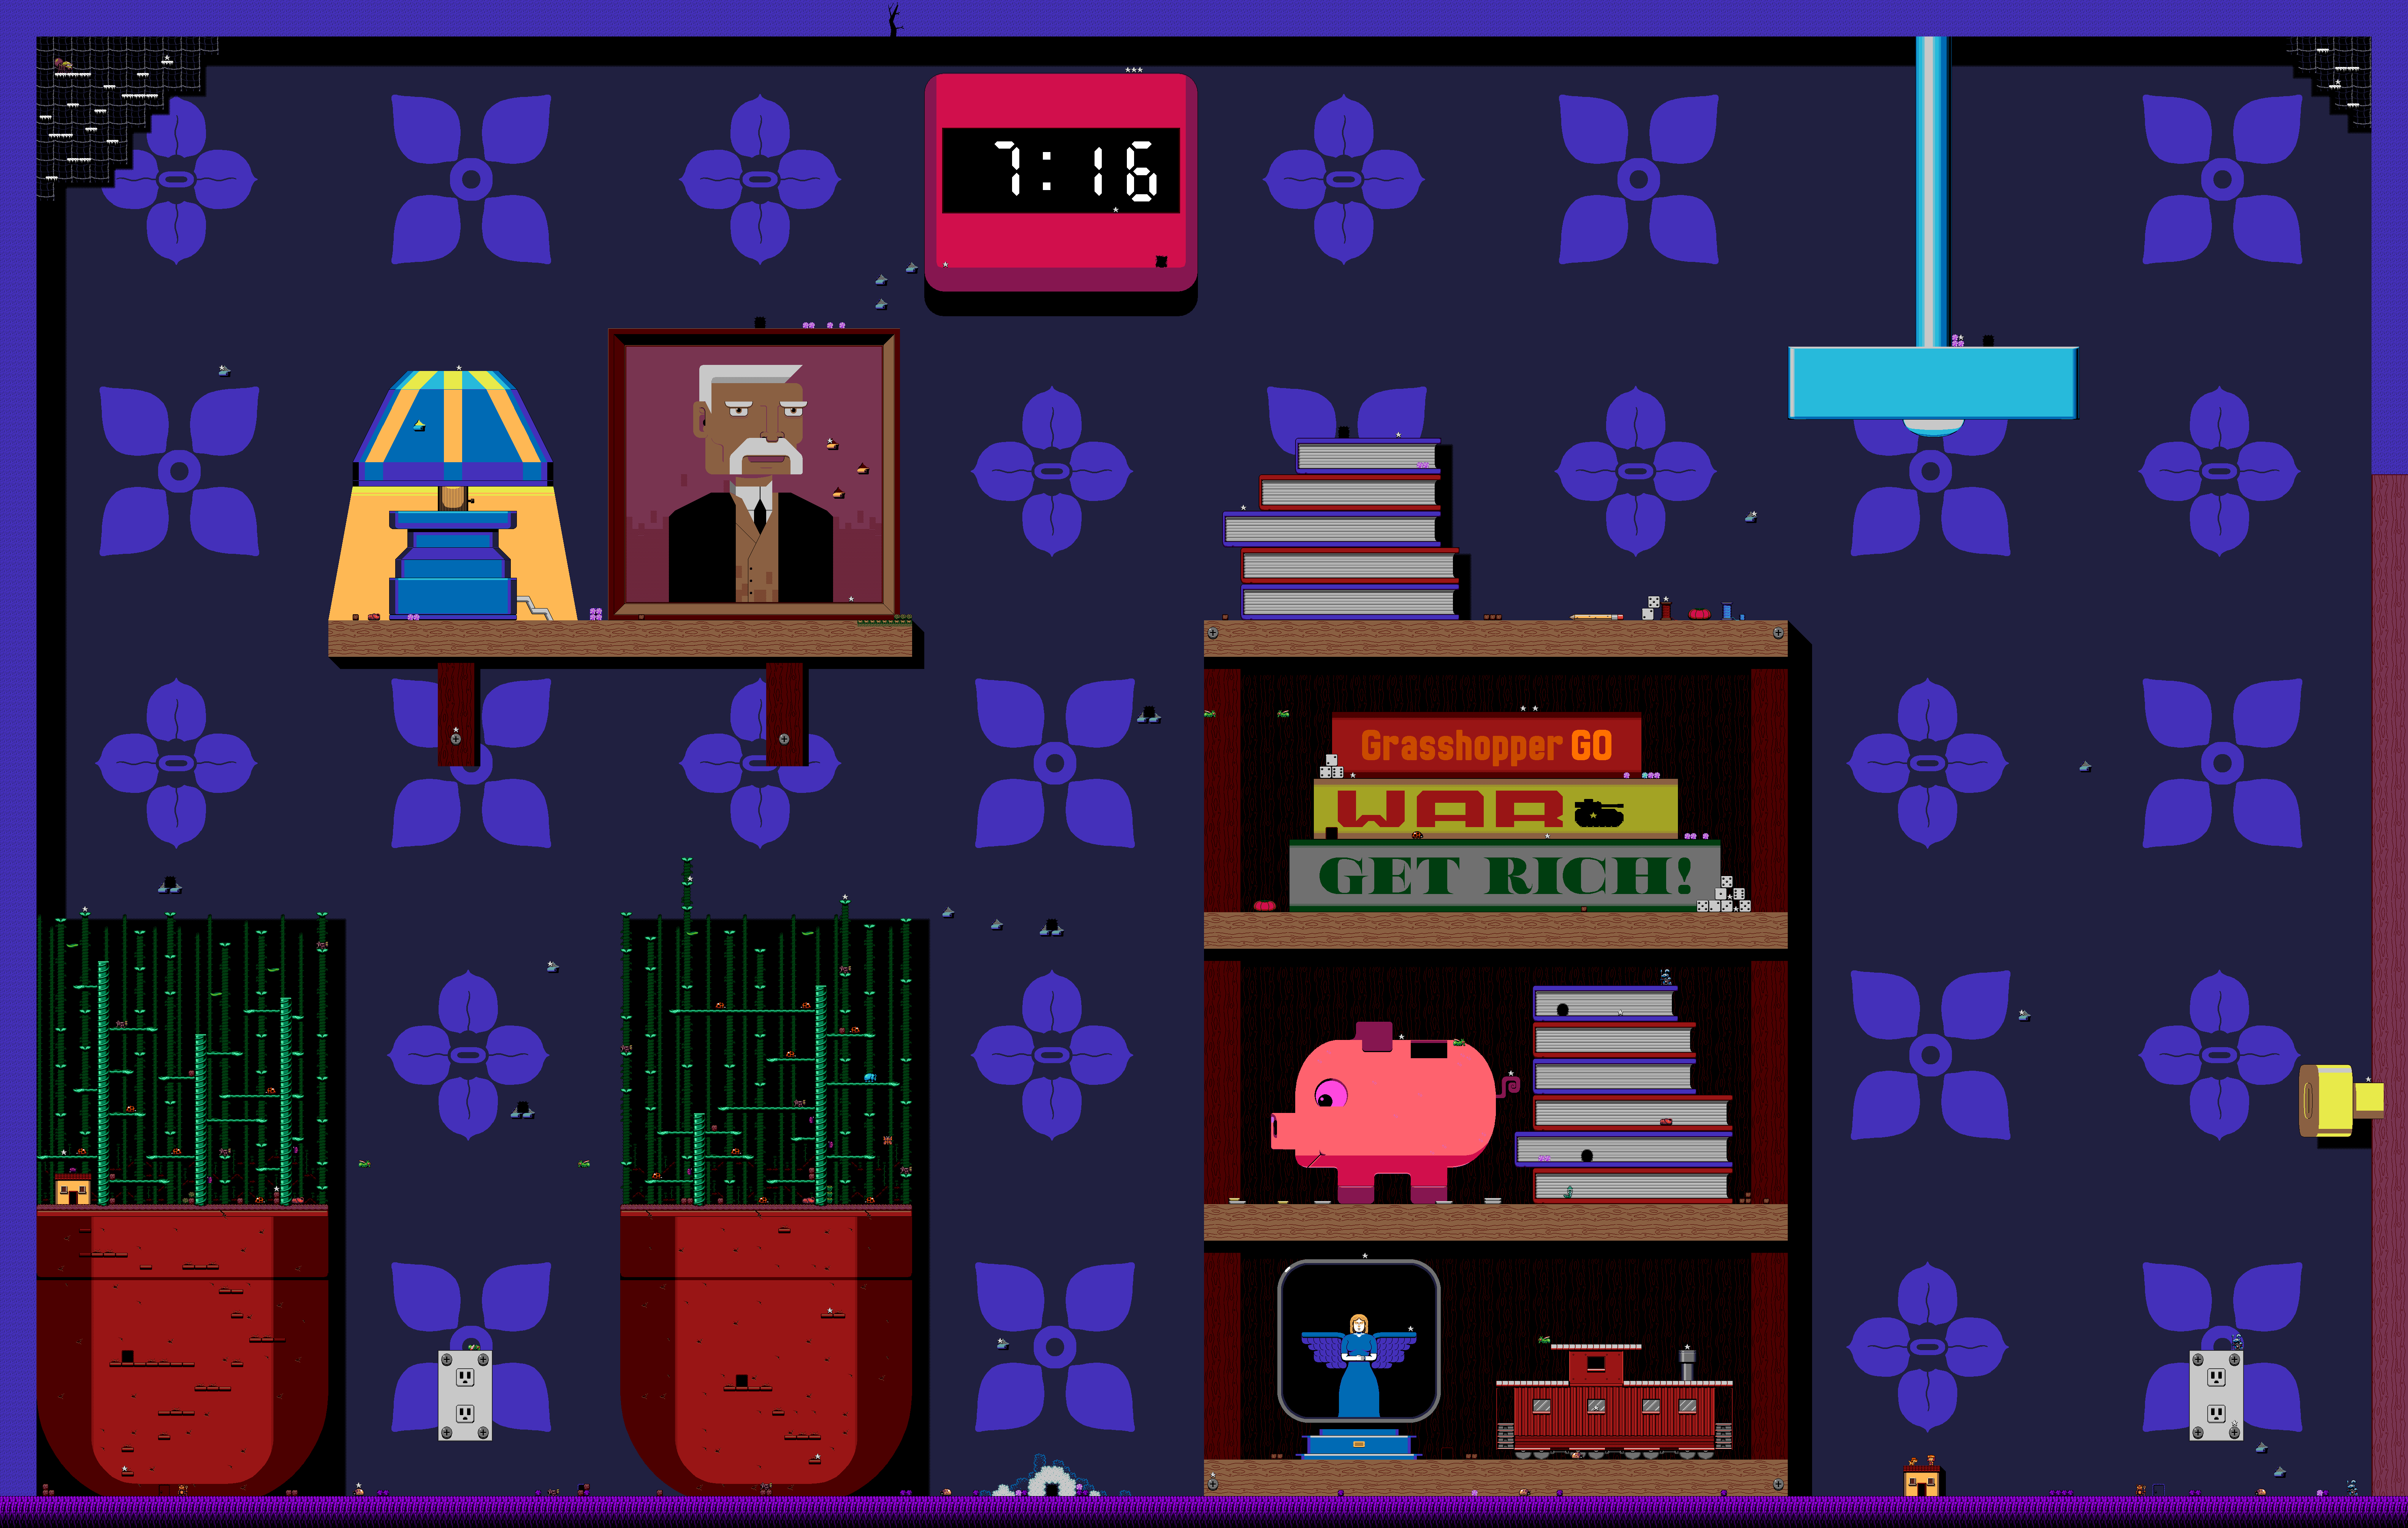
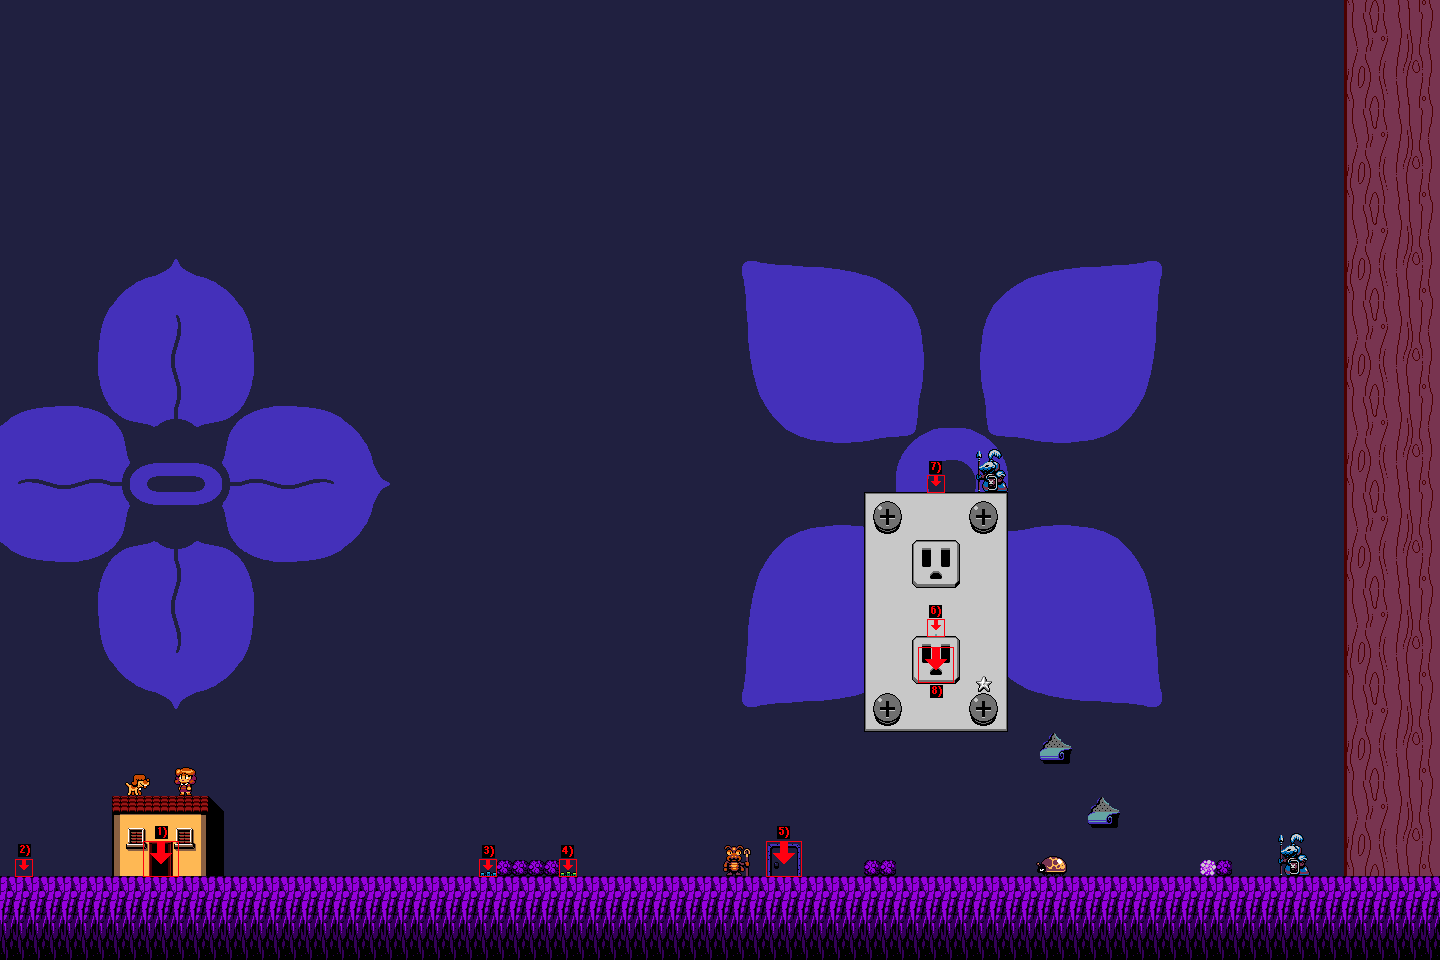
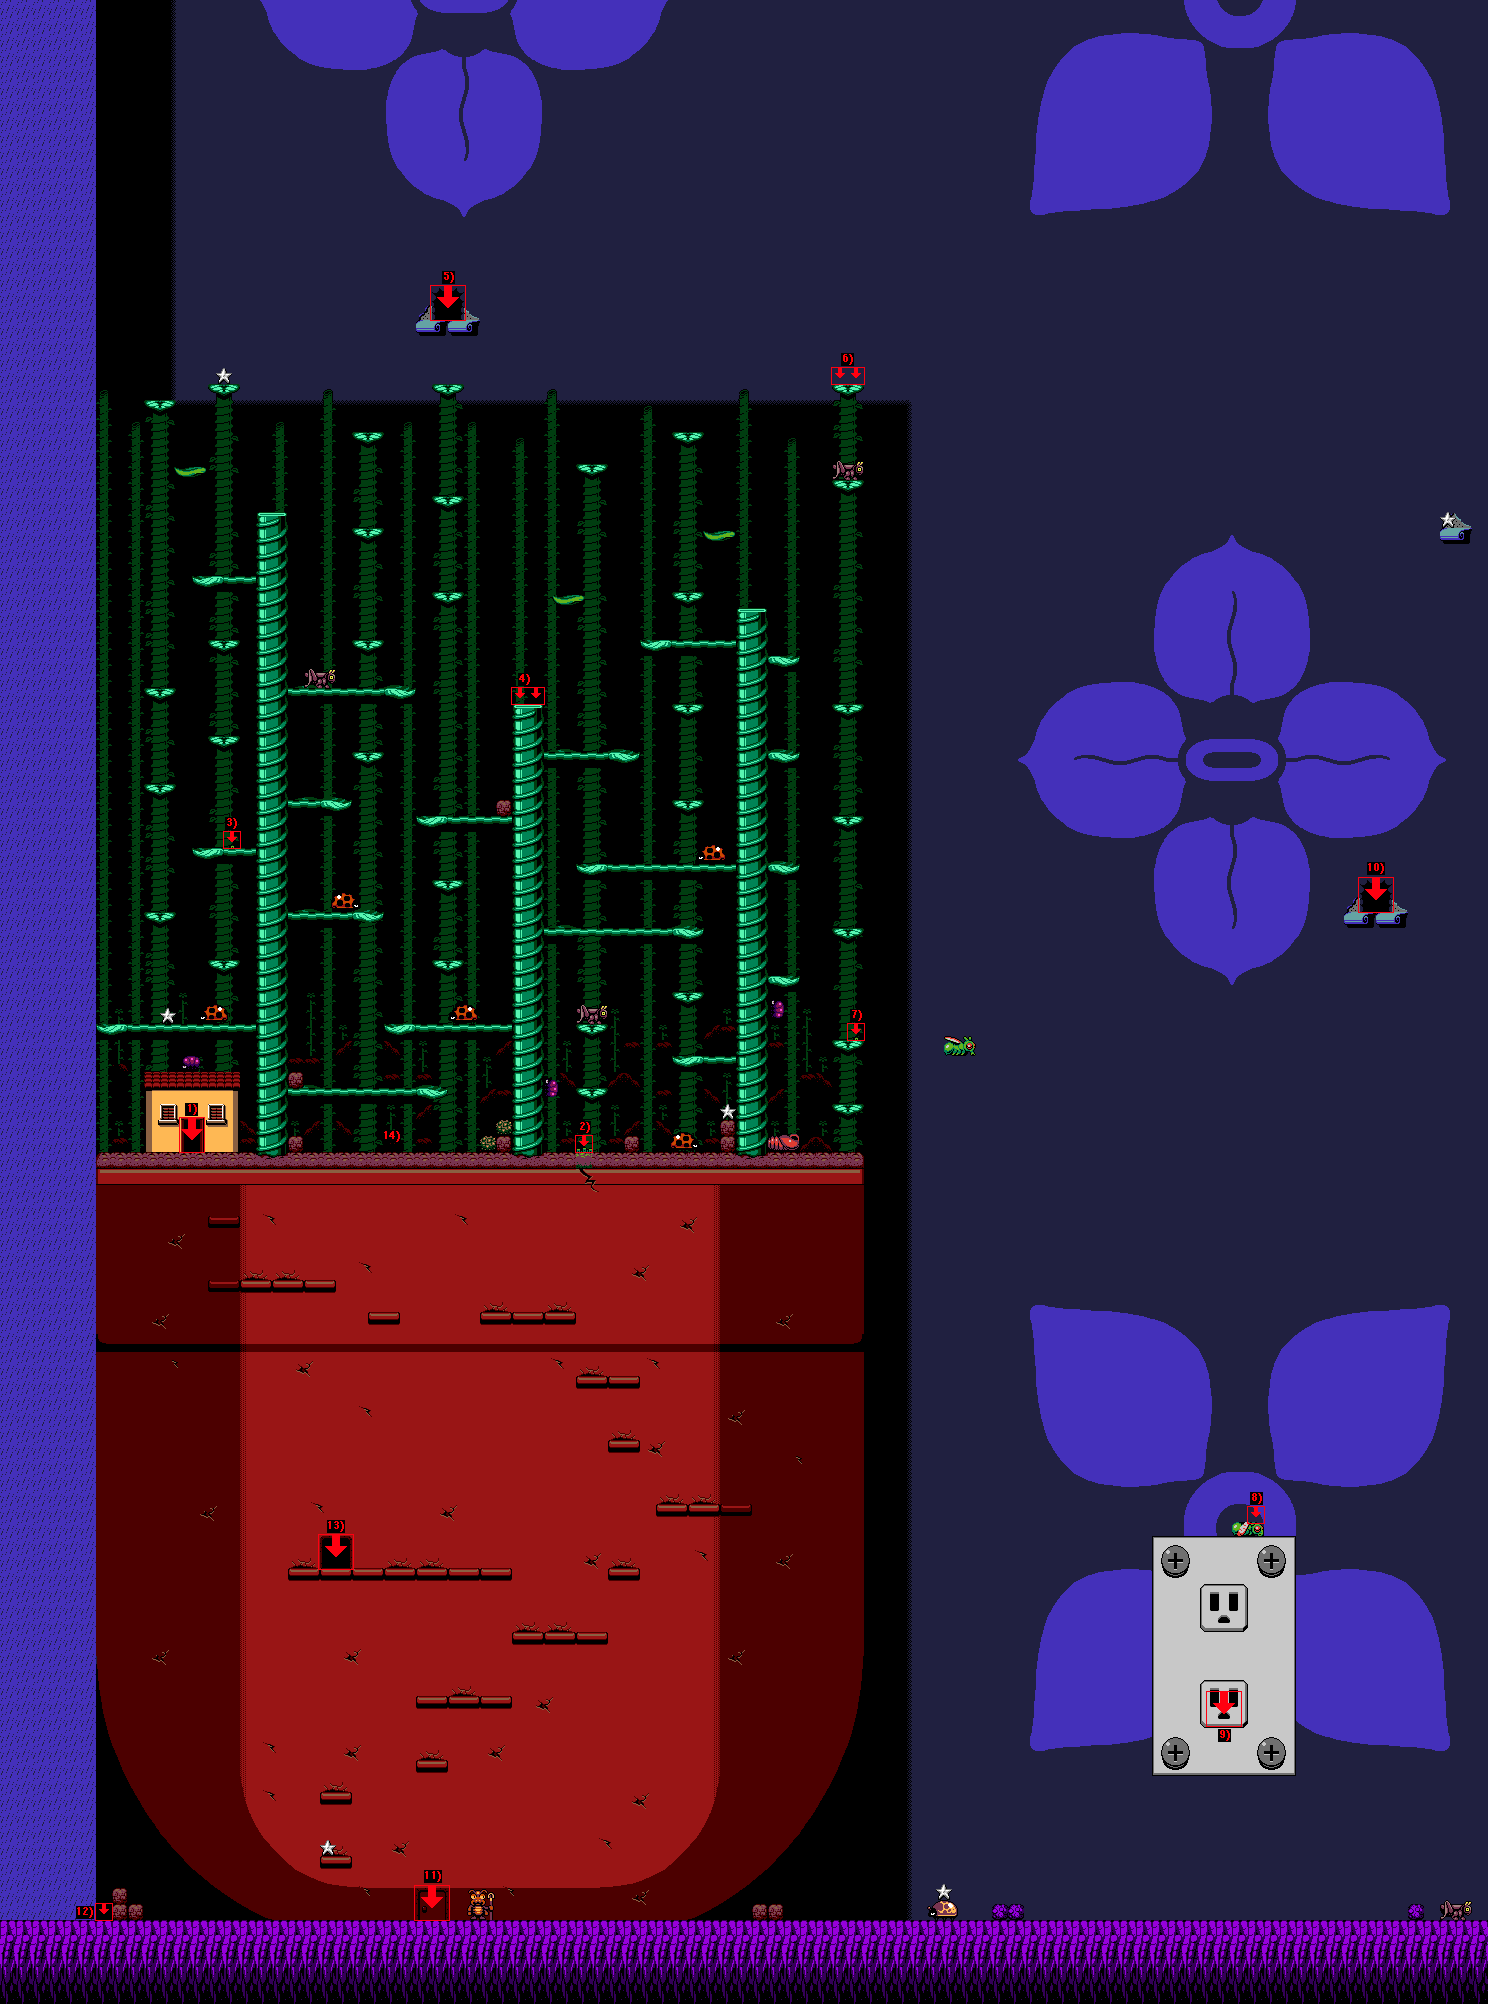
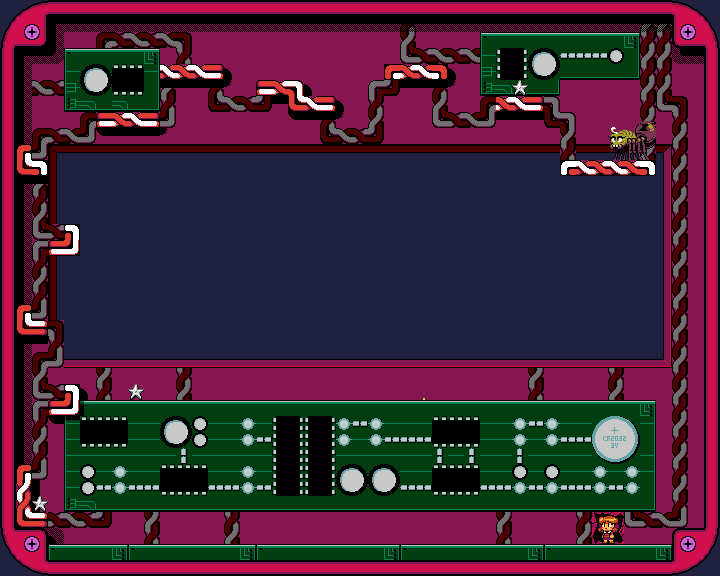
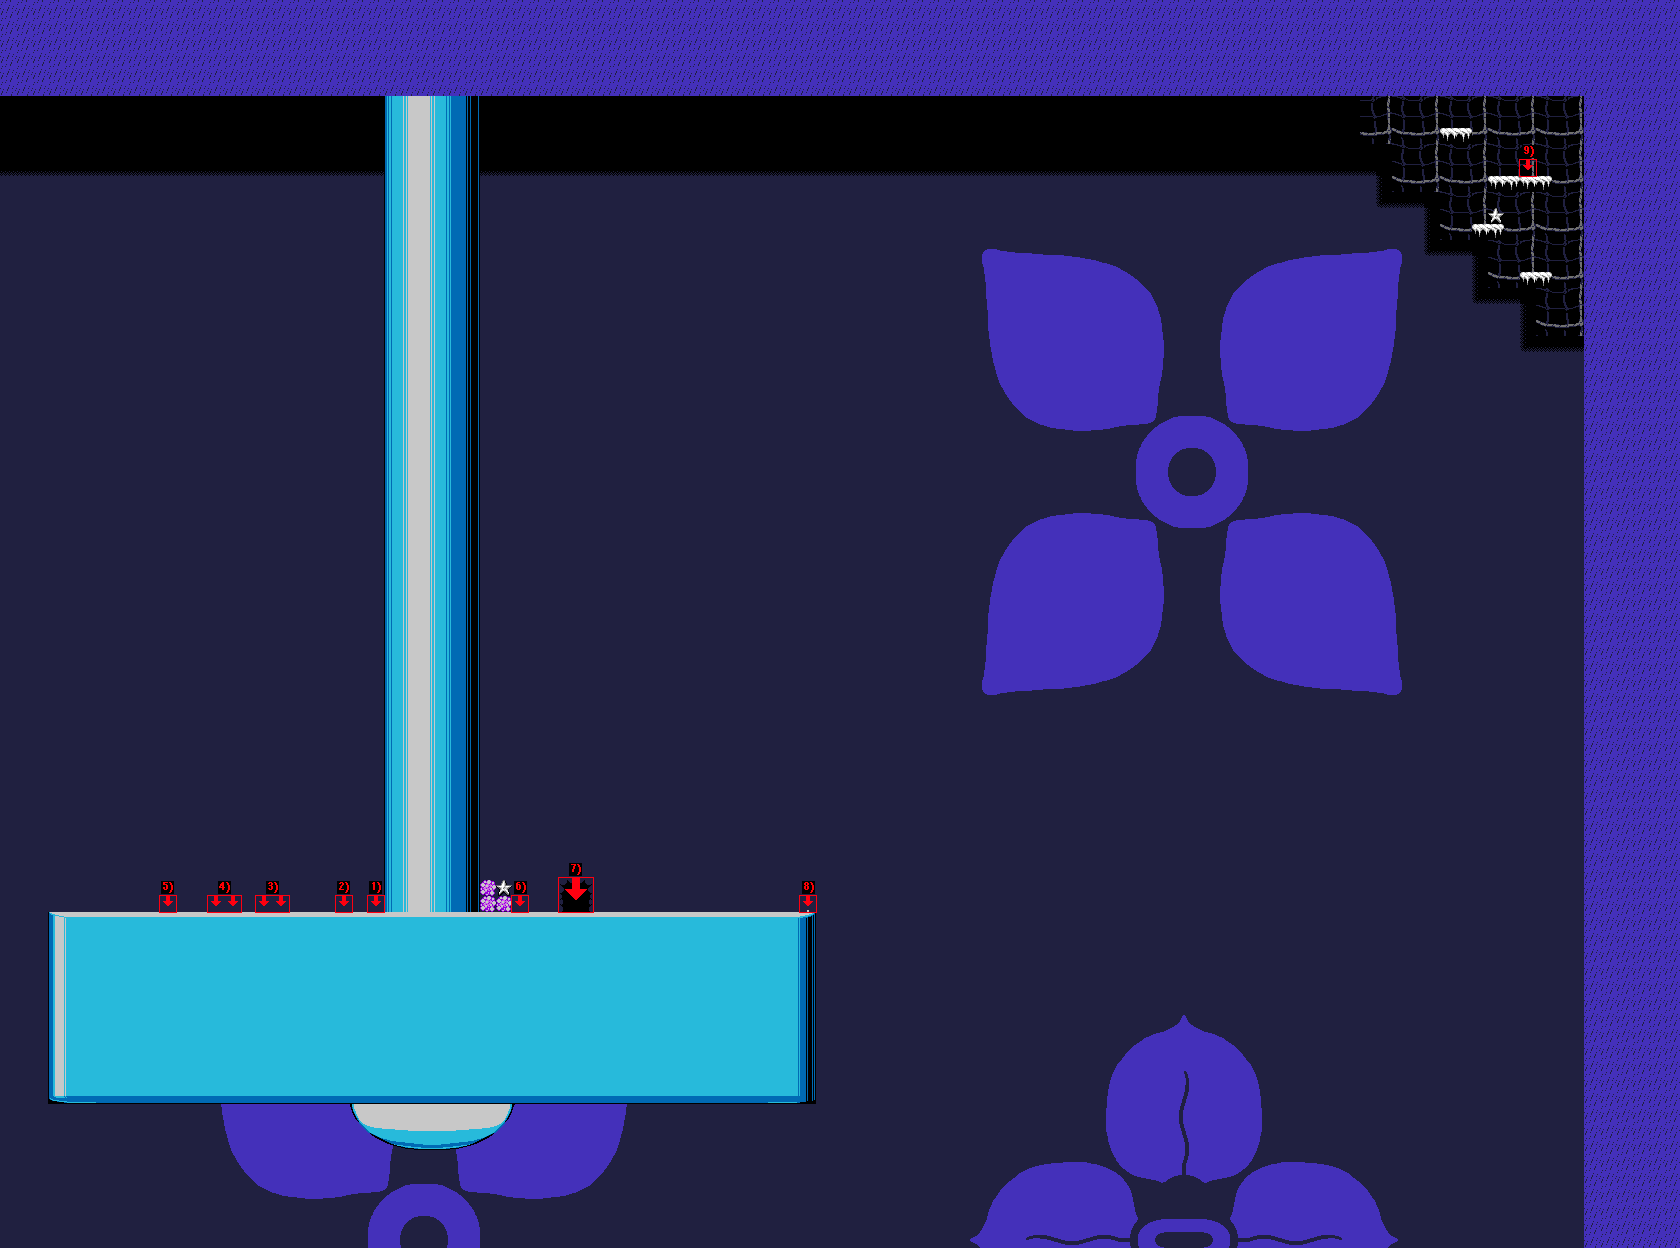
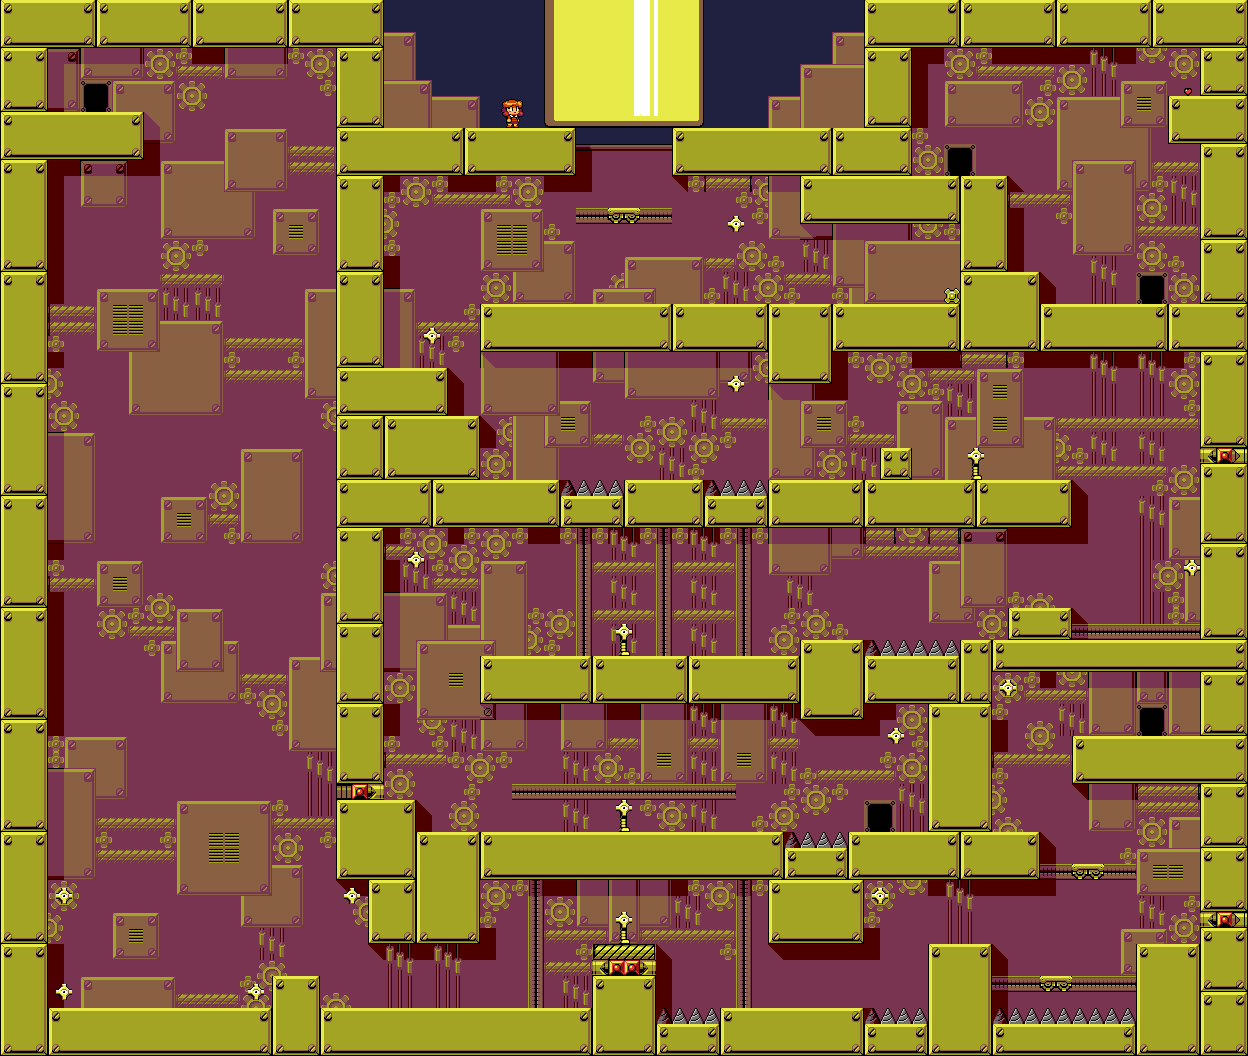
It should still be there! I just tested it out in various configurations and it never seems like it disappeared completely; even after intentionally dying a few times. Did you check both micro-sized tiles just below the exclamation mark? The one on the left has the Plasknight outpost /w 70 Shinies, and the one on the right has the 1/2 Life Upgrade
samfizz 22 Oct, 2024 @ 9:46am 
About the spot on the top of the bookshelf to get lots of shinies that the spider tells you about ( under the exclamation point ): I went there once but died before I got to the entrance at the top of a hill. Now the location seems to be gone entirely when I try to shrink and return to it.

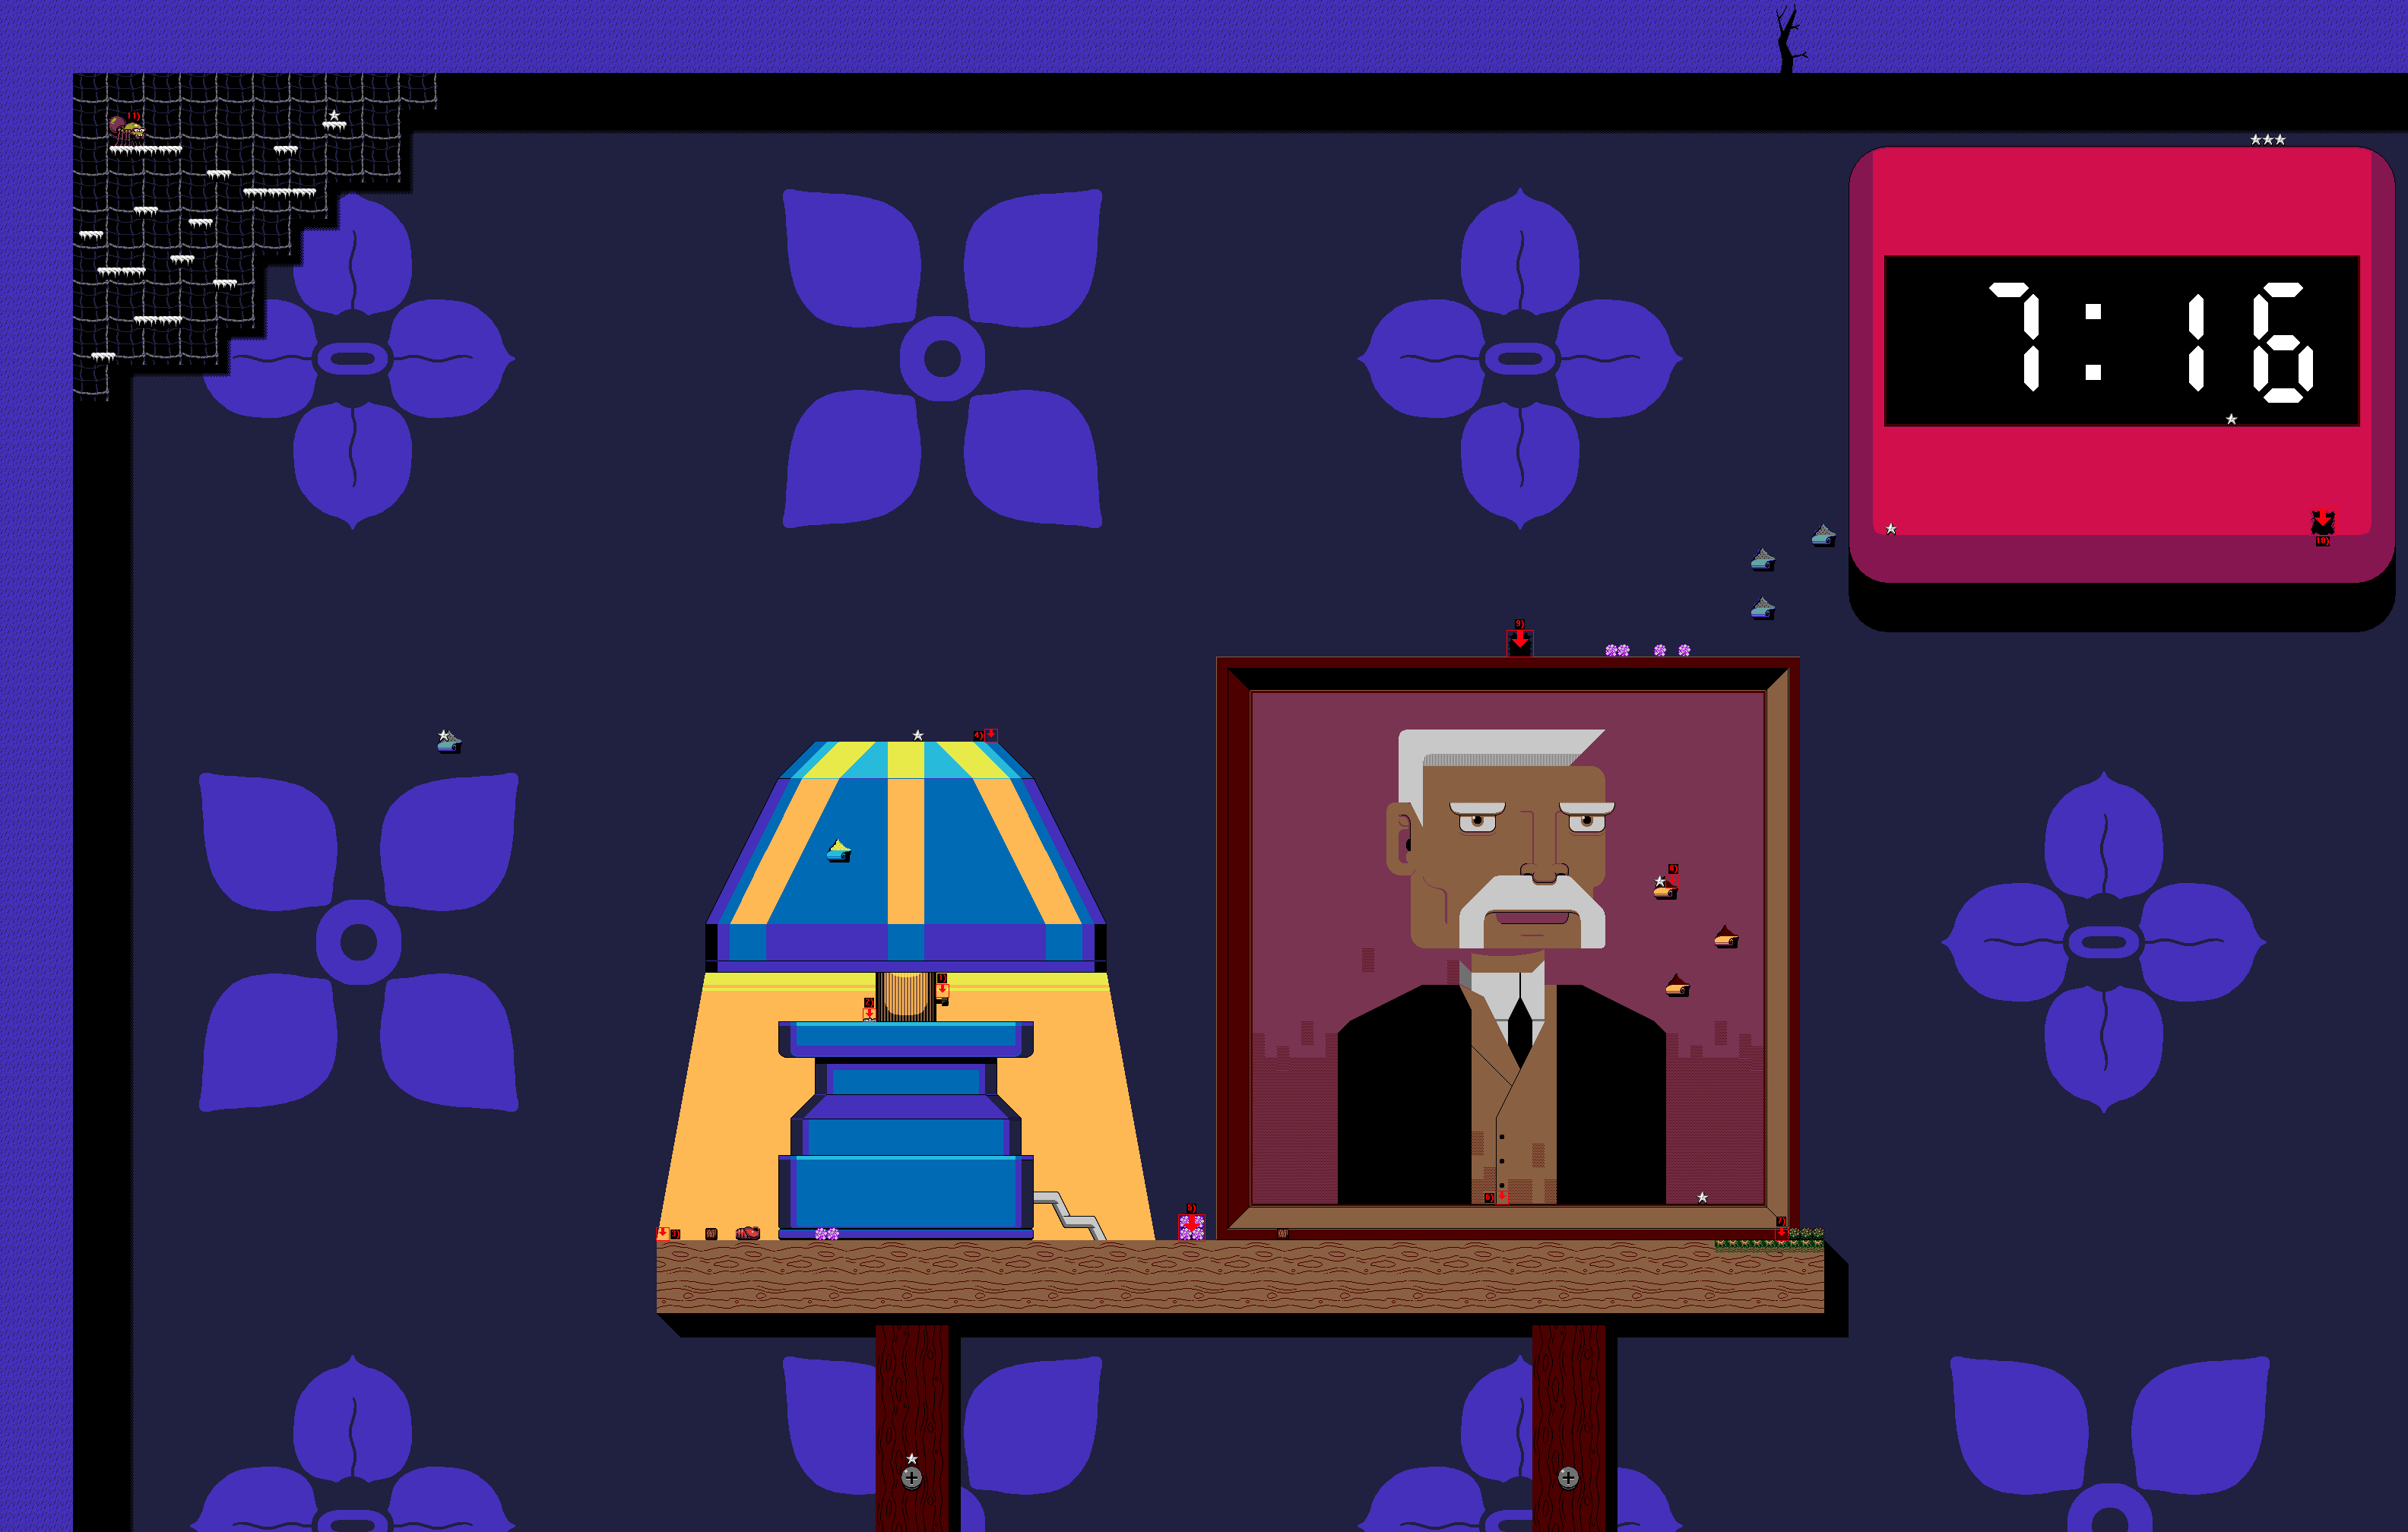
Is this place a one-time visit? Is it bugged? I'd hate to permanently miss out on the rewards there. Anyone have any idea?

Thanks for the guide!
Llamakazi  [author] 21 Oct, 2024 @ 10:22am 
(not in the comments, just in the guide, I should clarify)
Llamakazi  [author] 21 Oct, 2024 @ 10:22am 
Yo @Lasagevev0 ! Just post the whole link raw like so:
https://cs2bus.com/sharedfiles/filedetails/?id=3343009452

Then Steam behind the scenes when displayed will automatically display a nice widget for it :steamthumbsup:
https://cs2bus.com/sharedfiles/filedetails/?id=3348941442
Lasagevev0 21 Oct, 2024 @ 4:57am 
@Llamakazi I looked all over to find out how to link like that! Currently I just have a regular hyperlink to yours, how did you do it?